Sunday 20 October 2013

Academy 1/48 Mig-29A - Part 8

Back to part 7

Russian Engineering

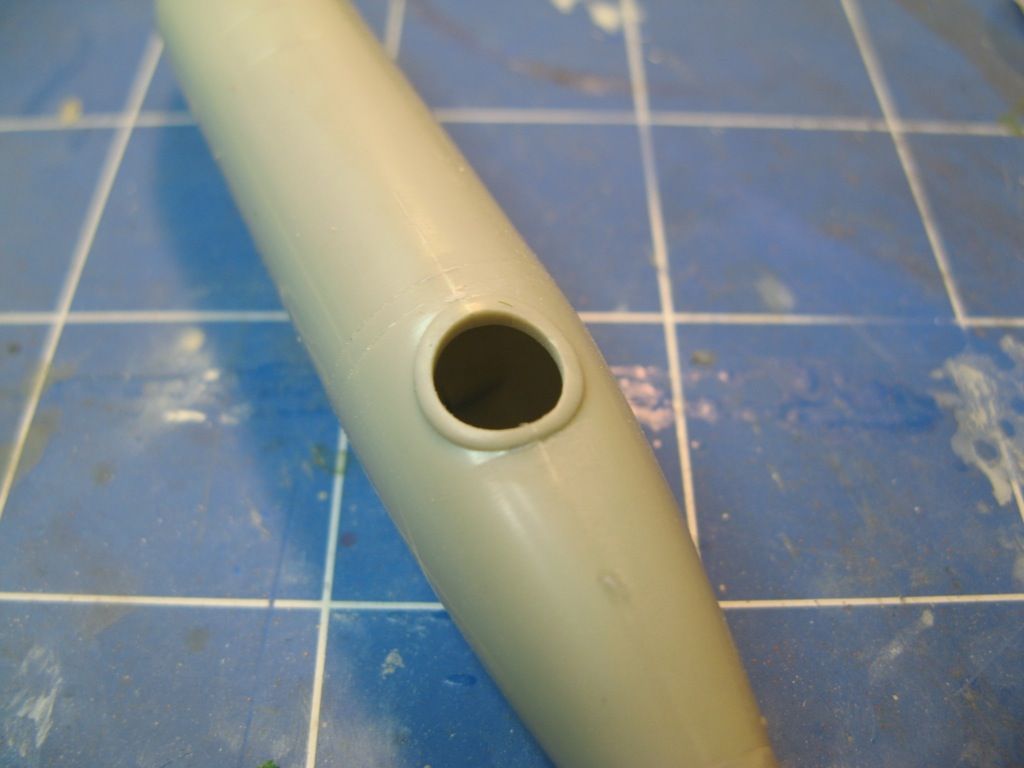
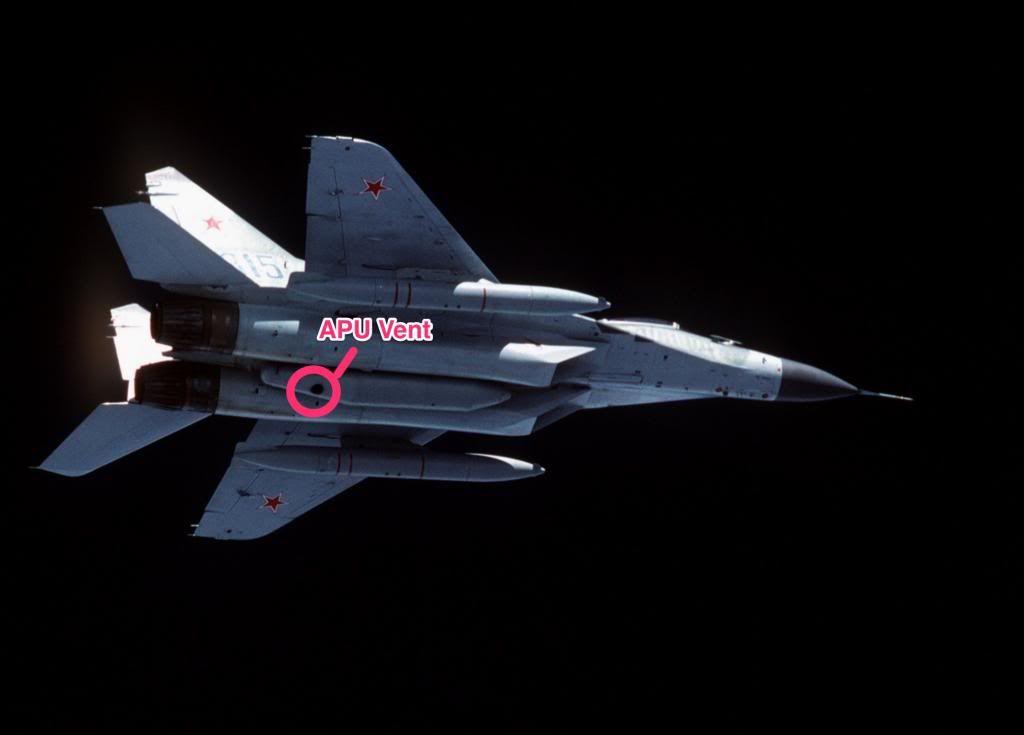
Russian engineering can sometimes be amusing.  Underneath the Mig-29 there is an exhaust for the auxiliary power unit (APU).  However when the centre-line drop tank is being carried it interferes with this exhaust.  The Russian solution - make the APU vent through the drop tank.

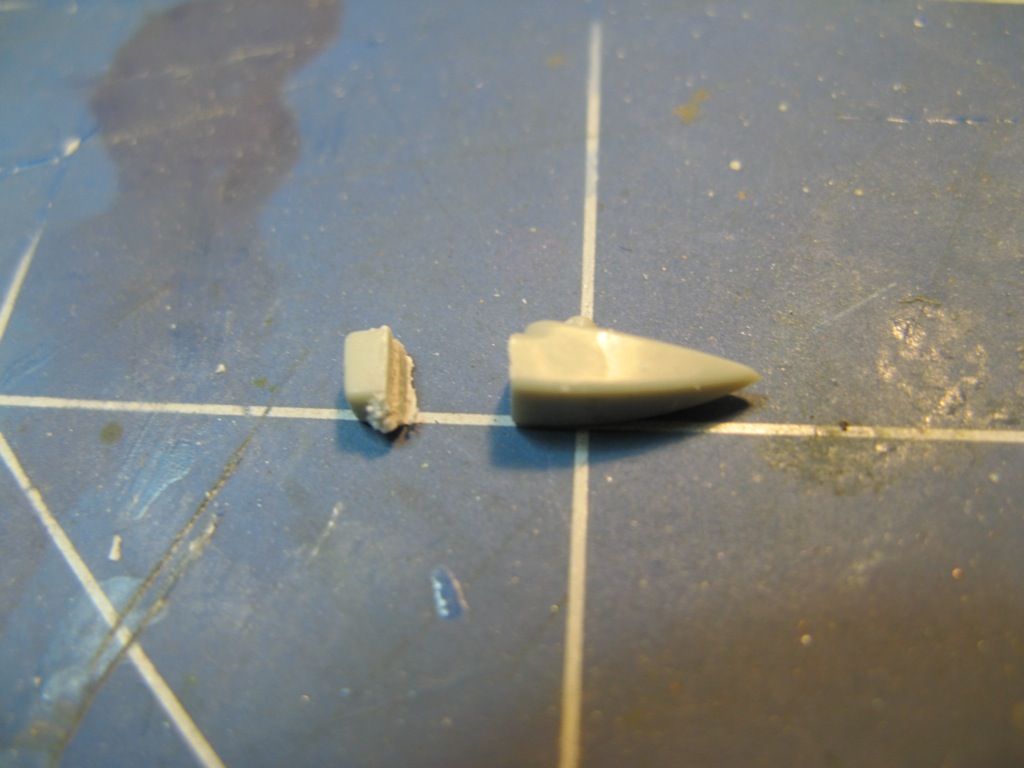
On the Academy kit the APU vent is represented as a raised circular area on the bottom of the drop tank.  This needed to be drilled out to a diameter of 7mm, a rather tricky task requiring a sequence of successively larger drills.  I didn't have a 7mm drill but I did have a 6.5mm drill so I got the hole up to that size and used some wet and dry sandpaper wrapped around a suitably sized piece of dowel to get the hole to the required 7mm.

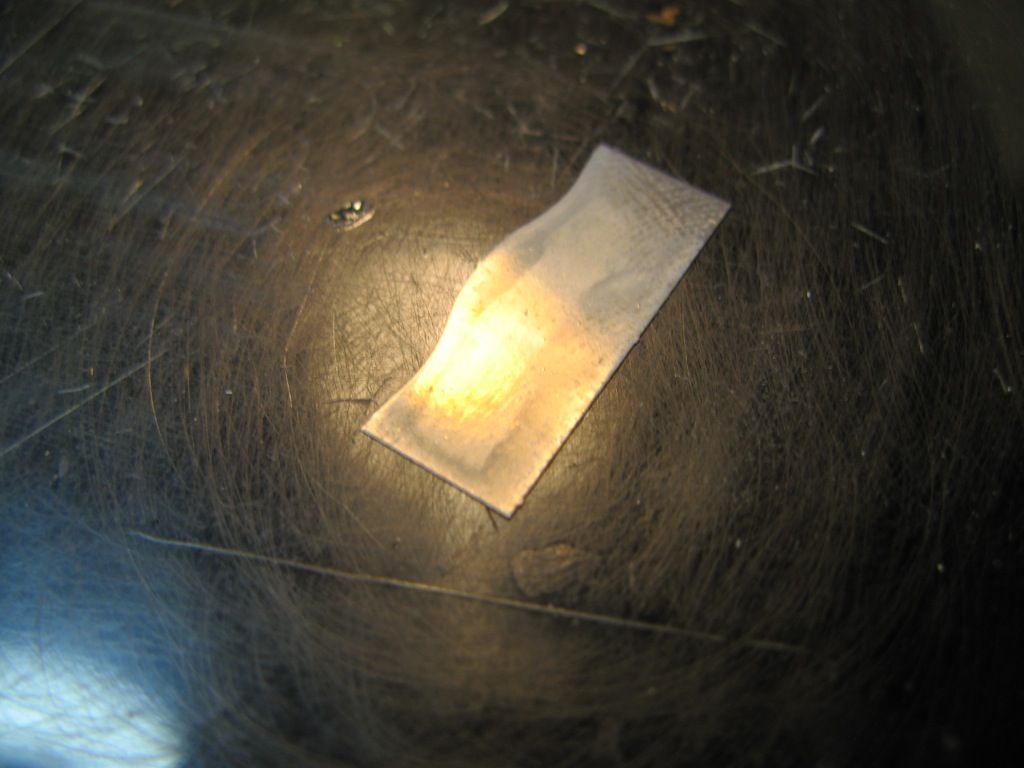
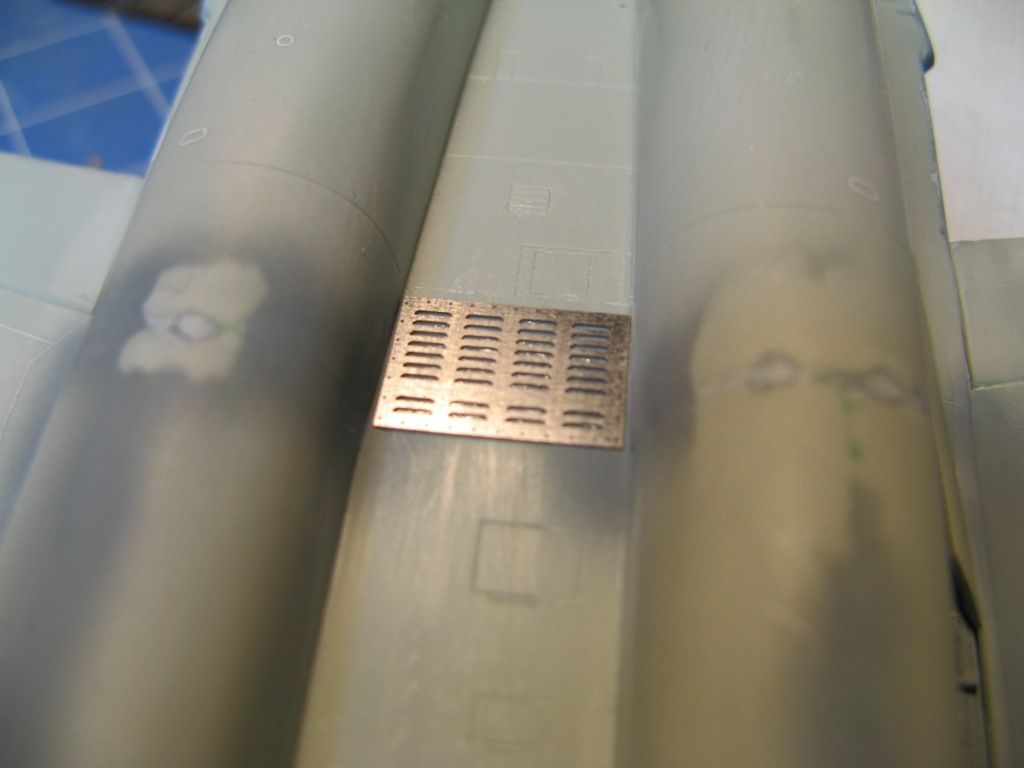
The next challenge was to roll a photoetched insert into a tube to fit into the hole.  I started with this...

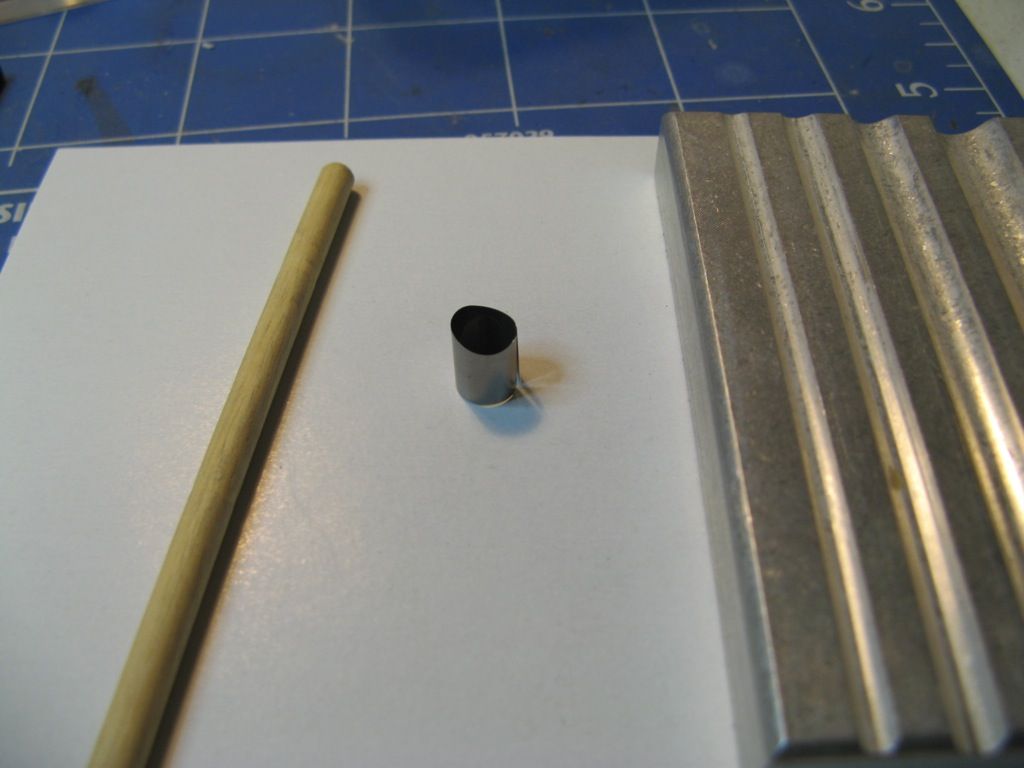
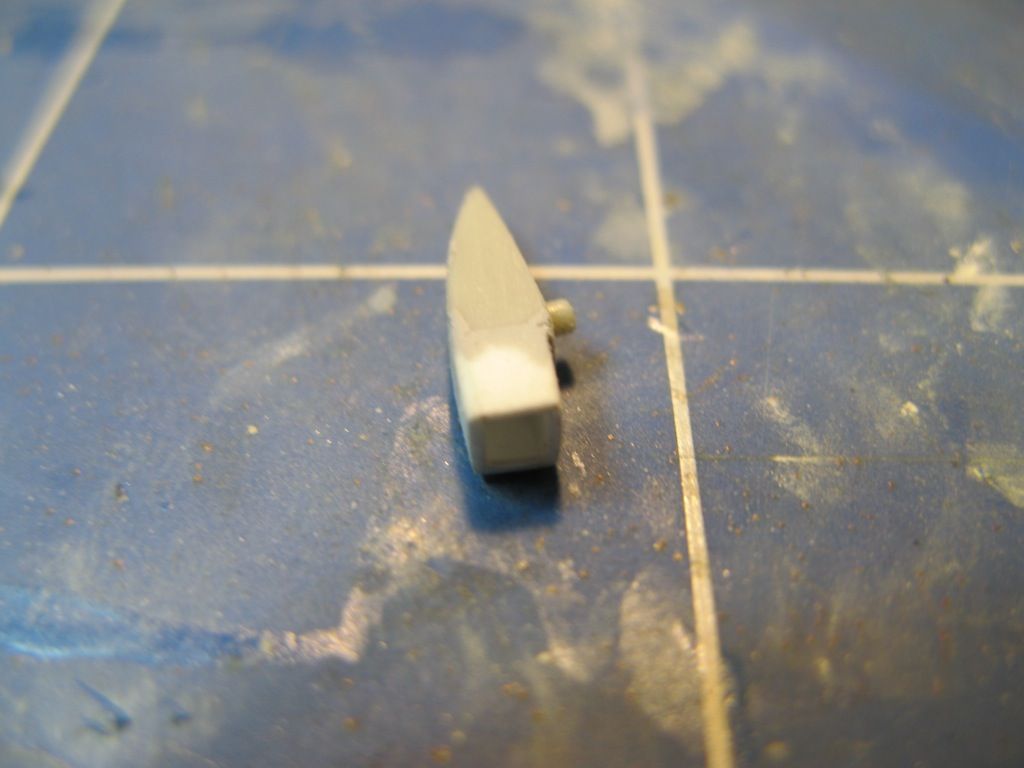
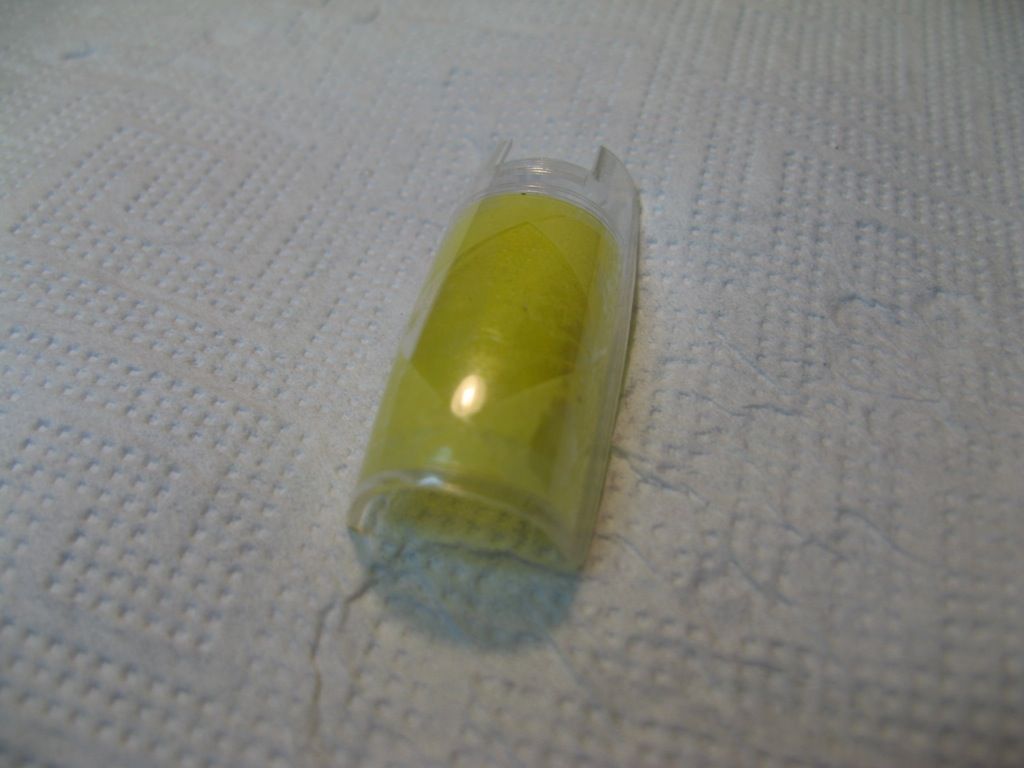
...and using my Small Shop photoetch rolling kit I managed to get it to this.

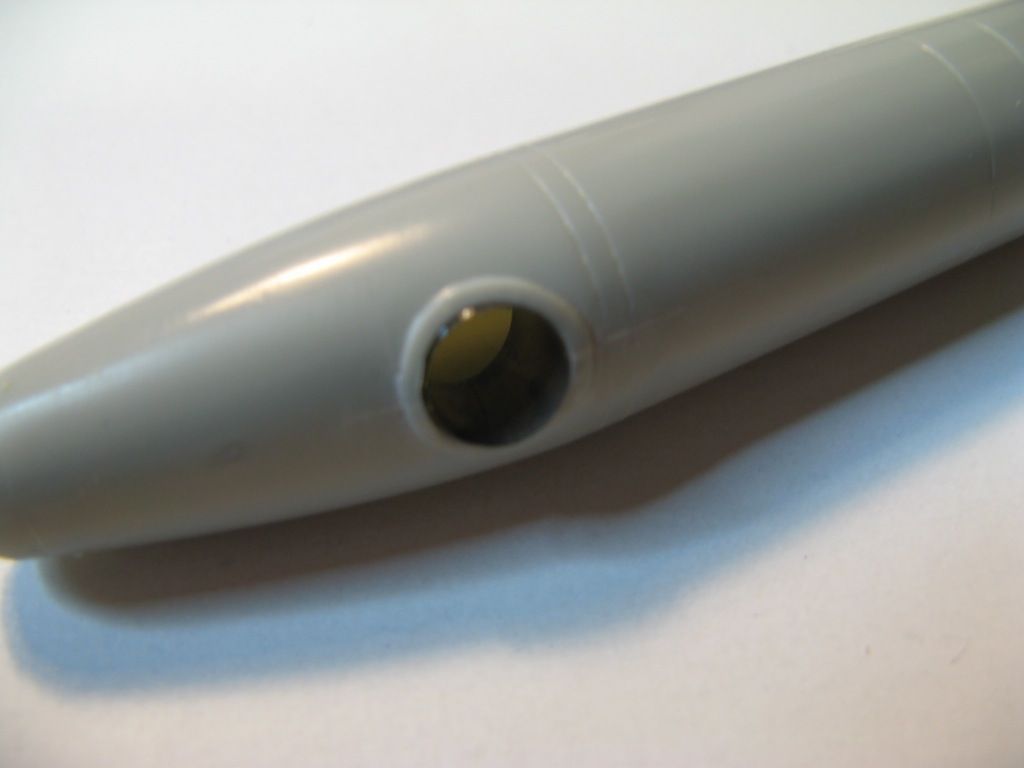
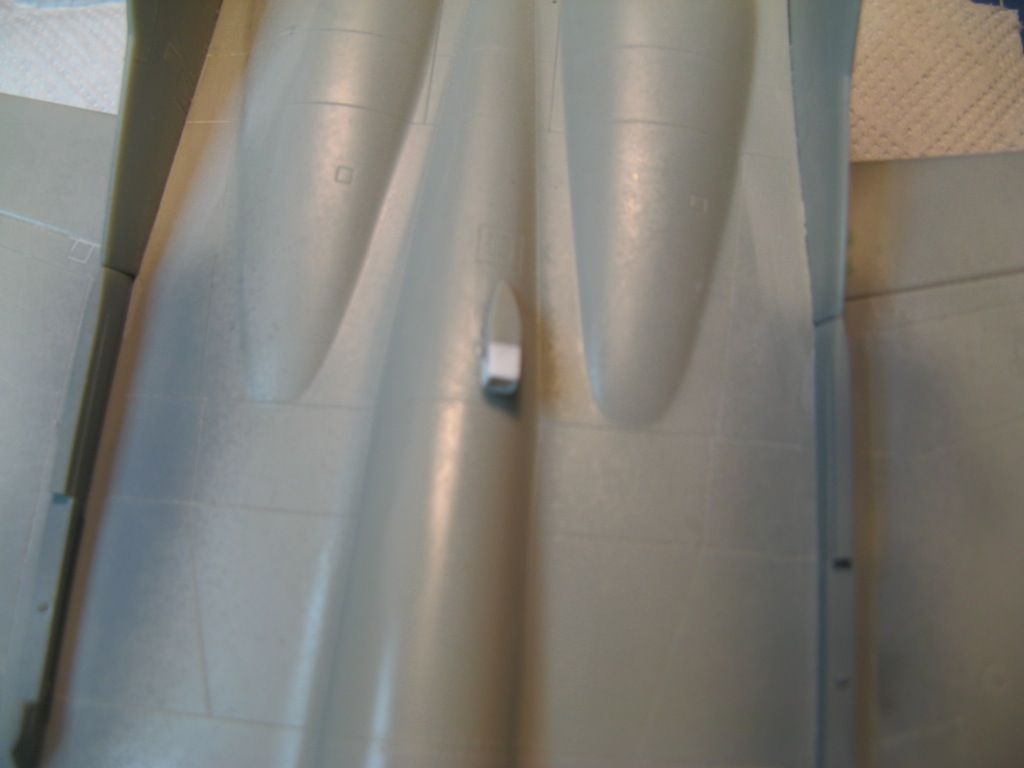
I was then finally able to insert it into the hole created in the drop tank.  This did not go as smoothly as I would have liked as on two separate occasions I managed to push the piece in so far that it fell in and was rattling around inside the drop tank.  It was quite difficult to get it out again but I persisted and eventually got it into place.

Time to Prime

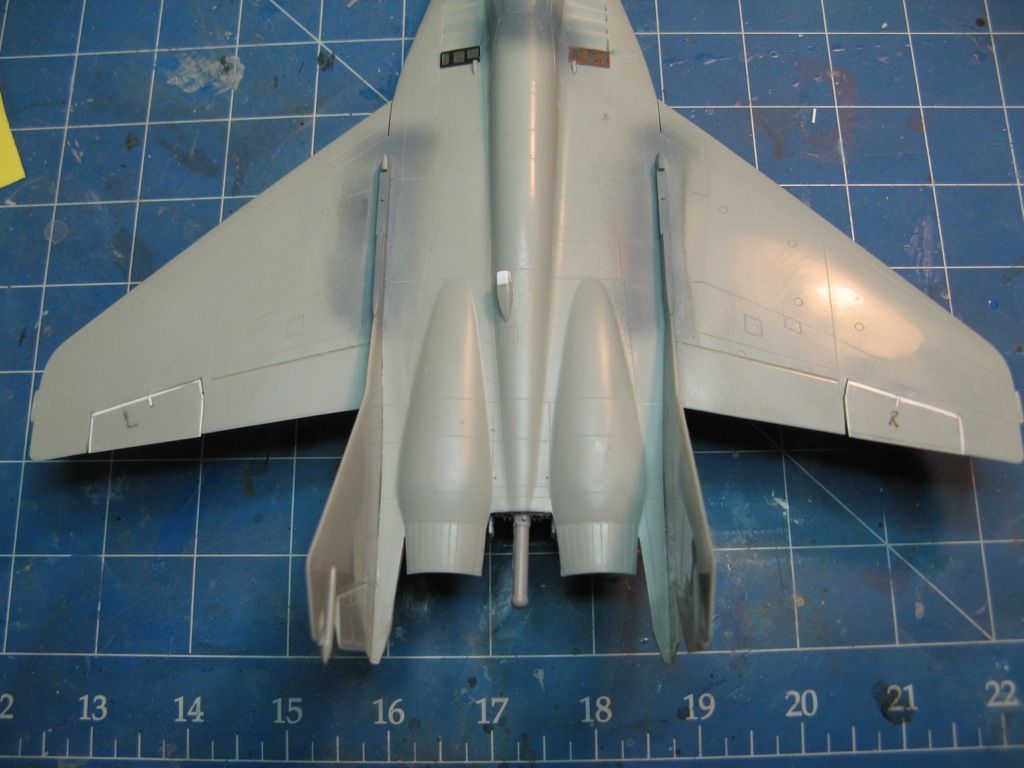
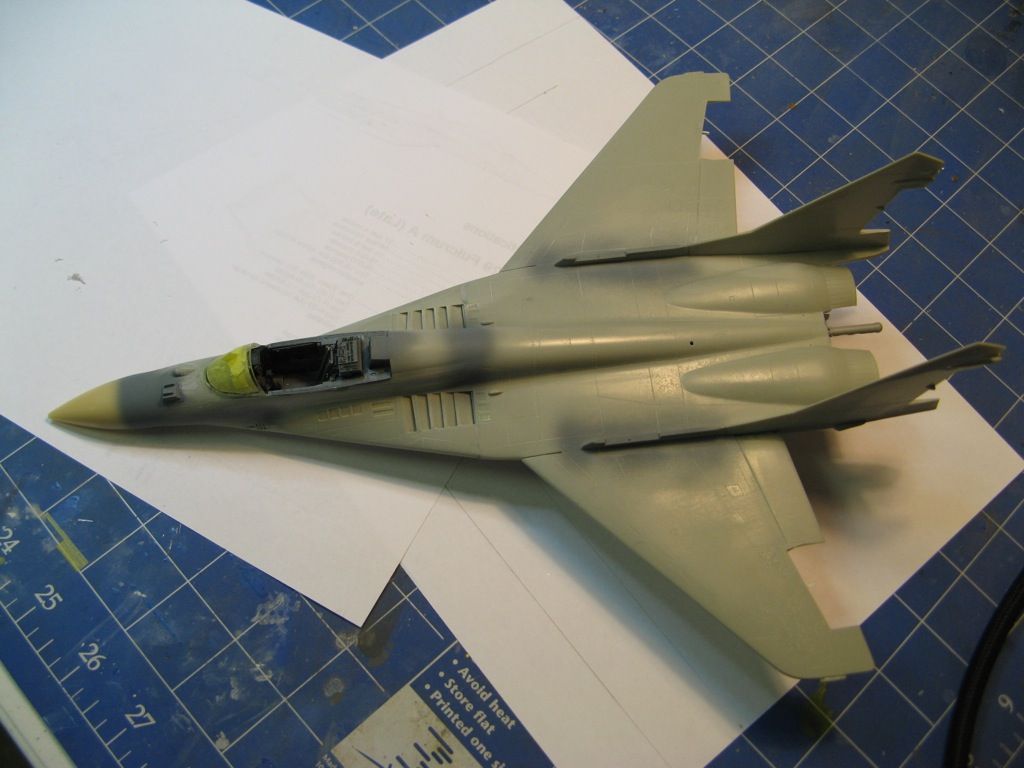
I decided that the I would put the ailerons back at this stage.  They were slightly offset to give a bit of life to the model.  Once the cement was set I masked the wheel wells and gave the model a clean using a paper towel soaked in isopropyl alcohol.


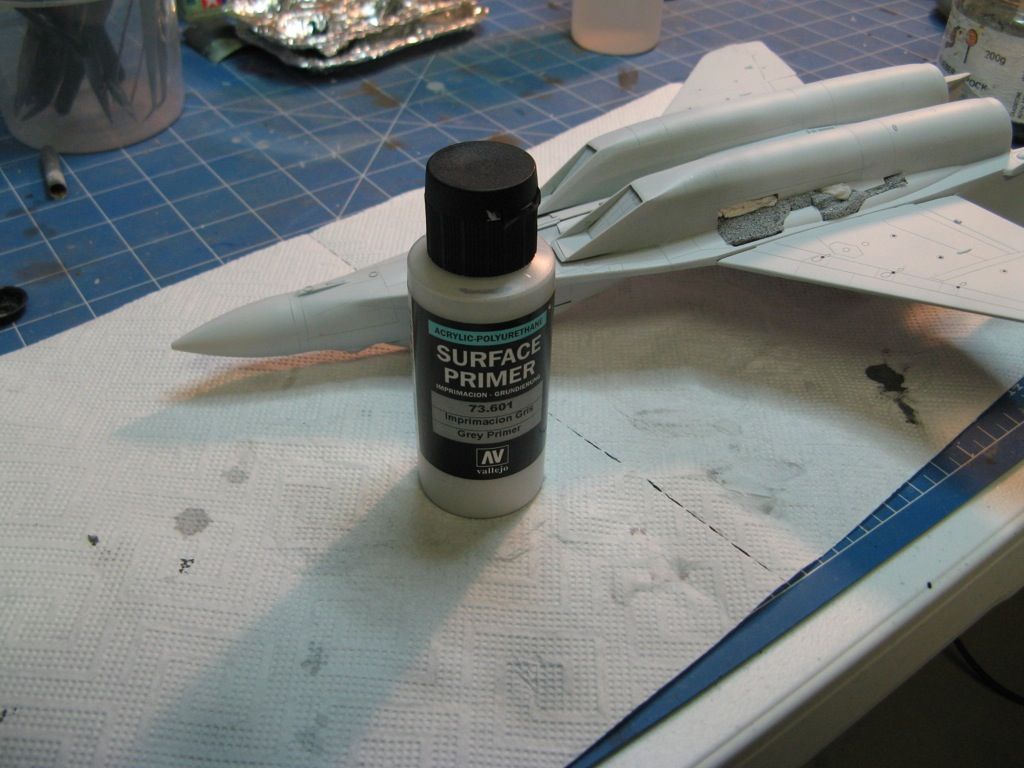
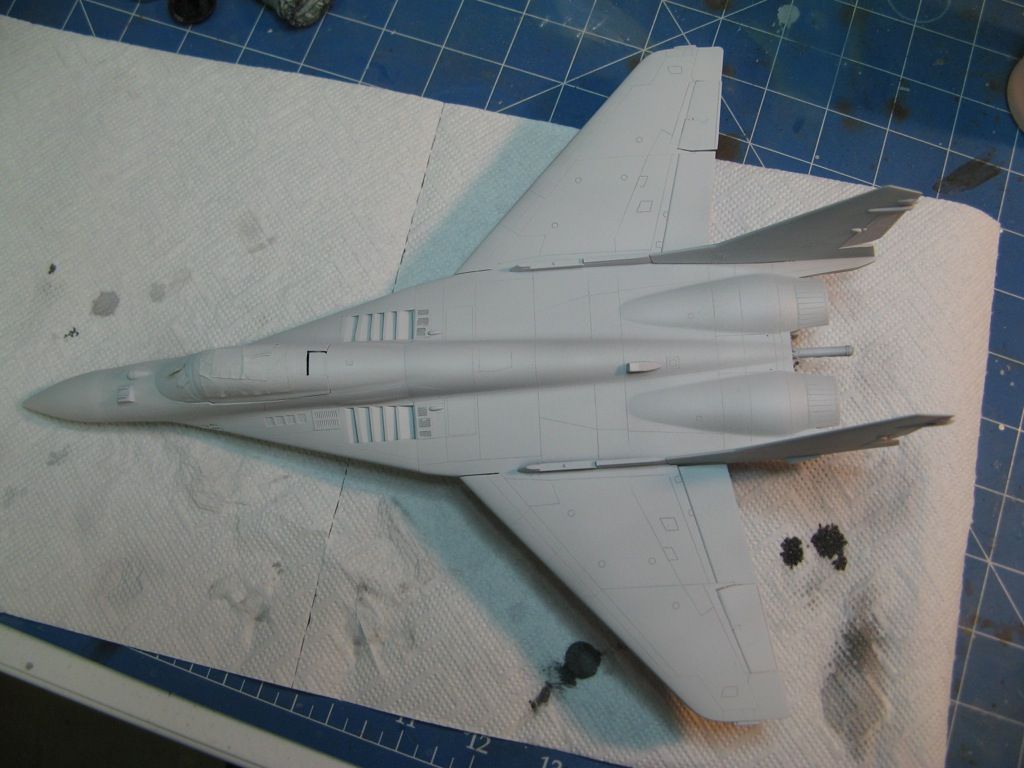
I sprayed a light primer coat using Vallejo Grey Polyurethane Surface Primer.  It's the first time I have used this product and I have to say I was impressed.  I'll have to get a larger bottle as I will definitely be using this product again.

I had a cursory look over the model to see if there are any areas that need further attention but none jumped out.  I'll have a more careful look before I start to spray the camo.  I am happy with how it's looking so far.

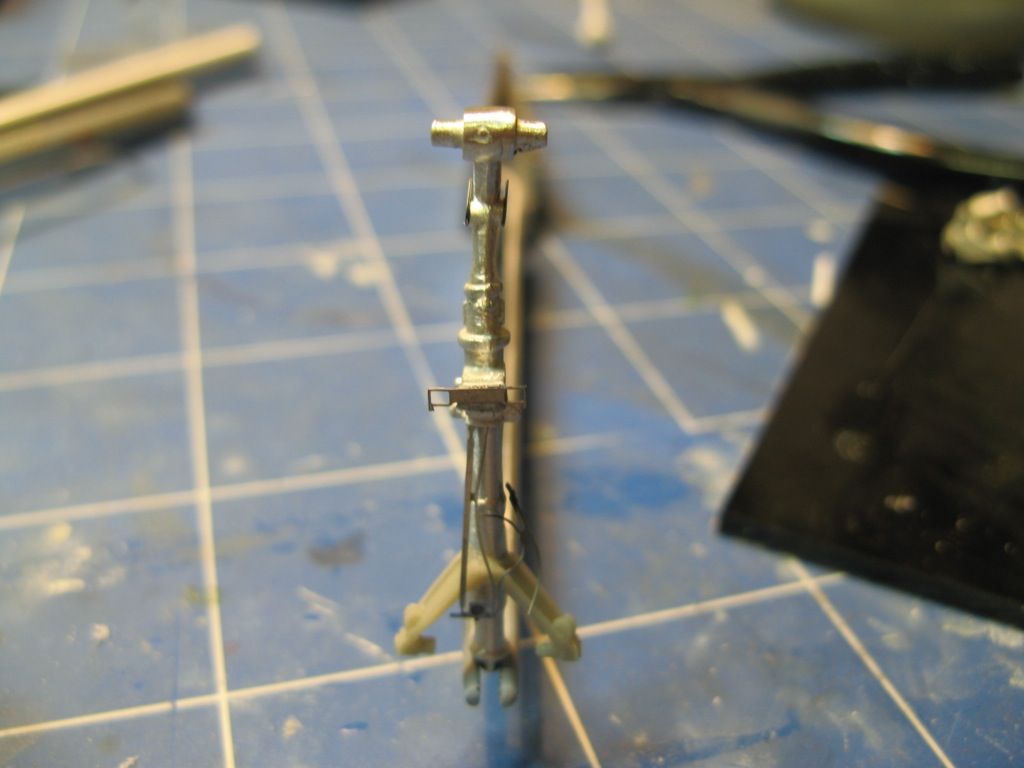
While the primer is curing fully I started on the undercarriage.  The gear legs are from Scale Aircraft Conversions.  These are detailed with some of the Aires resin and Eduard photoetch.

That's all for now.  Next time I will start on the camo and maybe get the main gear done.

On to part 9.
Sunday 13 October 2013

Academy 1/48 Mig-29A - Part 7

Back to part 6

Hold the Front Page - We have a Scoop

There's a little air scoop on top of the fuselage.  The representation of it in the kit is pretty average - it's just a solid lump of plastic.  An air scoop should be able to...well...scoop - and this one was not even hollow!  I decided that it needed improving so I cut off the front portion and then rebuilt it out of plasticard to make it hollow.

The updated version looks much better.  It still needs a bit more cleaning up but at least now it looks like it could actually scoop some air.

And here it is finally fitted to the fuselage.

Feeling Etchy

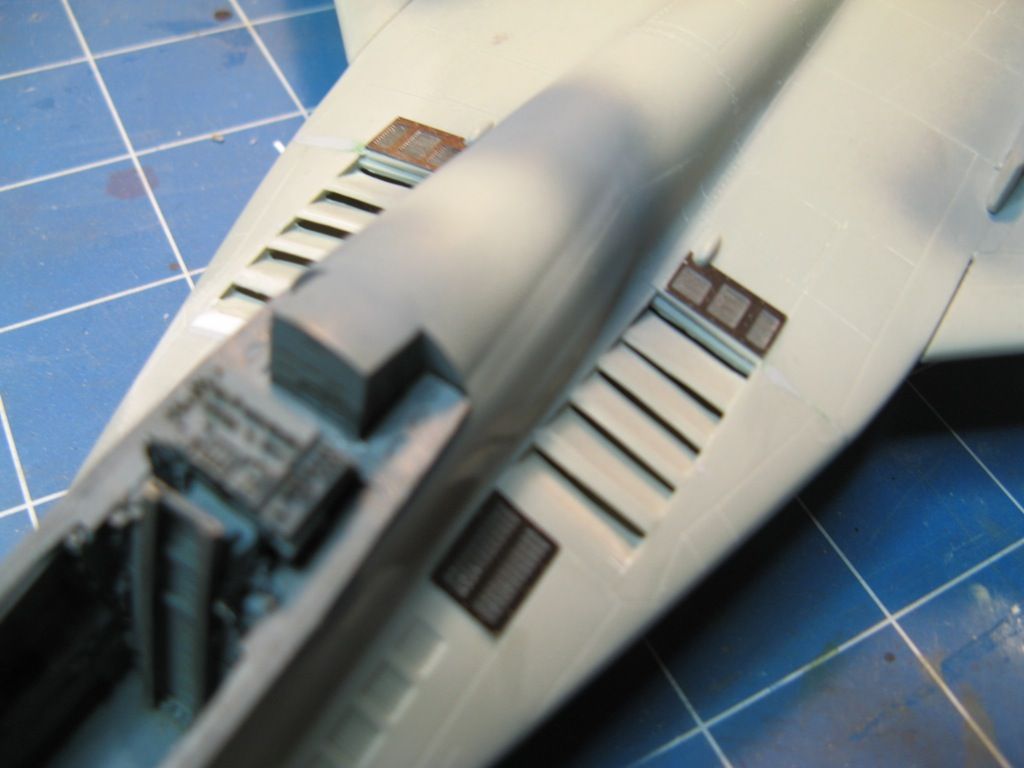
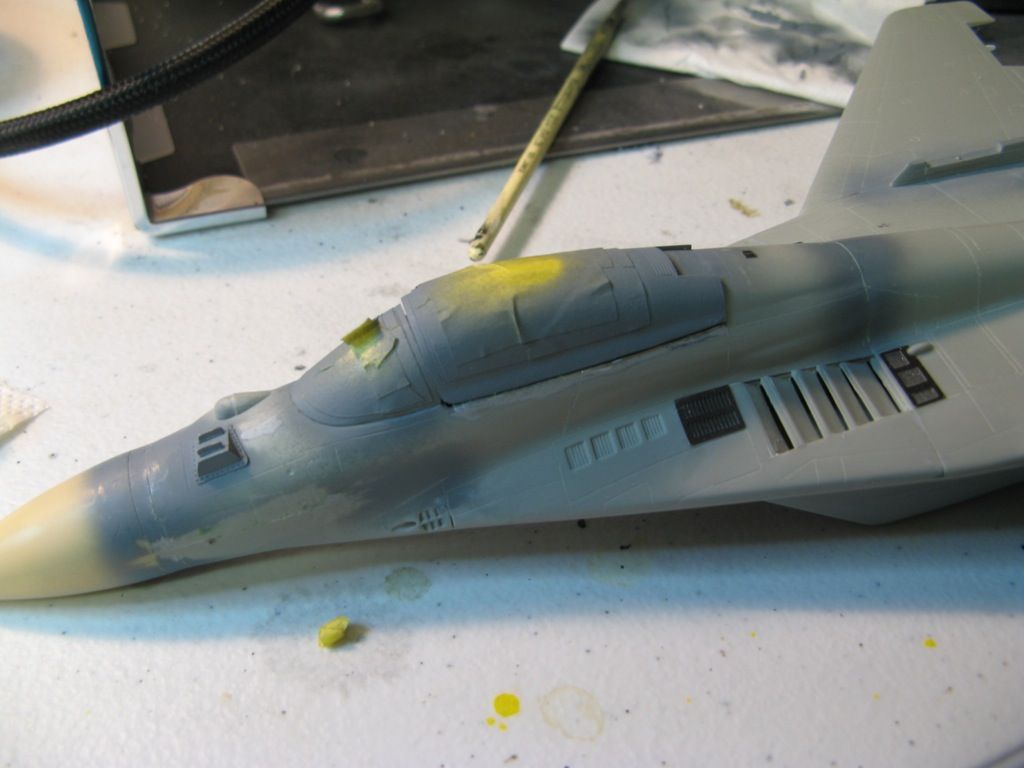
Some of the exterior photoetched parts were attached.  There are some that are very small indeed and others that need to be curved to fit properly.

Painting Starts

As I had two of the Eduard masking set, the canopy was masked both inside and outside.  Here it is with the inside masked.

The interior colour was sprayed inside and out before attaching it temporarily to the airframe prior to painting the interior colour over the forward canopy.


The rubber surround on the main canopy of the Mig-29 is a very vibrant pink colour as can be seen on the Hungarian example below.

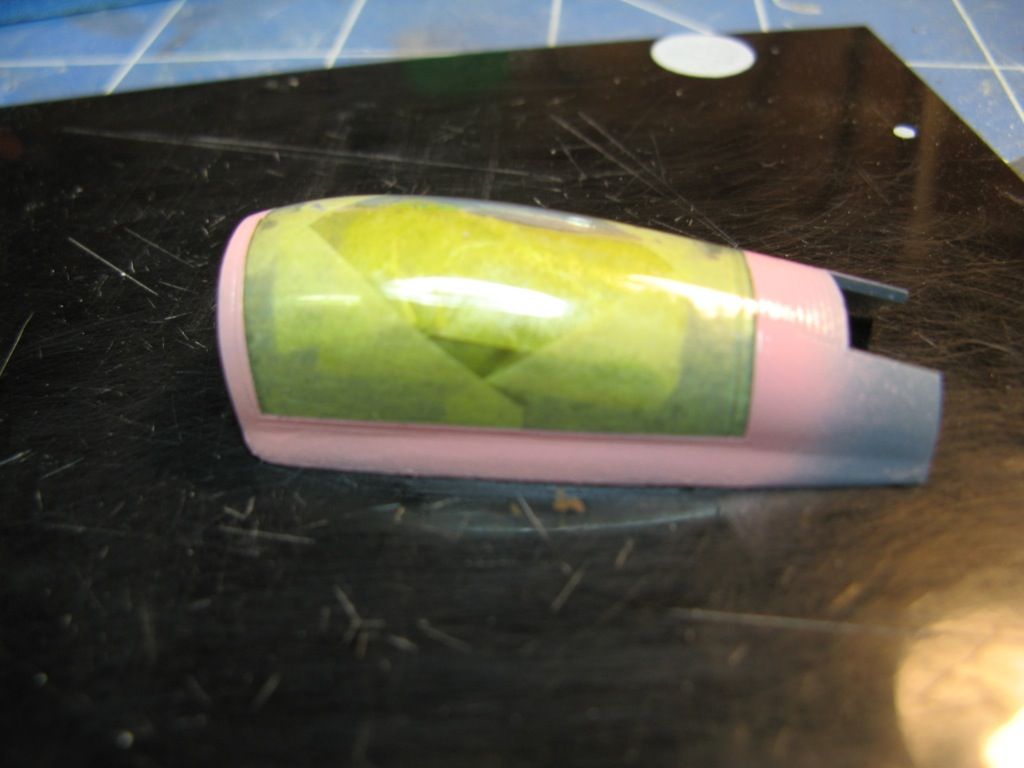
To simulate this I sprayed exterior of the main canopy pink around the edges being careful not to get any of this paint on the inside.  The exterior mask was then removed.  A slightly larger mask put in place for the rest of the painting once this paint is thoroughly dried.  Lovely colour isn't it?


Next time I'll mask the wheel wells and start the painting in earnest.

I have also just ordered some stencil decals as neither the kit nor the decal sheet I am using have all of the myriad of stencils applied to this aircraft.  Let's hope they arrive before I get to the stage where I'm going to need them.

On to Part 8.

Sunday 6 October 2013

Academy 1/48 Mig-29A - Part 6

Back to part 5.

A New Antenna


It was pointed out to me that some of the Polish Mig-29As are fitted with a new NATO standard IFF antenna on the nose.  After a bit of research I was able to confirm that the aircraft I am building has this feature.  I was also able to find a bunch more photos of my aircraft.


Since neither the kit nor any of the aftermarket stuff has this antenna and given it's quite a prominent feature, I am going to have to scratch build it.  Before doing this I decided to remove the canopy and the HUD to avoid dust getting into places that were hard to clean.

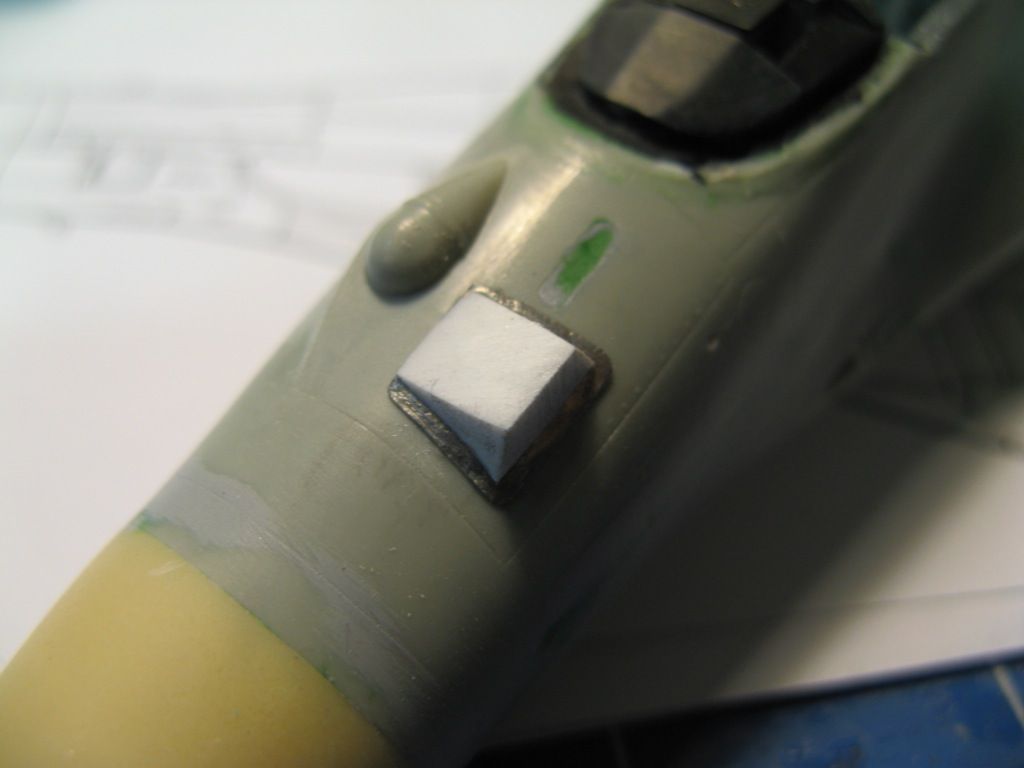
I started by scratch building a platform on the nose.

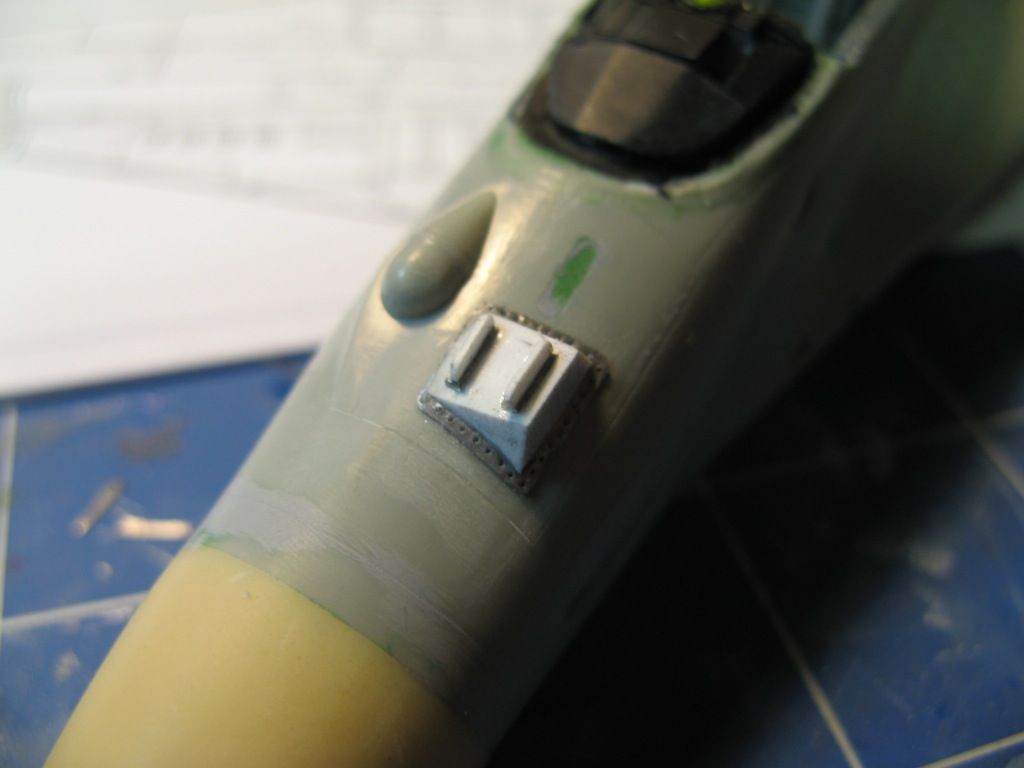
Getting the curve right was tricky until I noticed that a bottle of Vallejo paint has approximately the same diameter as the nose of the model.  So I wrapped some wet and dry paper around it and sanded it to the right shape.  The metal plate the antenna platform is attached to was made out of lead foil from the top of an old wine bottle (remember when wine came with lead foil to seal in the cork?) which I had kept in case I needed to scratch build various things like harnesses or tarpaulin.

Once I was happy with how this looked I used more lead foil and thin plasticard to make the vanes of the antennas.  A needle in a pin vice was then used to simulate the rivets around the base of the platform.  A total of nine tiny parts made up the antenna assembly.


It's a reasonable representation of the real thing I think.

It was while trying to determine the correct position of the IFF antenna that I realised that Academy have put the IR sensor in the wrong spot.  It should be further to the right and back a bit so that it sits much closer to the canopy.  However, I decided that I was not going to undertake the work to move it so I would have to live with it.

As a Matter of Fact it IS Rocket Science

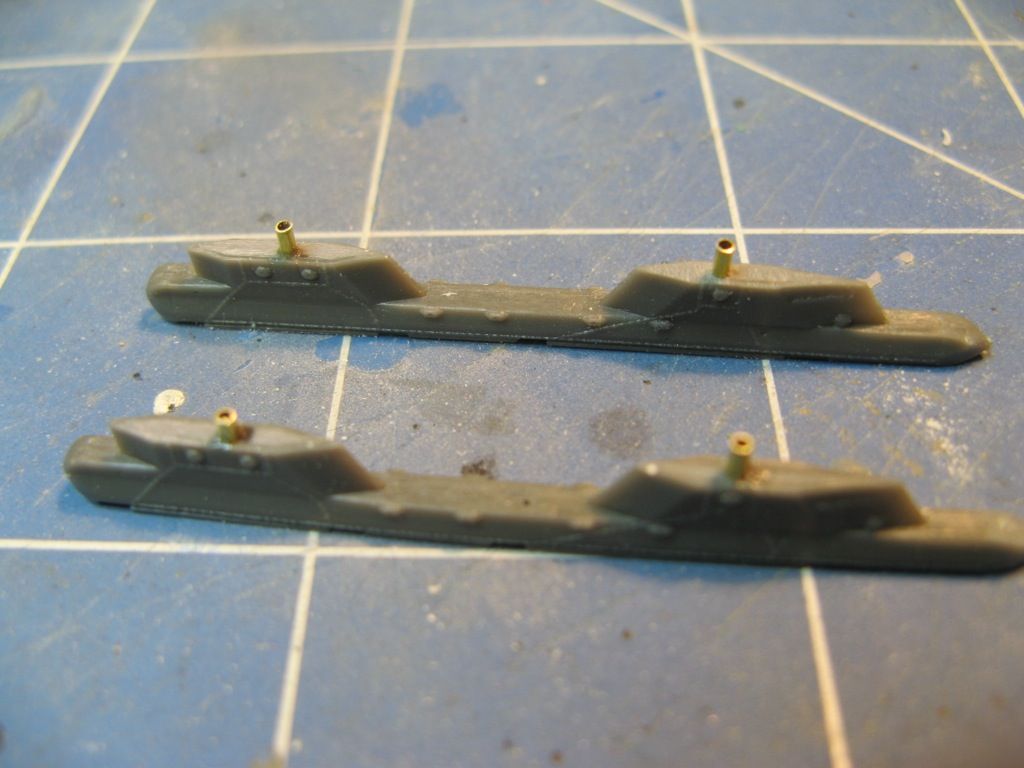
I gave the model a squirt of paint to see how some of the joins looked.  A few needed attention so I applied some Mr Surfacer and as it was drying I turned my attention to the missiles.  The APU-470 launchers were given some locating pins made of brass tubing.

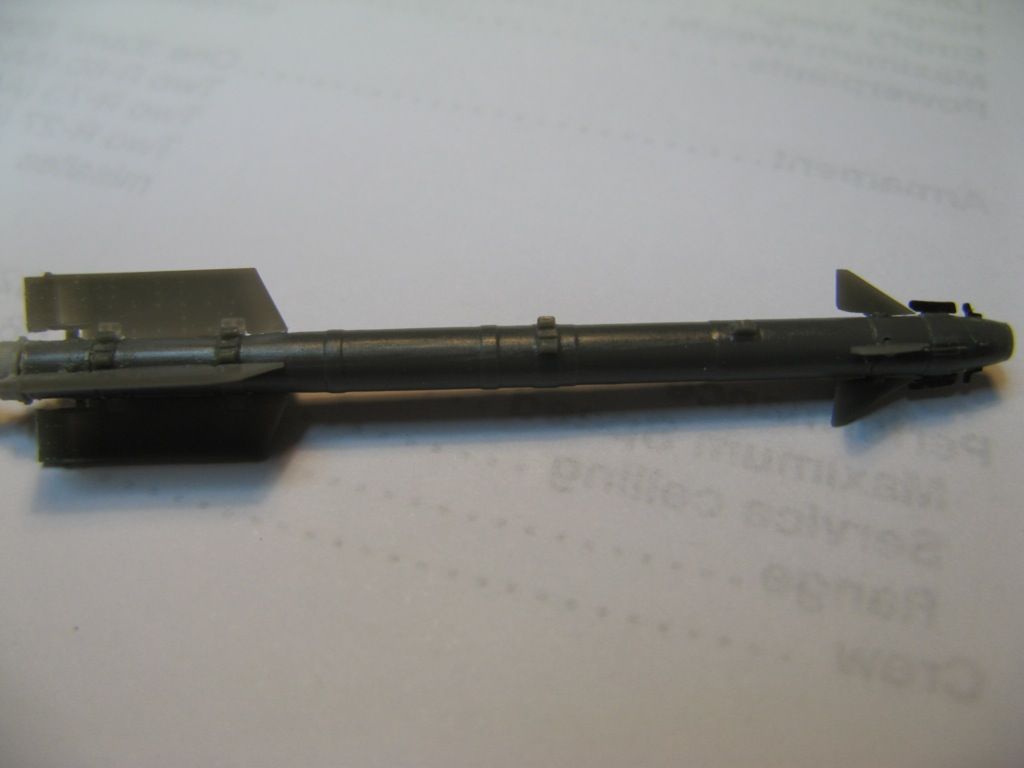
The AA-11s look great but the tiny photoetched vanes on the nose have a tendency to fling out of the tweezers if you're not careful.  Eduard give you two spares but I lost three :-(.  Since the set comes with four missiles I'll have enough for the two missiles I need for this aircraft built but for a later build I'm going to have to work out how I can replace the missing parts when I run out.

A bit of a clean up of the joins on the kit and this is where I'm up to.

Next time I'll re-scribe missing panel lines, prepare the main canopy and get ready for paint.

On to part 7.