The Magic of a Merlin
With most of the main engine assembly completed I moved onto the firewall.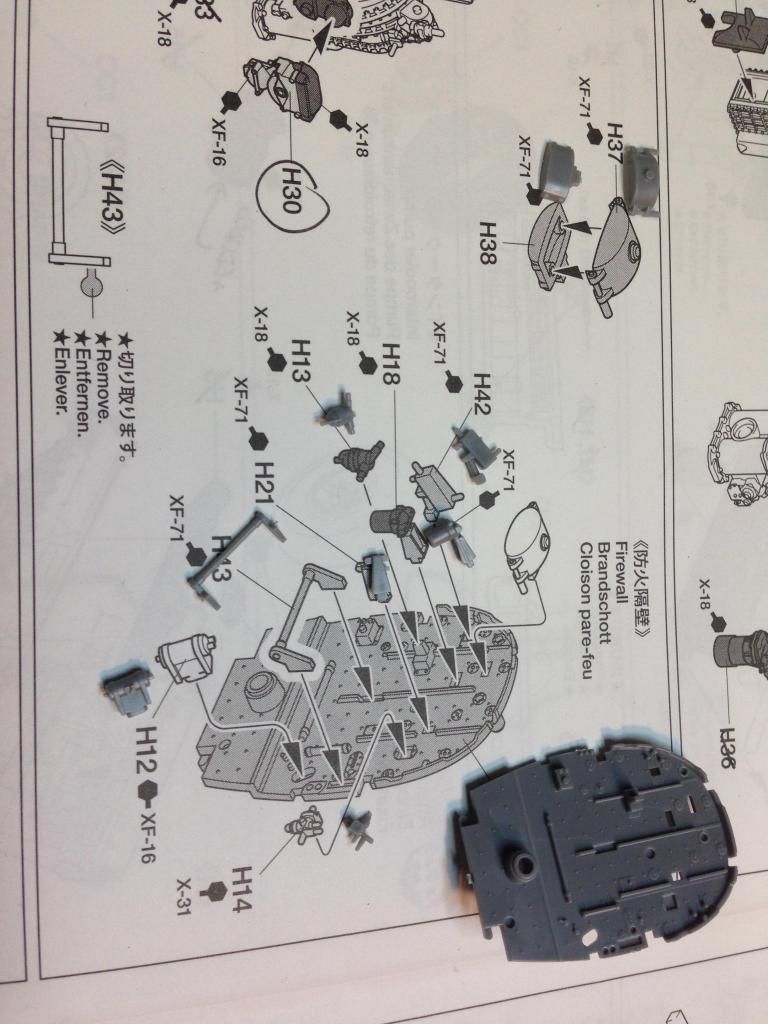
There quite a bit of detail on this. Once assembled it was mated with the engine bearers.
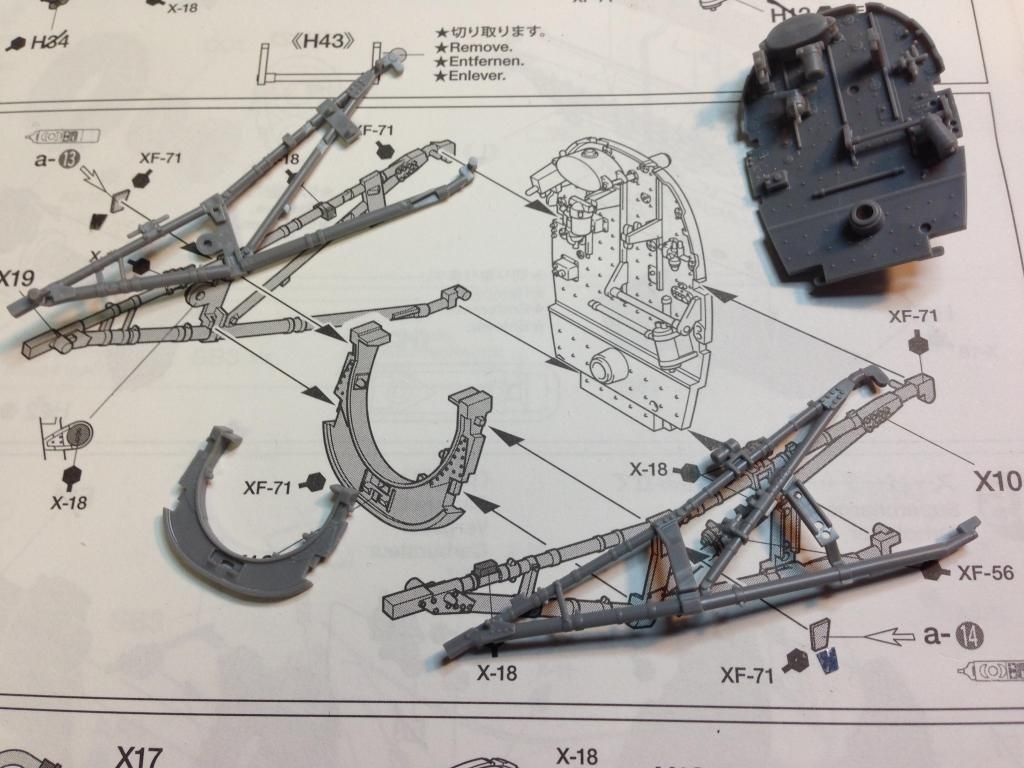
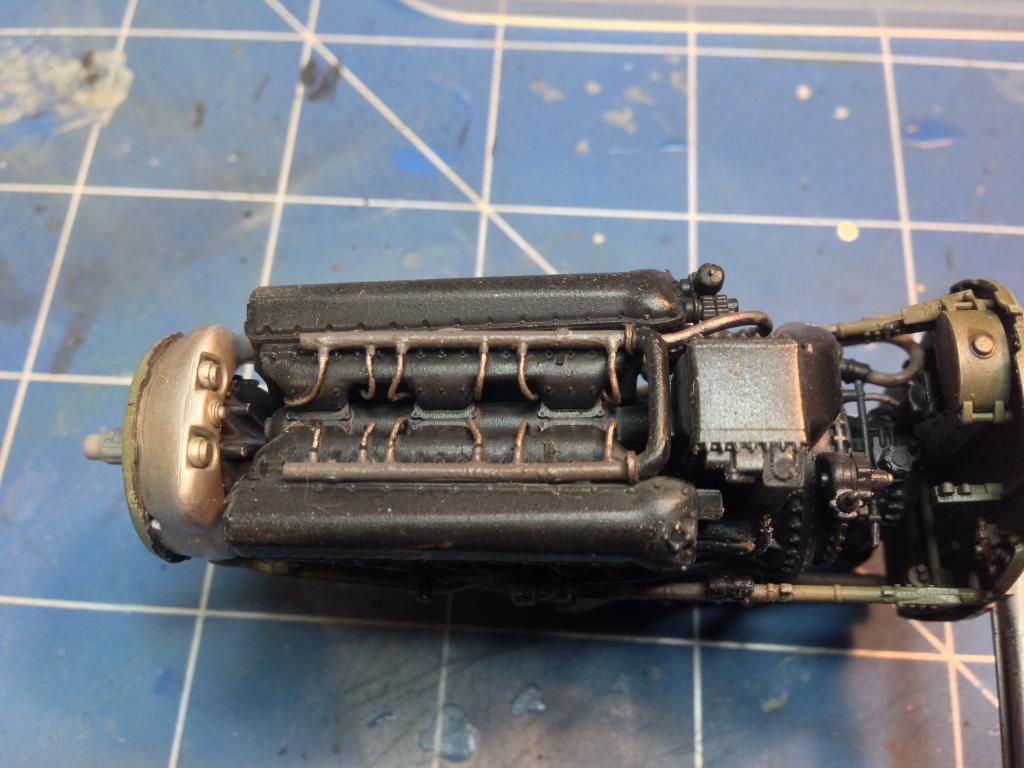
There was a bit of Eduard photoetch put onto the U-shaped bit that goes between the engine bearers. A number of pipes and whatsits were added and then the entire assembly was painted and brought together. The view from the top shows how the scratch built wiring harness turned out.
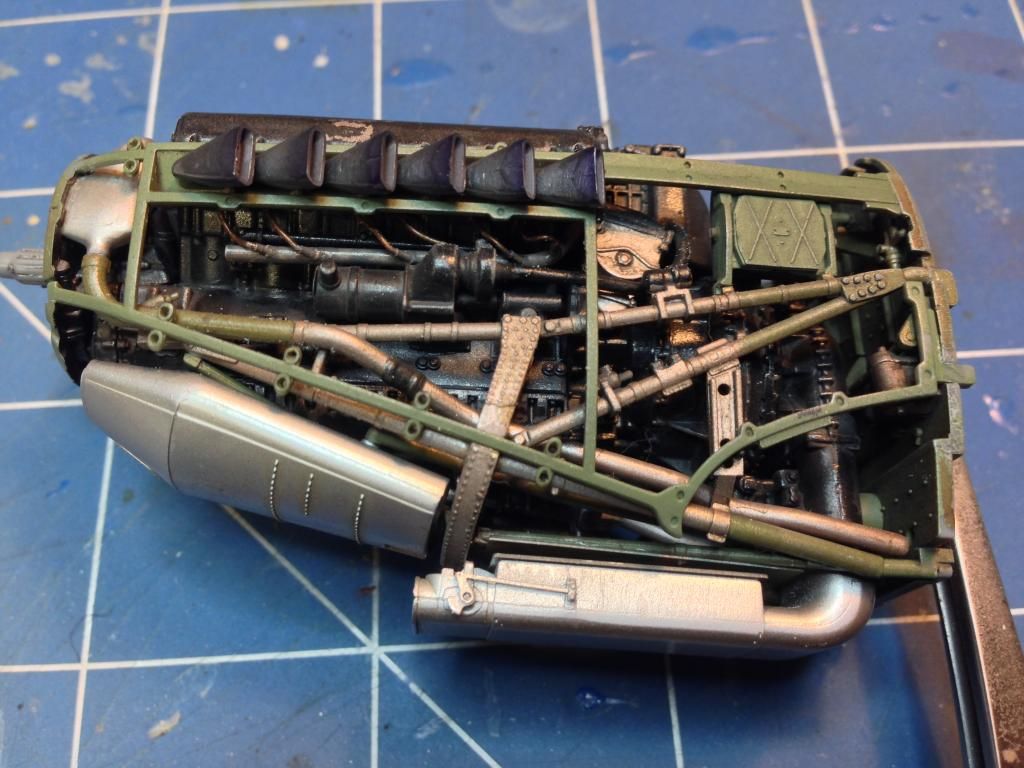
The last bit of the engine involved assembling and painting the cowling frames and exhausts and bringing this together with the rest of the engine. The exhausts were painted using Mr Metal Colour Dark Iron which was polished and then sealed with future. The final touch involved spraying the ends of the exhausts with a little Alclad II hotmetal violet to give the impression of heat bloom. the whole thing was then given a wash of very heavily thinned Vallejo 71.041 Tank Brown then sealed with future. Afterwards a wash of AK Interactive engine grime was applied and, once dry, the whole thing was given a flat coat.
On to the Cockpit
It surprised me how many ejector pin marks were on the fuselage halves around the cockpit area. I counted nine which gave me concern (marked with black marker) but you can see others nearby was well.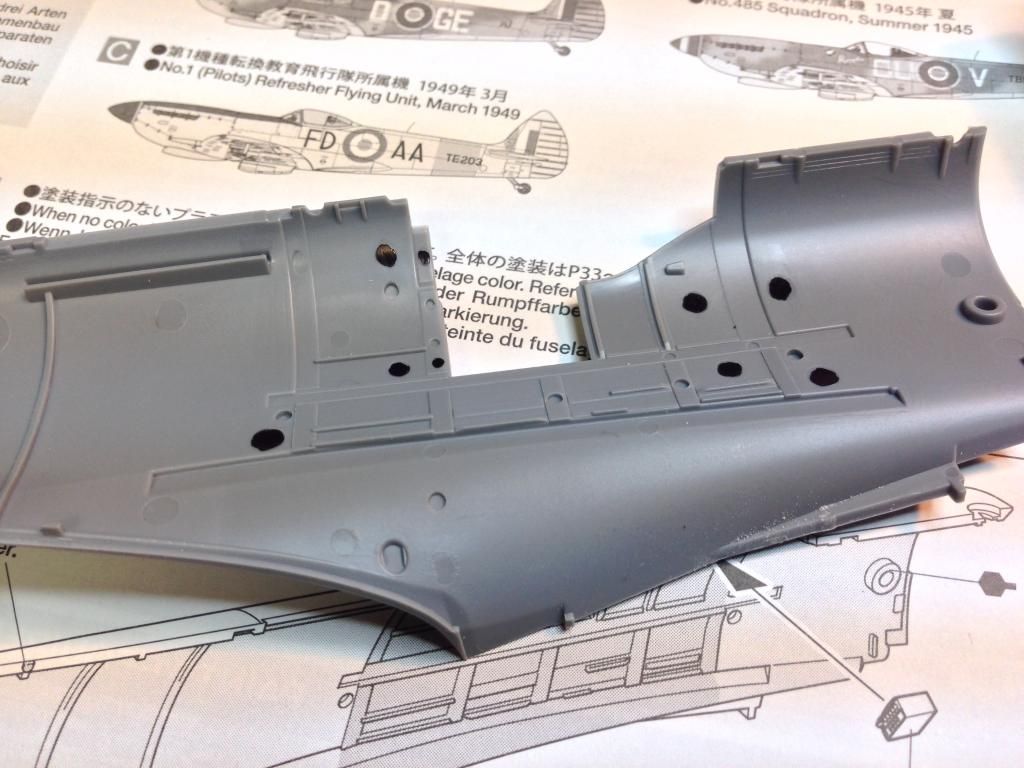
Tamiya are renowned for their precision engineering so my suspicion was that these would not be seen. However, I decided to remove some of the more accessible ones just in case.
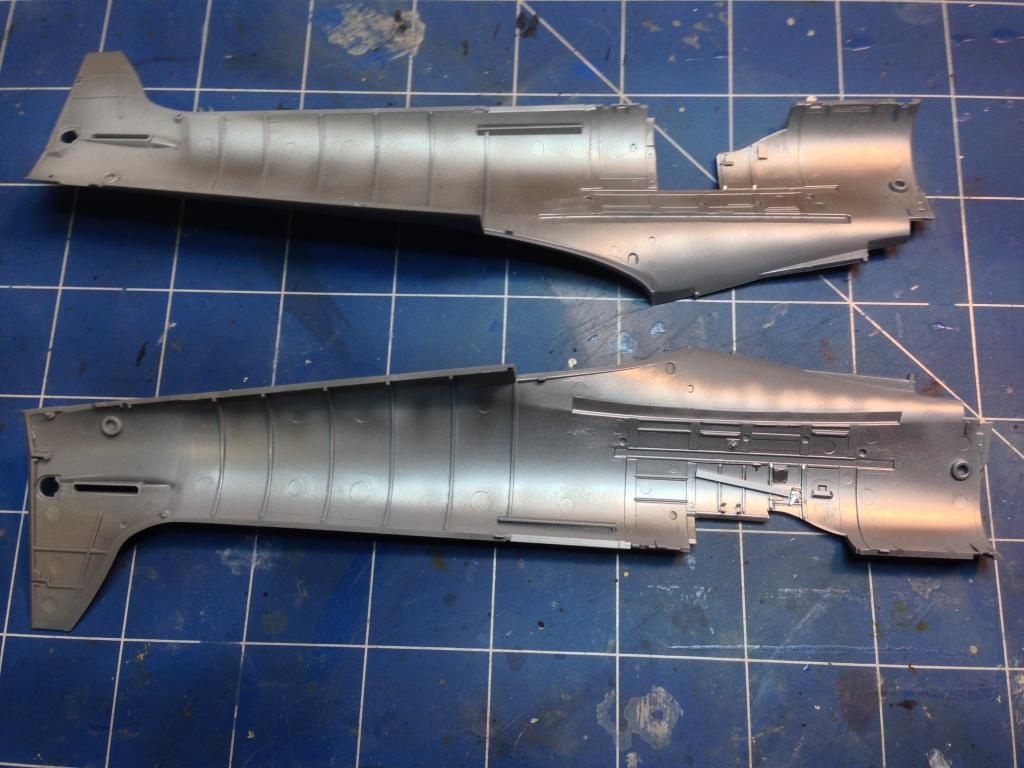
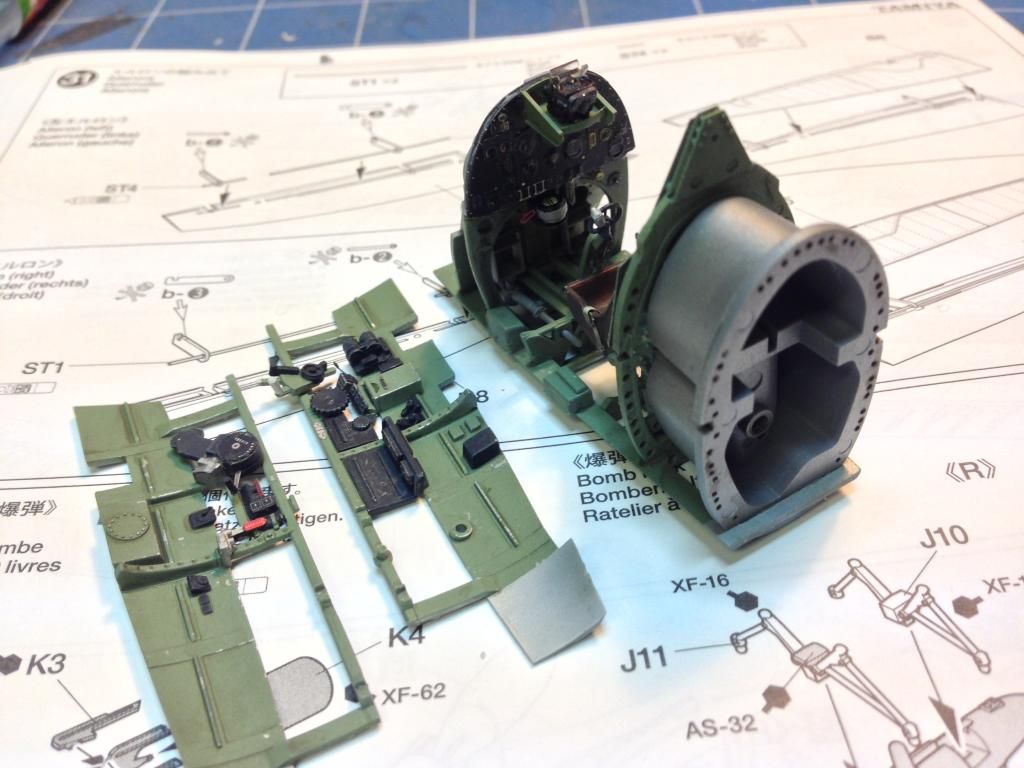
I wanted the cockpit to look used. After adding a few bits of photoetch, the first part of this process was spraying the interior with Alclad II Duraluminum.
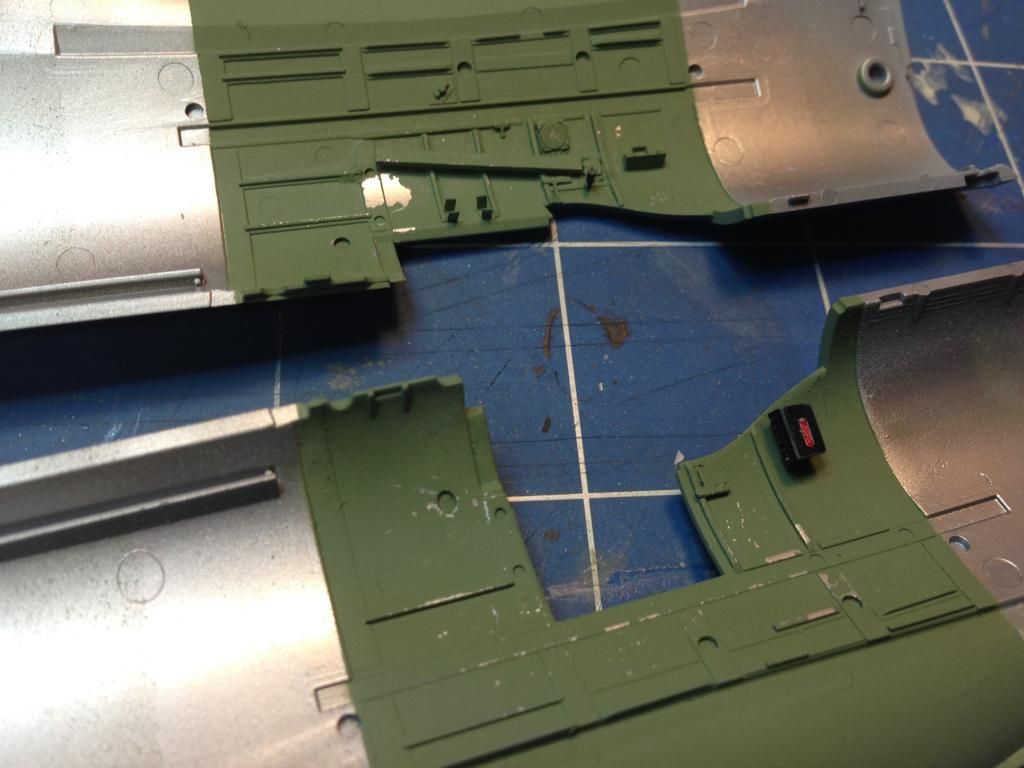
The interior forward and aft of the cockpit was then masked and AK Interactive worn effects chipping was sprayed onto the cockpit sections. This was followed up with a coat of Tamiya XF-71 Interior Green. After this was dry, water was used to humidify the worn effects resulting in the (mostly) light chipping seen in the image below.
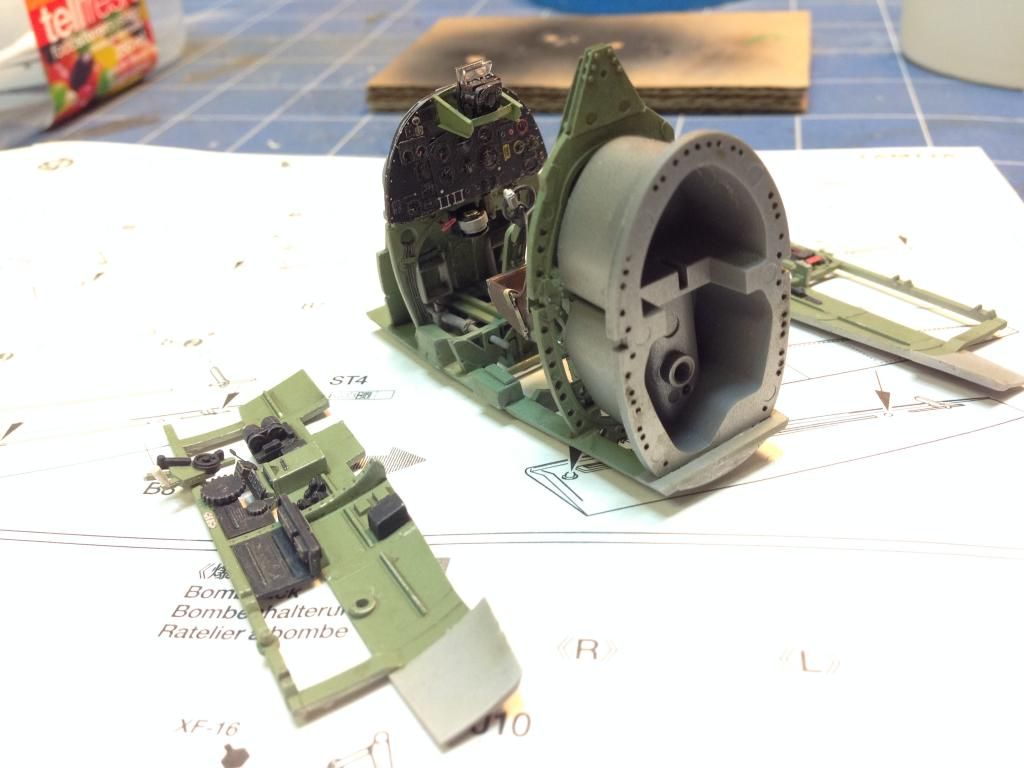
Unfortunately I didn't take too many pictures of the cockpit assembly but the process involved building and painting sub-assemblies. AK Interactive worn effects was used for chipping and AK Interactive interior wash was used to give the cockpit a grimy appearance. The colour is mainly Tamiya XF-71 Interior green with details picked out by hand in black and other colours. The Eduard interior set was used to add details and the Eduard cockpit placards set was used to make it look a bit more real. A prismatic silver colour pencil was used to enhance some of the chipping with smaller scratches.
I'm going to leave this update here. Next time we get the fuselage together and get on with the wings.
On to part 4