Getting Your Wings Clipped
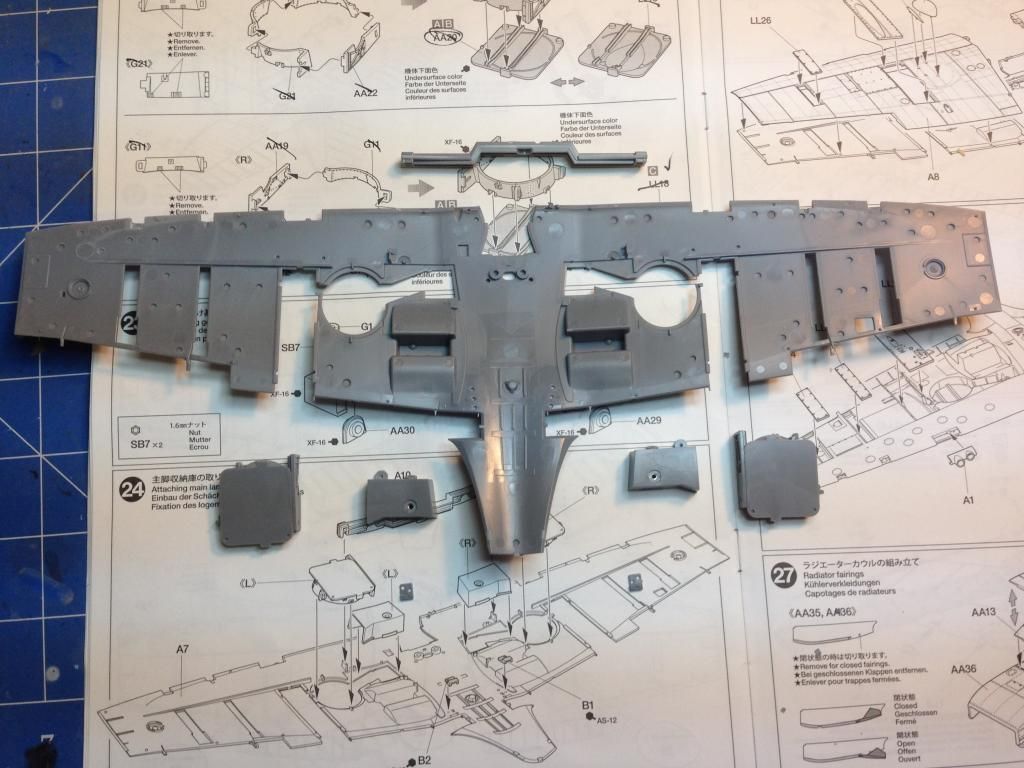
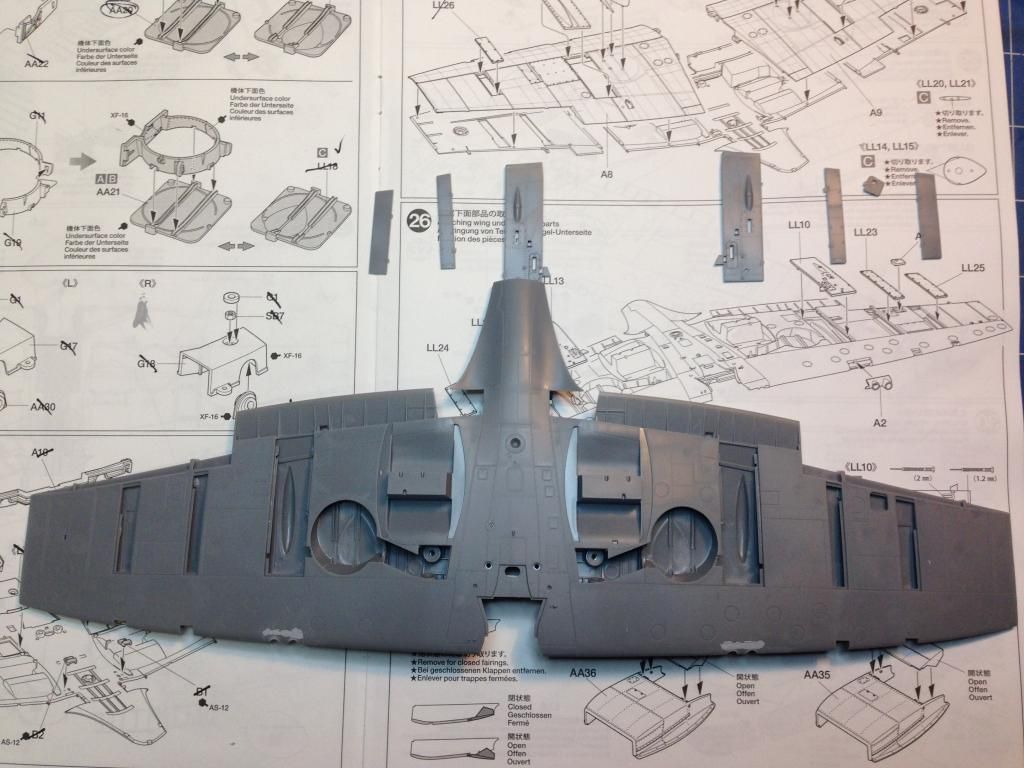
Construction of the wings starts with the undercarriage bays. These are a fairly complicated arrangement with this section of the wheel bays having five parts per wing. The fit of these is excellent.
Again, and surprising for a Tamiya kit, is the presence of ejector pin marks where they would be visible. Nothing that a few swipes of a sanding stick can't take care of though. You do need to be careful doing this in case you damage some of the detail.
The inner part of the wheel wells comprise another four parts per wing. One of these is a tiny nut that will secure the lading gear once it's attached.
The wings themselves are quite flimsy at this stage. In order to add strength a small wing spar is supplied.
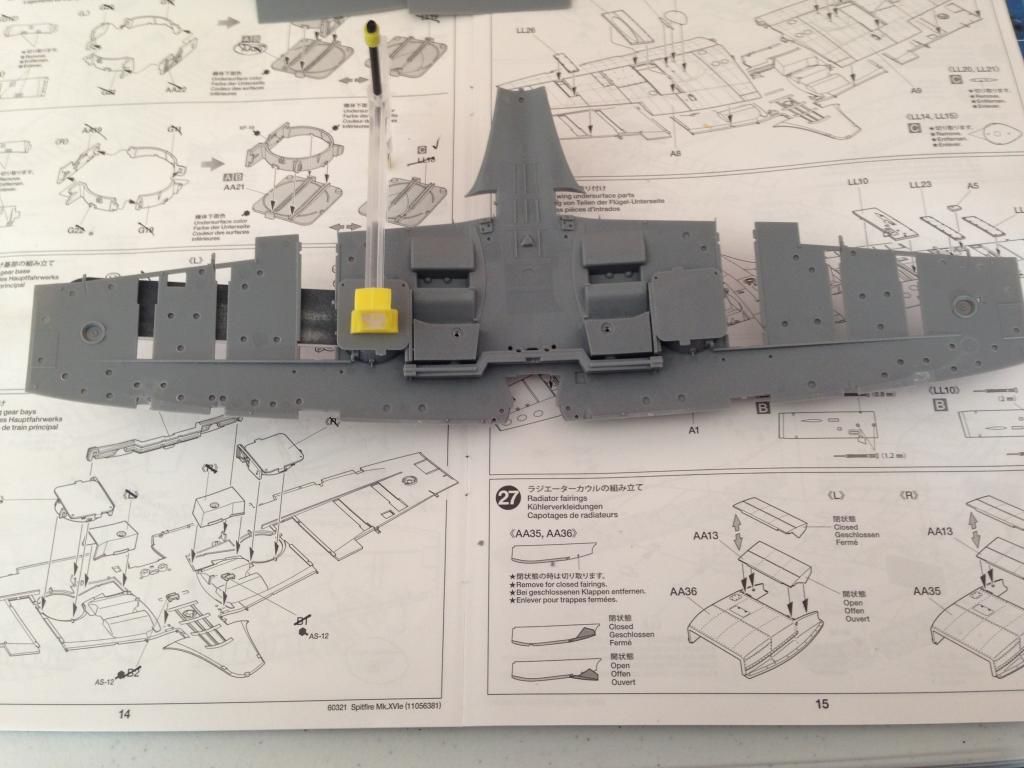
The upper wing sections have covers for the weapons and the version that I am building has some extra bumps on the wing. Care needs to be taken gluing these as the capillary action of the cement can zip around and easily get under your finger where you may be holding the wing leaving a nasty fingerprint melted into the plastic. So, watch where you hold it, and glue from the underside.
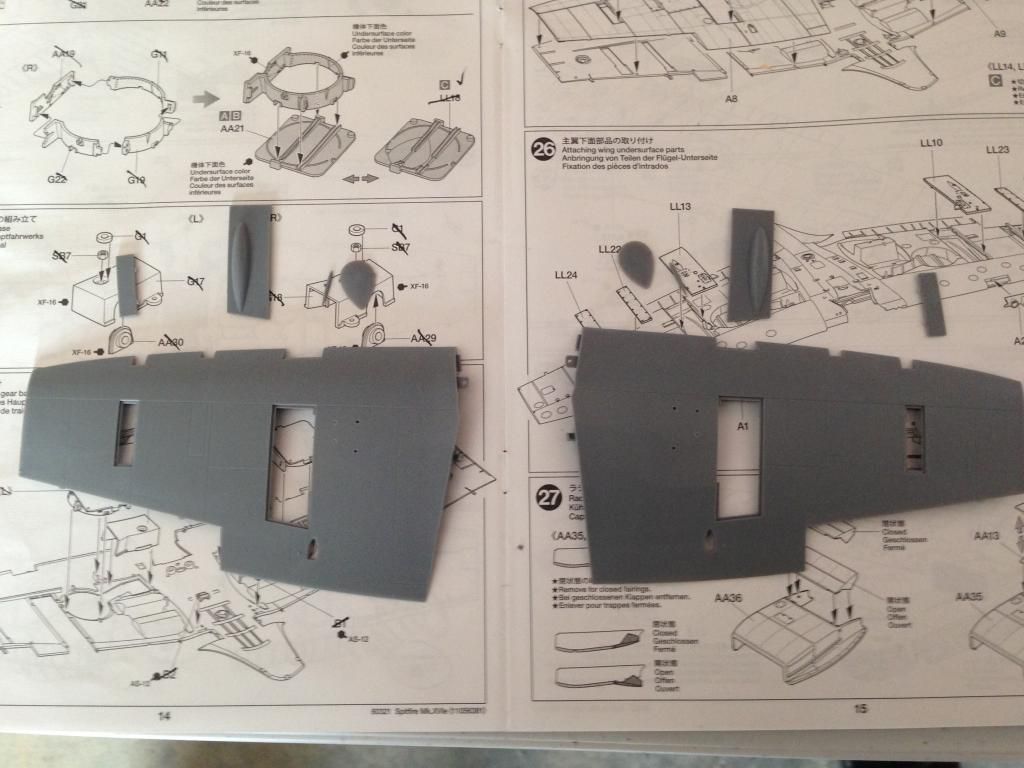
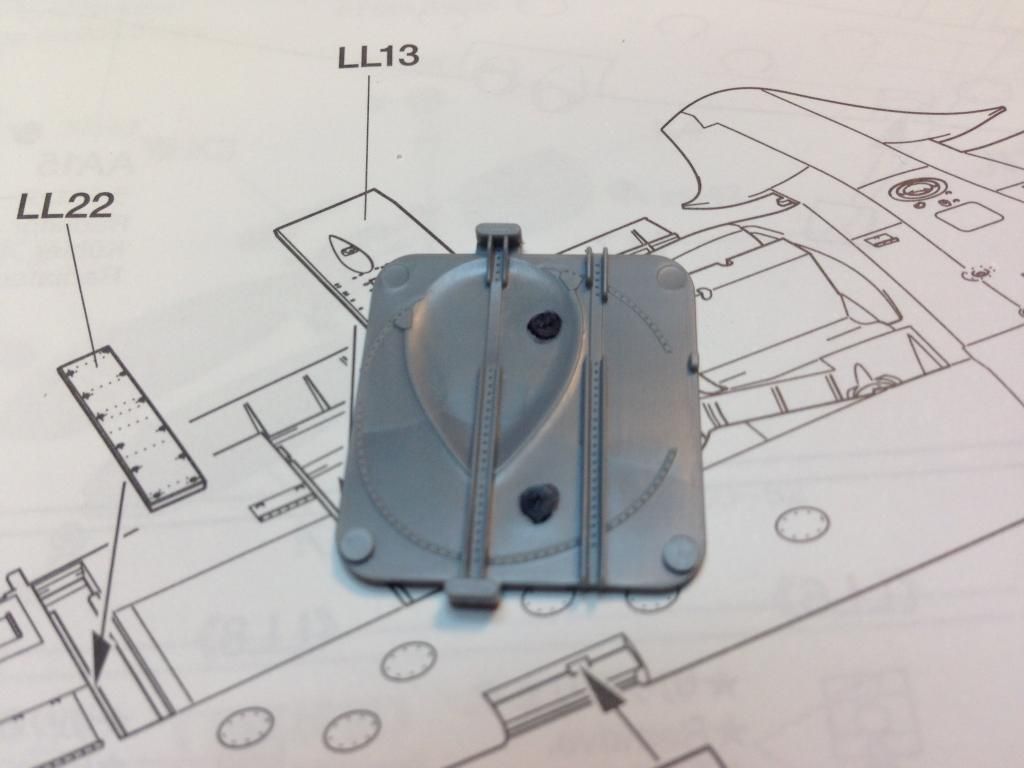
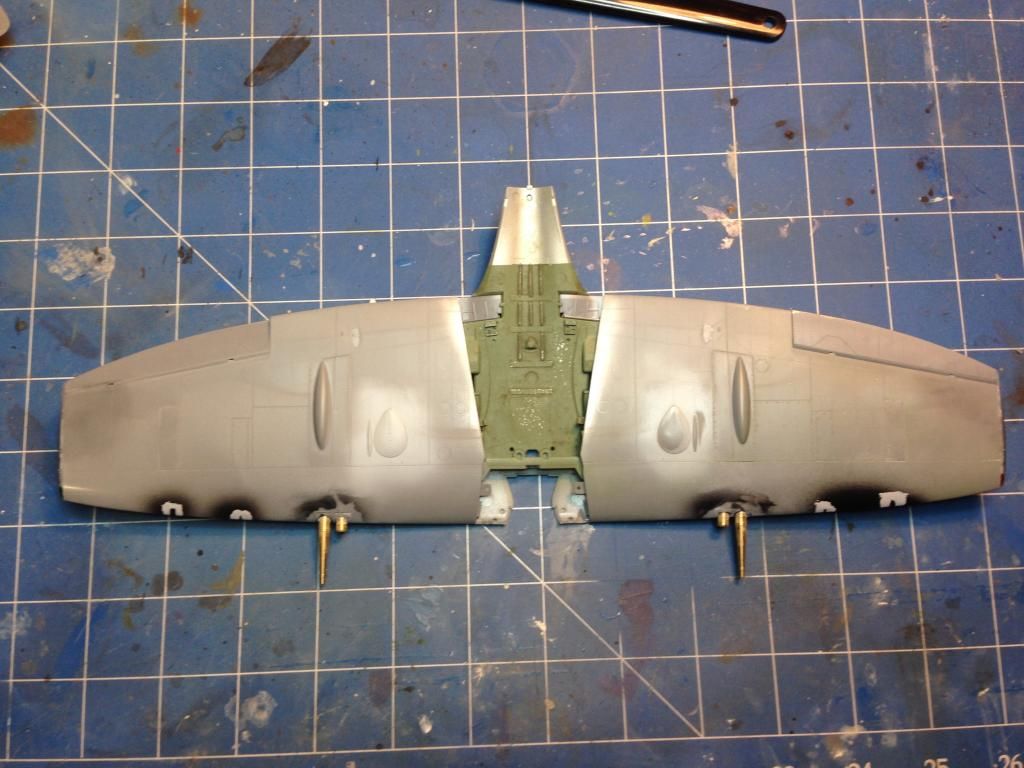
Once the upper surfaces of the wings were dry, the lower wing surface can be fitted. Again there are a few panels which need to be glued with care. The worst fitting piece that I have so far encountered on this kit would the weapons fairing on the leading edge. These needed a bit of Mr Surfacer 500 to ensure a gap free join. They were also drilled out to accept the turned brass gun barrels which will be fit later.
The ailerons were also assembled. These will be a push fit later allowing them to move.

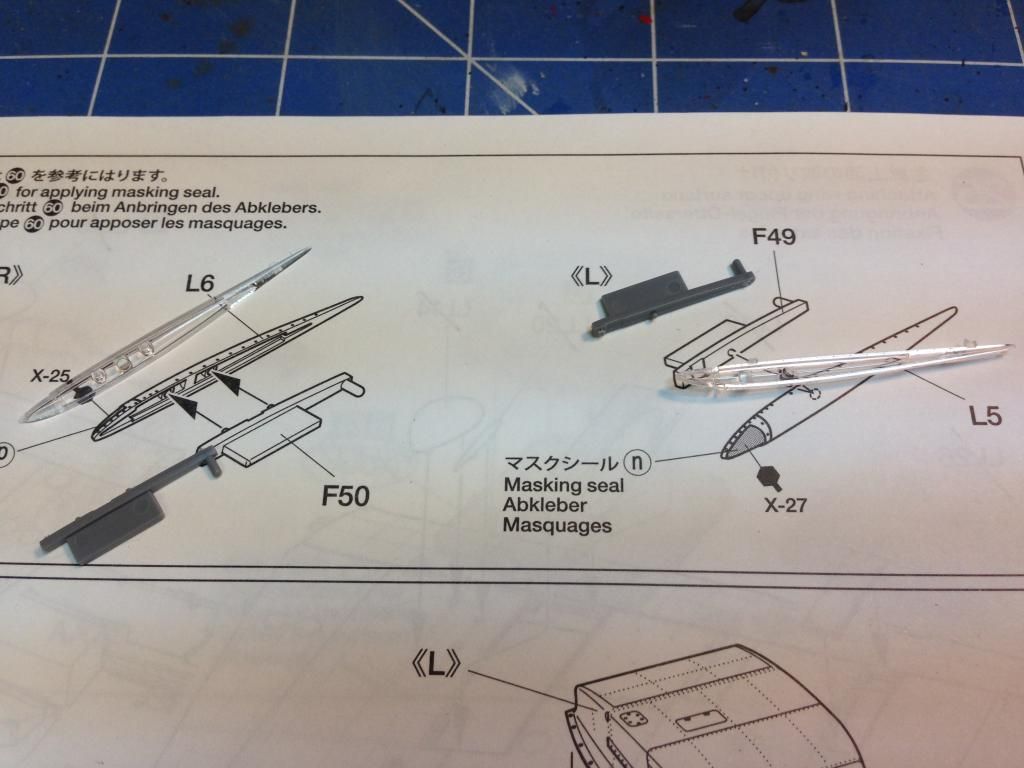
The wingtips are made out of clear plastic. This allows for painting of the navigation lights from the inside
The wings were eventually completed and the brass gun barrels were fitted. These were quite difficult as the fit was very tight. In the end I put them in loose and adjusted them until I was happy. I then used some thin CA glue around the join to the wing. Capillary action sucked the CA into the tight join but there was still a bit of a visible join line. Once the CA had dried I painted some Mr Surfacer 500 into the join and I used some lacquer thinners on a cotton bud to remove the excess after it had dried.
The fuselage was also glued together. This was a great fit.
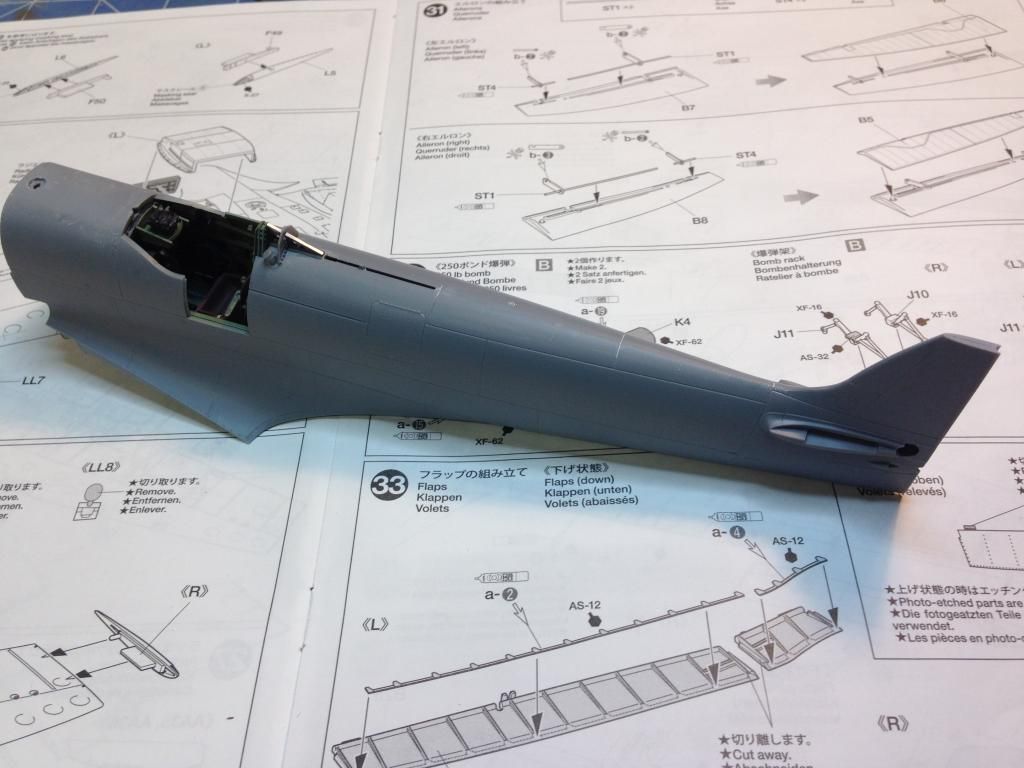
The tailplane was fitted and a bit of black paint was sprayed onto the fuselage join lines to ensure that they would look good when painted.
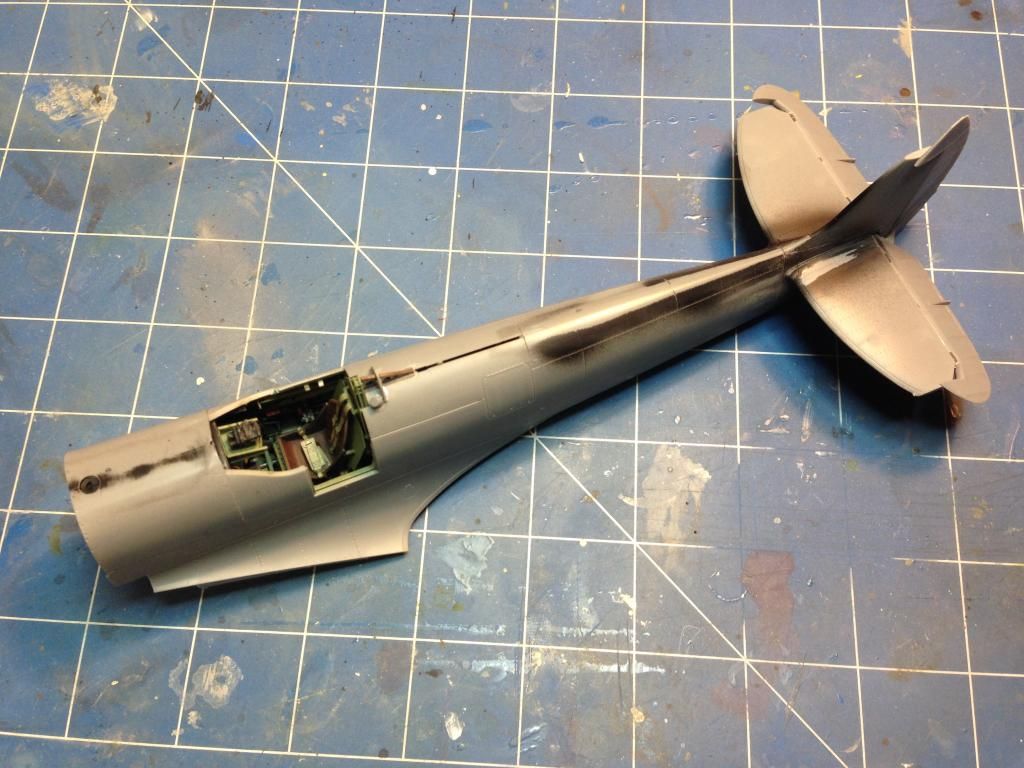
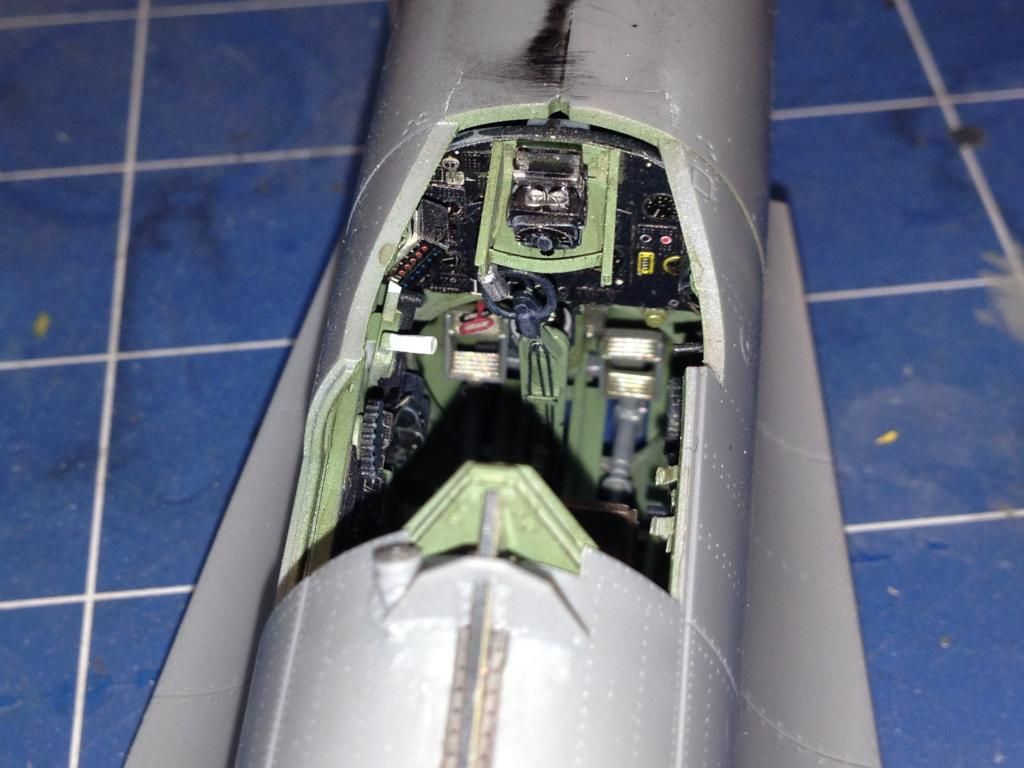
I'm pretty happy with the way the cockpit turned out. It looks like you could jump in there and fly it.
Next time I'll get the wings onto the fuselage and get everything ready for a primer coat.
Onto part 5.