Saturday, 6 September 2014

Tamiya 1/32 Spitfire Mk XVIe - Part 2

Back to part 1

And We're Off...

I'm building this model at the same time as a friend of mine is building his.  He's already built the engine so that's where I decided to start as well.  The Spitfire XVIe had a Packard built Merlin 266 engine. Finding references for this specific engine did prove a challenge but eventually I did find some after trawling through images on Google.  The Tamiya engine is quite amazing out of the box but there are a few places where more detail can be added.

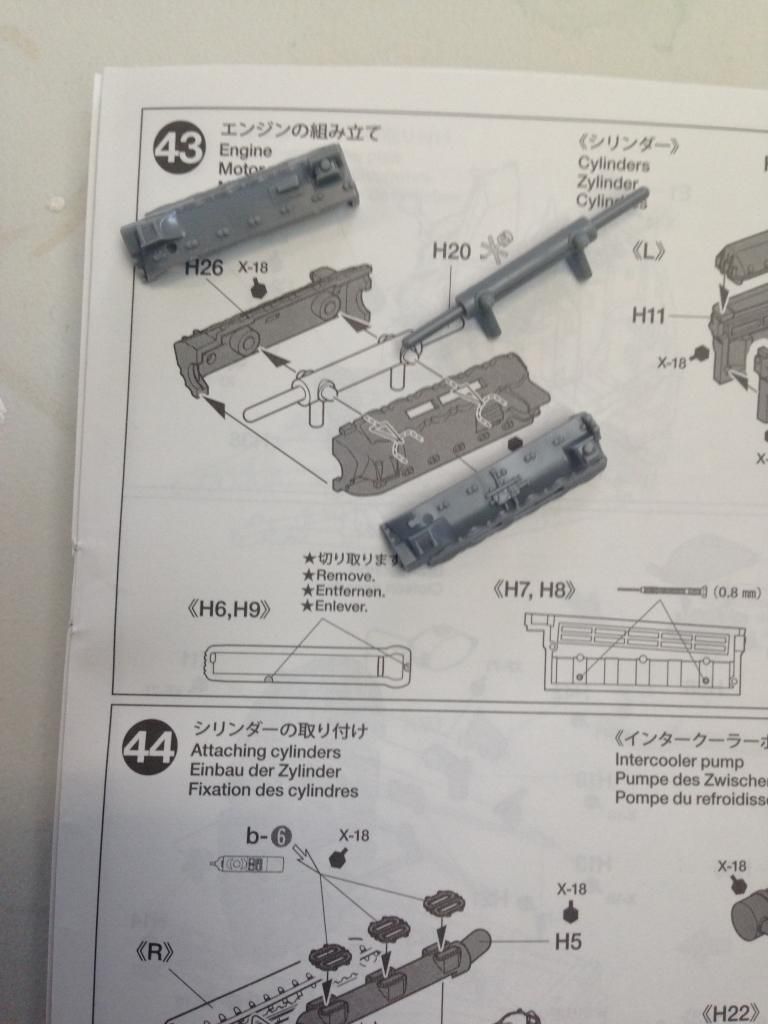
Construction started with the crankcase assembly.  For a while I was puzzled as to why part H20 was not glued into each side of the crankcase.  I admit that I considered gluing it, but after some consideration I decided that the good folks at Tamiya know what they're doing so I didn't glue it in the end.  Later in the assembly of the engine we'll find out why it is not glued - well my theory anyway.
The Eduard exterior detail set comes with a wiring harness for the spark plugs.  I didn't like the look of it for two reasons.  Firstly, on the Packard Merlin 266 the harness which sits on the top is actually in two parts not one as the Eduard photoetch would suggest.  The second reason is being photoetch it's flat.
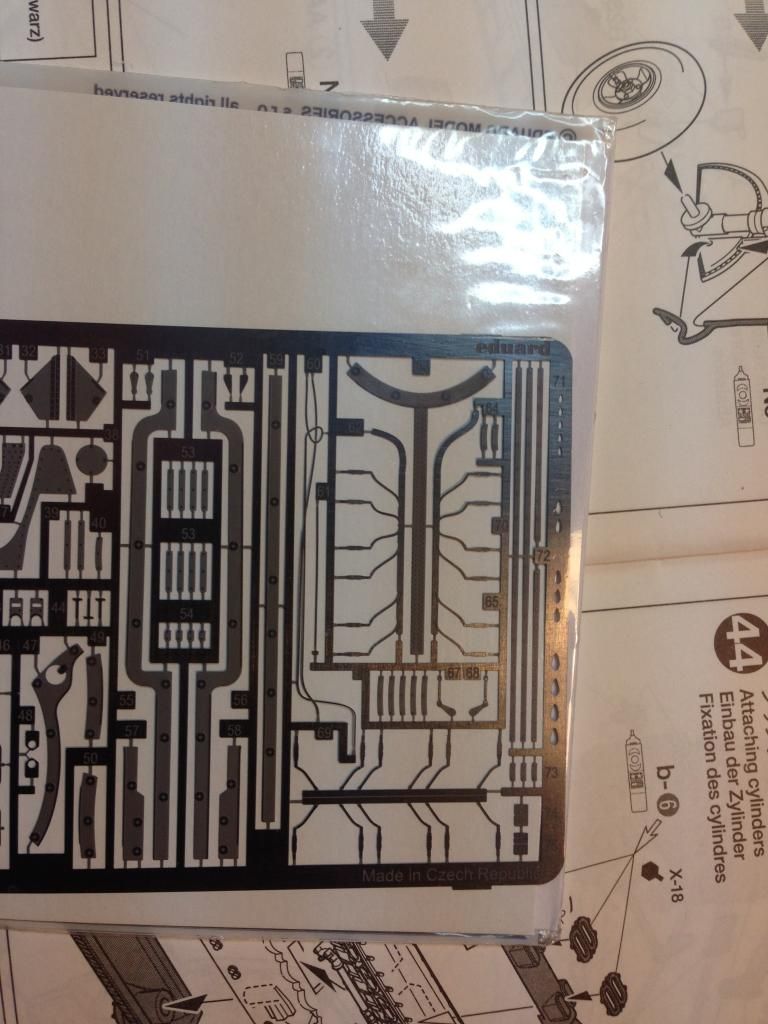

The solution was to build my own. I started by using 0.6mm brass tubing to replicate the spark plugs.
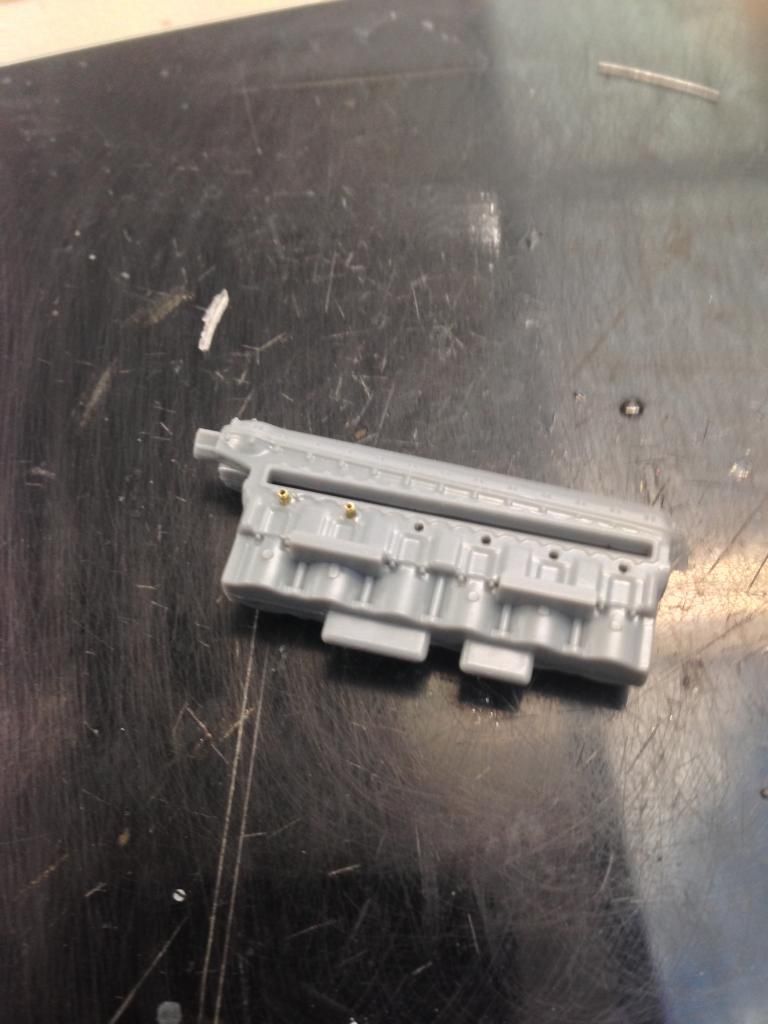
This was then given leads made from 0.4mm lead wire.
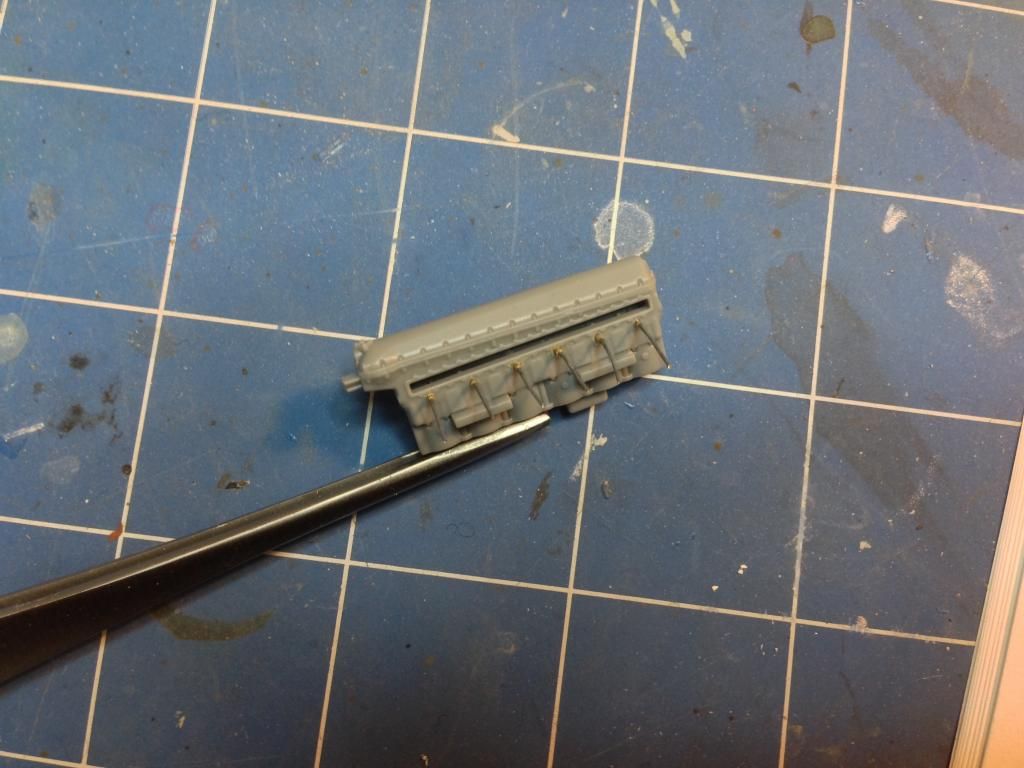
Then the cylinder blocks were cemented to the crankcase.  The sparkplug leads were fed carefully around the manifold.
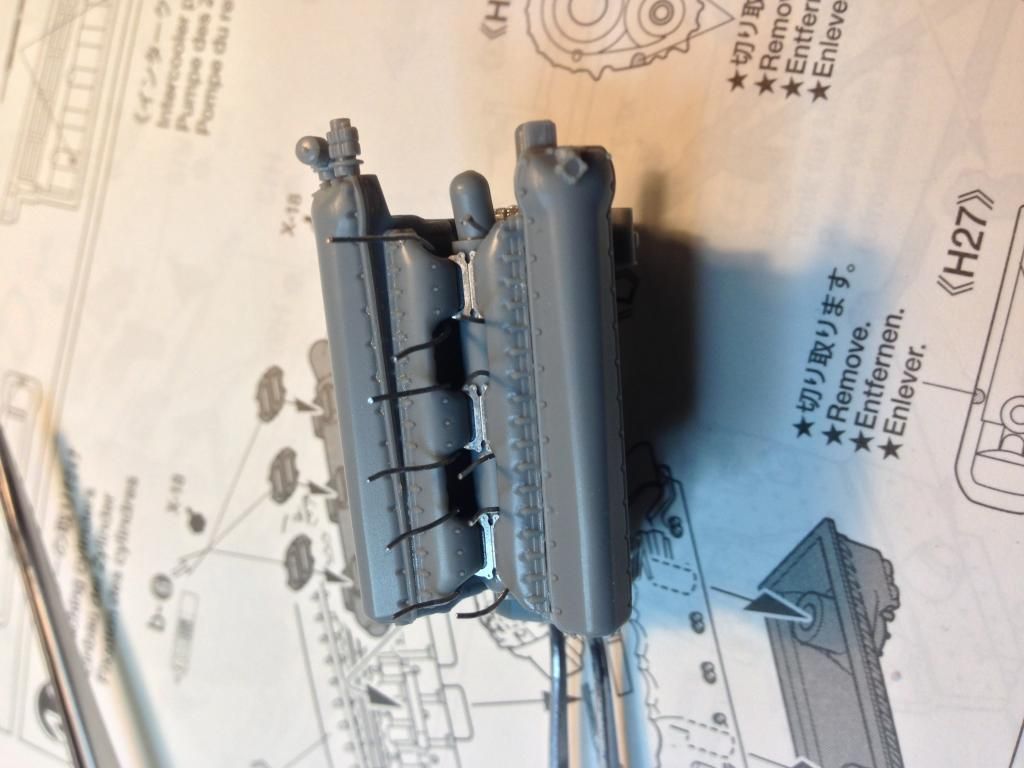
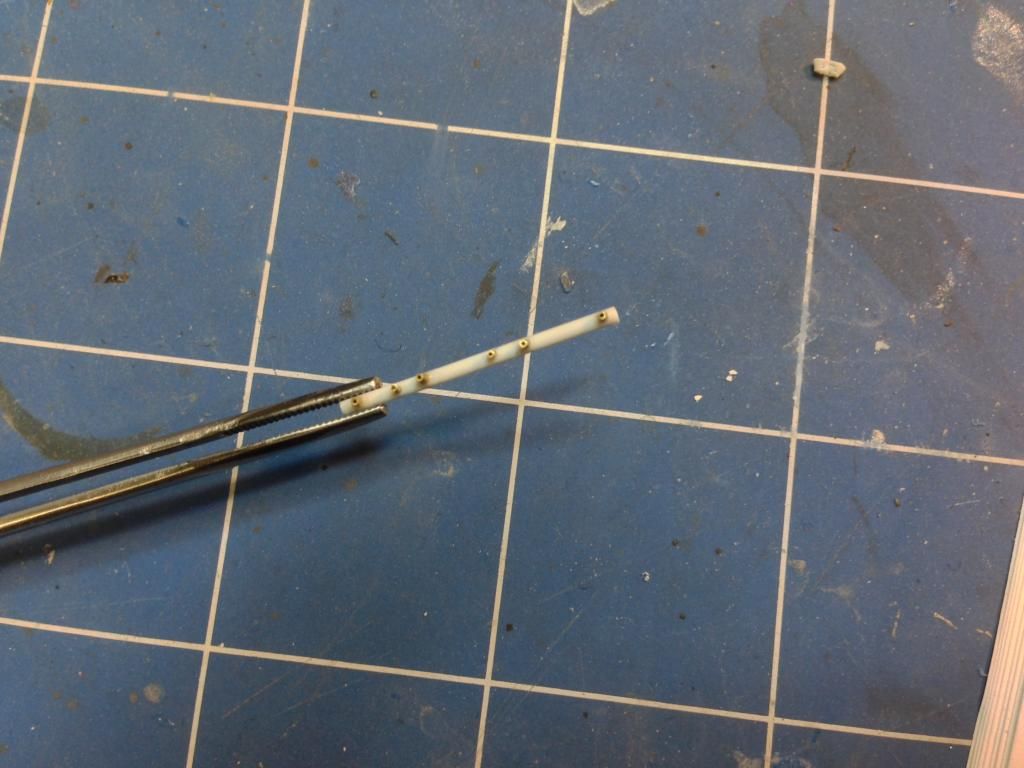
These leads needed a harness to be wired into so I had to scratch make them as well.  The main parts of the harnesses were made of 1.2mm plastic rod which was carefully drilled to accept some 0.6mm brass tubing.
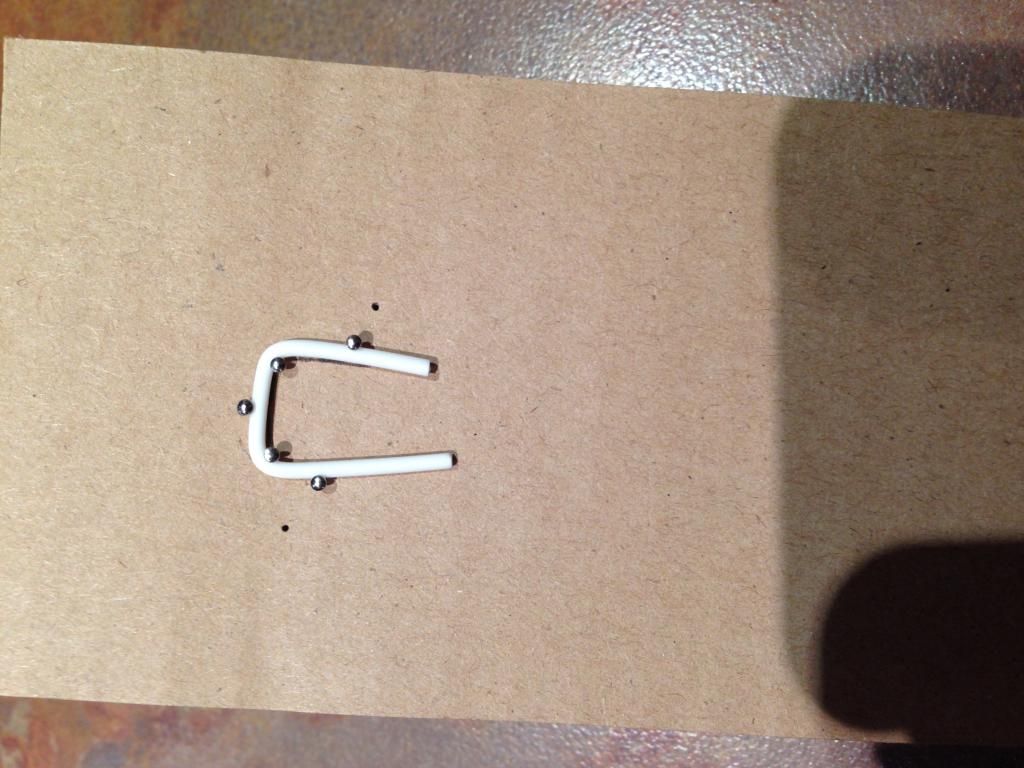
The upper wiring harnesses are connected by a conduit that is thicker than the harnesses.  This was made out of 1.6mm plastic rod but it needed to be the correct shape.  I started with a small piece of rod and held it in place with a few pins on a piece of cardboard.  I then heated it with a hairdryer set on hot and carefully bent the plastic until it was the shape I needed and then pinned it so it stayed in that shape.  It was then allowed to cool.  My theory was it would stay in that shape once it cooled and that was sort of true.
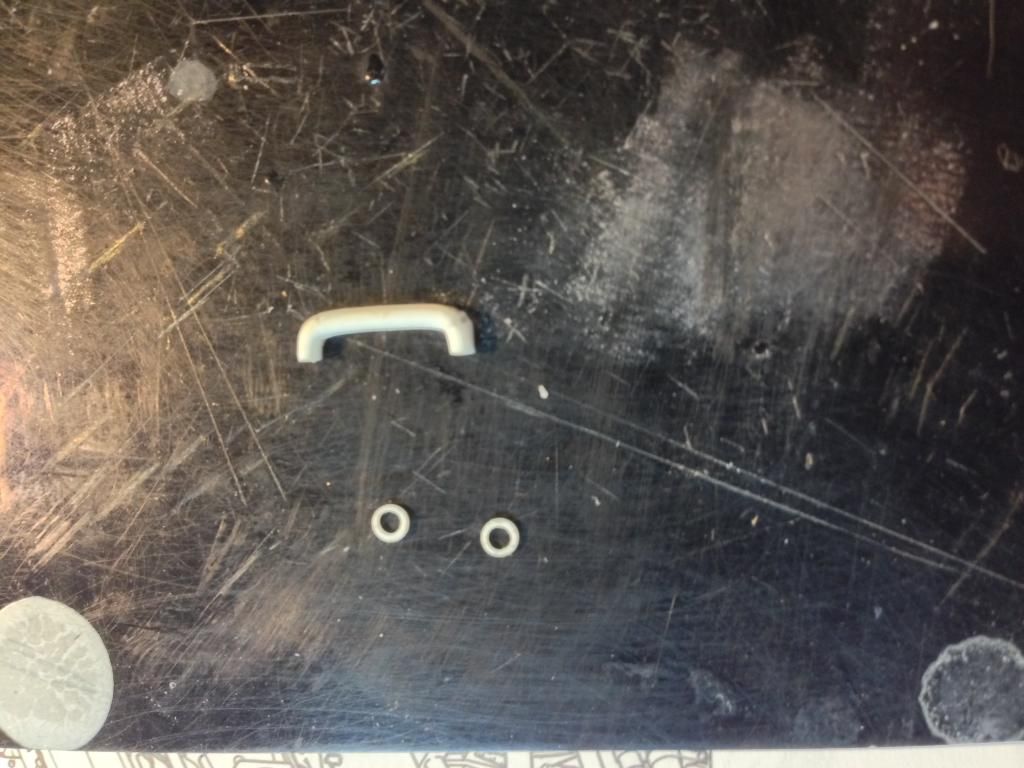
Once this was the right shape I cut it to size and made two collars for it using the Waldron punch set.
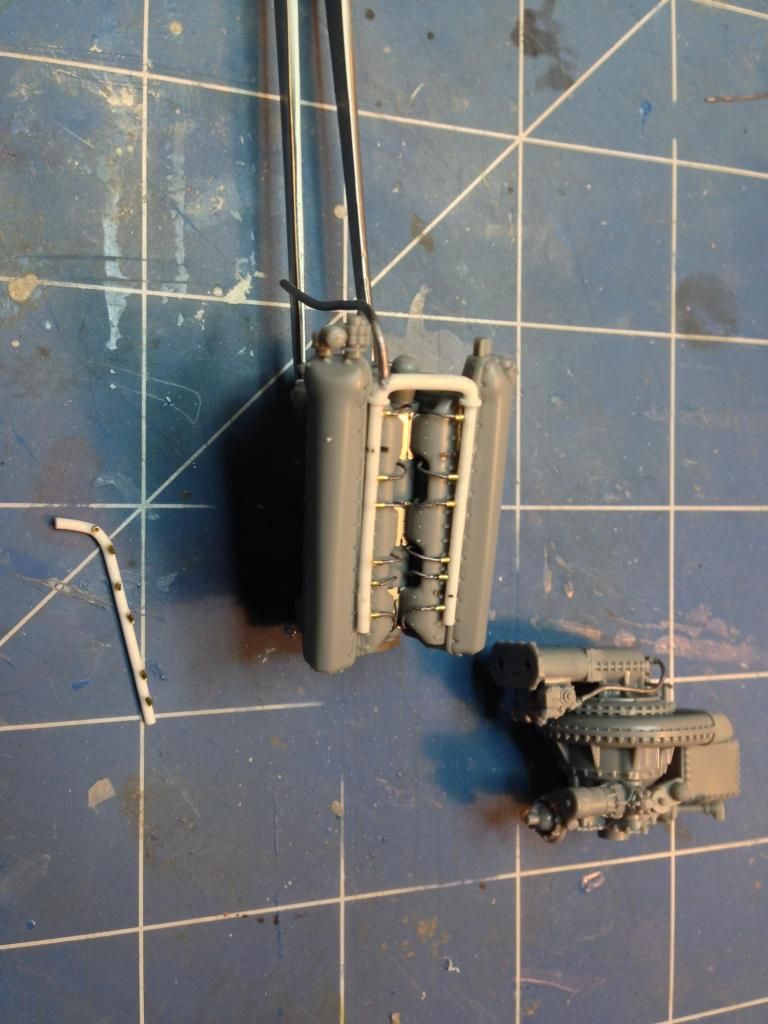
I could then assemble the harness and wire it into the sparkplug leads.  Here's the assembled harness on the top after wiring it in.  Next to the engine is one of the side harnesses and the supercharger assembly.  Extra plumbing was added to that as well.  Notice that the pipes leading out of the side harnesses face forward and one of then is slightly offset to clear the intercooler pump.
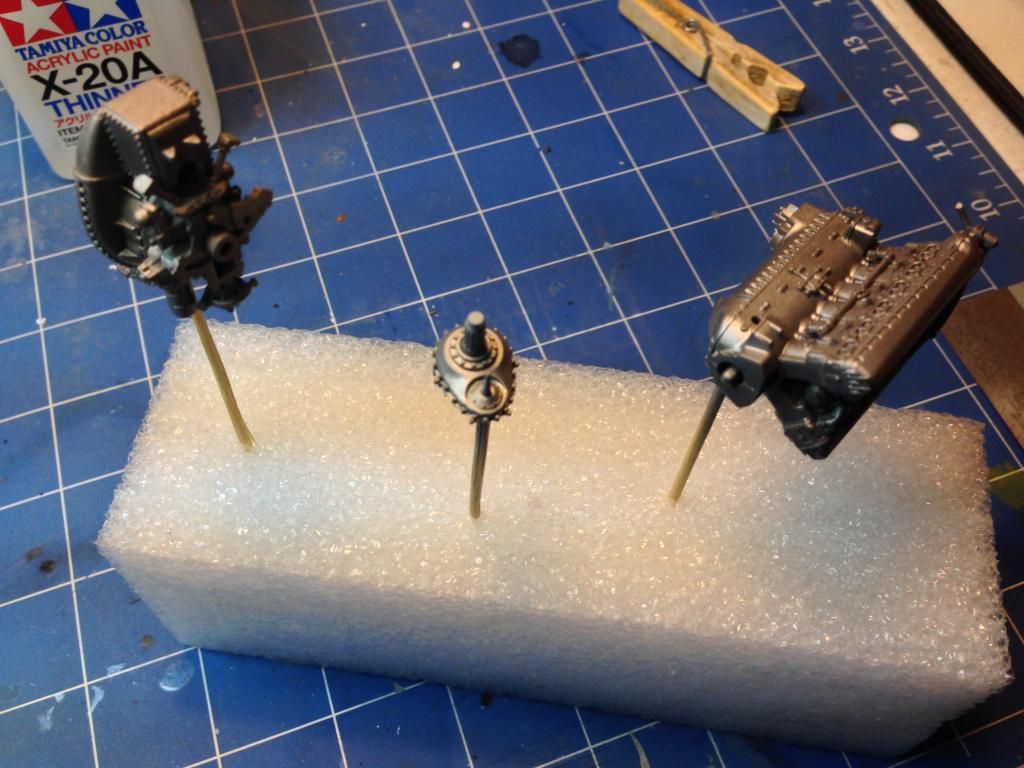
The engine assemblies were primed and then given a coat of Citadel Boltgun metal.  This would give a metallic undercoat which would show through chips on the engine.
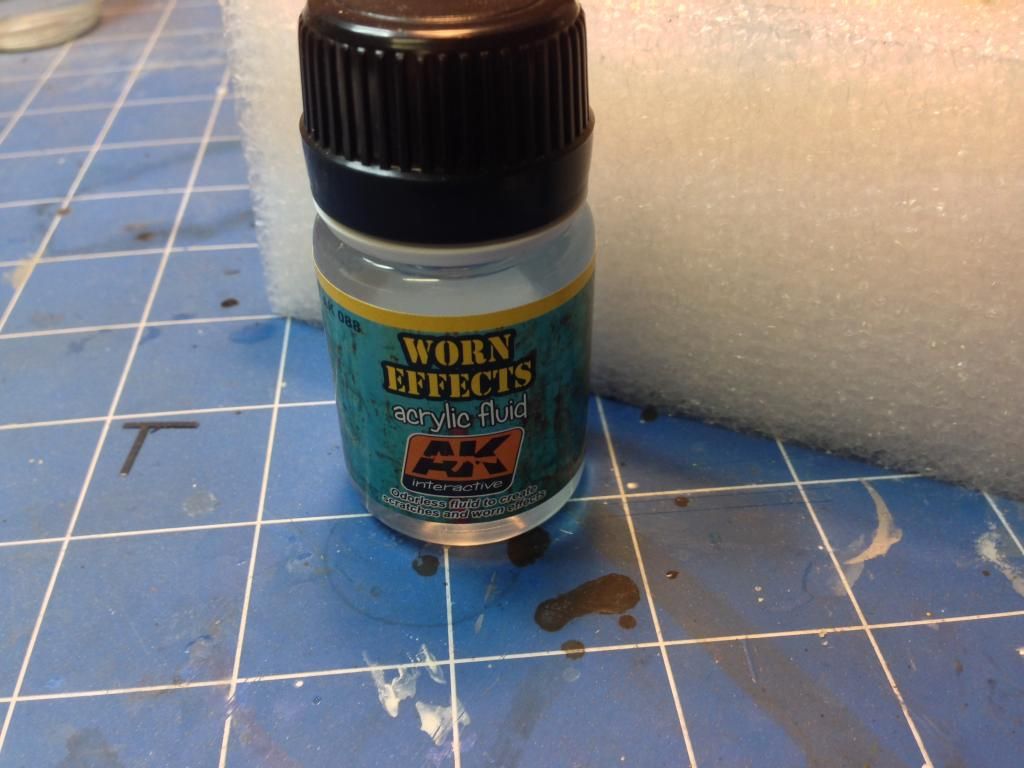
I used AK Interactive's worn effects to create some chipping effects on the engine.
In the next update the engine will be completed and work will commence on the cockpit.

On to part 3.

Saturday, 9 August 2014

Tamiya 1/32 Spitfire Mk XVIe - Part 1

For my next project I'll be building the Tamiya 1/32 Spitfire Mk XVIe.  This was one of the Spitfire variants to feature a bubble-top canopy, clipped wings and a combination of 20mm cannon and .50 cal machine guns.
Such Amaze - Very Doge!

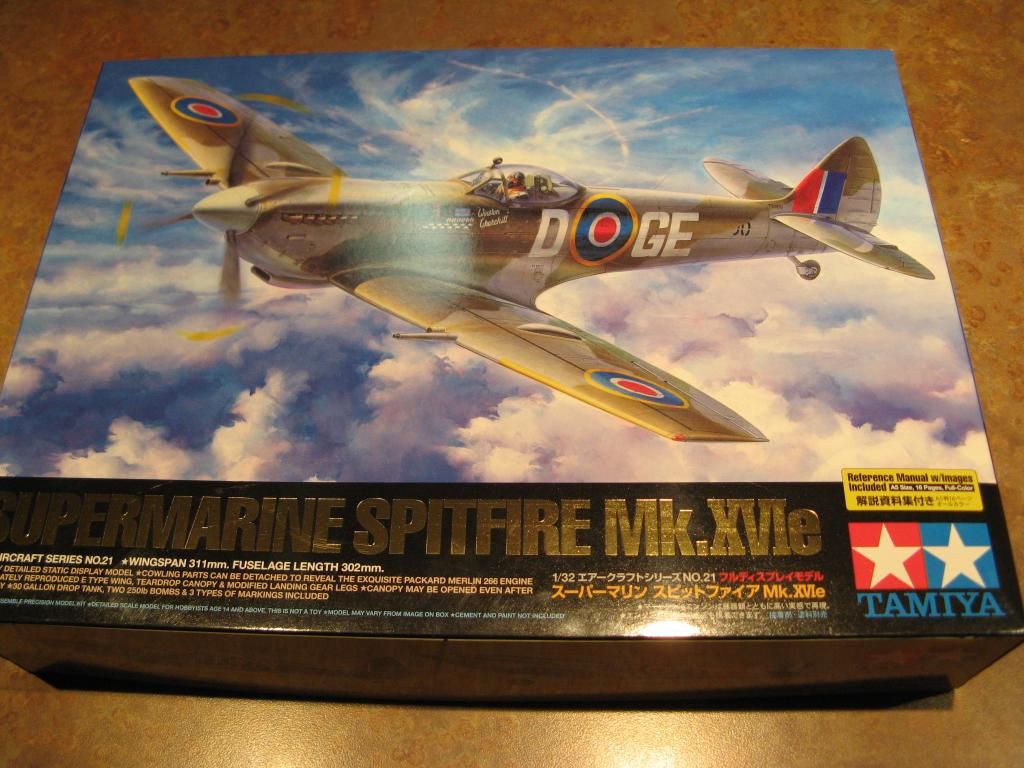
OK here is the box picture featuring a lovely depiction of the Mk XVIe with an identification code that is reminiscent of a popular internet meme.

...and here is a picture of Doge for comparison.

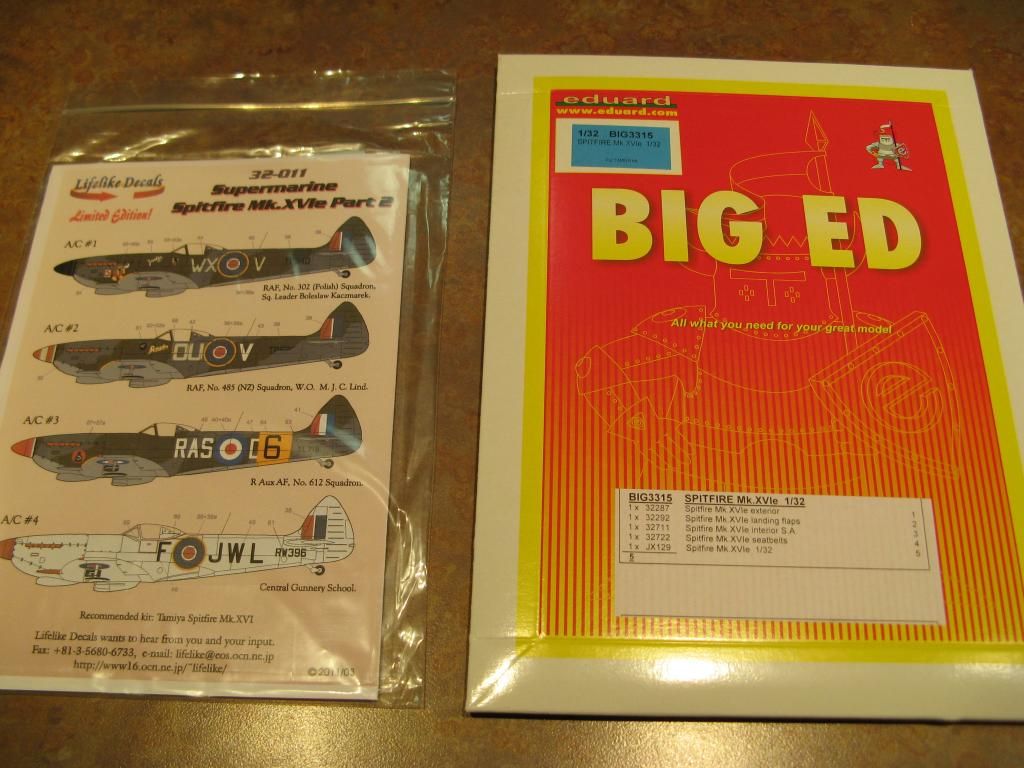
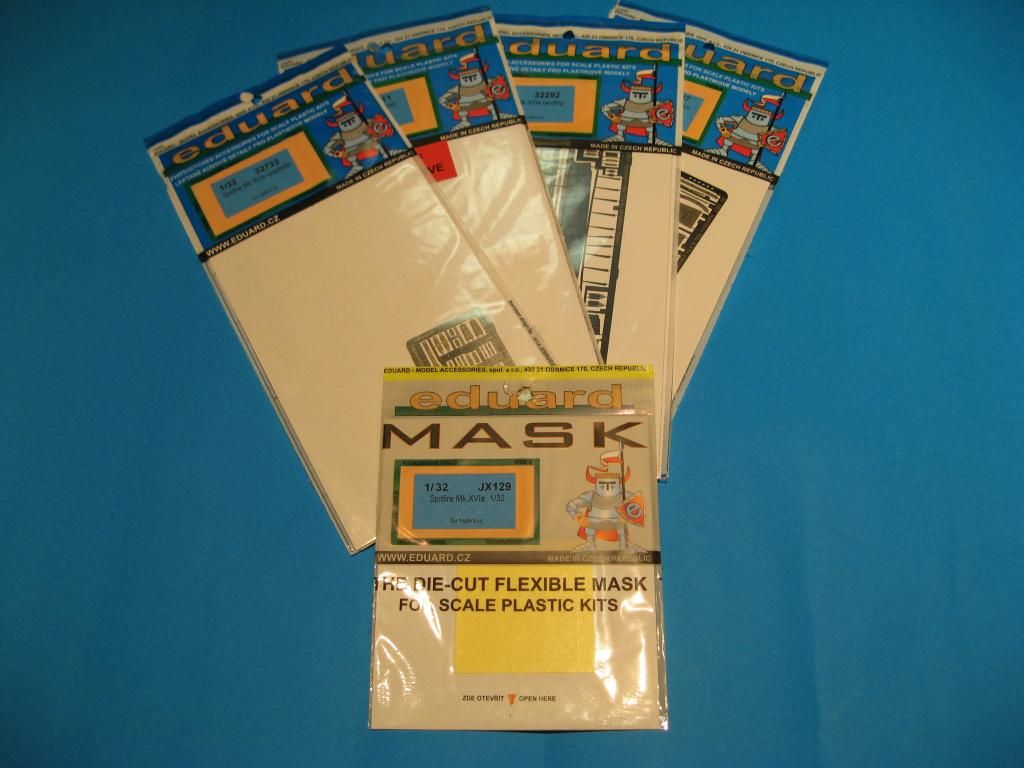
As you can see they are quite different.  Although it would amuse me to put Doge in the cockpit of a Spitfire with an id code that looks like its name, I'll be doing a different marking for this plane.  I'll also be using the Big Ed set from Eduard for this build.

I quite like aircraft #1 and aircraft #3 on the decal sheet.

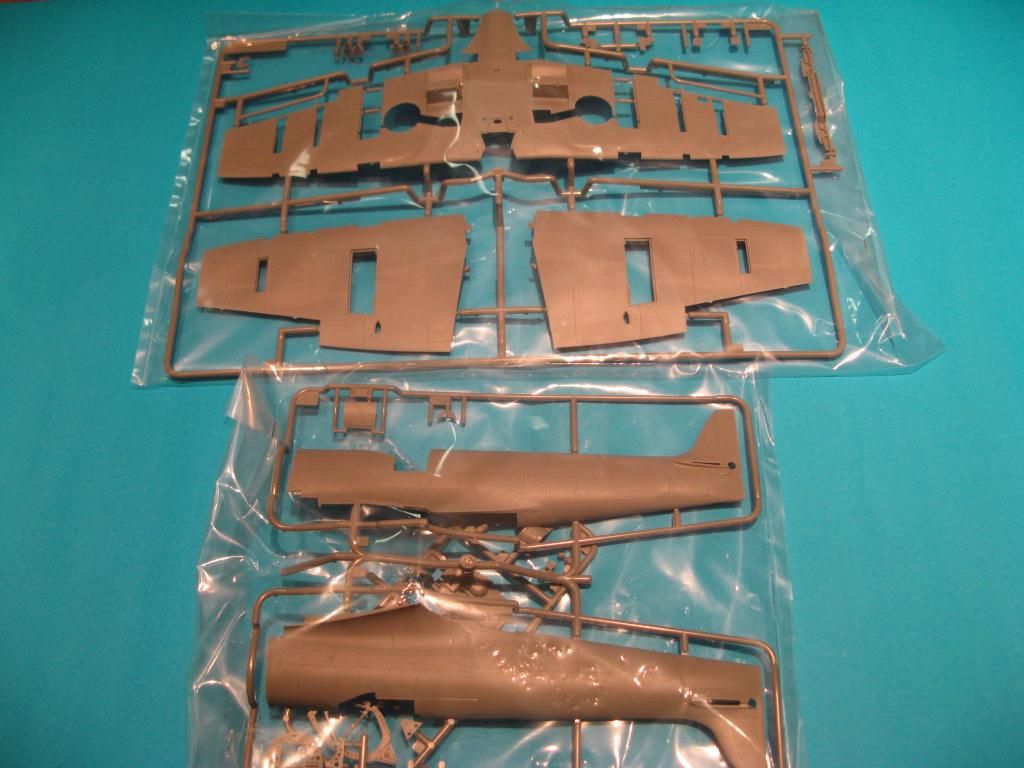
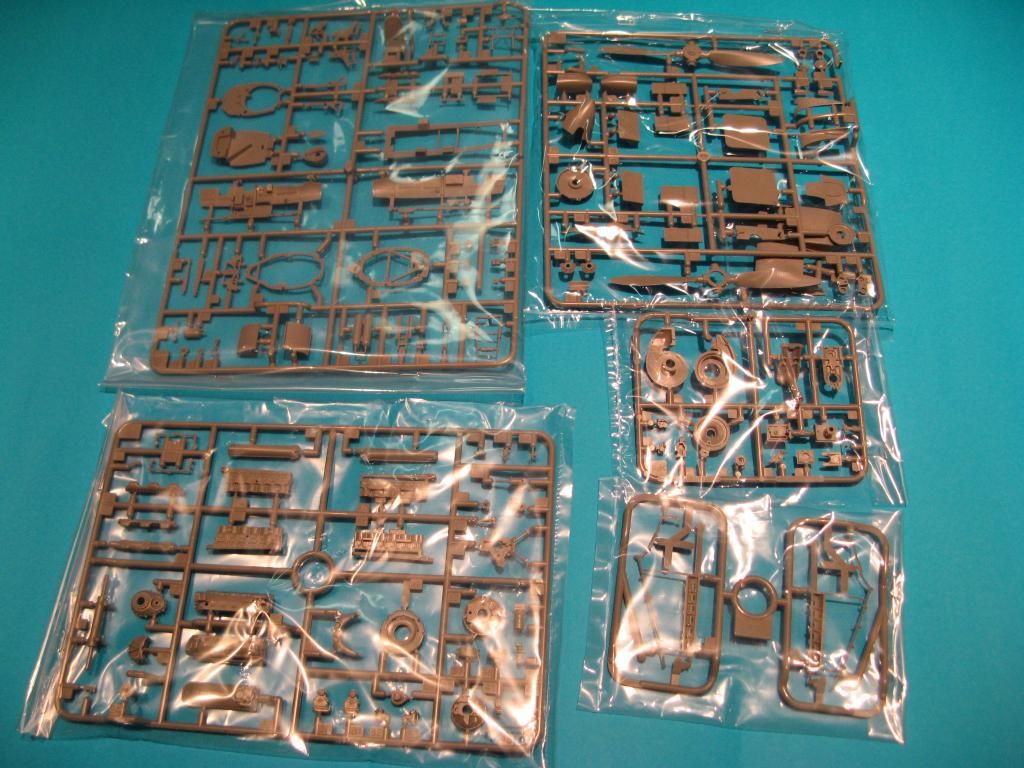
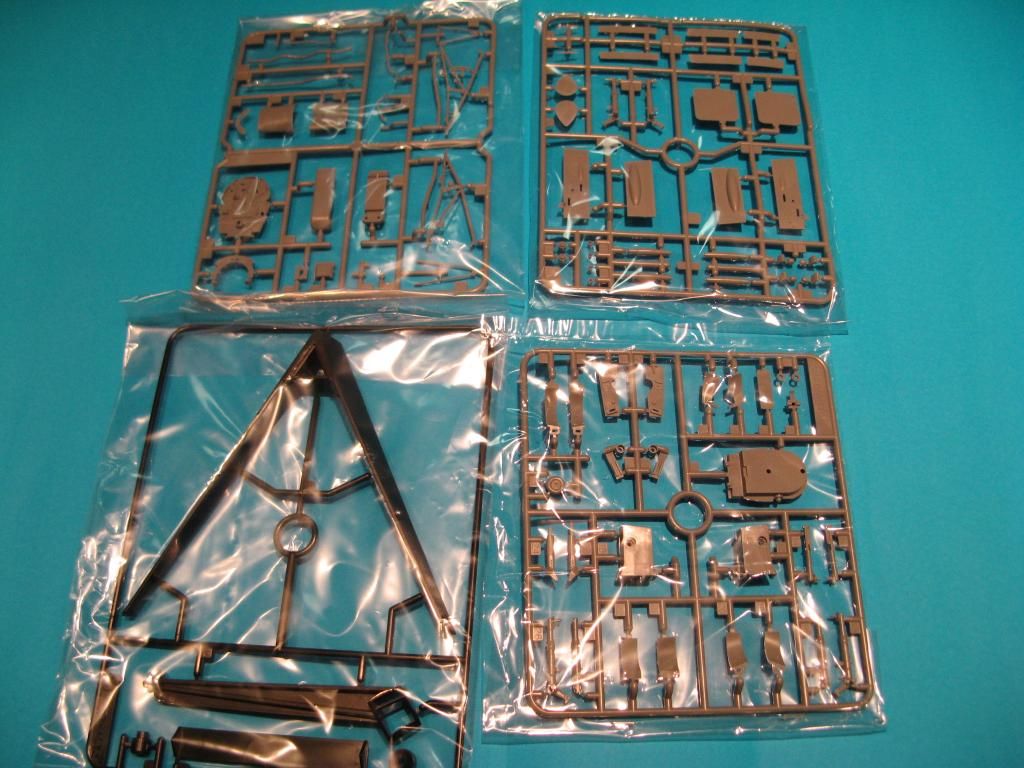
Being a Tamiya kit I am expecting it to fall together quite easily and be quite detailed.  The sprues of the fuselage and wings have some lovely surface detail which I hope to bring out with careful painting.

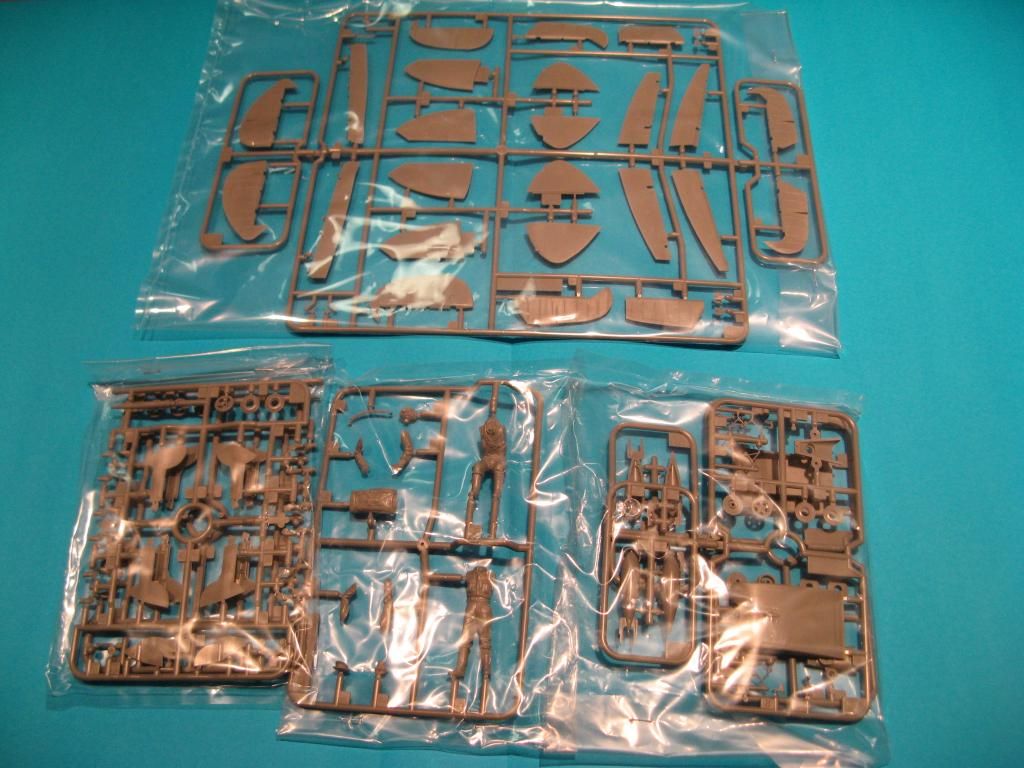
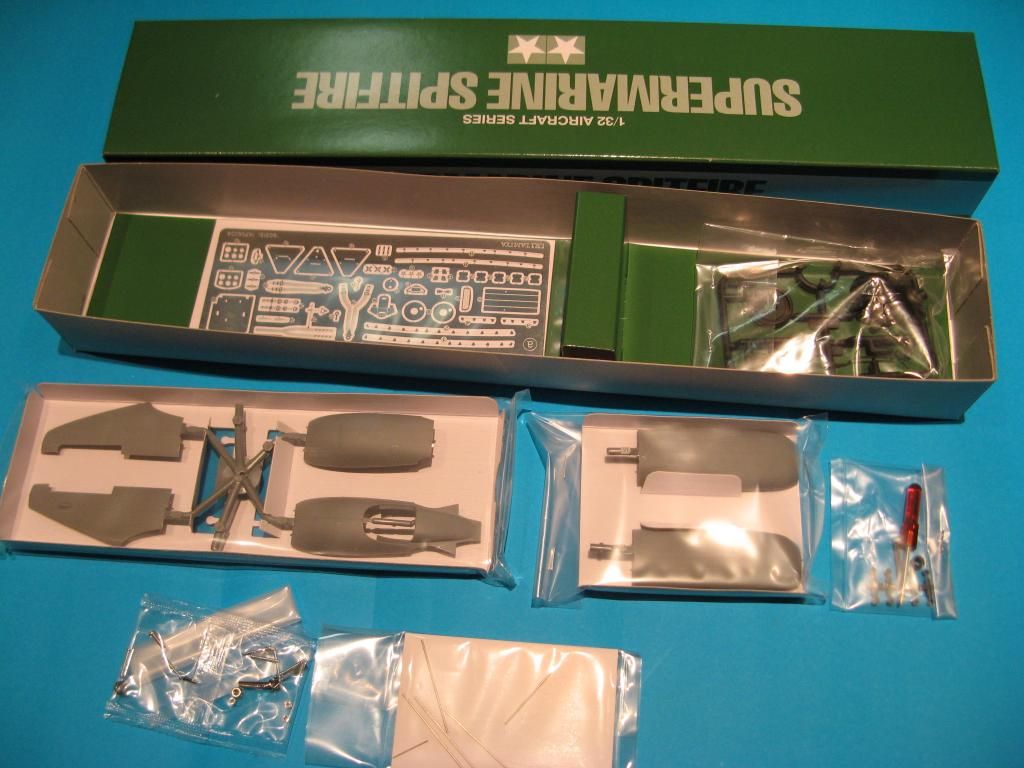
There's a lot of plastic in this kit including a wonderfully detailed engine, which I will add wiring to from lead wire, and a great cockpit.

The kit comes with a stand and some of the technical innovations that Tamiya have put into it allow it to be posed with interchangeable wheels so you can have it in a flying position or a landed position whenever you feel like it.

They have also moulded the thinnest cowling covers I have ever seen.  They even include tiny neodymium magnets which are hidden in the airframe allowing the cowlings to cling on without falling off.

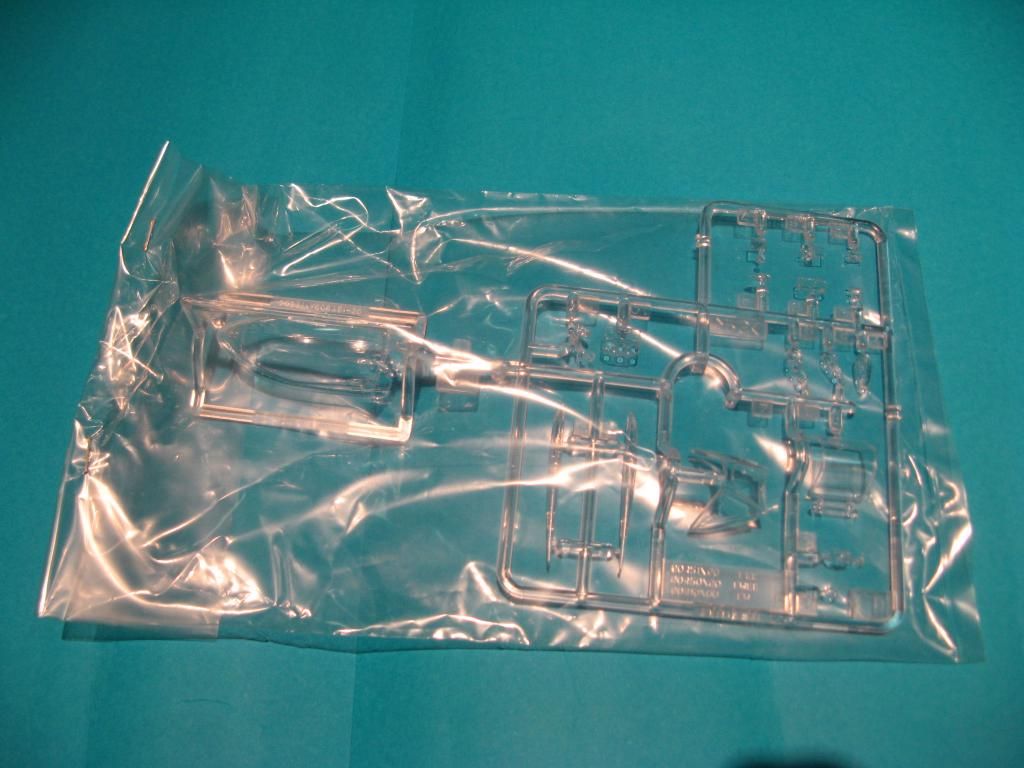
The canopy is very clear but has a seam line running down the centre.  Should be easy to take care of though.

The Eduard Big Ed set has a fair selection of extra detailing bits.  I don't intend on using all of them though.

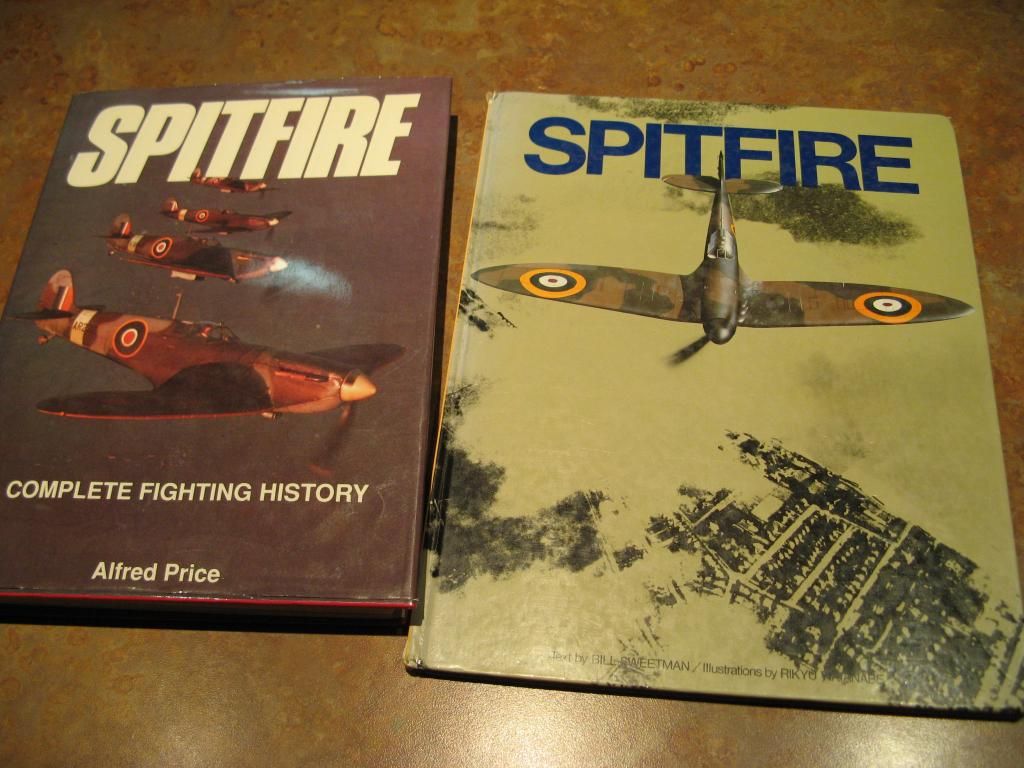
Lastly I'll be using the following references and some Google searches to try to keep this as authentic as possible.

I'll be starting this tomorrow.

Academy 1/48 Mig-29A - Final Reveal

Back to part 13

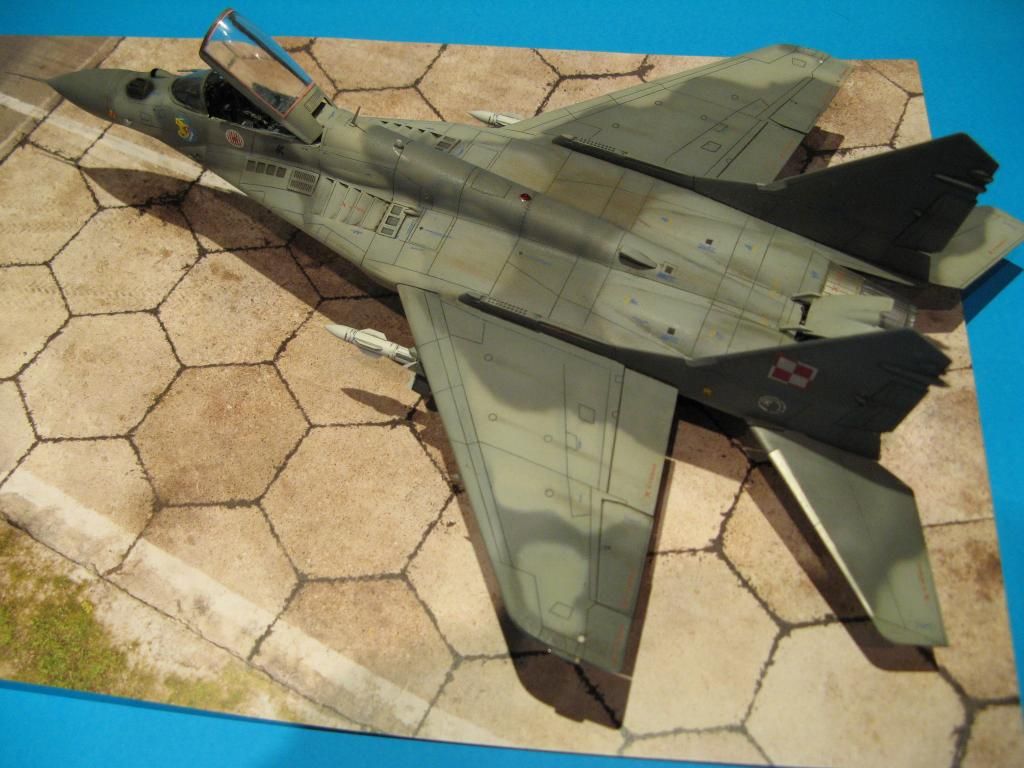
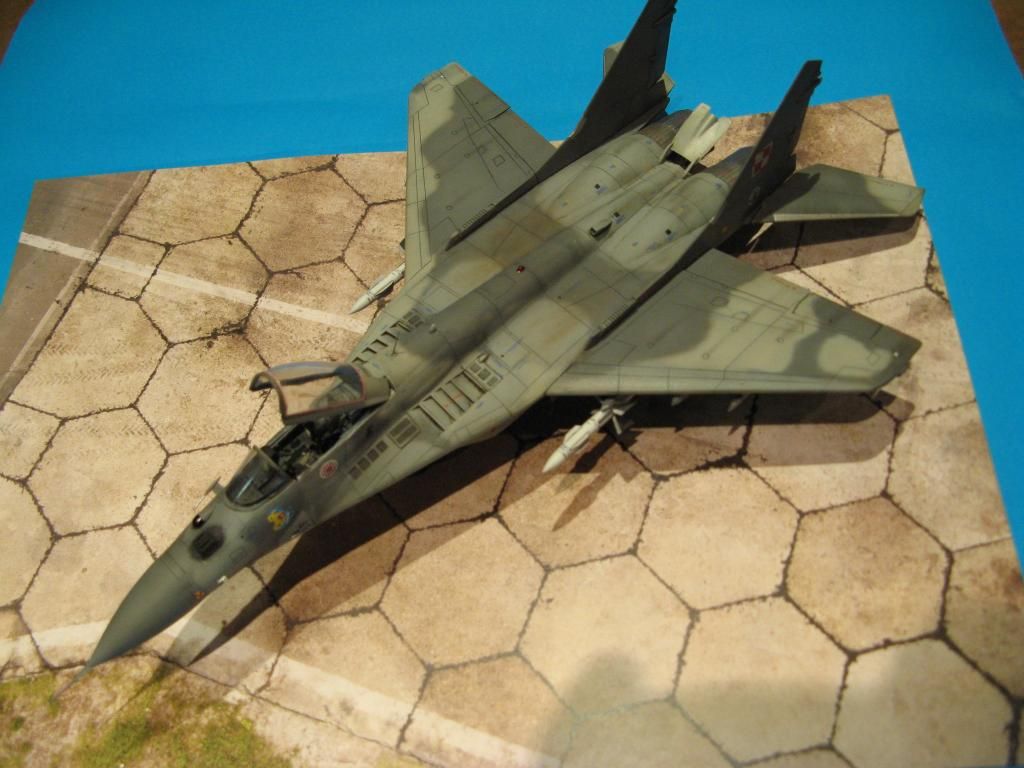
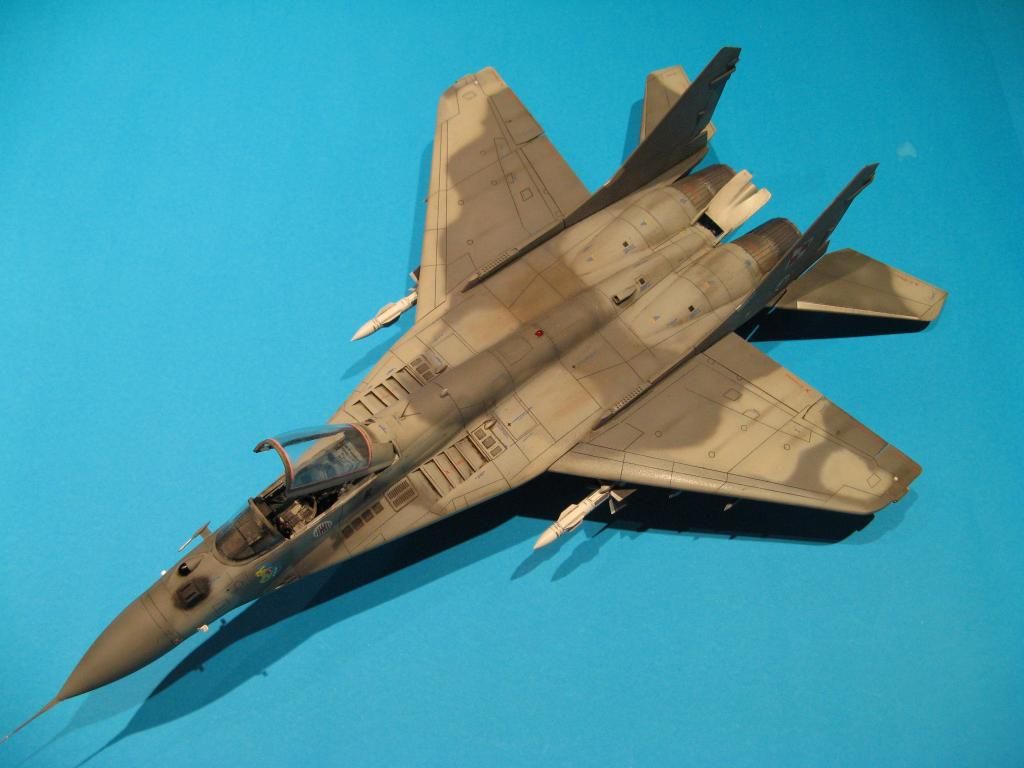
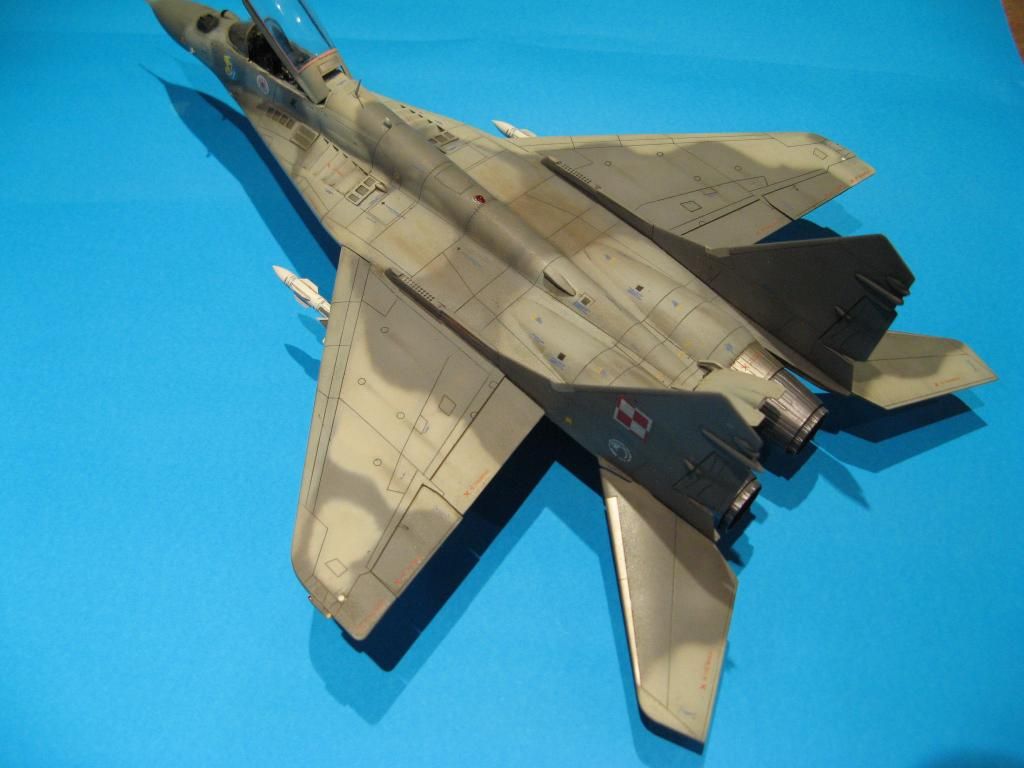
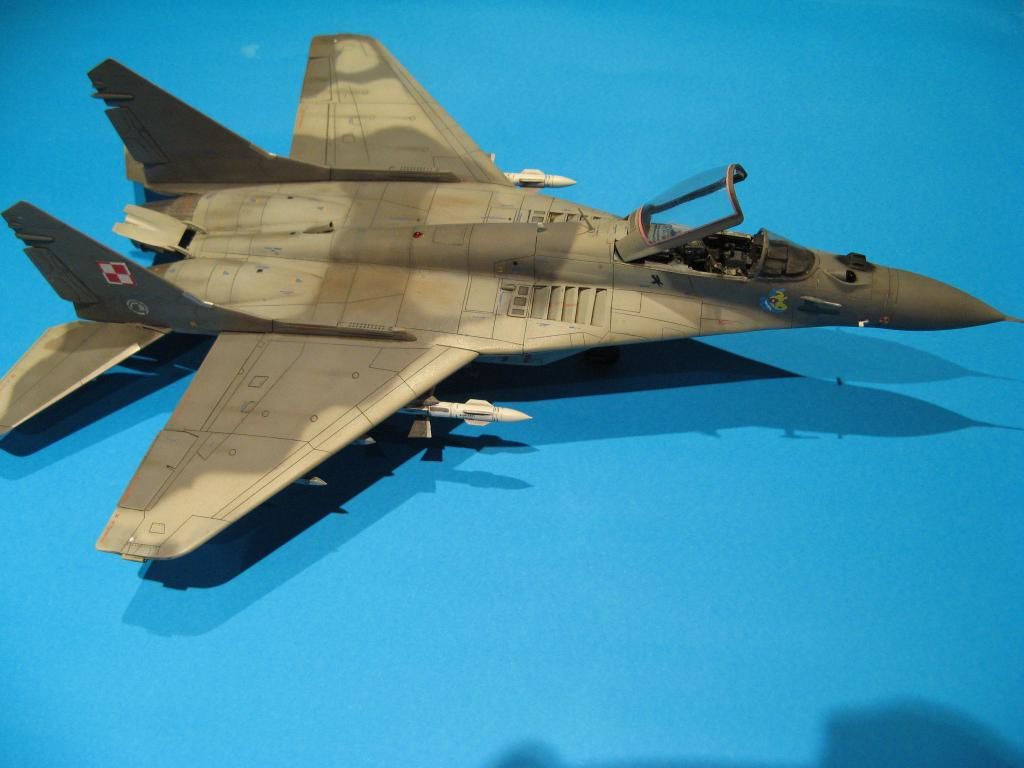
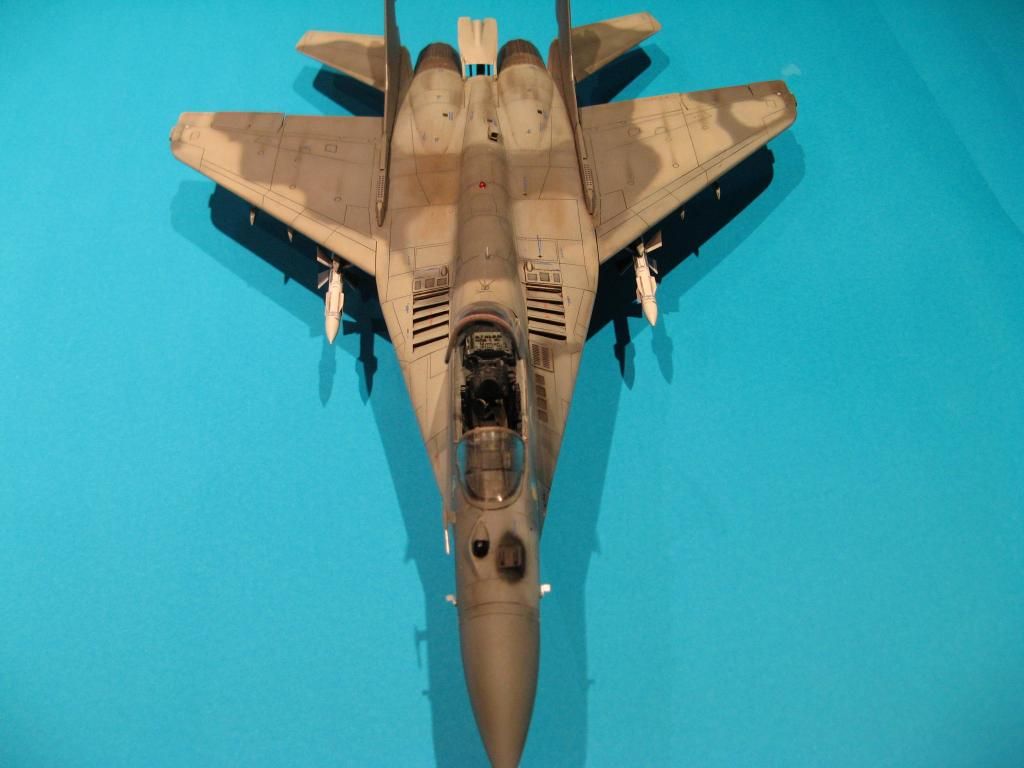
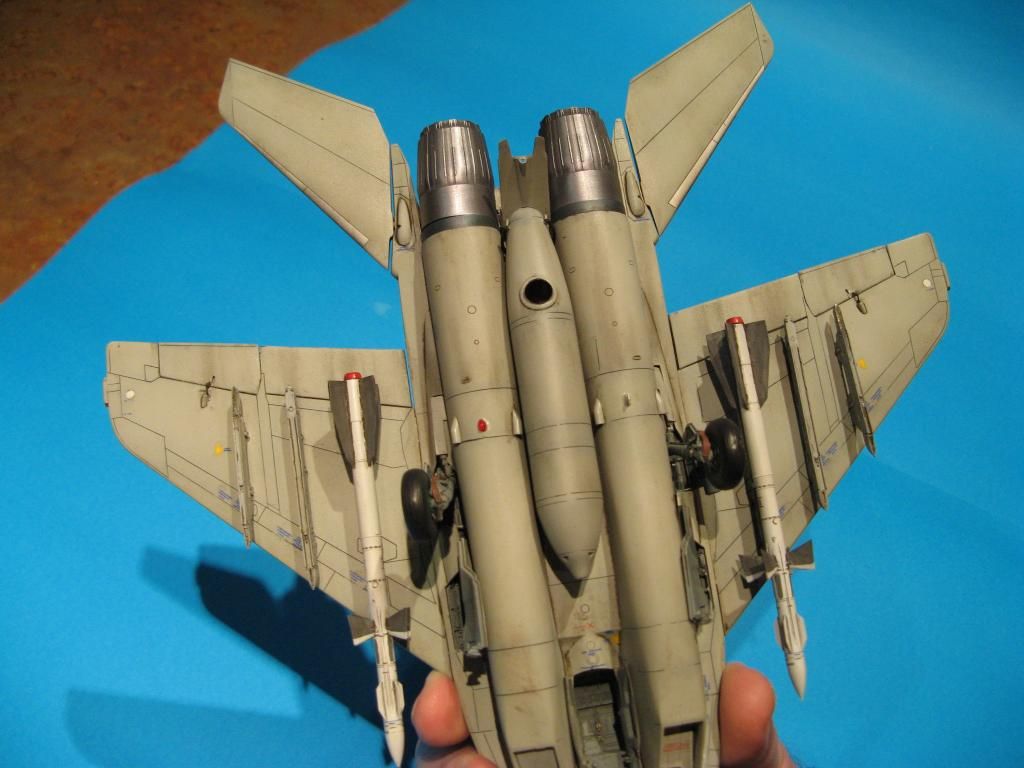
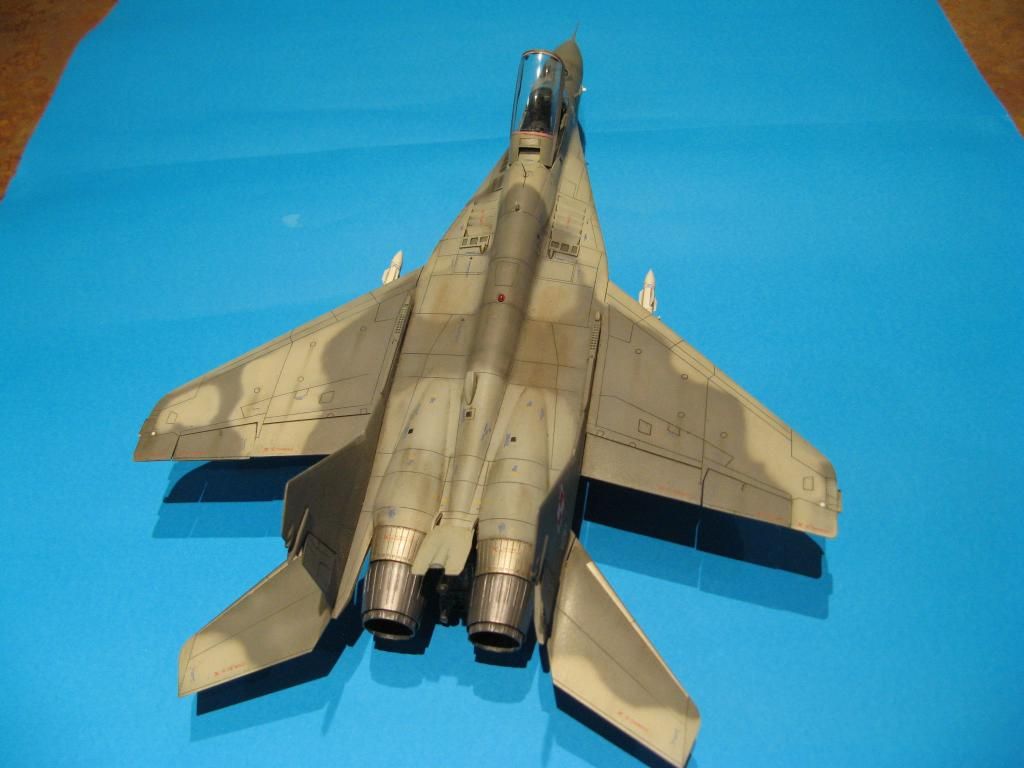
I did say that there was a little bit left to do.  Well, it took me too long to do it but finally the Mig-29 is finished.  The Academy kit is OK considering its age however the after market goodies really bring it up to date.  I set out to make Red 77, a Polish Mig-29A and I think I have captured a fiar likeness of it.  For a reminder here's the original aircraft


...and here's my version of Red 77.

Saturday, 2 August 2014

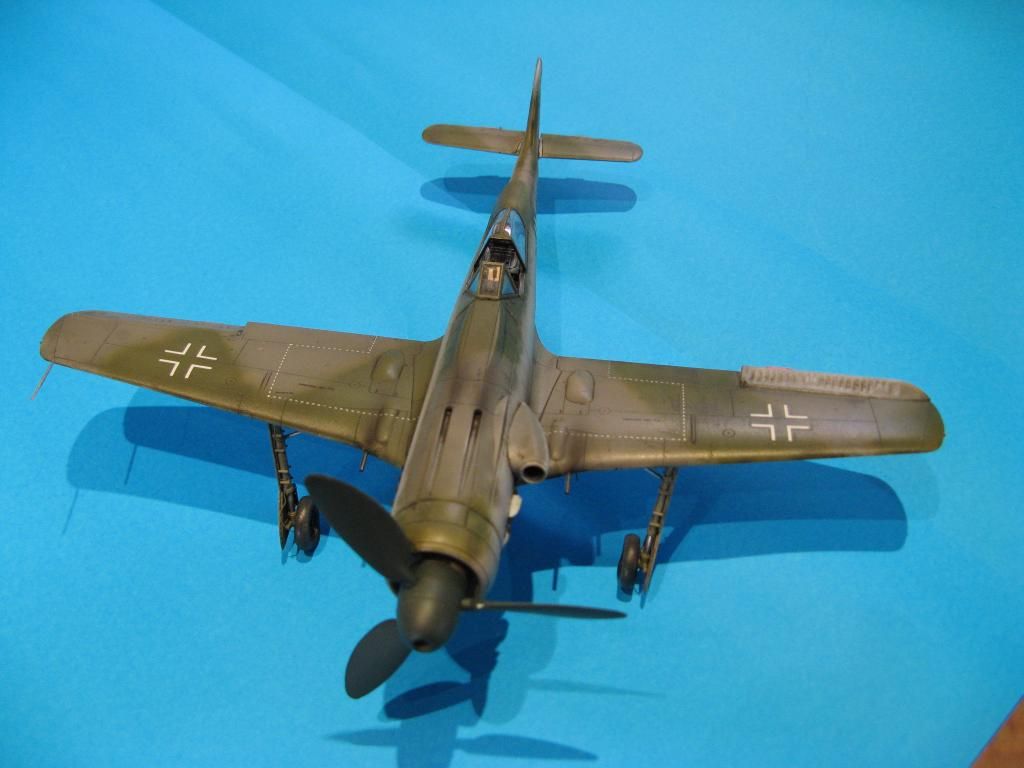
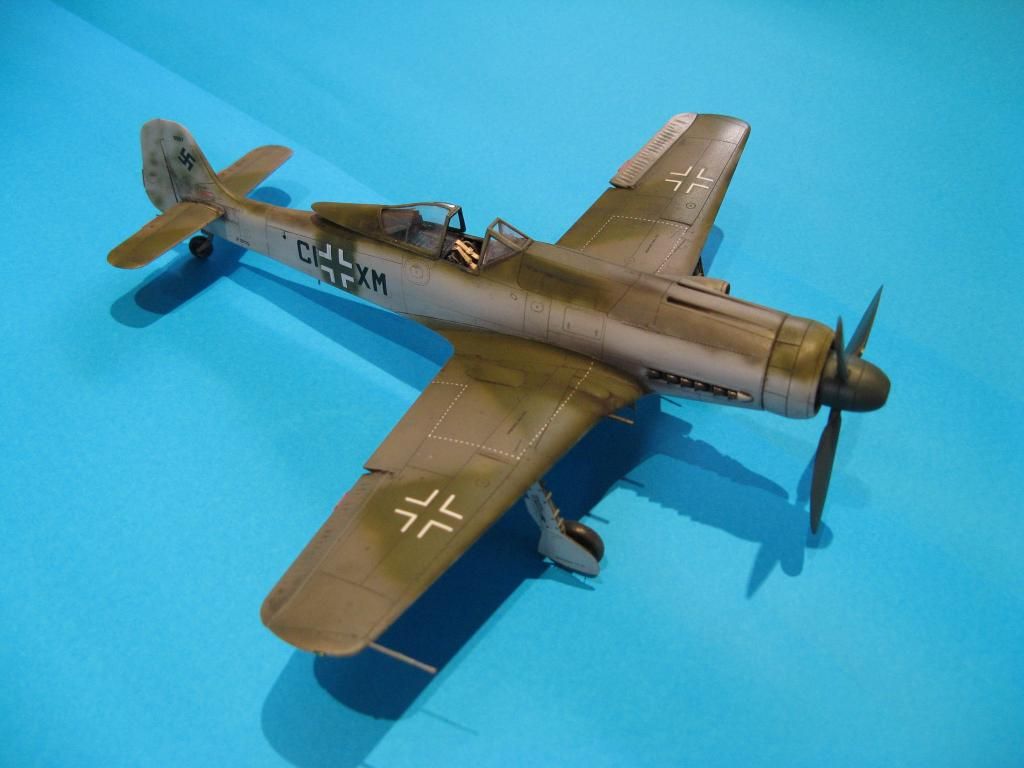
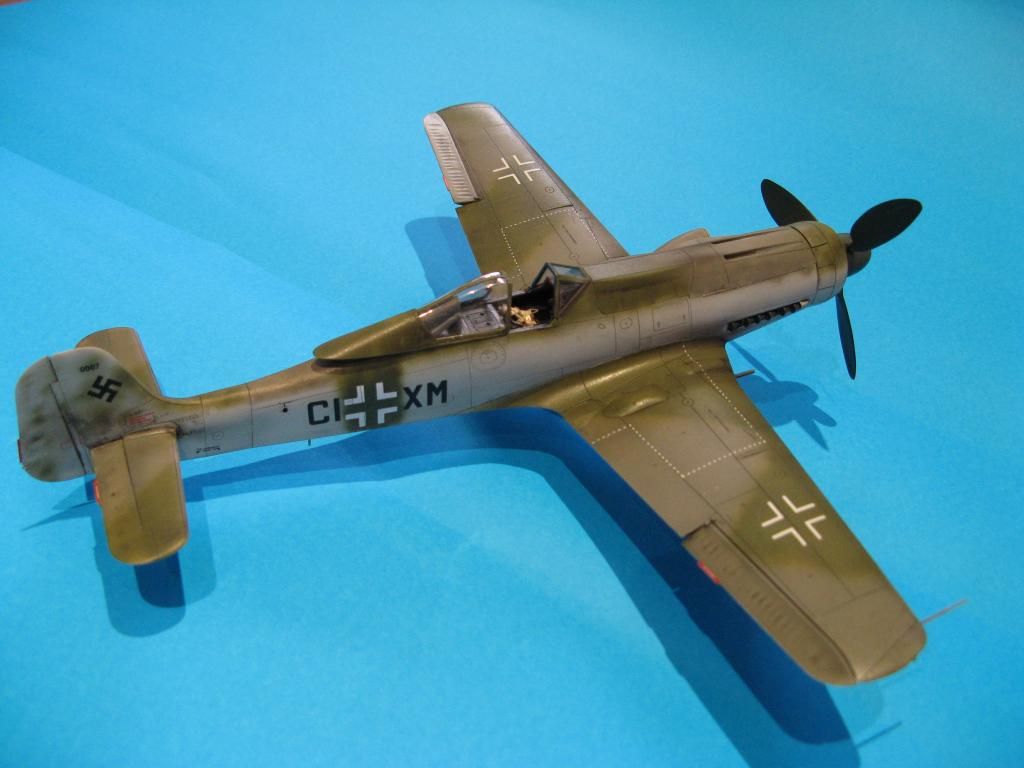
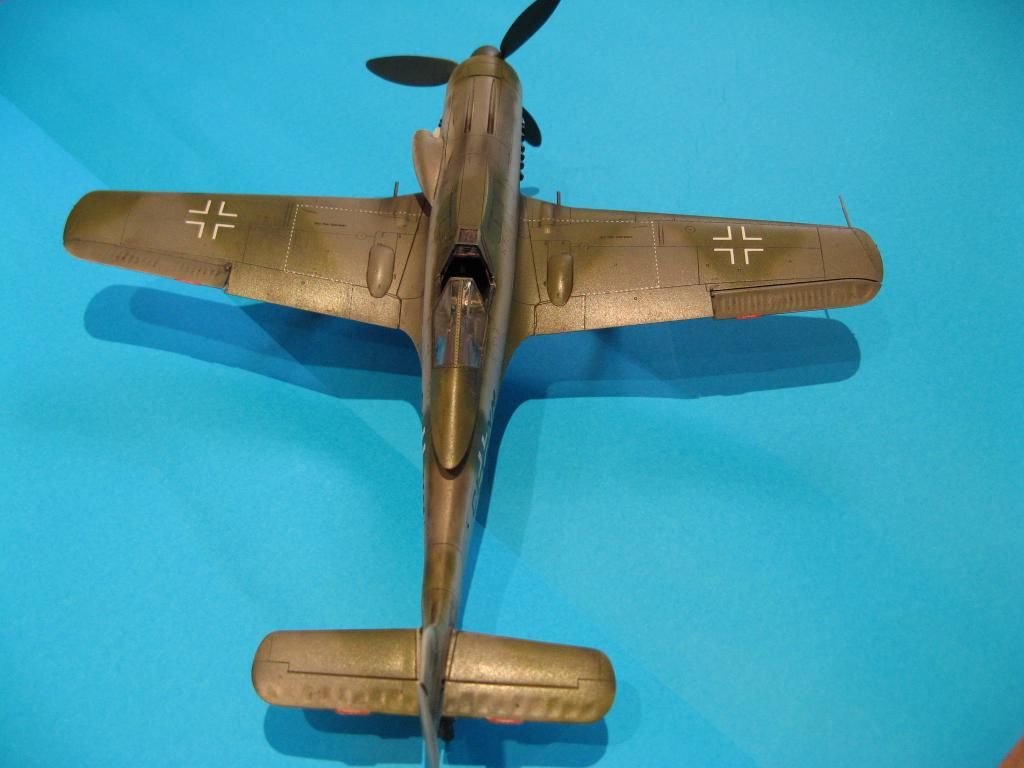
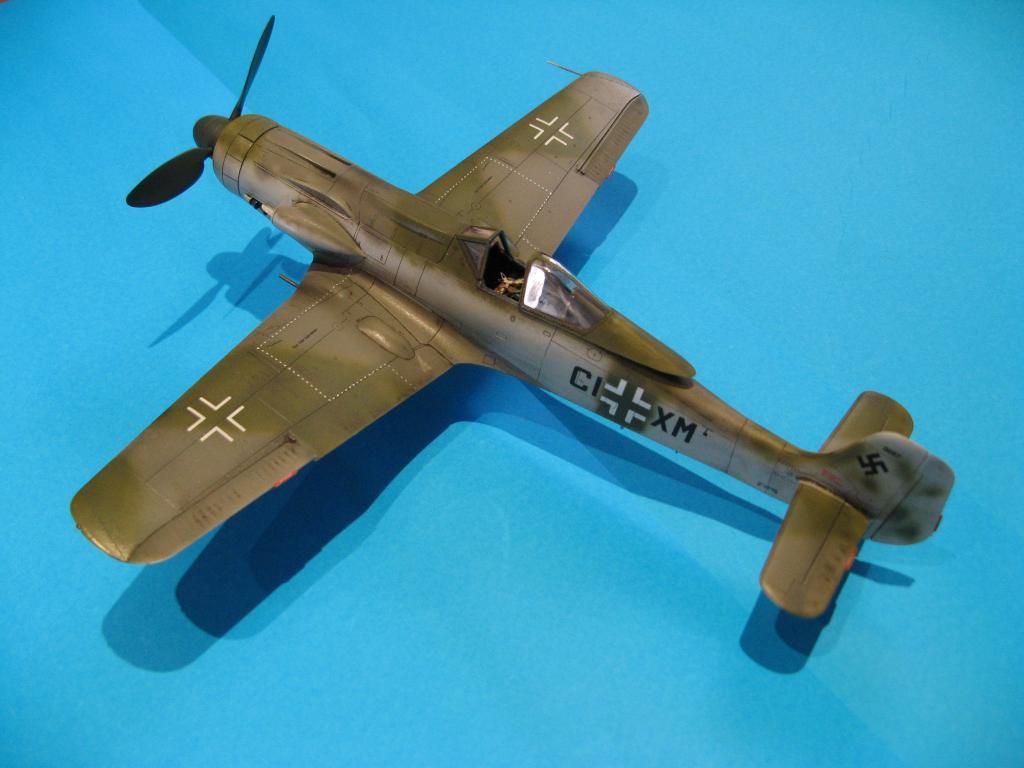
1/48 Hobby Boss Ta 152 C-0 - Final Reveal Pictures.

Back to part 5.

The Final Reveal

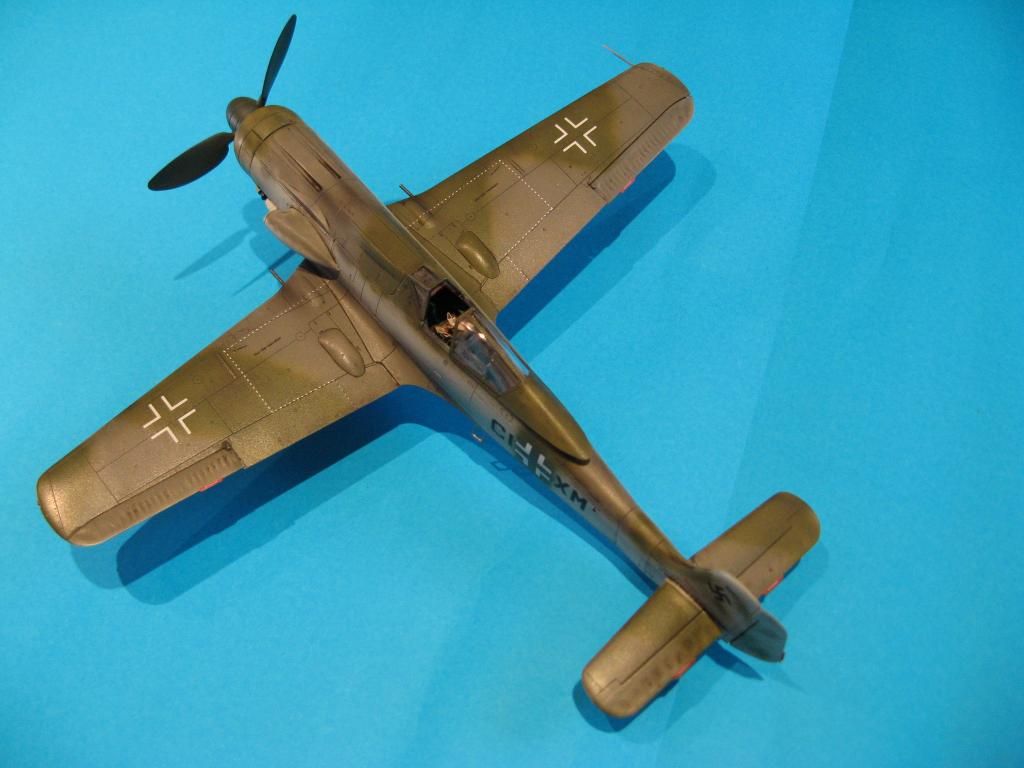
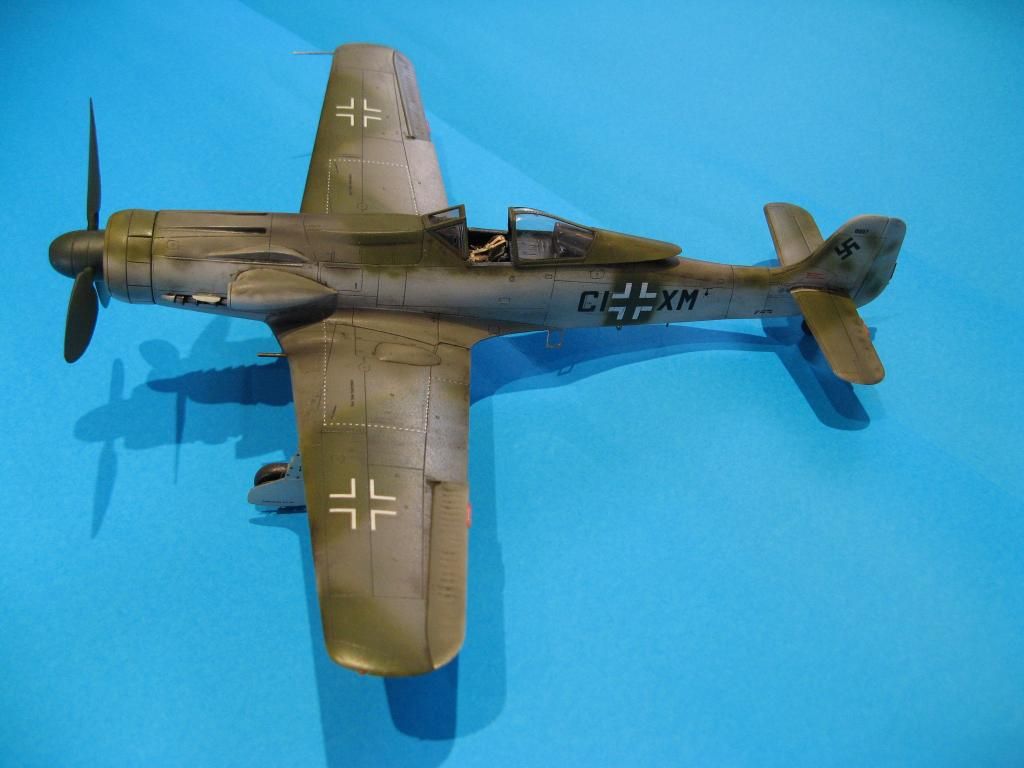
Here are the final reveal pictures for the Hobby Boss Ta 152 C-0.  This was good kit and a fun build.  There were some accuracy issues which were corrected along the way but now it's a good representation of one of the rarest fighters built during WWII.
 

1/48 Hobby Boss Ta 152 C-0 - Part 5

Back to part 4.

The Home Stretch

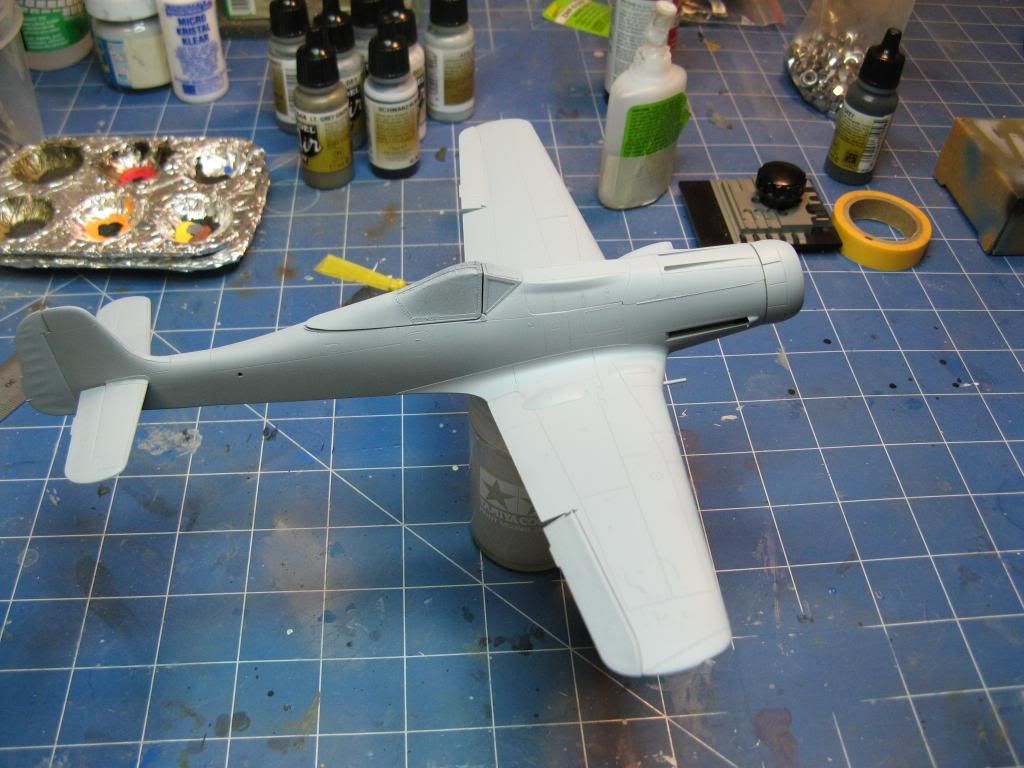
We're getting to the finish line for this one.  I gave the model a primer coat using the Vallejo primer.  I really like the way this primer lays down a smooth coat.  It's also self leveling so any spatters just blend right in.

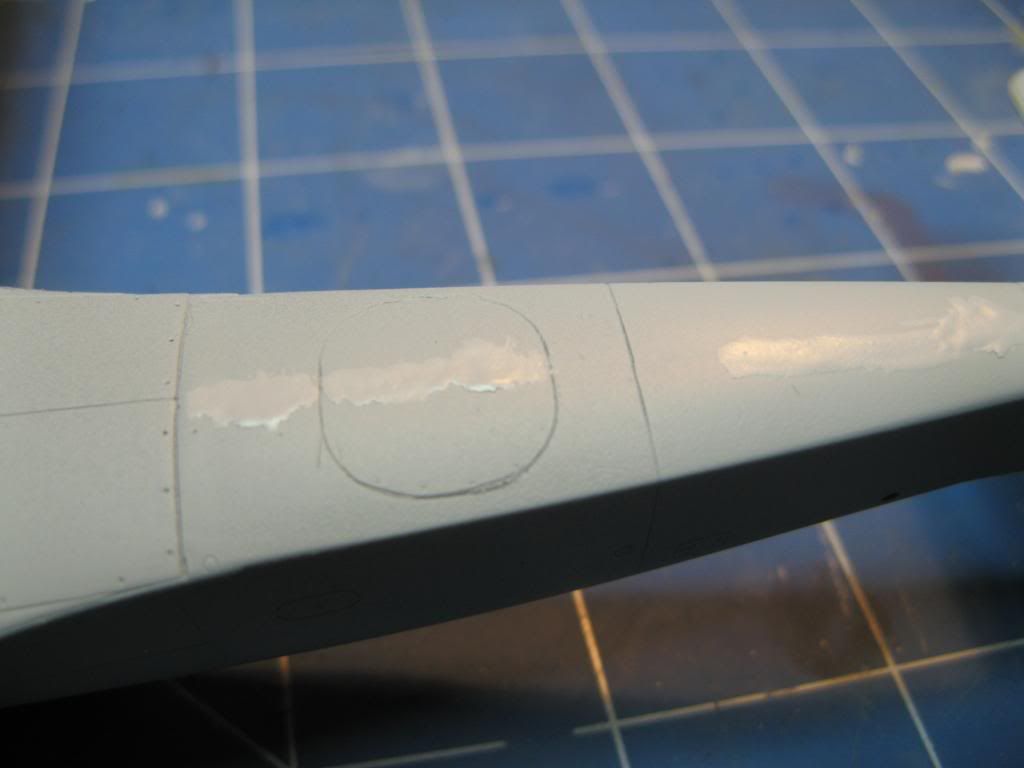
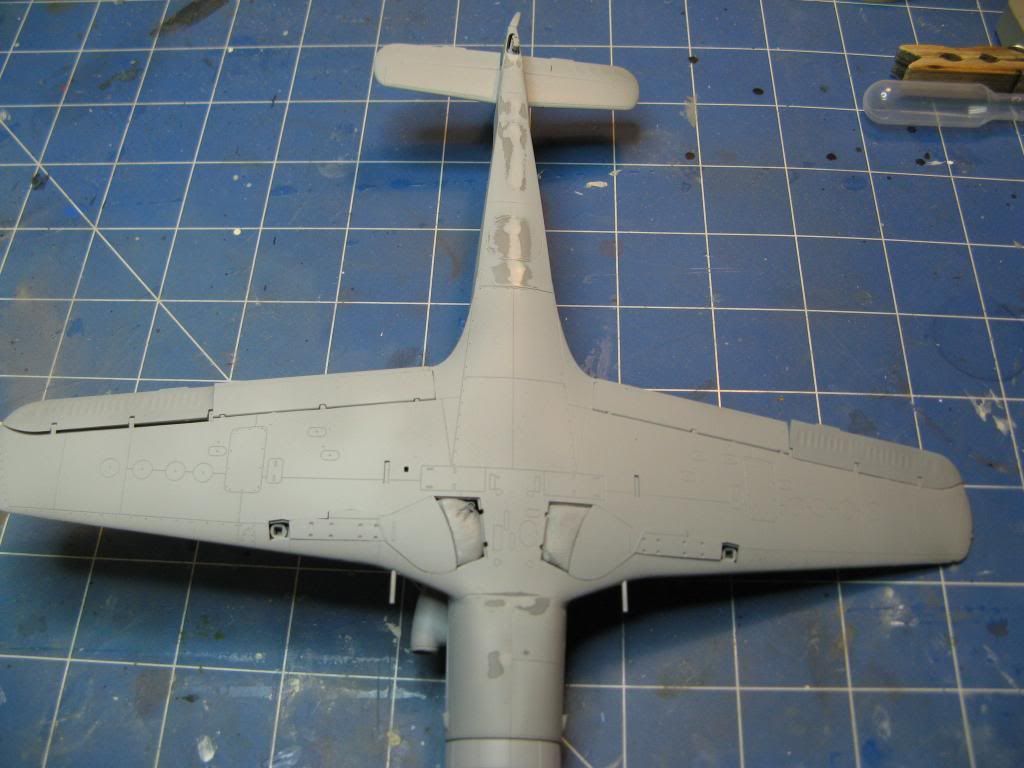
Once the primer was dry the model was inspected for any imperfections.  The seam on the bottom was still faintly visible so a bit of Mr Surfacer was used to cover it up.  This was then carefully sanded flush and re-primed.

Here's where I got a bit lazy and didn't take too many photos.  The model was given a preshade using Vallejo black along the panel lines.  Then Alclad II metallic paints were used to paint the exposed metal areas under the wings.  Two shade of aluminium were used to give a subtle contrast.  This was then masked off and the main camouflage colours were sprayed. RLM 76 for the undersides and RLM 75 and RLM 83 for the upper surfaces.  A couple of gloss coats, and then the decals were applied.

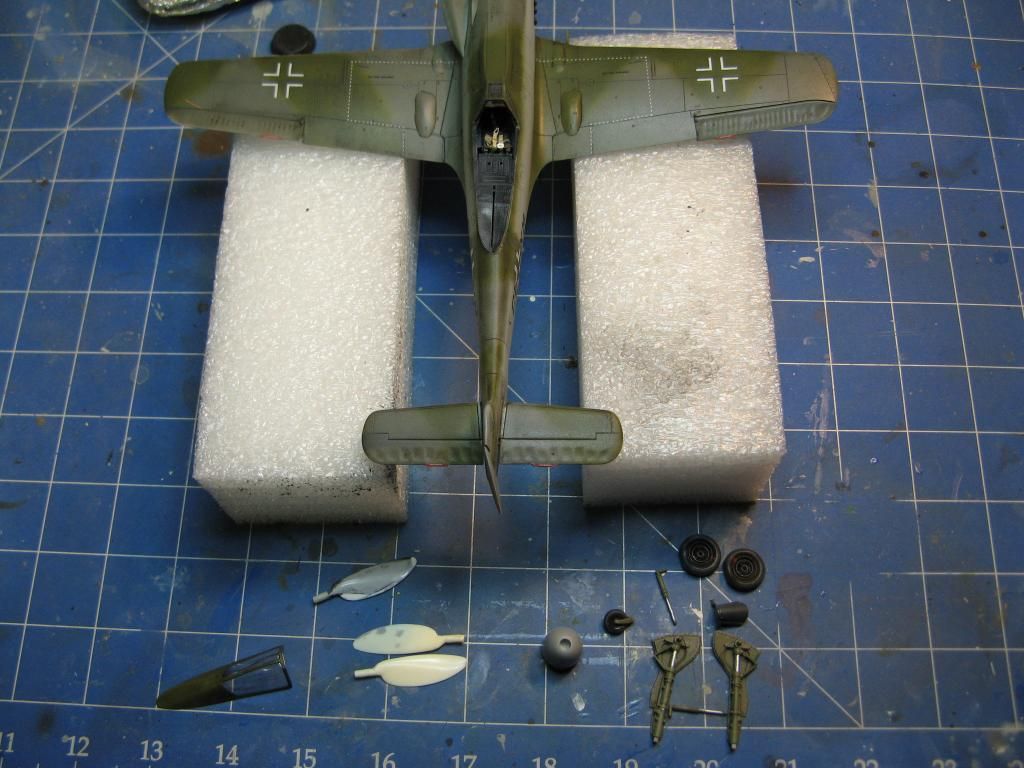
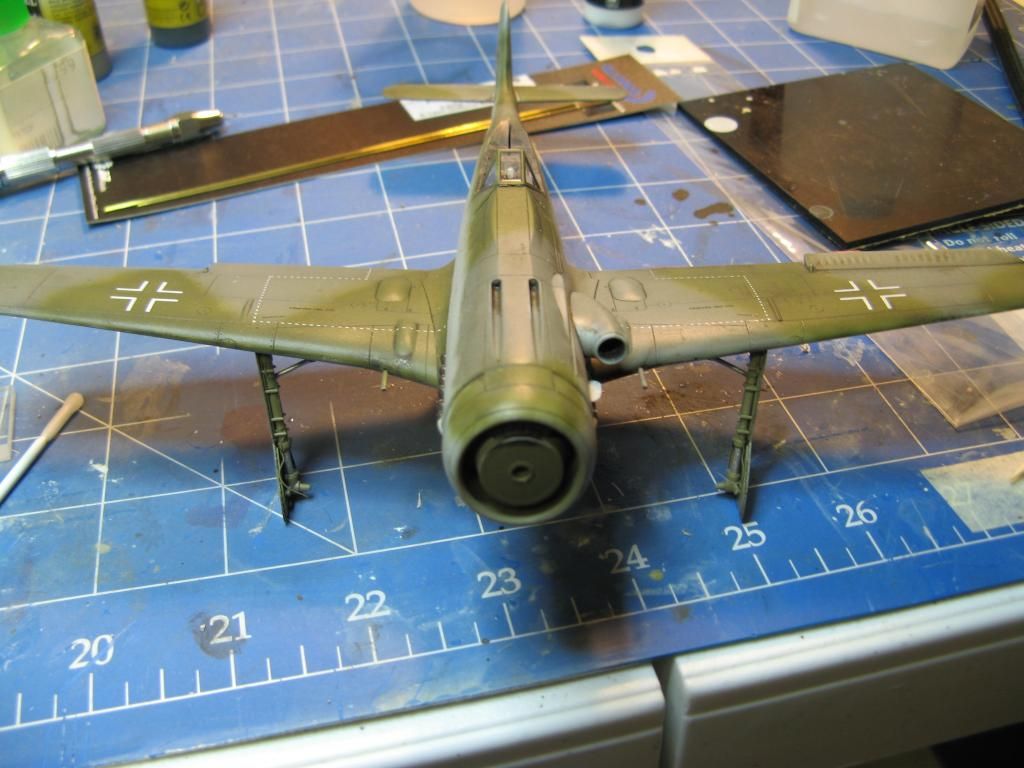
Another gloss coat was applied to seal the decals in and then a wash with Flory Models Dark Dirt was applied.  This was wiped away so thet it remained in the panel lines and a final flat coat was applied.  Then all that was left was fixing the final parts.  You can see the corrected spinner and new propeller blades.  

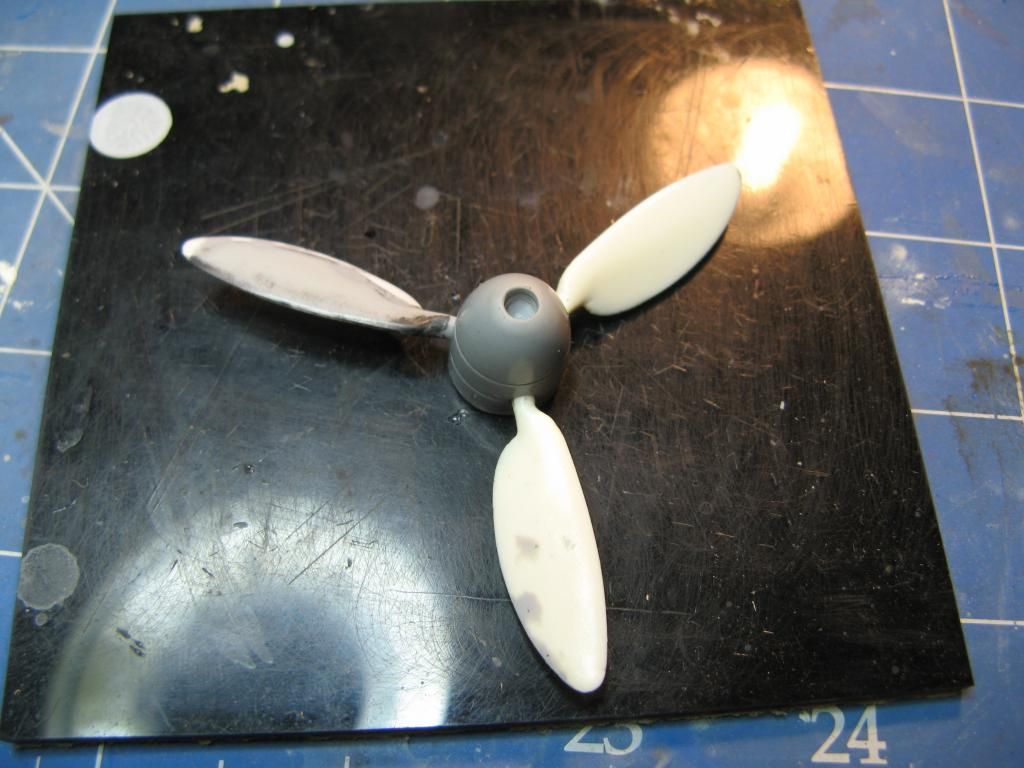
The propeller was assembled in preparation for painting in RLM 70.  It's a much better representation than the kit prop or any of the after market or spares that I had.

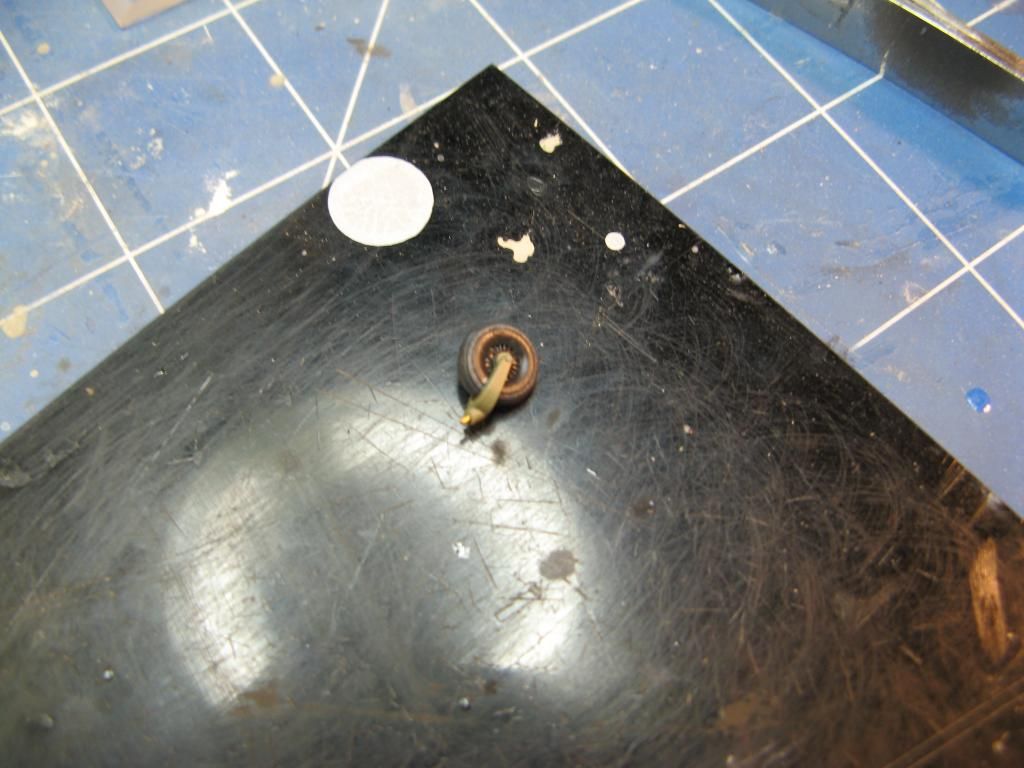
The tail wheel was fitted with a small pin so that it could be cemented securely but offset a little.

Finally it's up on it's legs.

With the prop on, main wheels, antennas, canopy and a little bit of staining from the guns and exhausts it's done.  Thanks for having a look.  Follow the link below to see the final reveal pictures.

Final reveal pictures are here.

Saturday, 12 July 2014

1/48 Hobby Boss Ta 152 C-0 - Part 4

Back to part 3

Hello again.  It's been a long time since I last updated this but my build of this aircraft continues with some work on the propeller and spinner.  I also get the wings on.

You Spin Me Right Round

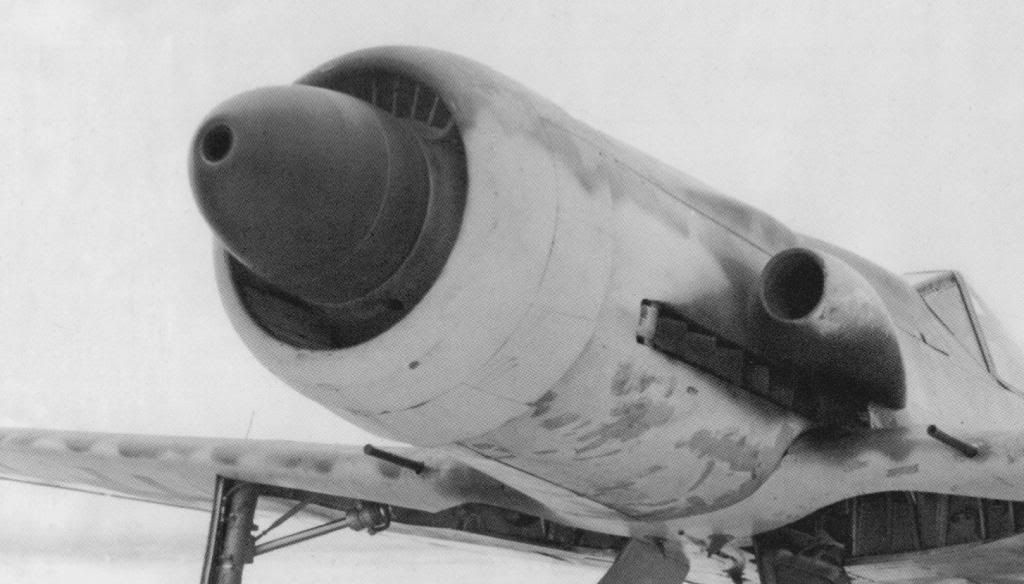
I mentioned right at the beginning that I didn't think that the spinner or prop blades were right in this kit.  The aircraft I am building had a spinner design seen on the Ta152 H prototypes and on some Fw190 D prototypes.  You can see in the photo below that a defining feature of this spinner is the large hole in the end.

This feature is missing from the kit spinner.

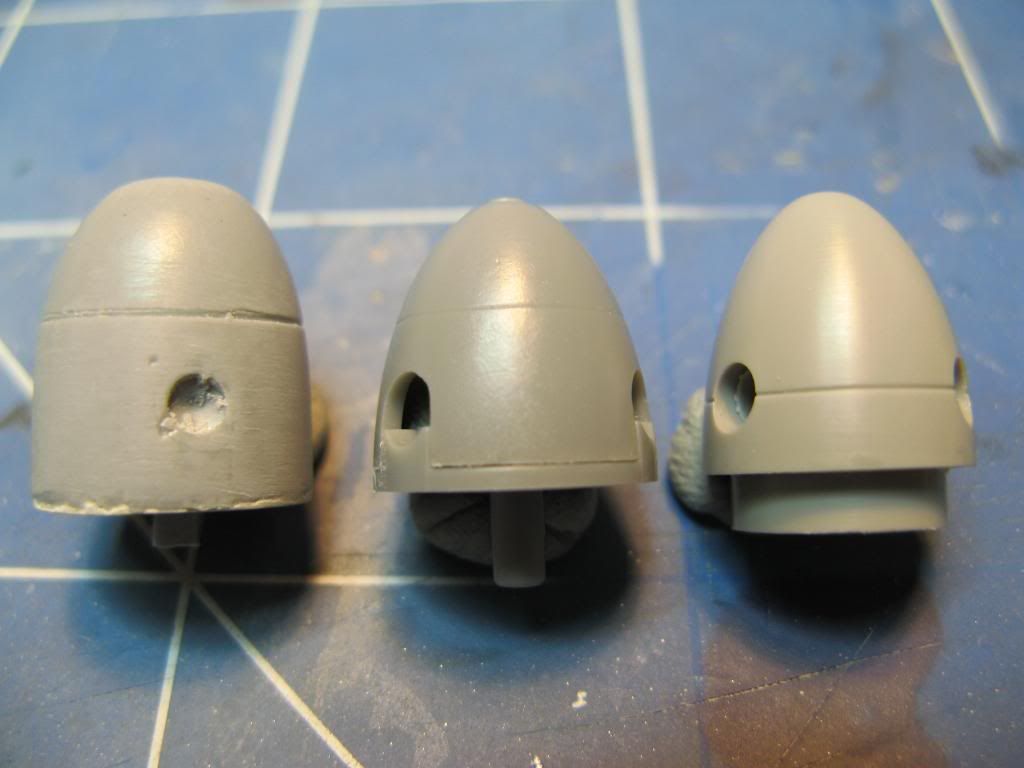
In an attempt to rectify this I bought the Quickboost spinner and propeller replacements.  It was not much better than the kit so I needed to source a more correct spinner.  I think I got close with the Engines and Things conversion set for the Fw 190 D-11.  The three choices are shown in the image below.  On the left is the Engines and Thing spinner, in the middle is the kit spinner and on the right is the Quickboost spinner.  You can see they're all quite different.

I resolved to start with the Engines and Things spinner and modify it to match my references.  Frankly its a pretty awful casting so there will be a fair bit of work to get it to the state that I want.

Similarly the propeller blades are the wrong shape.  The actual aircraft has large paddle shaped props as shown below.

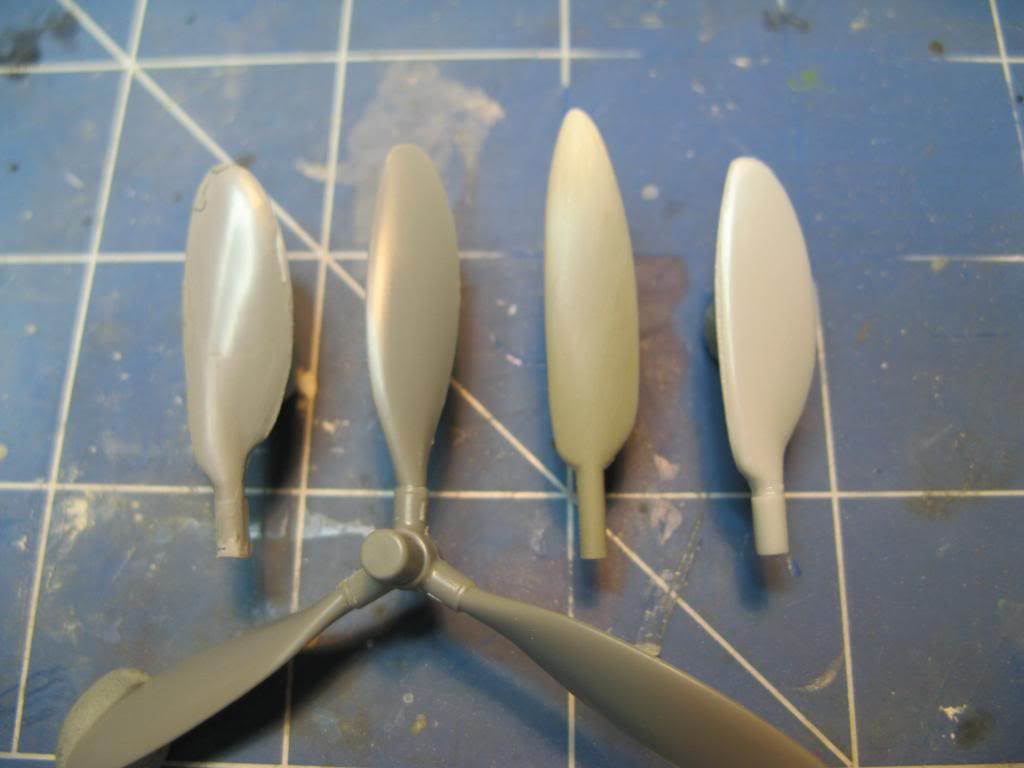
None of the alternatives I had to hand were quite right.  In the picture below from left to right we have the Engines and Things prop, the kit prop, the Quickboost prop and some I had in my spares box from the Dragon Ta 152H.  They are all different shapes but the closest is the one from the Dragon kit.

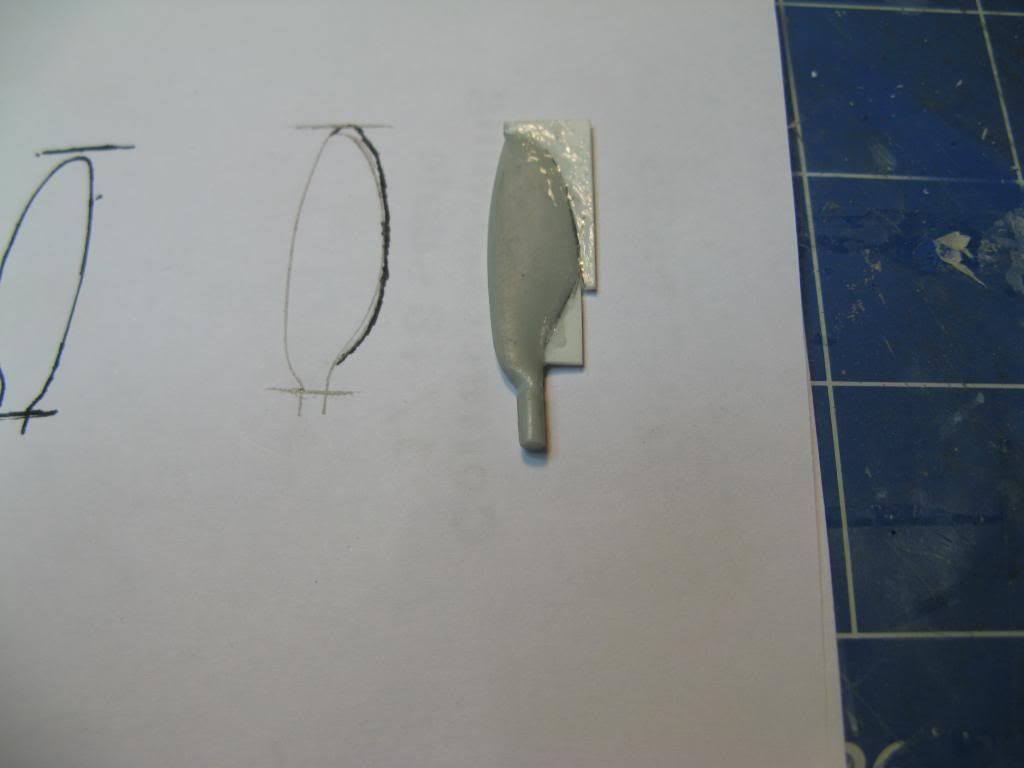
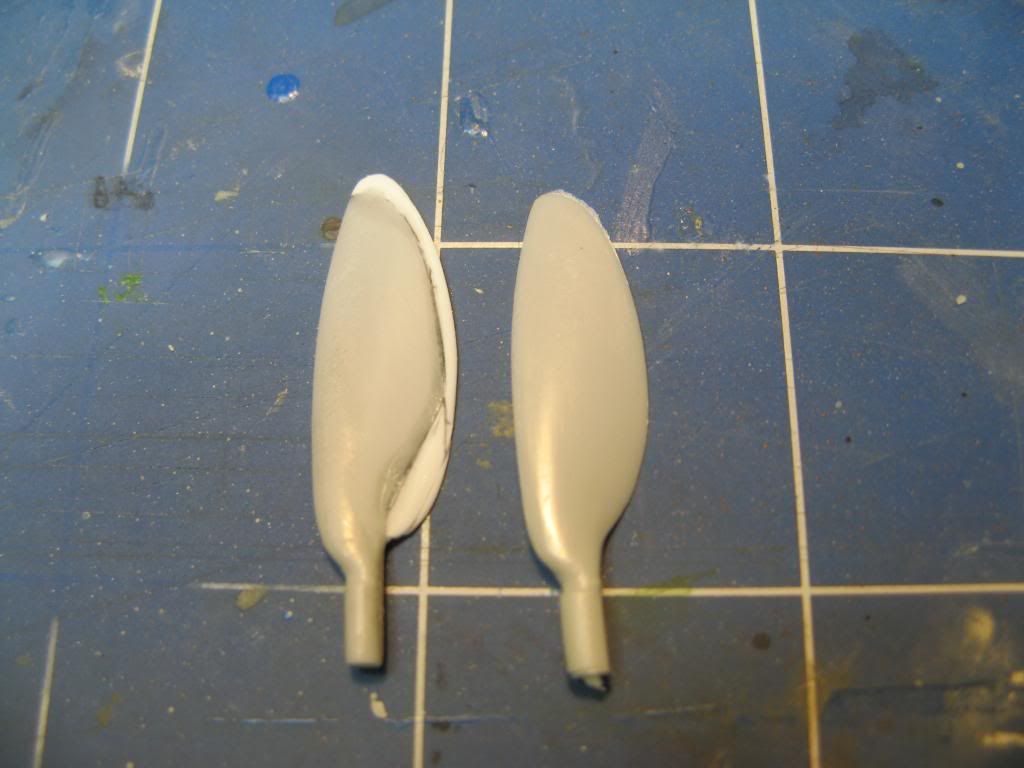
I opted to use the Dragon one as a basis for making my own.  First I got measurements of the correct length from some plans I have in one of my references.  This showed the Dragon blade to be too short by about 1mm.  The trailing edge of the Dragon blade is also wrong where it begins to flare out.  I traced the Dragon blade on paper using a pencil and made corrections to the drawing using a fine marker.  I then used the corrected drawing as a template to correct the shape.  I started by cutting the trailing edge off the Dragon blade and attached plasticard using plenty of super glue.

This was then shaped to match the drawing and the trailing edges thinned down.  Here you can see the almost completed blade next to the original Dragon version.

It's taller, more pointed and slightly wider.  Once finished it will be cast in resin to make exact duplicates.

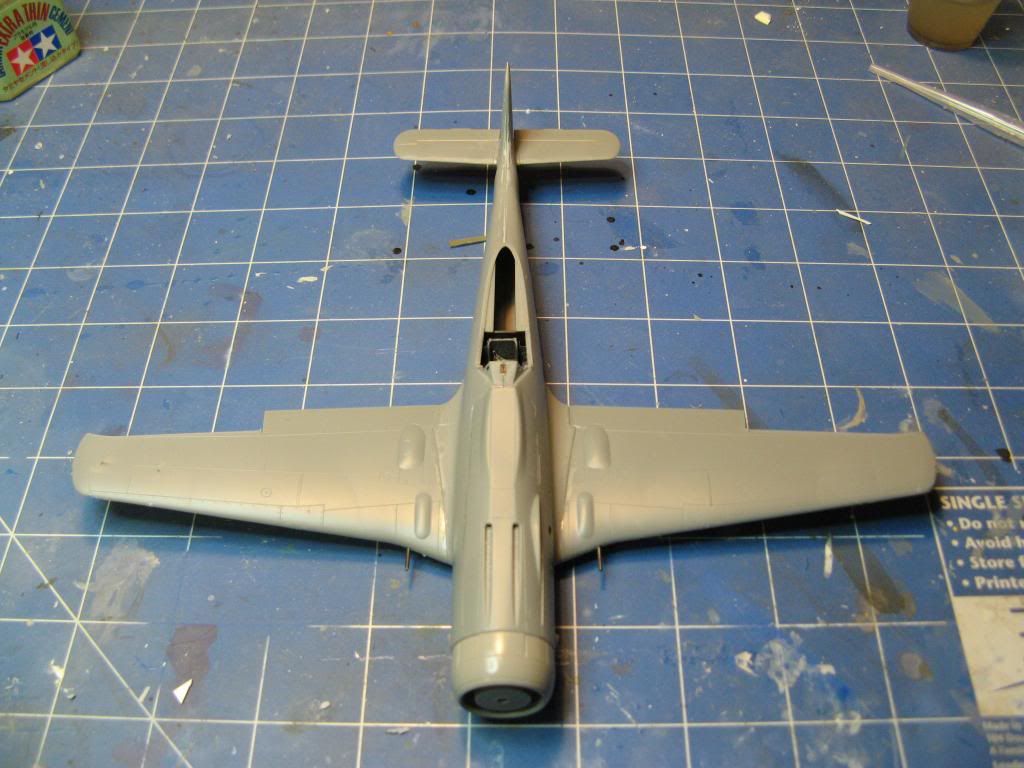
With the propeller blade completed I finished up the main assembly by gluing the wings on.

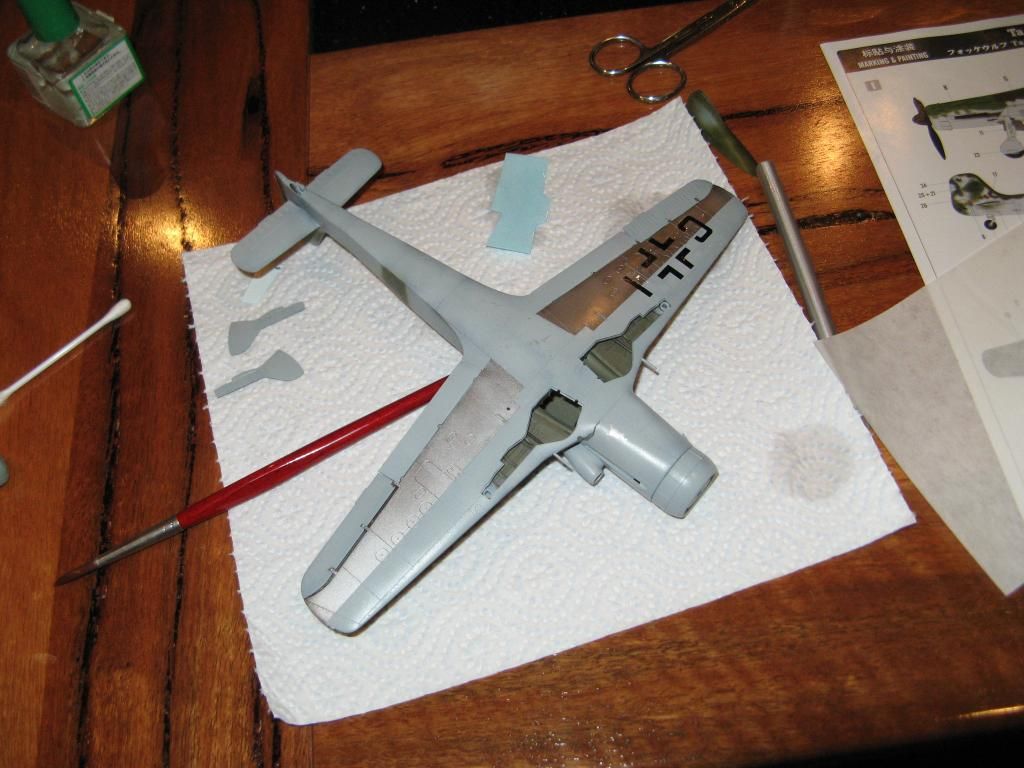
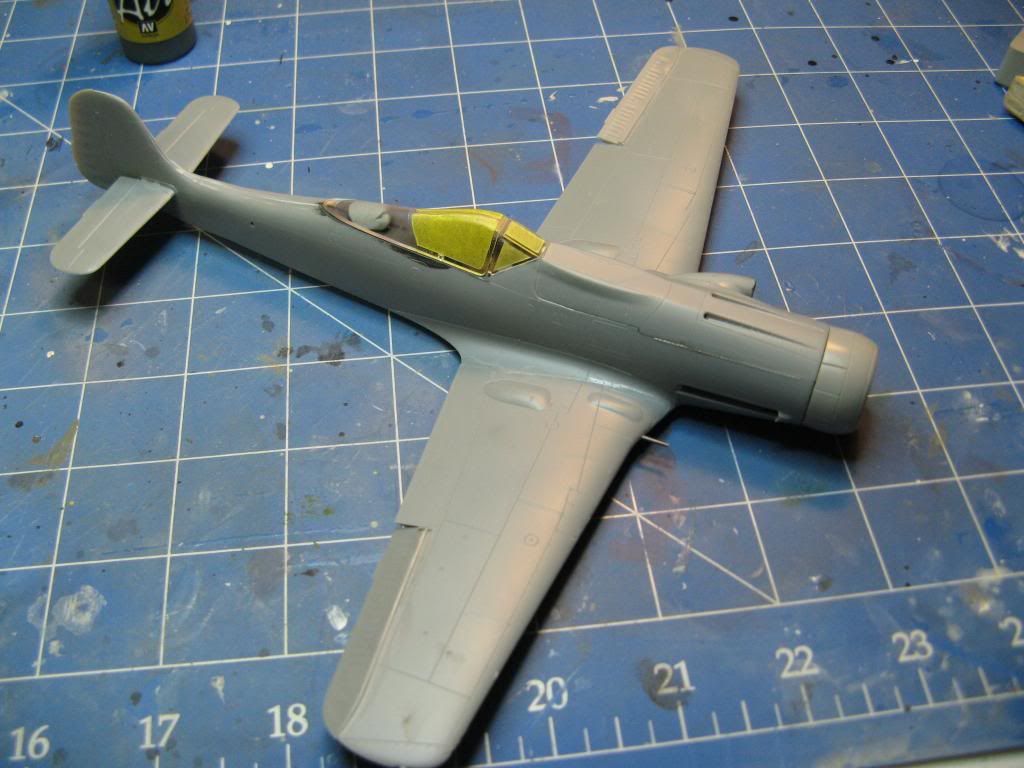
The wing and tailplane joints were pretty good.  A little more assembly and we're almost ready for paint.

In the next update we'll get some paint. and decals on.

On to part 5.