Sunday, 10 November 2013

Academy 1/48 Mig-29A - Part 10

Back to Part 9.

Completion of Painting

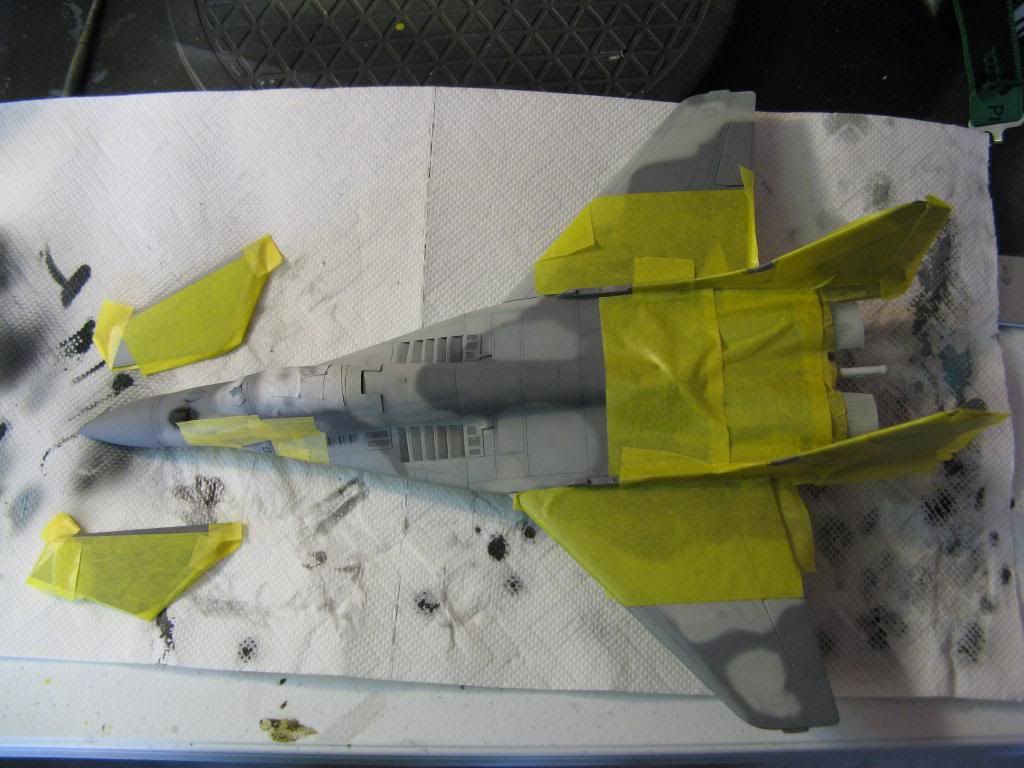
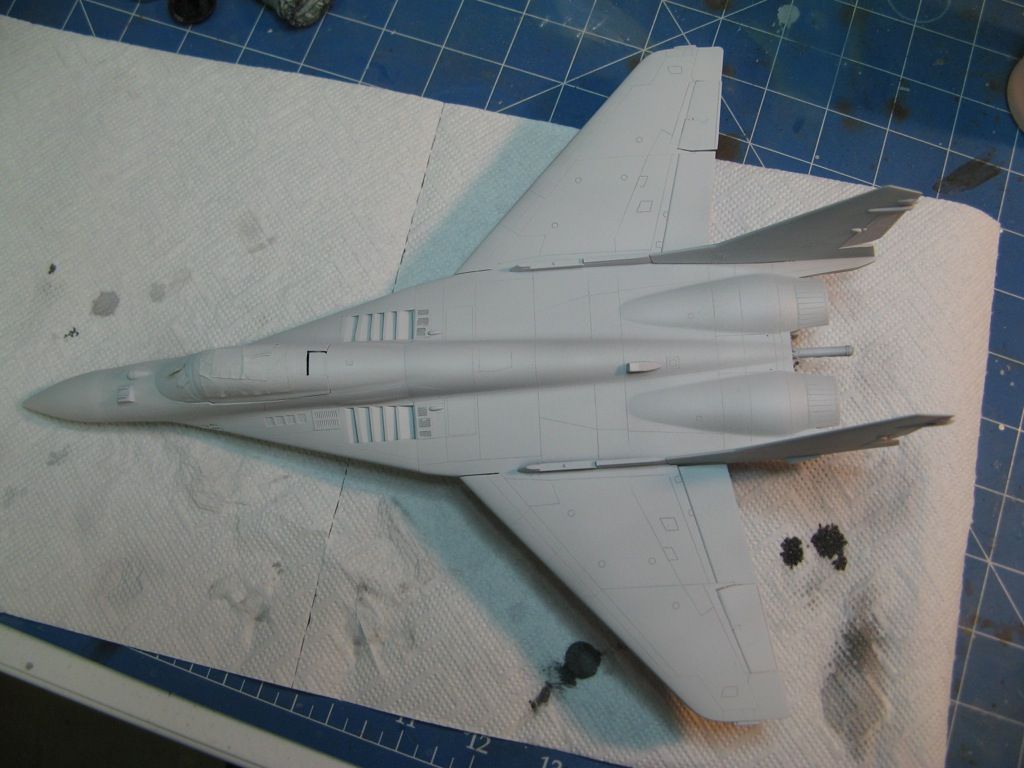
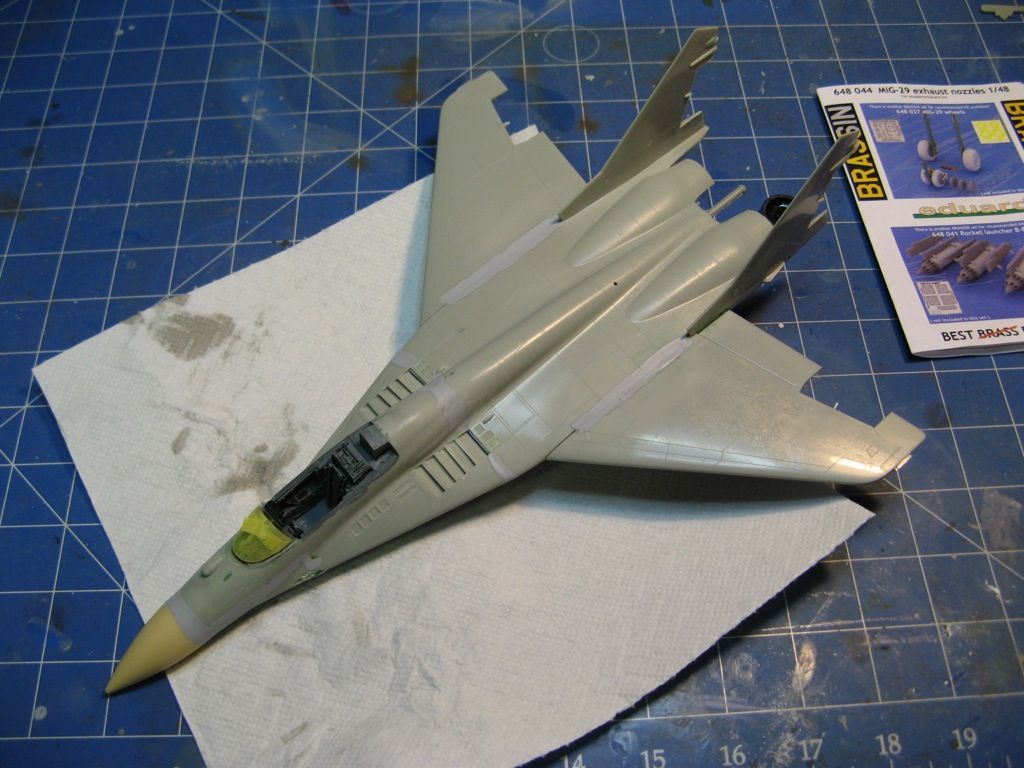
The main phase of painting was completed by masking up to spray the metallic areas.  These are around the gun, the exhausts and the leading edge of the stabilators and tail.

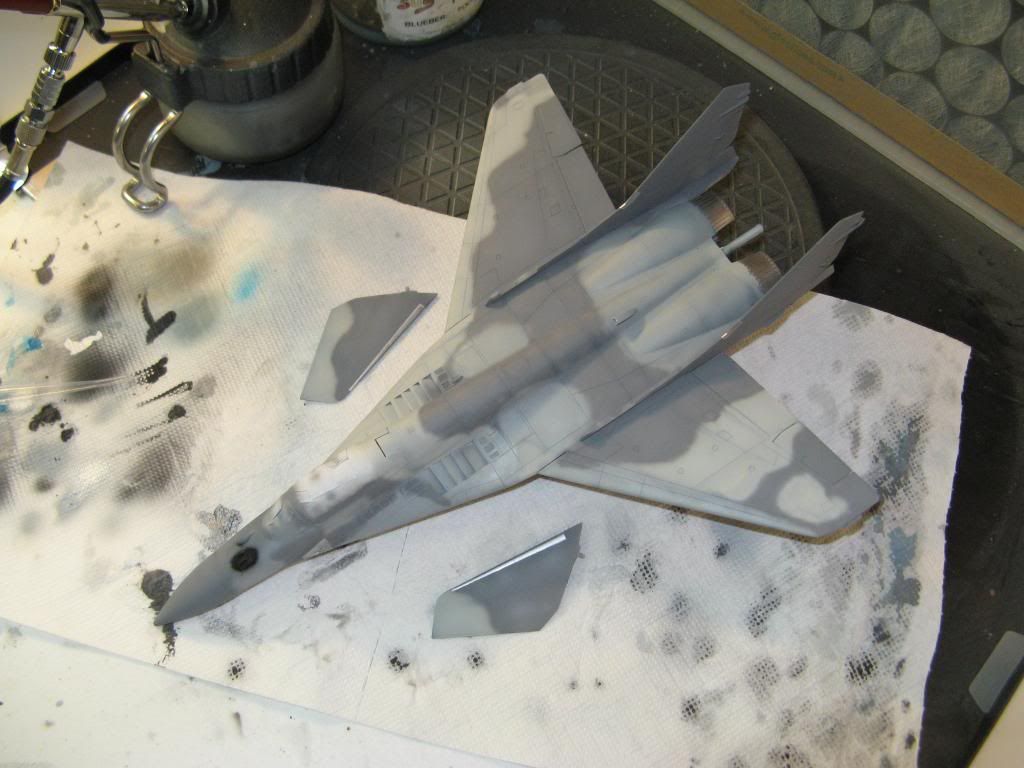
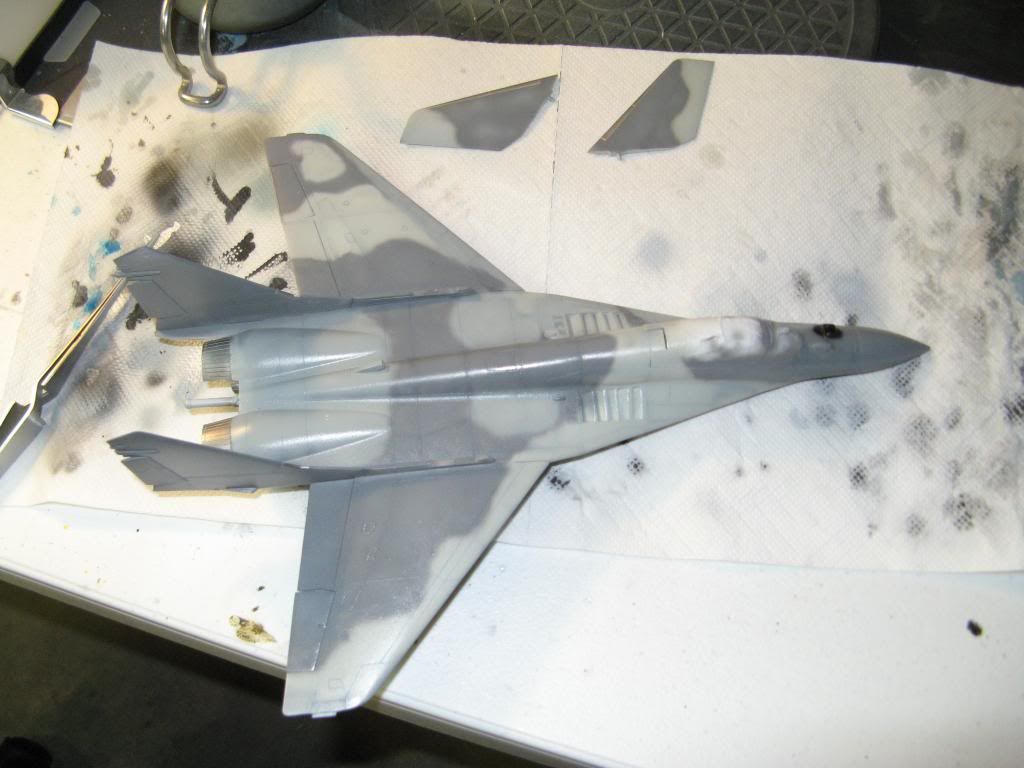
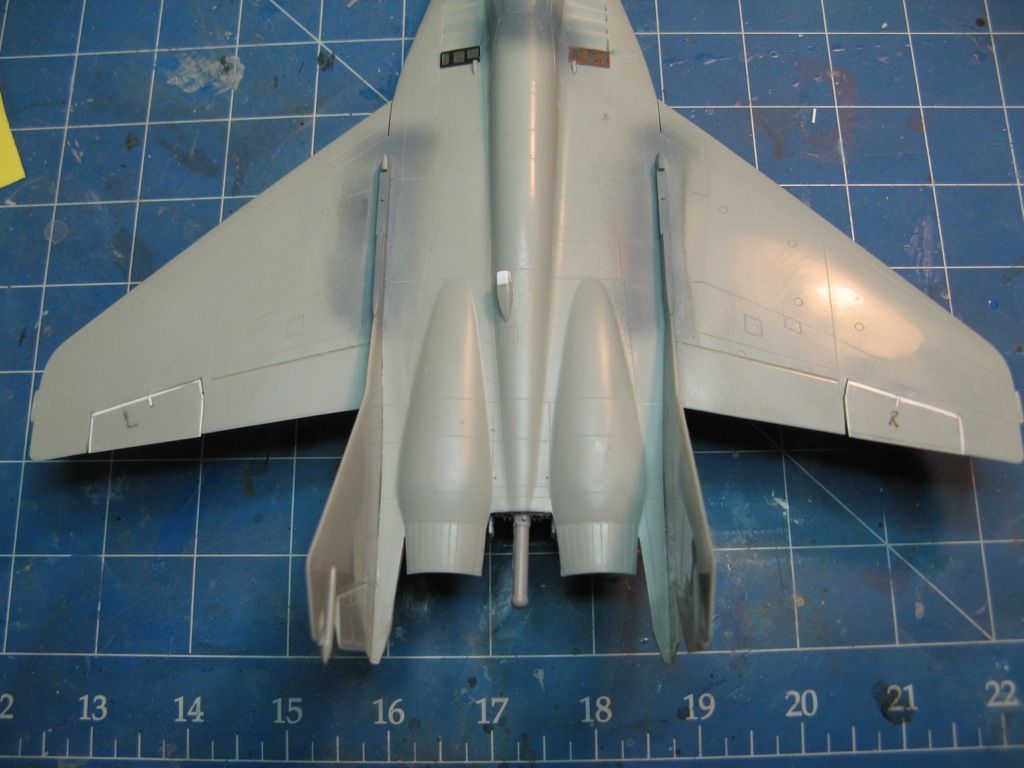
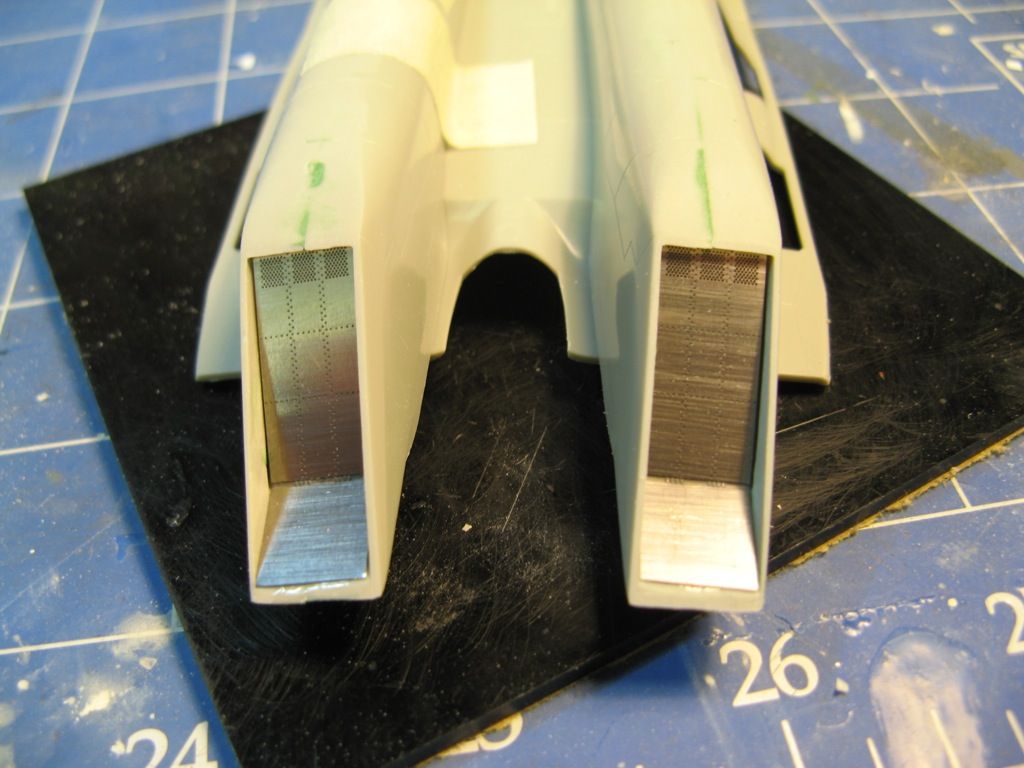
The area around the gun was sprayed aluminium using Mr Metal Color as were the leading edges of the tail and stabilators.  This paint is great as once it is dry you can buff it to a shine which makes it look more metallic.  The exhaust area got a similar treatment using Mr Metal Color Stainless Steel on top and Iron underneath.  All the metallic areas were then polished and the underside exhaust area was given a light dusting of transparent blue to simulate the heat bloom on the metal.  All areas were then unmasked.

The entire model was then given a gloss coat to seal everything in.

Gloss helps the decals adhere and hides the carrier film so that the decals will look like they're painted on - I hope :-)

Decaling Commences

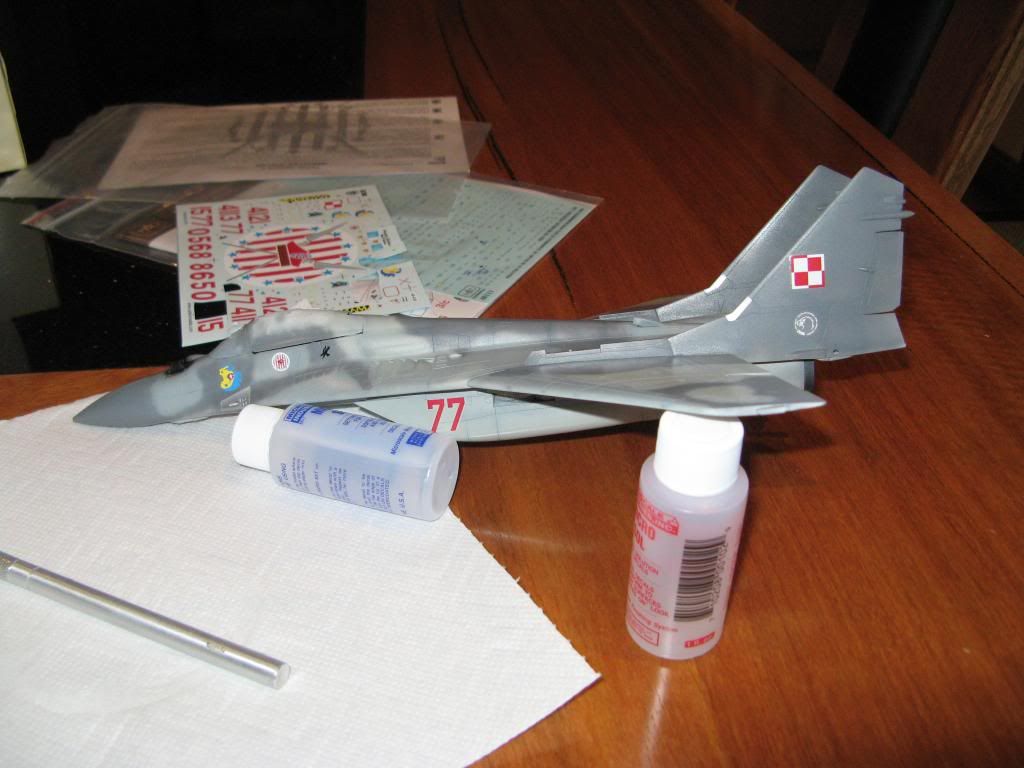
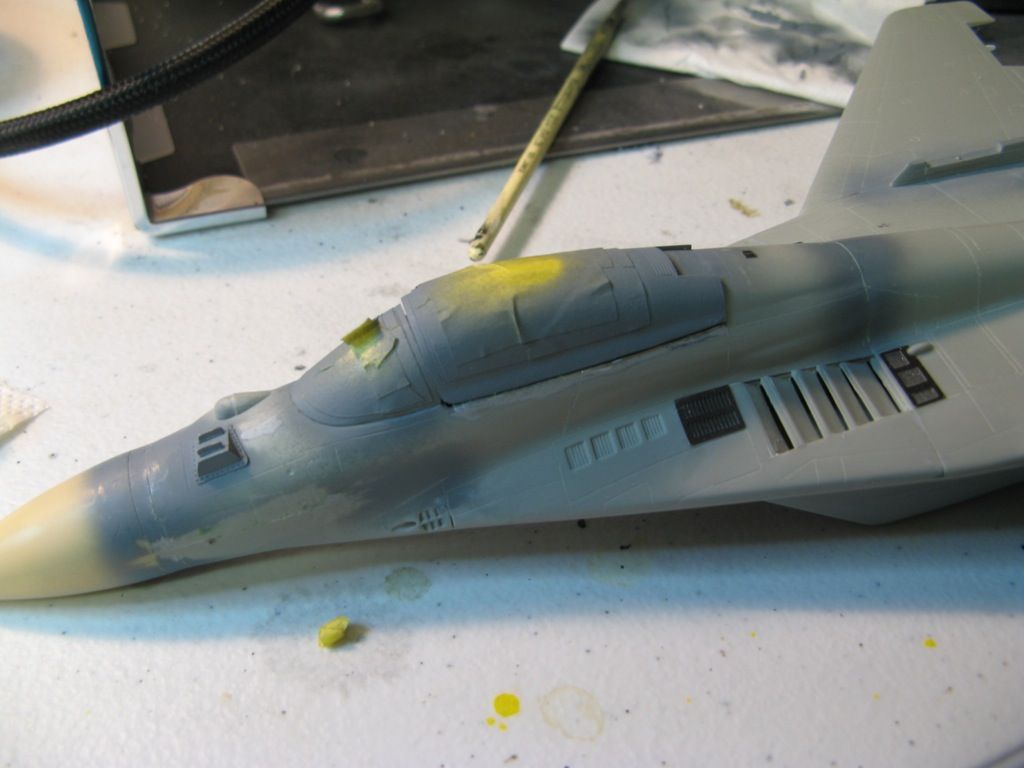
Once the gloss varnish was dry I started putting on the decals beginning with the aircraft number and unit markings.

Those of you that are observant might notice that I have put the wrong number 77 on the plane.  I did fix this later.

The Aztec decals were not too good in my opinion.  They seemed to separate from the backing paper far too easily as if there was not much adhesive - one floated into the water it was soaking in within seconds of being submerged, a couple of them showed signs of silvering as they were drying and one did not even stick after it had dried requiring care with the setting solutions.  I was able to address all of these shenanigans this with micro sol, or at least I hope I have addressed it.

I have also started the stencil decals.  I'll take my time with these so that I don't inadvertently put my finger on a decal that's soaked in softener.  So for the next few days I'll be working on the missiles and other details during the evening and doing the decals at night.

On to part 11.

Monday, 4 November 2013

Academy 1/48 Mig-29A - Part 9

Back to part 8

Pre-shading

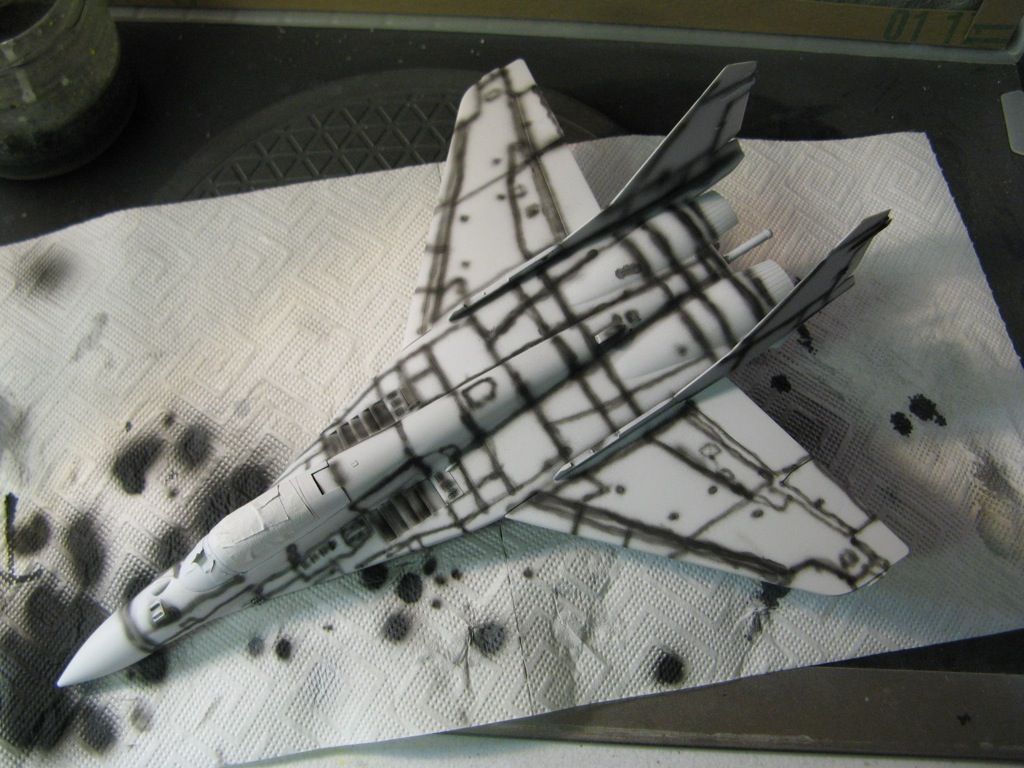
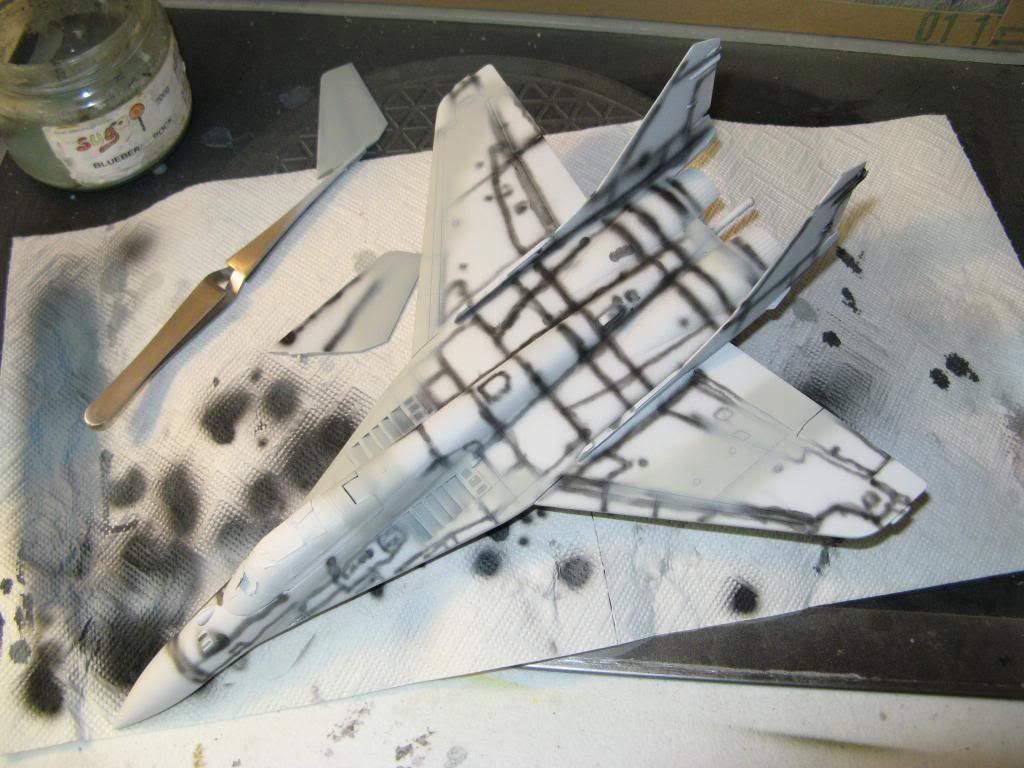
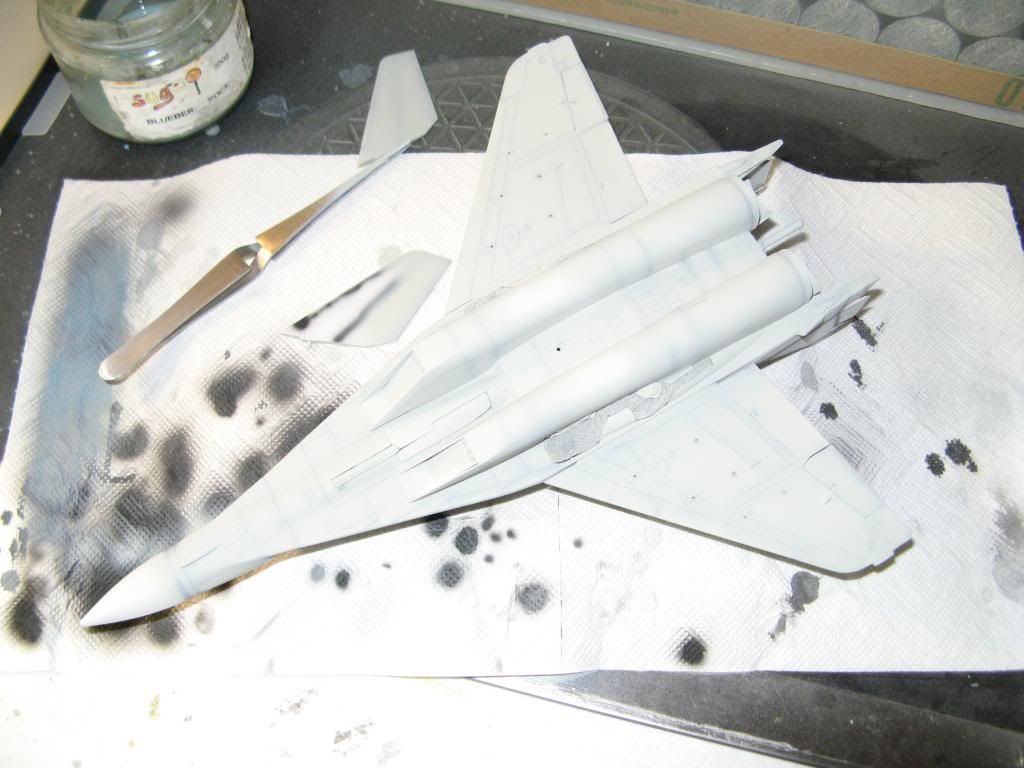
Once the primer was thoroughly dry the model was pre-shaded in black.


Some of you reading this might wonder why this is done. When the camouflage colours are painted the pre-shading will show through faintly.  It gives the impression of dirt and oil getting stuck in panel lines etc.  If you have a look at the real aircraft you'll see what I mean.

When the camouflage goes on there will be some other things I will do to make it look as if the aircraft has been used.

Paint Matching

For this aircraft I found getting the paint colours right really difficult.  The federal standard colour callouts are for FS36375, FS36495 and FS36492.  If your monitor is calibrated correctly then they can be seen on colorserver.net by following this link.  I have tried just about every shade of grey I have in my paints and I could not get anything which satisfied me completely.


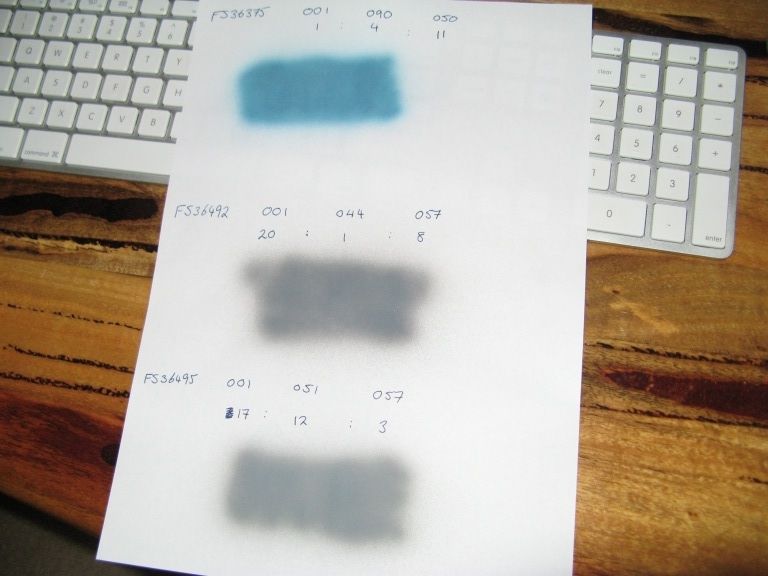
The colour suggestions on paint4models.com were no real help.  I do have an app on my iPhone called iModelKit which allows me to mix paints electronically.  This suggests the following mix of paints that I have to get to these FS colours using Vallejo Model Air:

FS36375: 11 parts 71.050, 3 parts 71.090 and 4 parts 71.001
FS36492: 1 part 71.044, 20 parts 71.001 and 8 parts 71.057
FS36495: 12 parts 71.051, 17 parts 71.001 and 3 parts 71.057


These are not even close!  Using the info button the app did say that they rely on the samples from manufacturers websites "so the reference might not be complete or exact."  All I seem to have done is wasted paint.

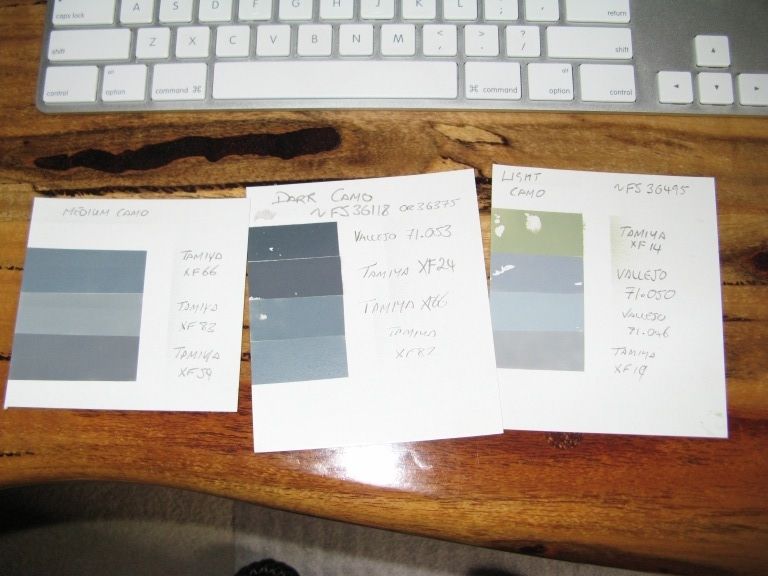
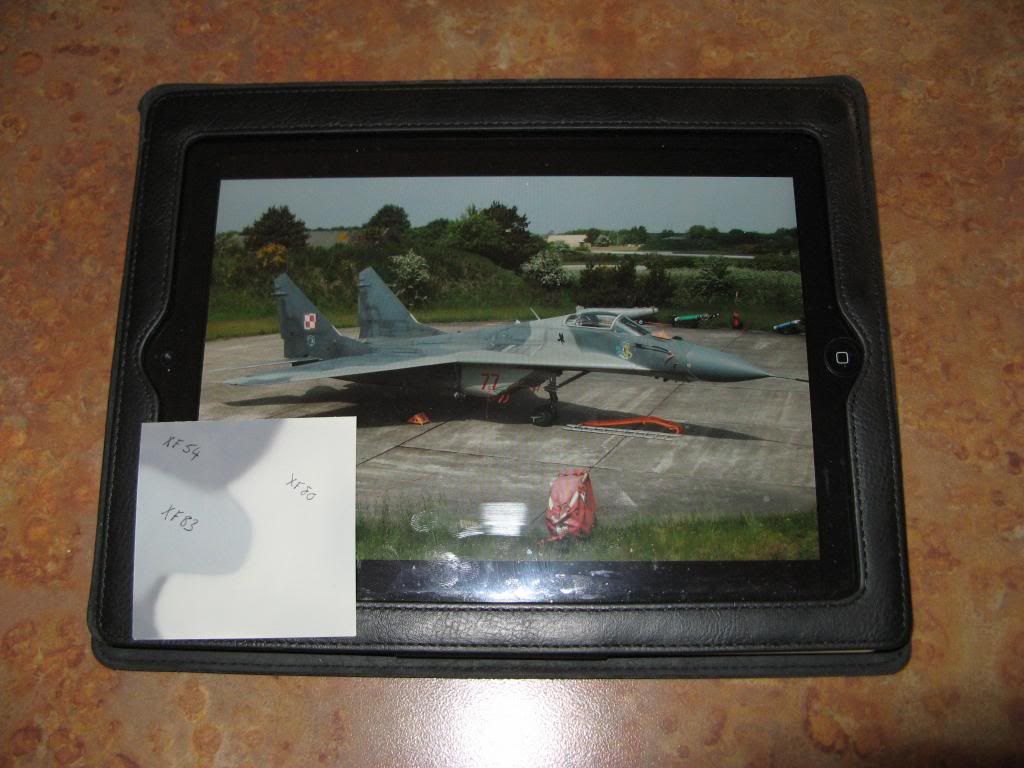
After all that messing around, using my eyes, my judgement and the reference photos, I guessed the following colours were close.

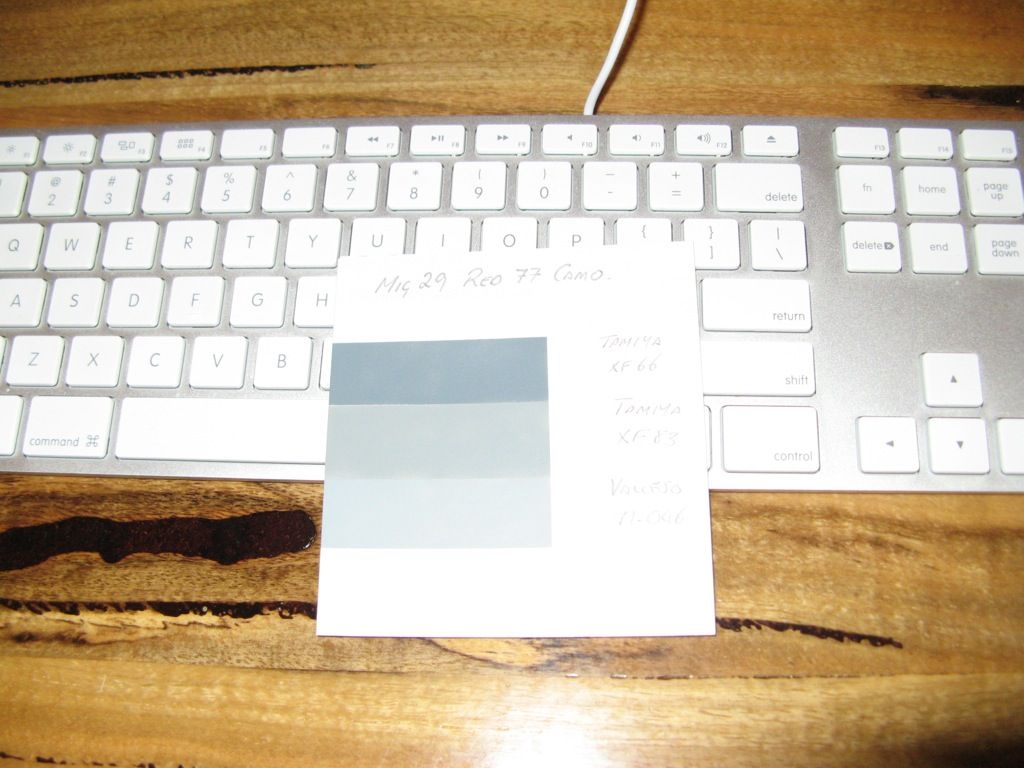
Even though the light in the photo is lousy the 71.046 is still looks too dark and I am not sure about the XF-66.  I admit it could be the white background of the card making the light grey look darker.

So it's settled then?  Well it was until I found this link which suggested that the light grey was close to XF-80 (allowing for scale fade) and the dark gray was a close visual match to XF-54.  So I sprayed up a sample to test it.  I have to admit it looks good but what an effort!!

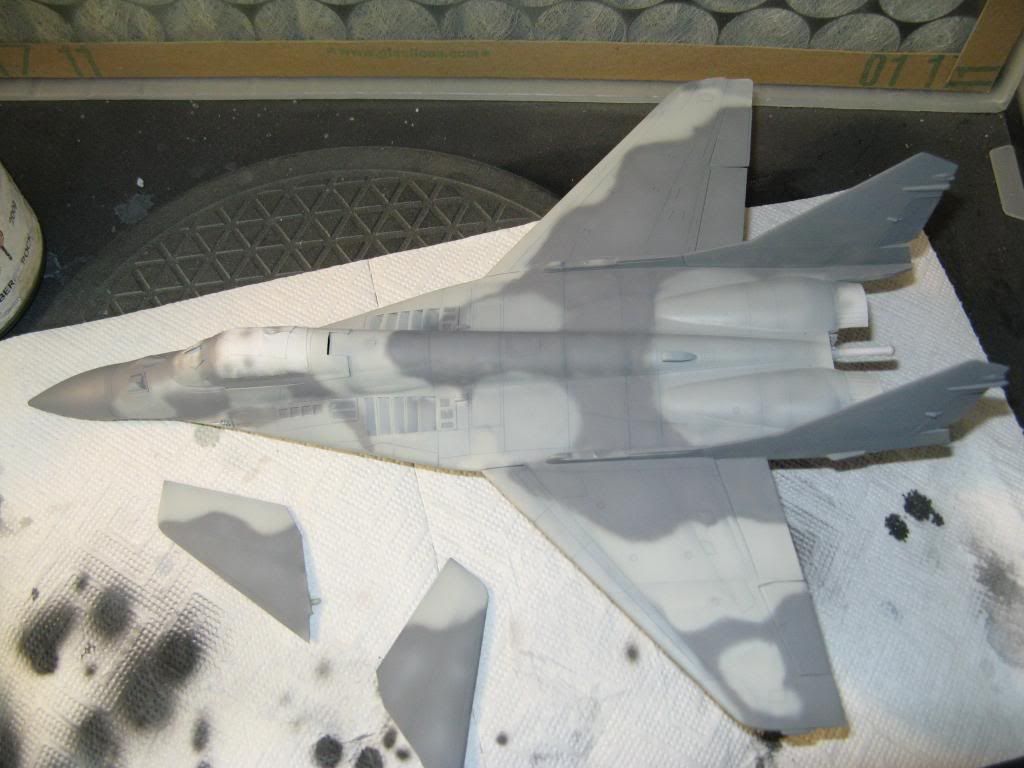
Now that I had the colours I was going to use painting commenced with the lightest first.  Coverage was not so heavy that the pre-shading was hidden giving a grimy look to the panels.

Then the darker colours were sprayed freehand.

Once the basecoat of each colour was laid down I mixed a little more of that colour with some white added.  This was sprayed into the centres of panels in a random manner.  This has the effect of breaking up large areas of a single colour and making the paint look weathered.

One More Thing...


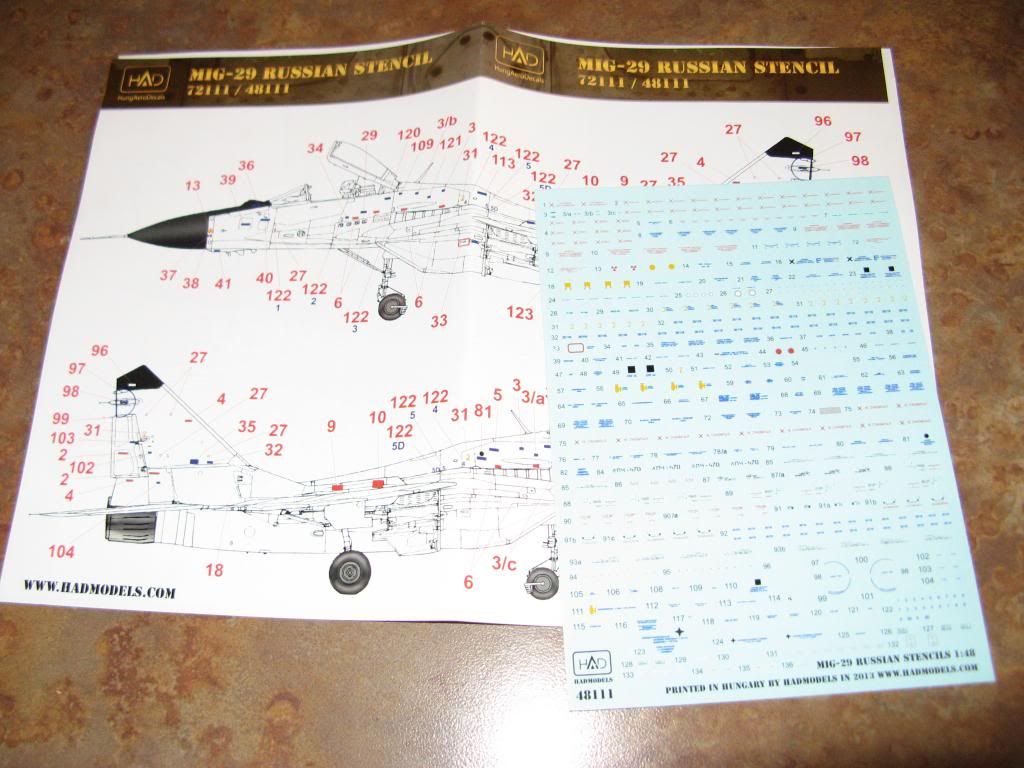
My stencil decals finally arrived.  These will help make the model look a bit more realistic as the Aztec Decals were a bit light on for stenciling.  This will particularly help with the missile pylons, some of which I had no decals for.

On to part 10.

Sunday, 20 October 2013

Academy 1/48 Mig-29A - Part 8

Back to part 7

Russian Engineering

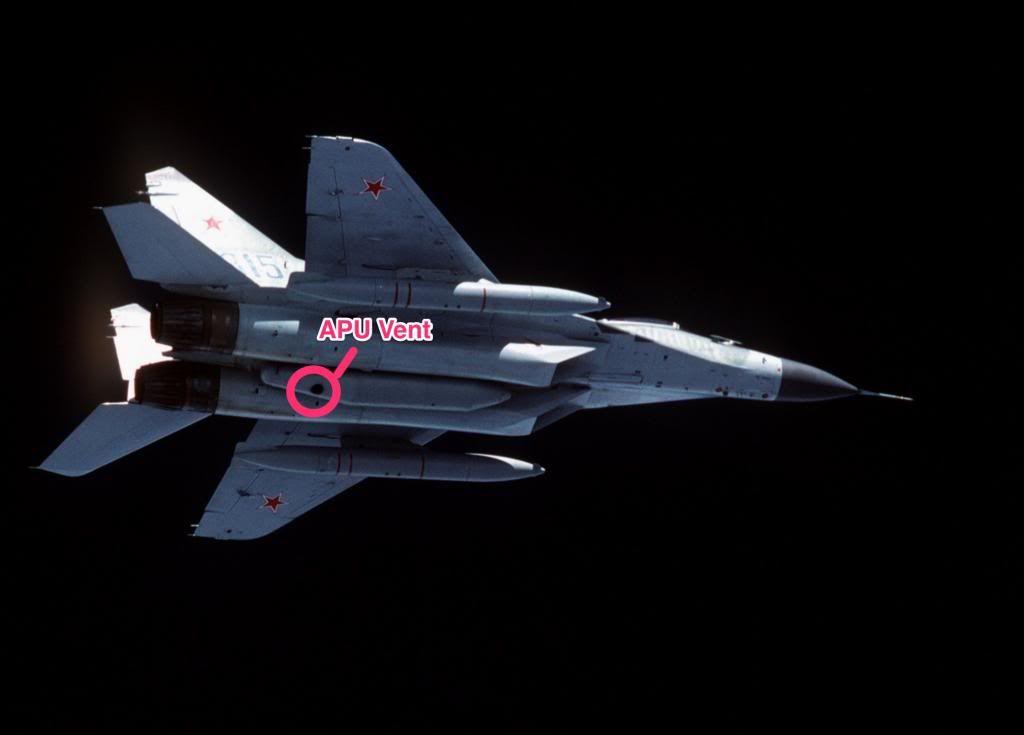
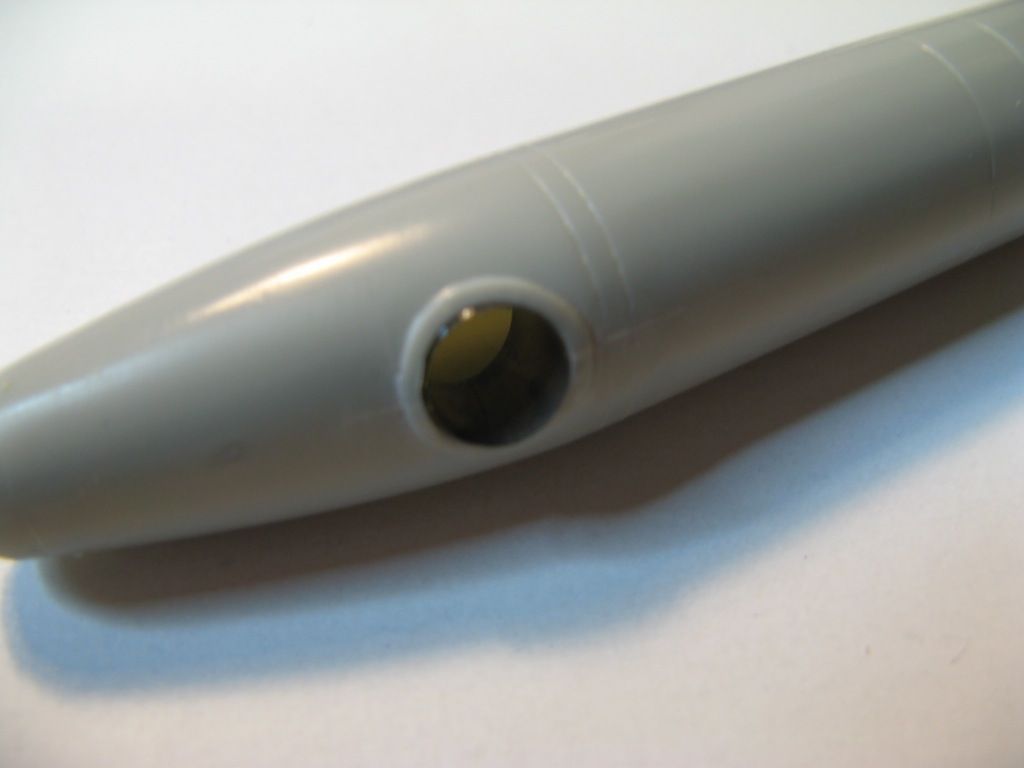
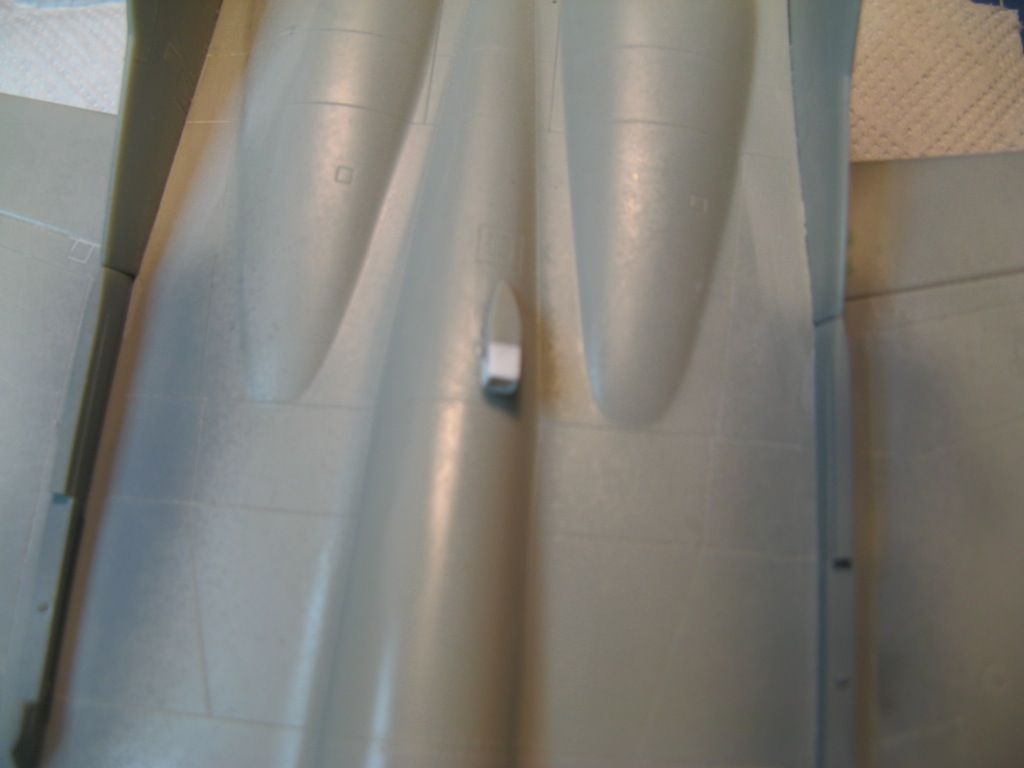
Russian engineering can sometimes be amusing.  Underneath the Mig-29 there is an exhaust for the auxiliary power unit (APU).  However when the centre-line drop tank is being carried it interferes with this exhaust.  The Russian solution - make the APU vent through the drop tank.

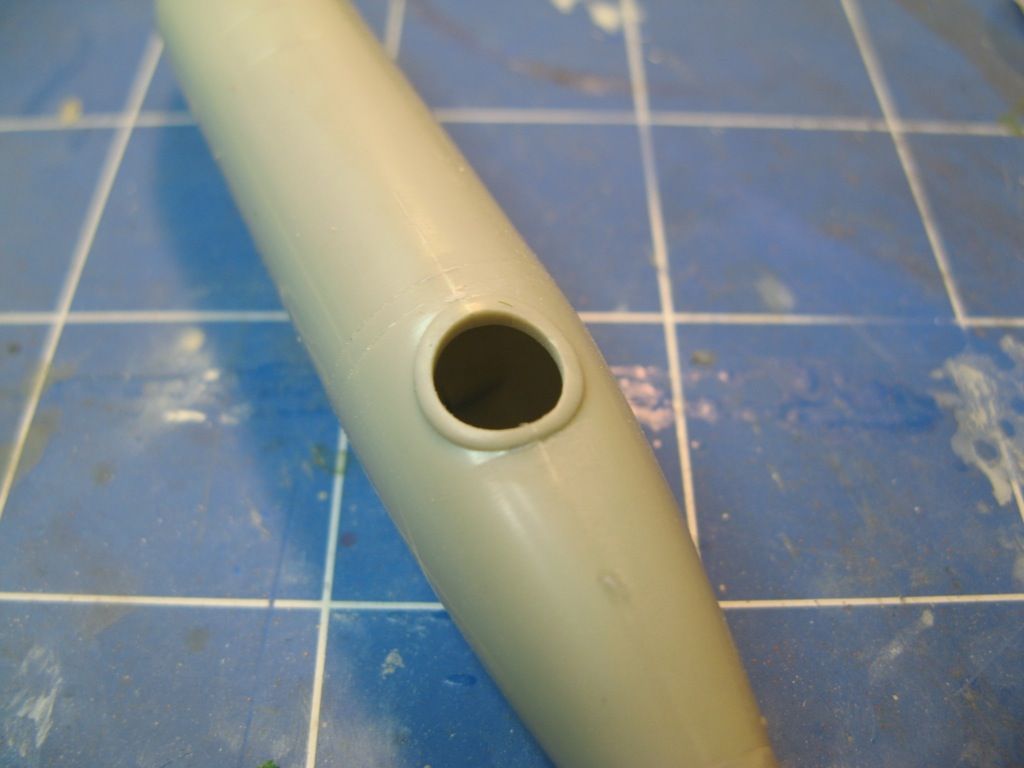
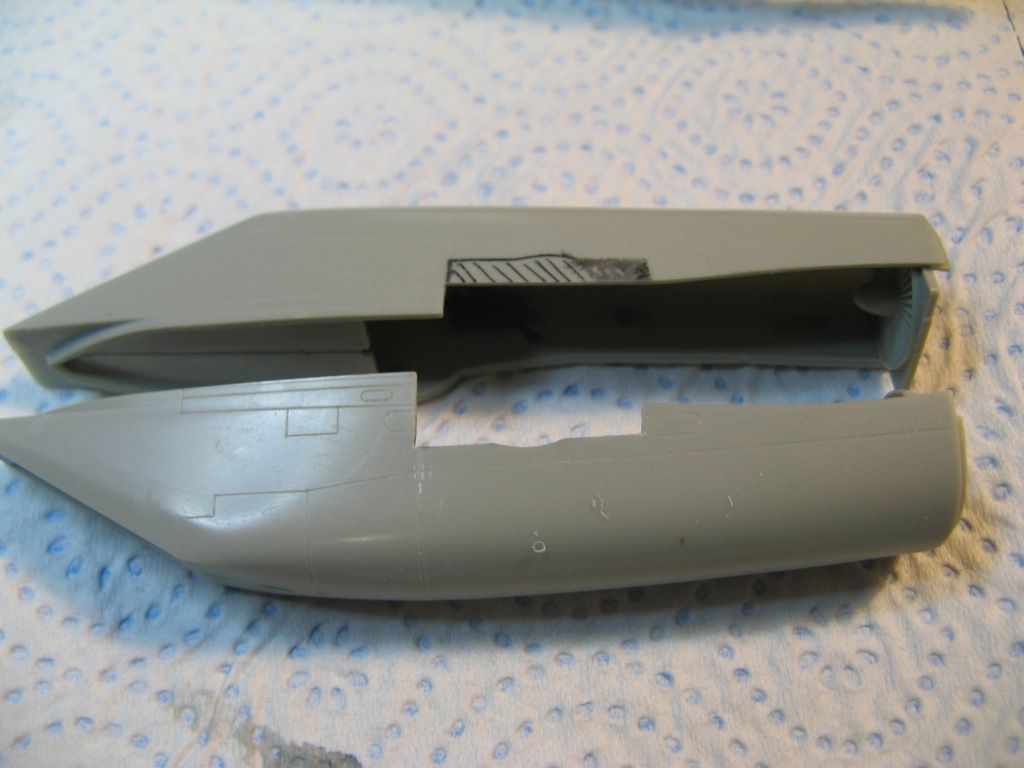
On the Academy kit the APU vent is represented as a raised circular area on the bottom of the drop tank.  This needed to be drilled out to a diameter of 7mm, a rather tricky task requiring a sequence of successively larger drills.  I didn't have a 7mm drill but I did have a 6.5mm drill so I got the hole up to that size and used some wet and dry sandpaper wrapped around a suitably sized piece of dowel to get the hole to the required 7mm.

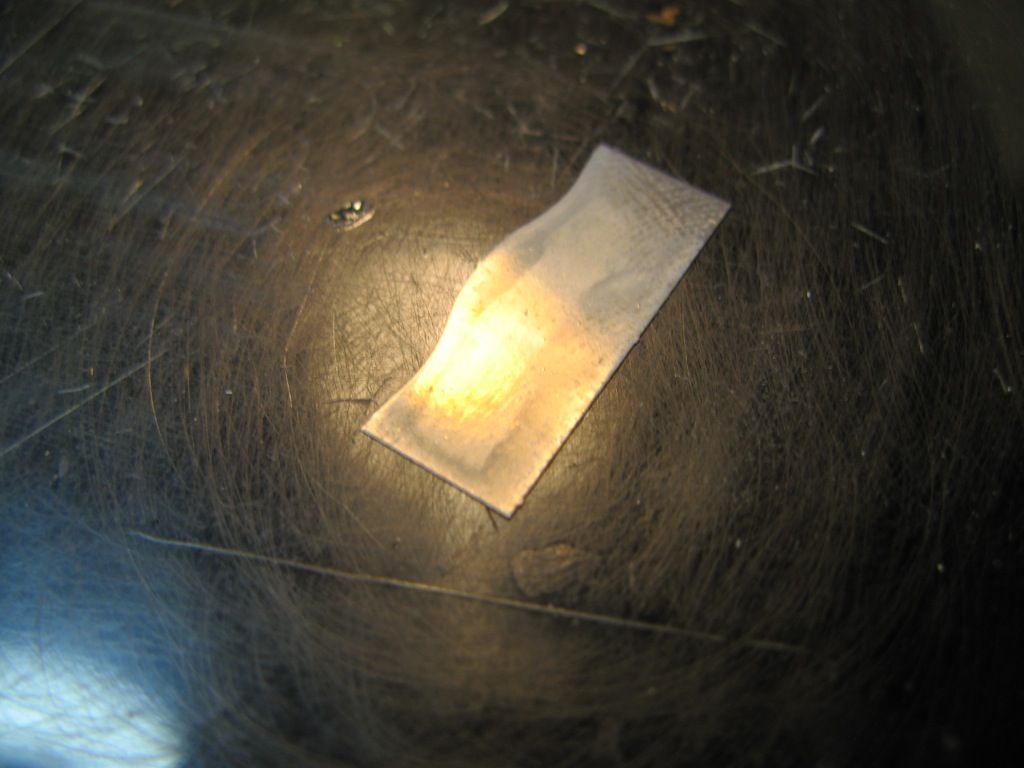
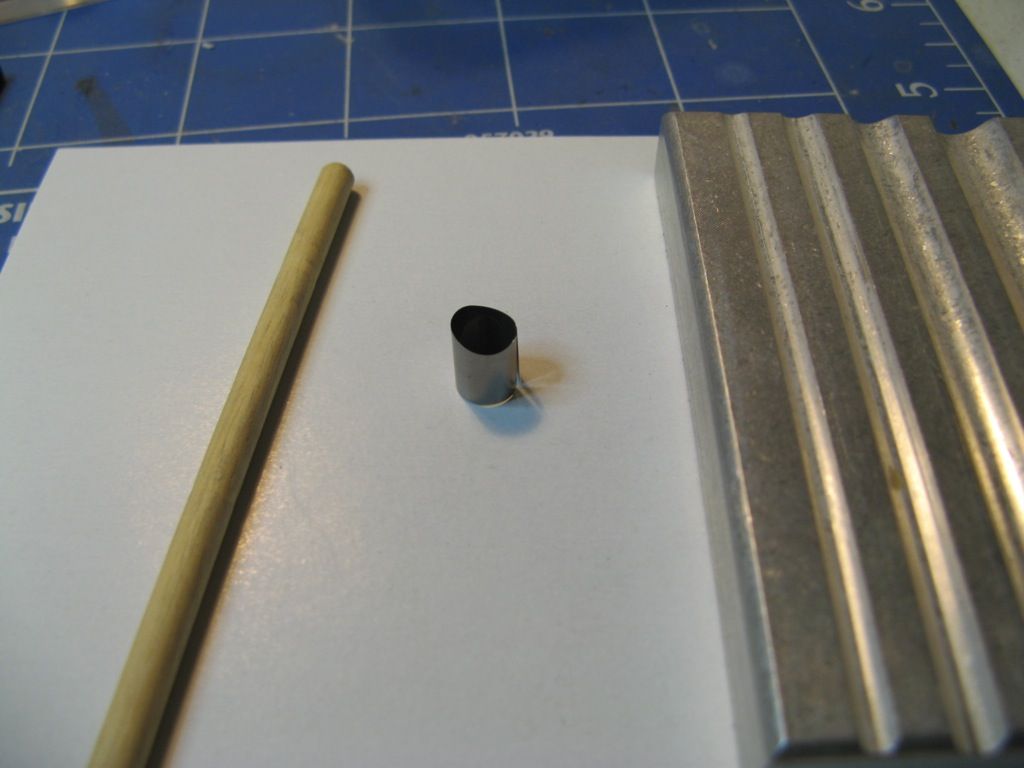
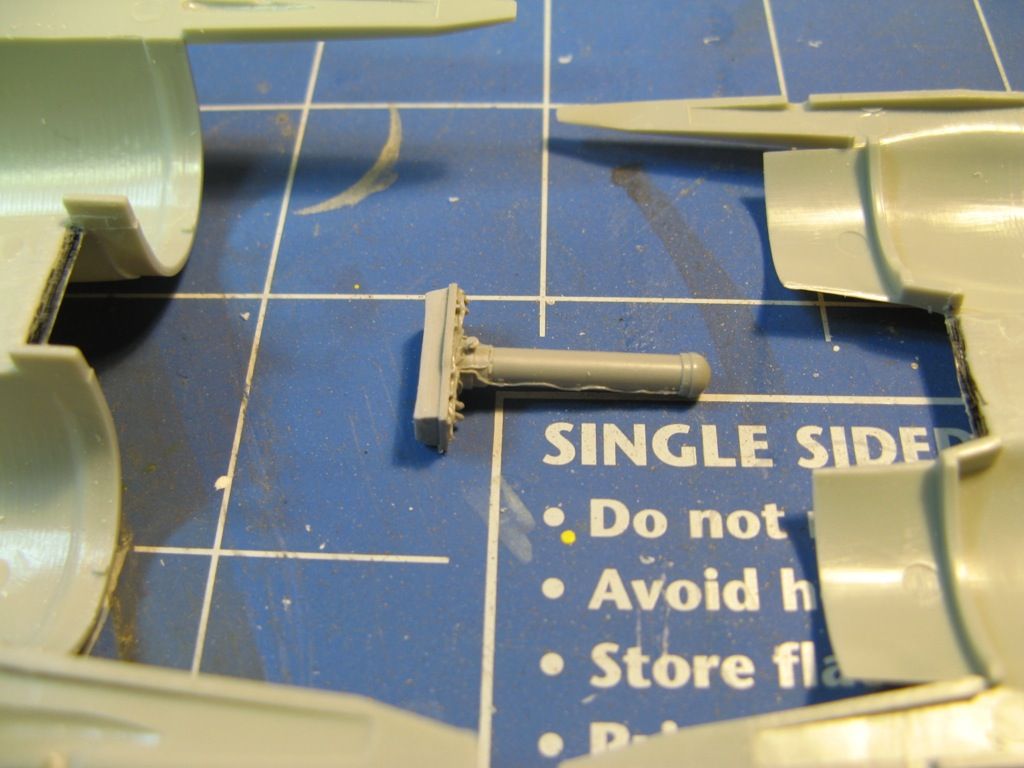
The next challenge was to roll a photoetched insert into a tube to fit into the hole.  I started with this...

...and using my Small Shop photoetch rolling kit I managed to get it to this.

I was then finally able to insert it into the hole created in the drop tank.  This did not go as smoothly as I would have liked as on two separate occasions I managed to push the piece in so far that it fell in and was rattling around inside the drop tank.  It was quite difficult to get it out again but I persisted and eventually got it into place.

Time to Prime

I decided that the I would put the ailerons back at this stage.  They were slightly offset to give a bit of life to the model.  Once the cement was set I masked the wheel wells and gave the model a clean using a paper towel soaked in isopropyl alcohol.


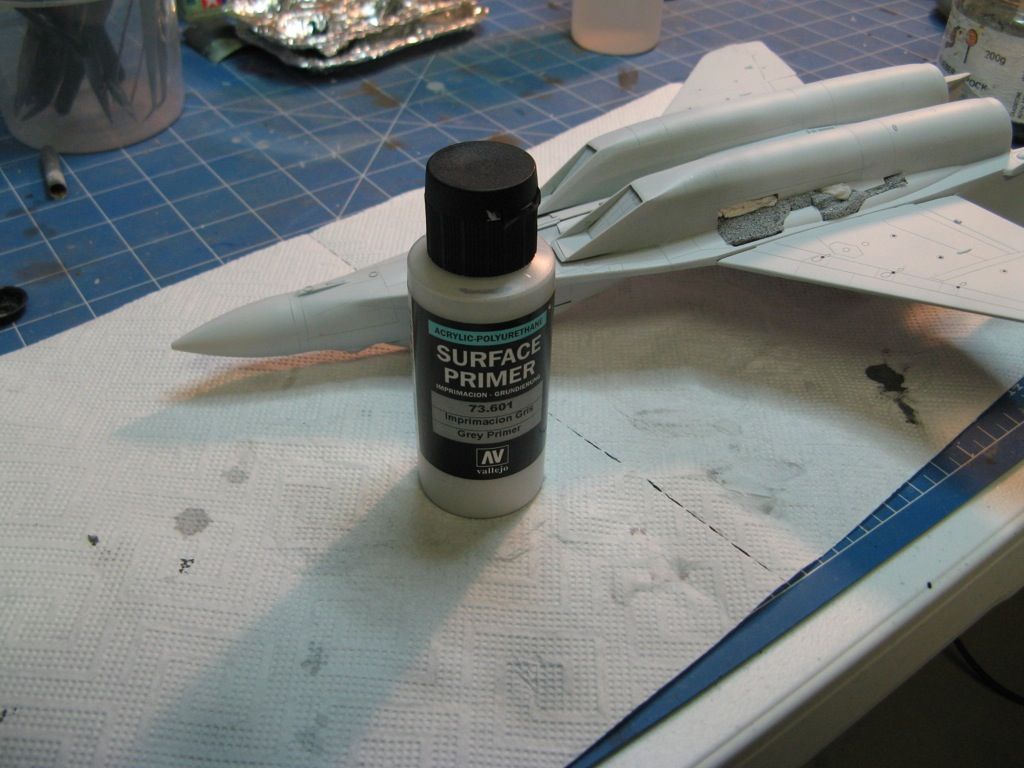
I sprayed a light primer coat using Vallejo Grey Polyurethane Surface Primer.  It's the first time I have used this product and I have to say I was impressed.  I'll have to get a larger bottle as I will definitely be using this product again.

I had a cursory look over the model to see if there are any areas that need further attention but none jumped out.  I'll have a more careful look before I start to spray the camo.  I am happy with how it's looking so far.

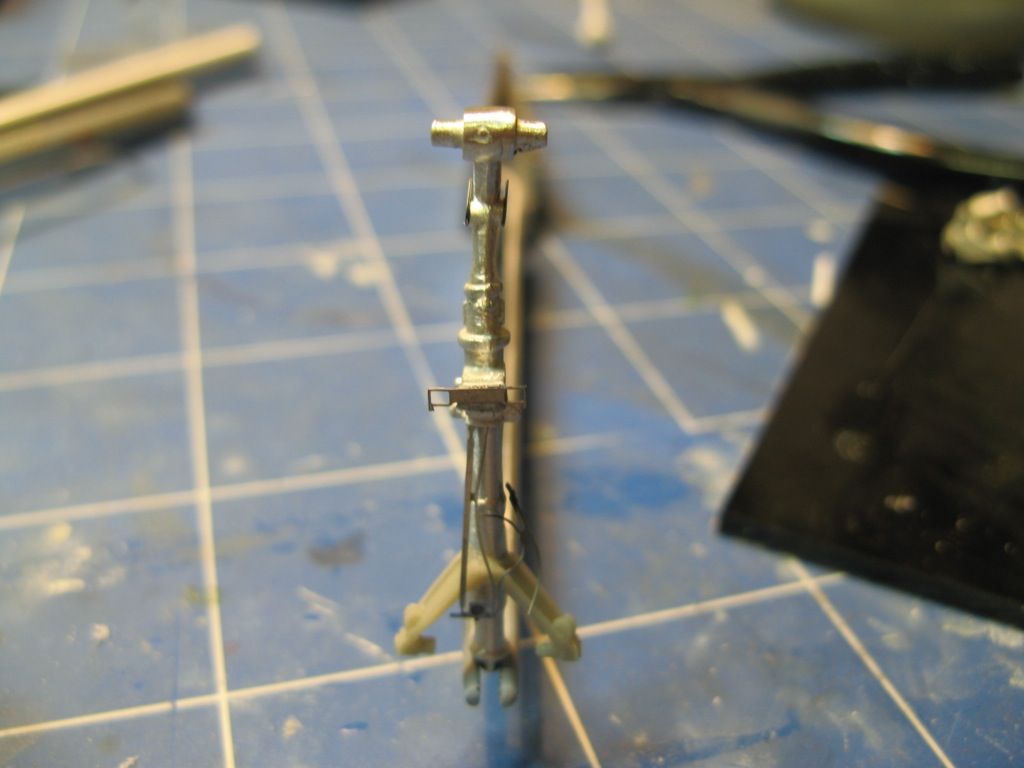
While the primer is curing fully I started on the undercarriage.  The gear legs are from Scale Aircraft Conversions.  These are detailed with some of the Aires resin and Eduard photoetch.

That's all for now.  Next time I will start on the camo and maybe get the main gear done.

On to part 9.

Sunday, 13 October 2013

Academy 1/48 Mig-29A - Part 7

Back to part 6

Hold the Front Page - We have a Scoop

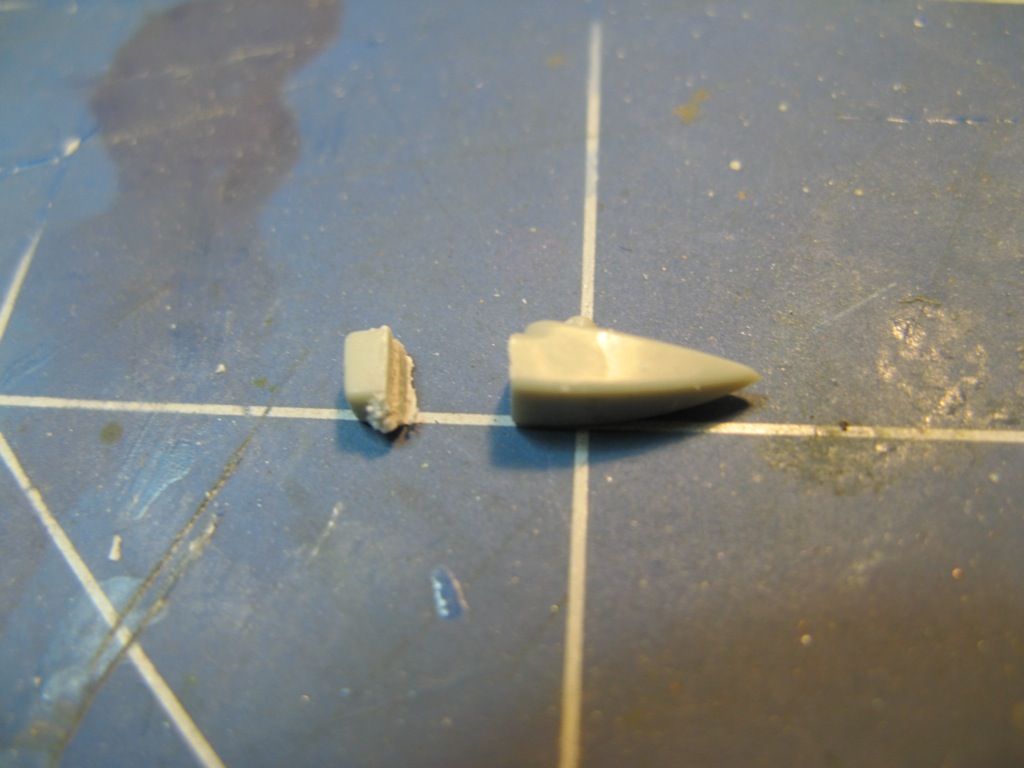
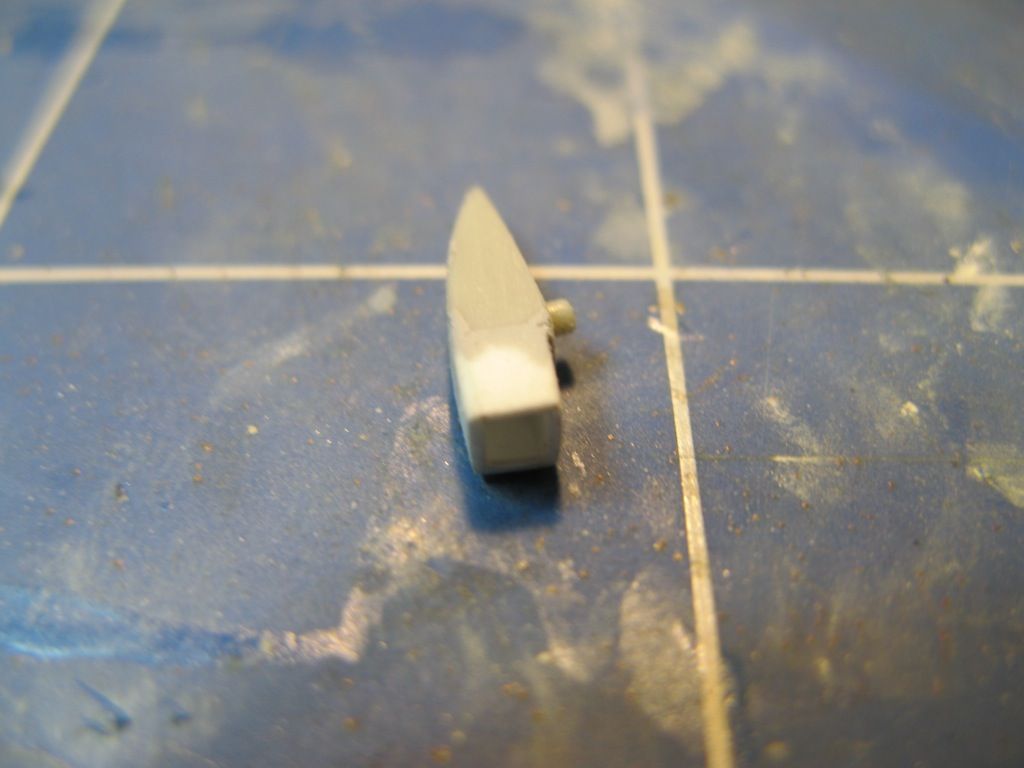
There's a little air scoop on top of the fuselage.  The representation of it in the kit is pretty average - it's just a solid lump of plastic.  An air scoop should be able to...well...scoop - and this one was not even hollow!  I decided that it needed improving so I cut off the front portion and then rebuilt it out of plasticard to make it hollow.

The updated version looks much better.  It still needs a bit more cleaning up but at least now it looks like it could actually scoop some air.

And here it is finally fitted to the fuselage.

Feeling Etchy

Some of the exterior photoetched parts were attached.  There are some that are very small indeed and others that need to be curved to fit properly.

Painting Starts

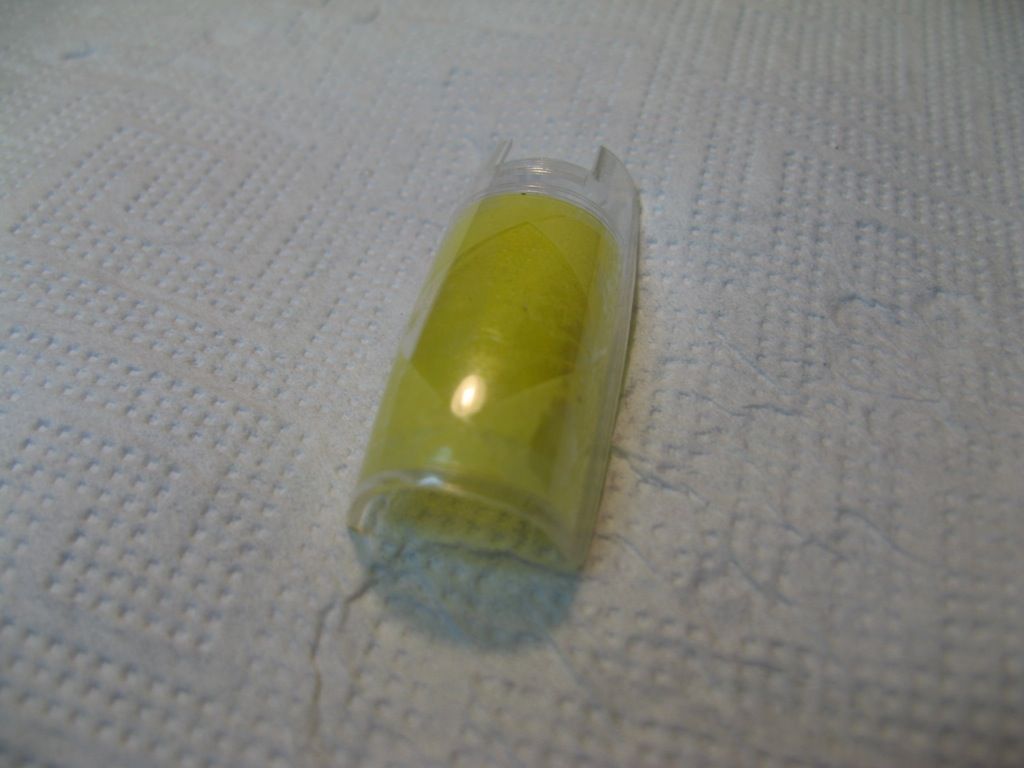
As I had two of the Eduard masking set, the canopy was masked both inside and outside.  Here it is with the inside masked.

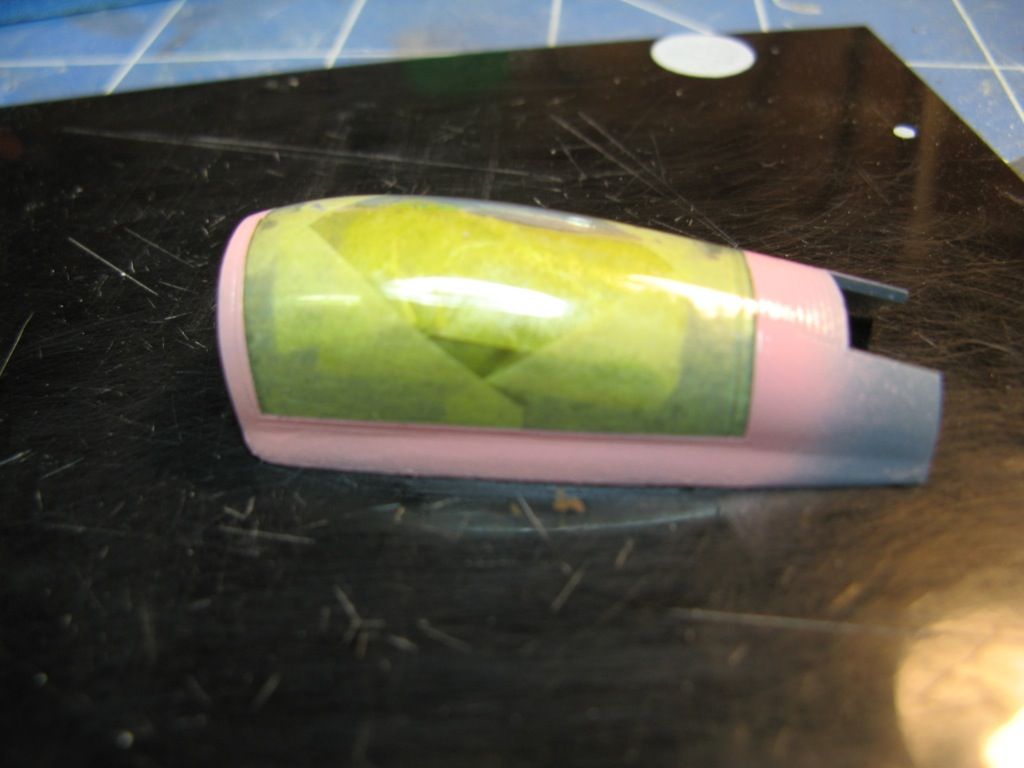
The interior colour was sprayed inside and out before attaching it temporarily to the airframe prior to painting the interior colour over the forward canopy.


The rubber surround on the main canopy of the Mig-29 is a very vibrant pink colour as can be seen on the Hungarian example below.

To simulate this I sprayed exterior of the main canopy pink around the edges being careful not to get any of this paint on the inside.  The exterior mask was then removed.  A slightly larger mask put in place for the rest of the painting once this paint is thoroughly dried.  Lovely colour isn't it?


Next time I'll mask the wheel wells and start the painting in earnest.

I have also just ordered some stencil decals as neither the kit nor the decal sheet I am using have all of the myriad of stencils applied to this aircraft.  Let's hope they arrive before I get to the stage where I'm going to need them.

On to Part 8.

Sunday, 6 October 2013

Academy 1/48 Mig-29A - Part 6

Back to part 5.
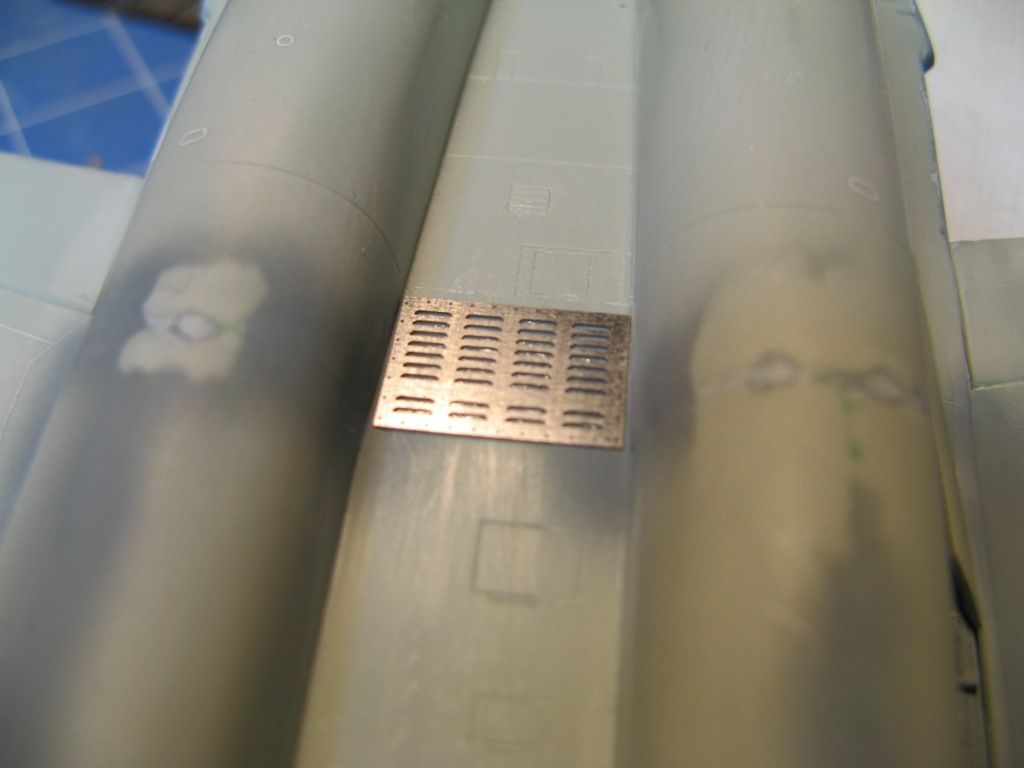
A New Antenna


It was pointed out to me that some of the Polish Mig-29As are fitted with a new NATO standard IFF antenna on the nose.  After a bit of research I was able to confirm that the aircraft I am building has this feature.  I was also able to find a bunch more photos of my aircraft.
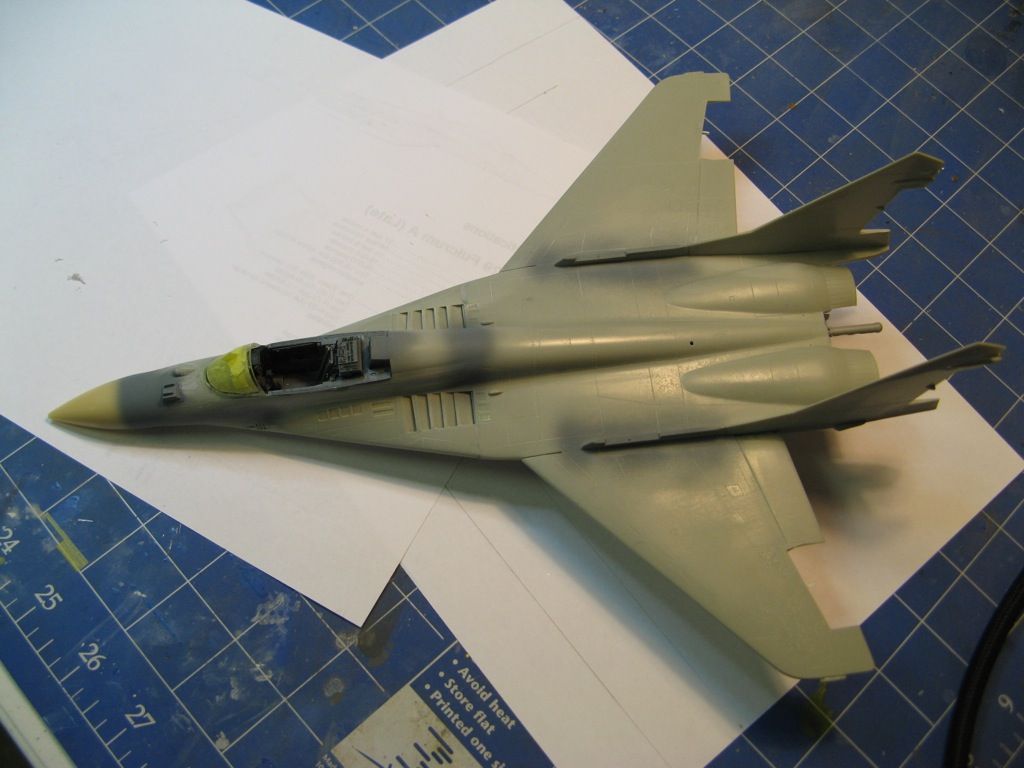

Since neither the kit nor any of the aftermarket stuff has this antenna and given it's quite a prominent feature, I am going to have to scratch build it.  Before doing this I decided to remove the canopy and the HUD to avoid dust getting into places that were hard to clean.

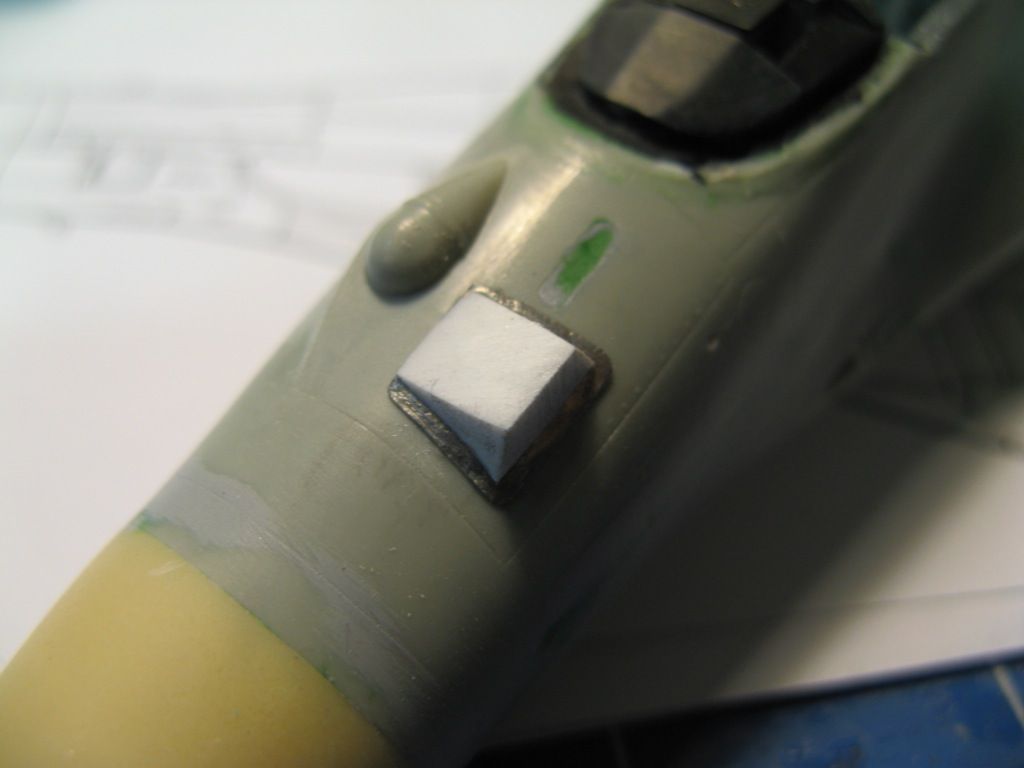
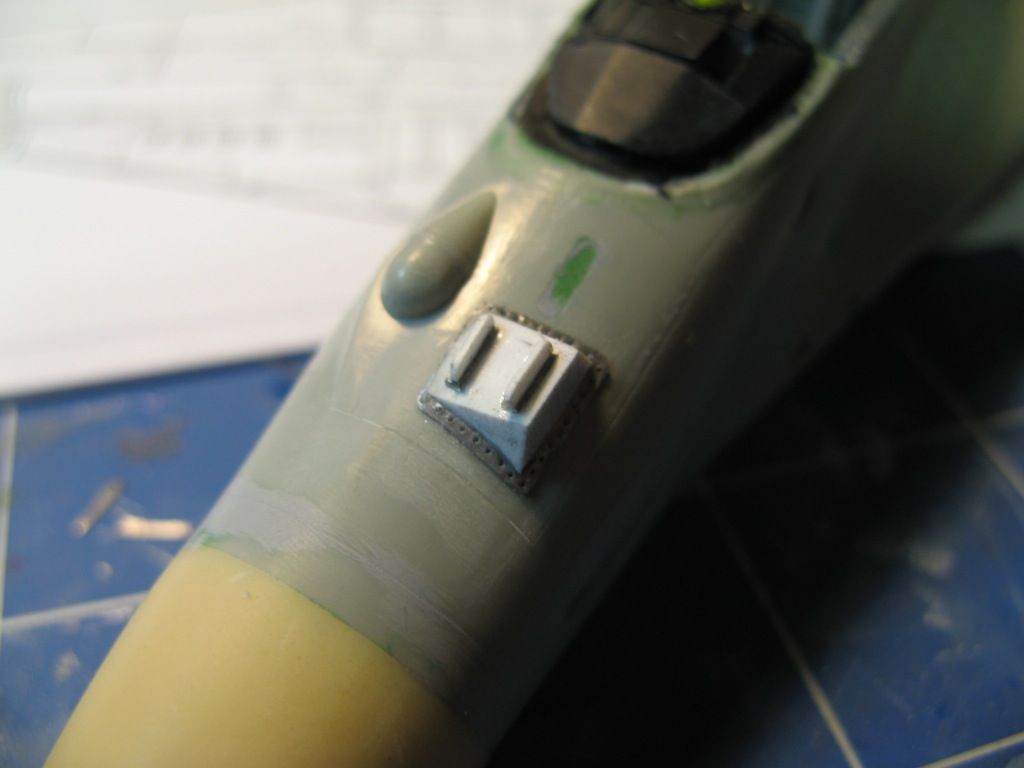
I started by scratch building a platform on the nose.

Getting the curve right was tricky until I noticed that a bottle of Vallejo paint has approximately the same diameter as the nose of the model.  So I wrapped some wet and dry paper around it and sanded it to the right shape.  The metal plate the antenna platform is attached to was made out of lead foil from the top of an old wine bottle (remember when wine came with lead foil to seal in the cork?) which I had kept in case I needed to scratch build various things like harnesses or tarpaulin.

Once I was happy with how this looked I used more lead foil and thin plasticard to make the vanes of the antennas.  A needle in a pin vice was then used to simulate the rivets around the base of the platform.  A total of nine tiny parts made up the antenna assembly.


It's a reasonable representation of the real thing I think.

It was while trying to determine the correct position of the IFF antenna that I realised that Academy have put the IR sensor in the wrong spot.  It should be further to the right and back a bit so that it sits much closer to the canopy.  However, I decided that I was not going to undertake the work to move it so I would have to live with it.

As a Matter of Fact it IS Rocket Science

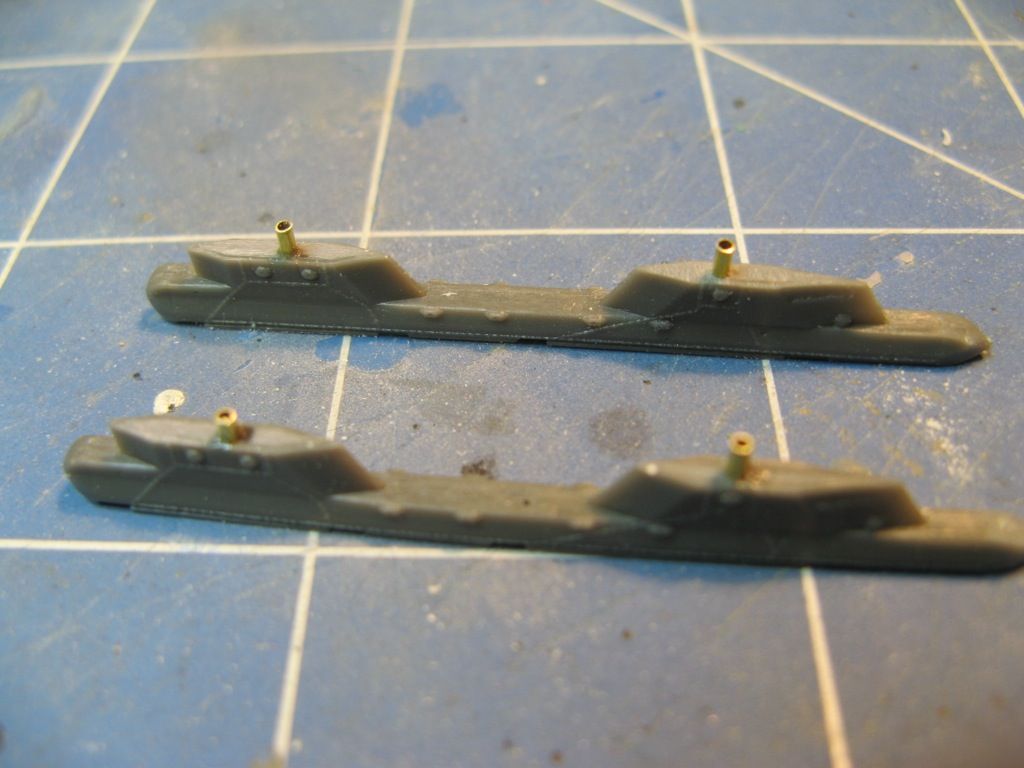
I gave the model a squirt of paint to see how some of the joins looked.  A few needed attention so I applied some Mr Surfacer and as it was drying I turned my attention to the missiles.  The APU-470 launchers were given some locating pins made of brass tubing.

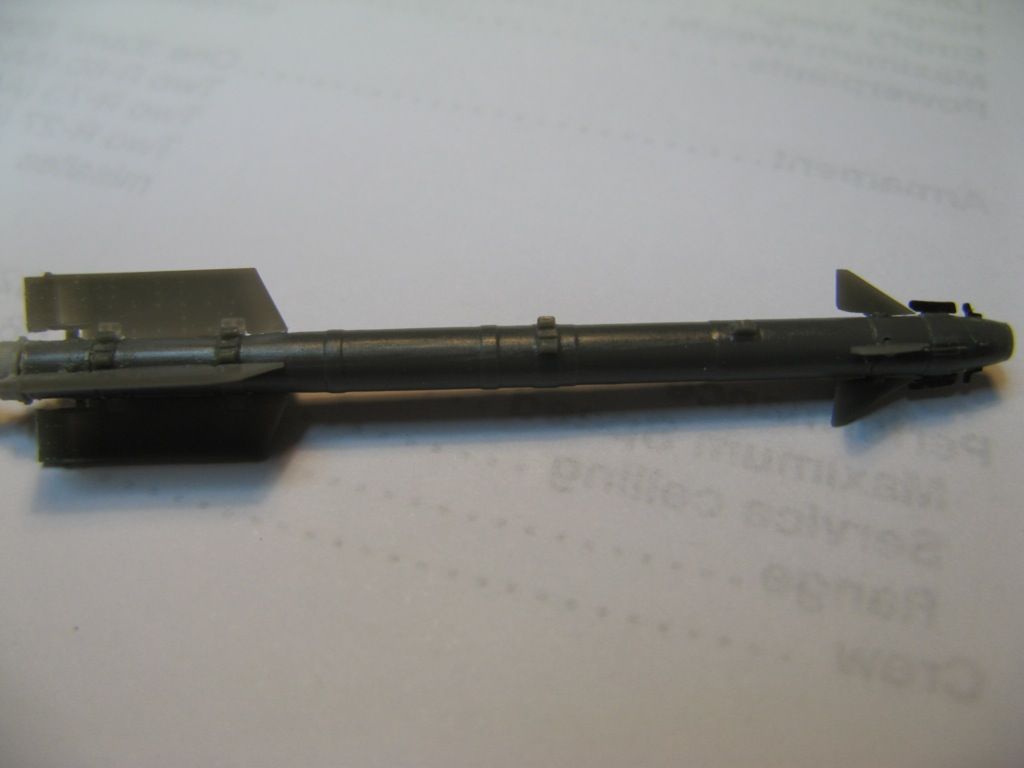
The AA-11s look great but the tiny photoetched vanes on the nose have a tendency to fling out of the tweezers if you're not careful.  Eduard give you two spares but I lost three :-(.  Since the set comes with four missiles I'll have enough for the two missiles I need for this aircraft built but for a later build I'm going to have to work out how I can replace the missing parts when I run out.

A bit of a clean up of the joins on the kit and this is where I'm up to.

Next time I'll re-scribe missing panel lines, prepare the main canopy and get ready for paint.

On to part 7.

Sunday, 29 September 2013

Academy 1/48 Mig-29A - Part 5

Back to Part 4

Major Assembly

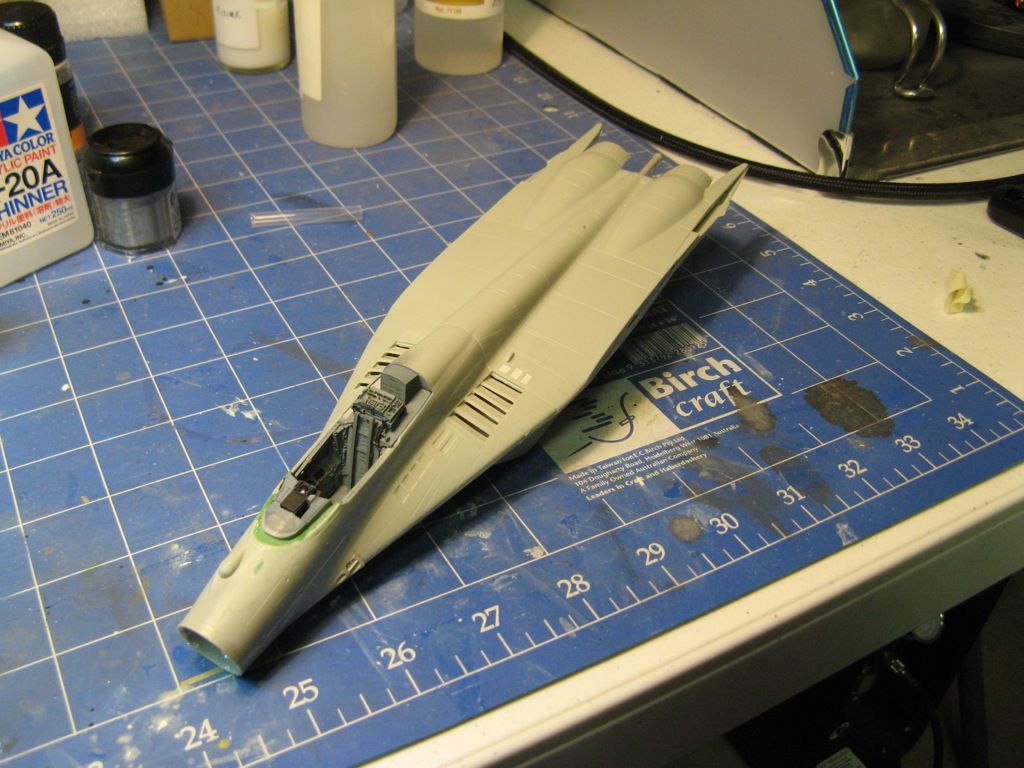
The fuselage is finally complete.  There is a bit of filler where the joins could have been better but sometimes it's better to bite the bullet and glue stuff knowing that you can fill and sand rather than tinker for ages trying to get a perfect join.

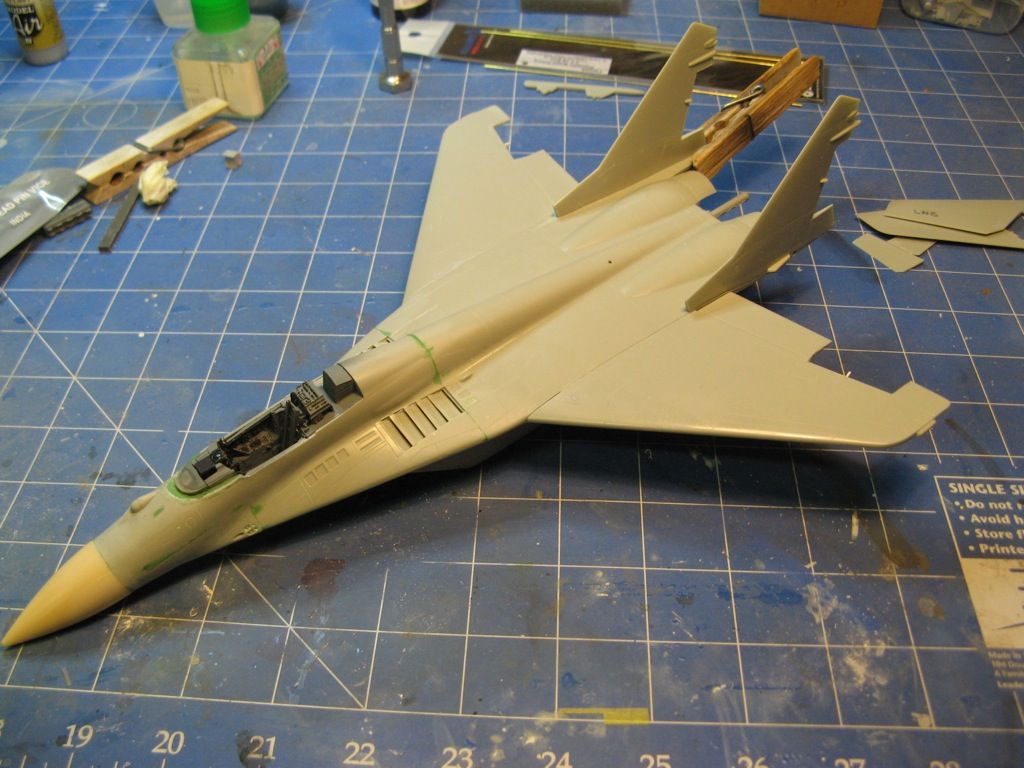
Wings and tails are on.  I've removed the rudders as I want to post these slightly off centre.  I think it makes the aircraft look more alive.  The clothespeg is on the tail to ensure that it is flush against the rebate in the fuselage while the glue dries.

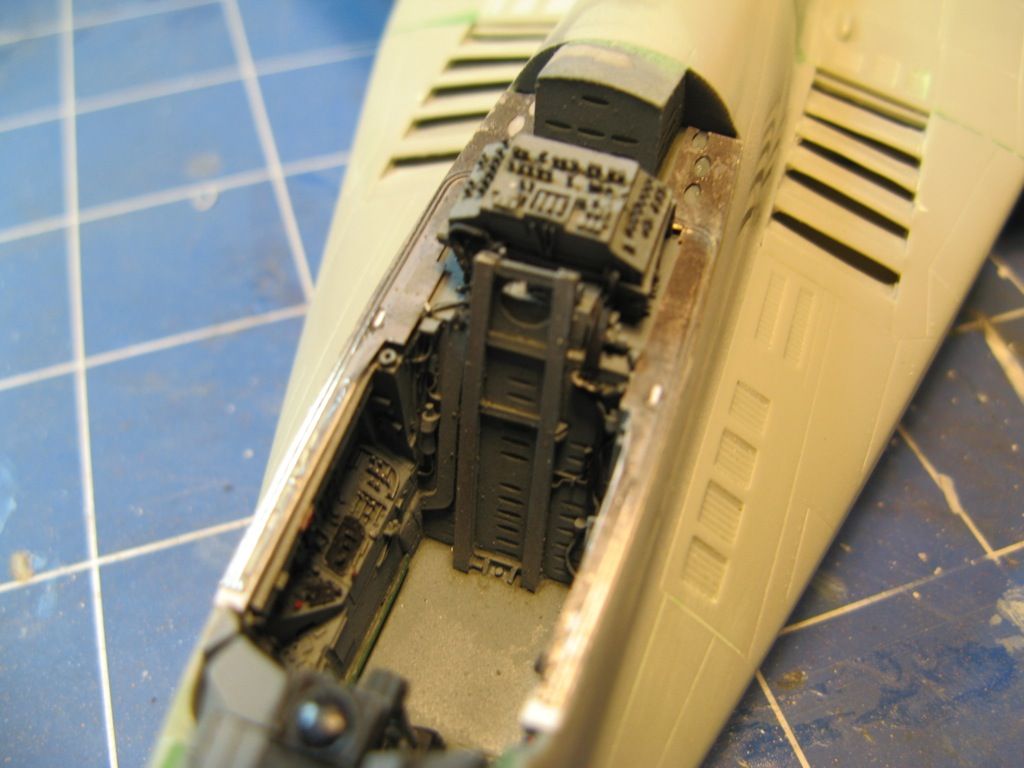
I used the cockpit surround from the Eduard "Big Ed" detail set.  There was some surgery of the part in order to get it to fit over the Aires cockpit set.  With a cleanup and a bit of paint it's going to look the business.

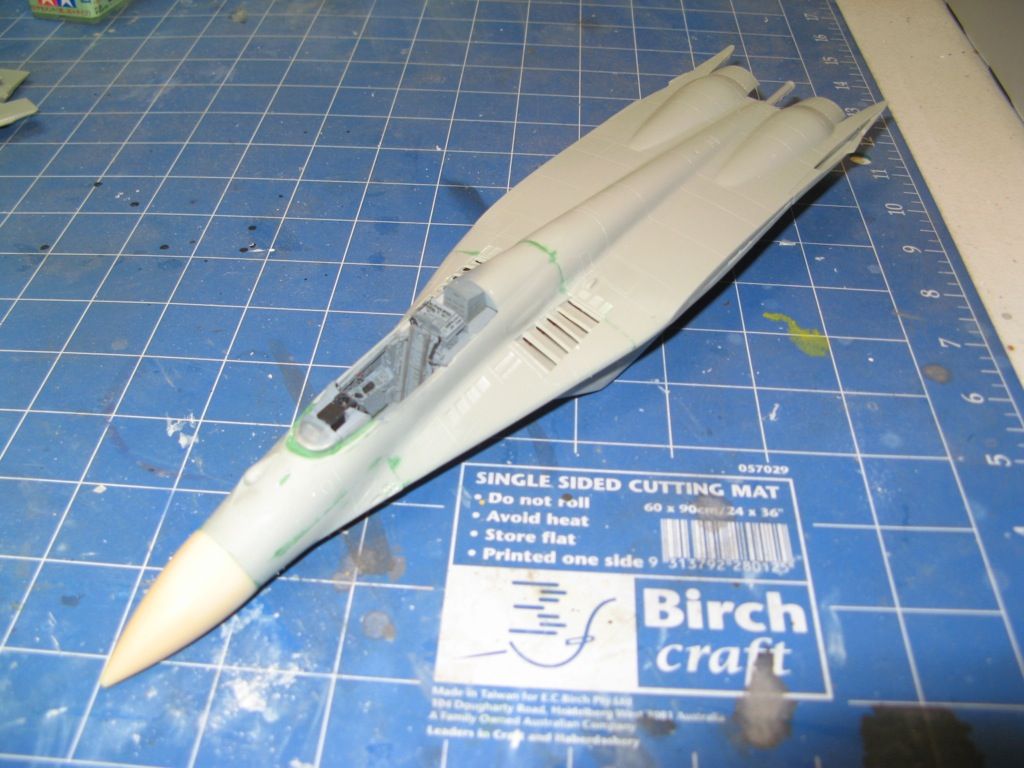
The HUD assembly was completed and the front canopy section was given a polish, a clean in isopropyl alcohol and then dipped in Future and left to dry under an upturned container to keep the dust off.  It was then masked in preparation for painting and then glued onto the fuselage.  All of the joints were given a coat of Mr Surfacer to ensure that the final finish will be seamless.

Kick the Tires and Light the Fires.


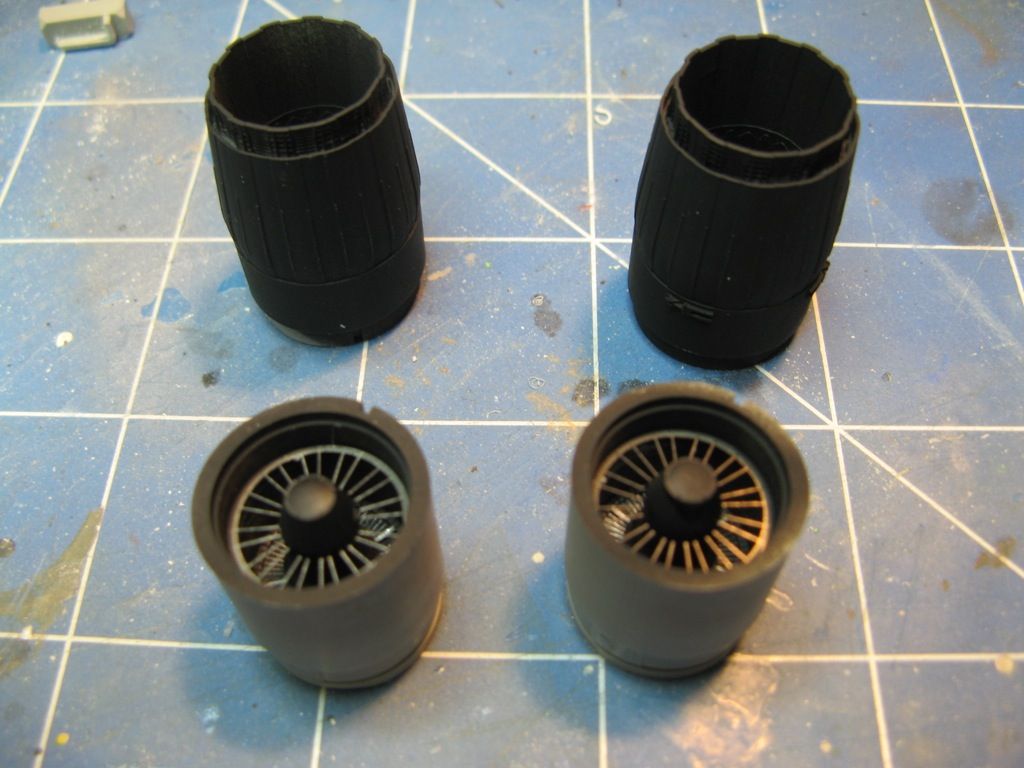
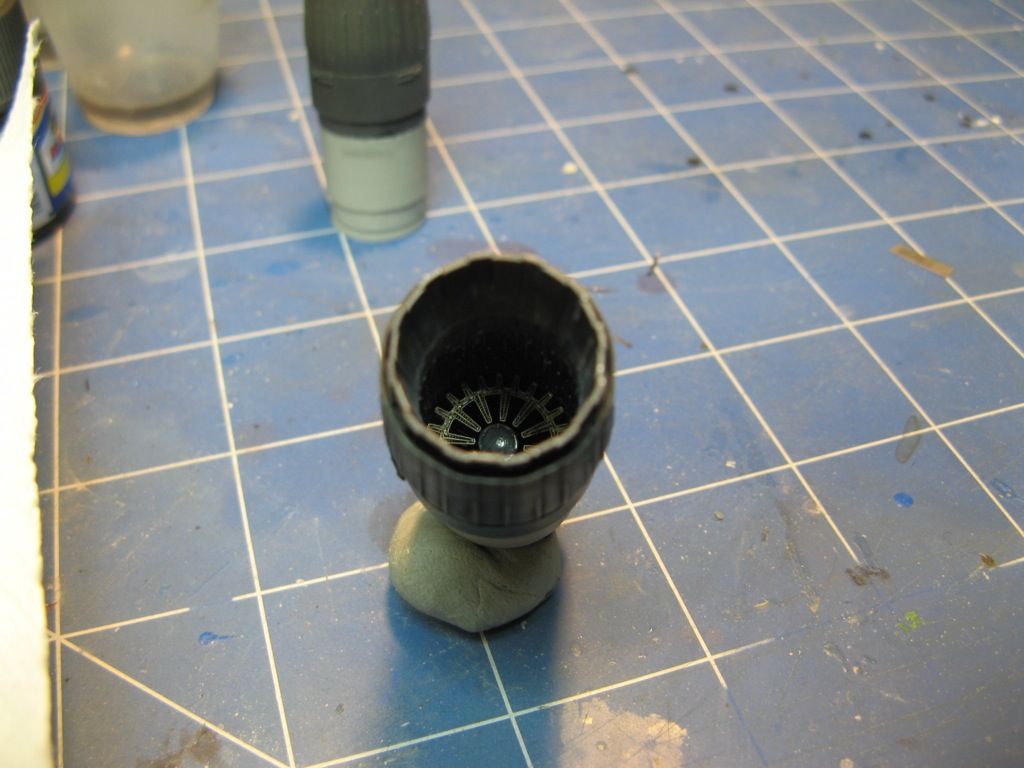
While the Mr Surfacer fuselage was drying on the fuselage I decided to make a start on the Burners.  The Eduard burners are a really nice addition to this kit.  The level of detail is miles better than the ones that come with the kit.  I started by spraying them matt black and then drybrushing the compressor blades in a gunmetal colour.  The burners come with photetch for the afterburner assembly.

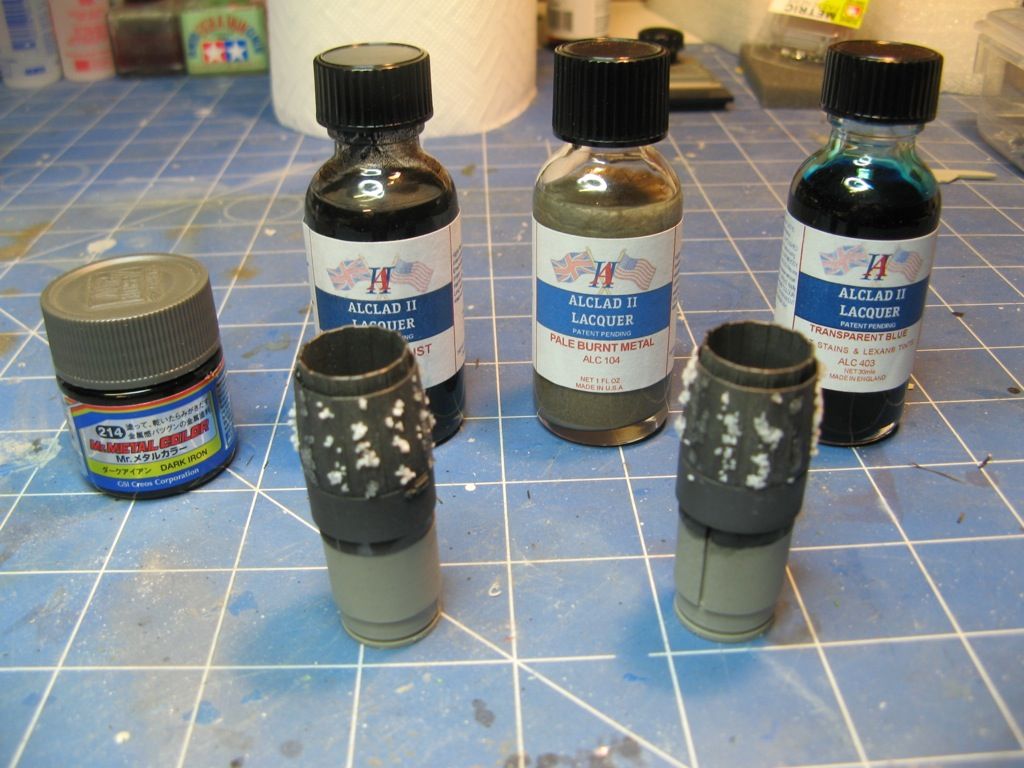
After installing the afterburner assembly I glued the separate sections together and then sprayed Mr Metal Color Dark Iron.  This is a buffable paint making it look like real metal once dry and given a buff.  Afterwards a coat of Alclad II Jet exhaust was sprayed towards the exhaust end followed by a highlight with Alclad II Pale Burnt Metal.  Once dry I use water and salt to mask off random patches on every other exhaust section.

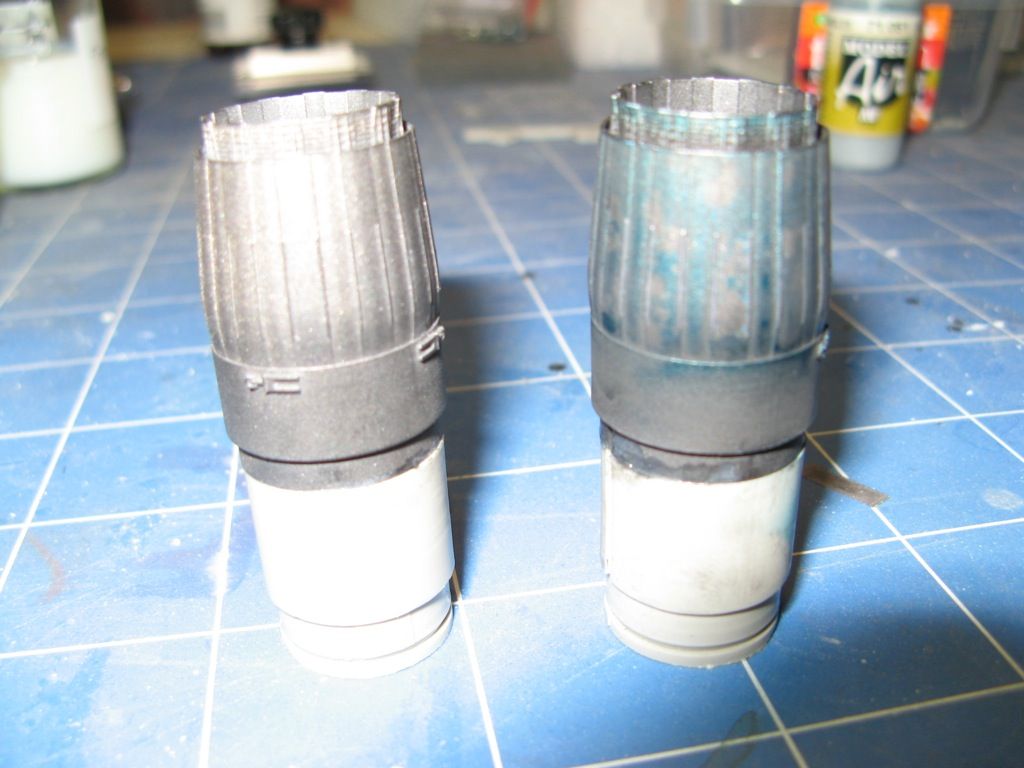
Once the salt was dry I sprayed Alclad II Transparent Blue to represent the heat bloom you often get on hot metal.  You can see this on the burner on the right.  I dropped the one on the left and the salt fell off so I'll have to do that one later.  The flash on the camera makes the heat bloom appear a brighter blue than it really is.

The effect I am trying to get can be seen here on the real aircraft.

As I said these burners look really cool.  I love that you can see the detail on the after burner once it's all assembled.

On to part 6.

Sunday, 22 September 2013

Academy 1/48 Mig-29A - Part 4

Back to Part 3

A Wing and a Prayer

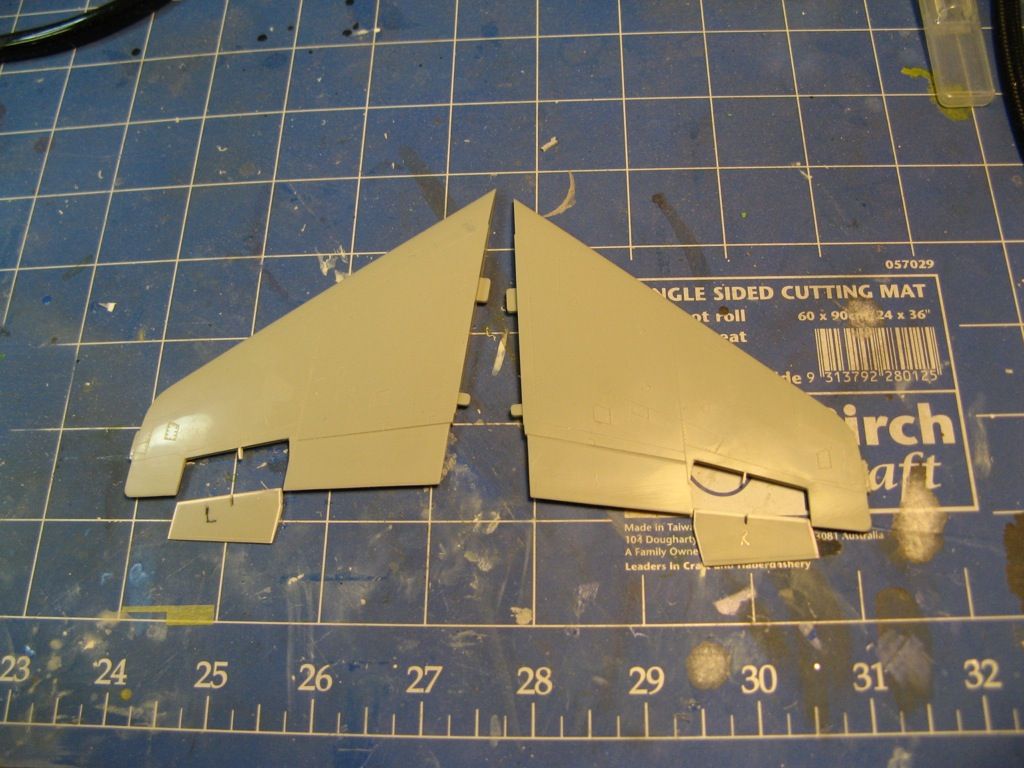
The ailerons are finished.  After careful sizing and shaping plus a tiny bit of scratch building I think they will really look the part.

The white plasticard on the edges of the ailerons adjusts for the gap that was left after cutting them out and getting them to the right shape.  In particular the plasticard at the leading edge of the ailerons is half round so it can pivot more realistically and the inside mating surface on the wings has been shaped to accept them.  I have also scribed the trim tab on the trailing edge of the ailerons - a feature missing from the kit.

Venting my Spleen

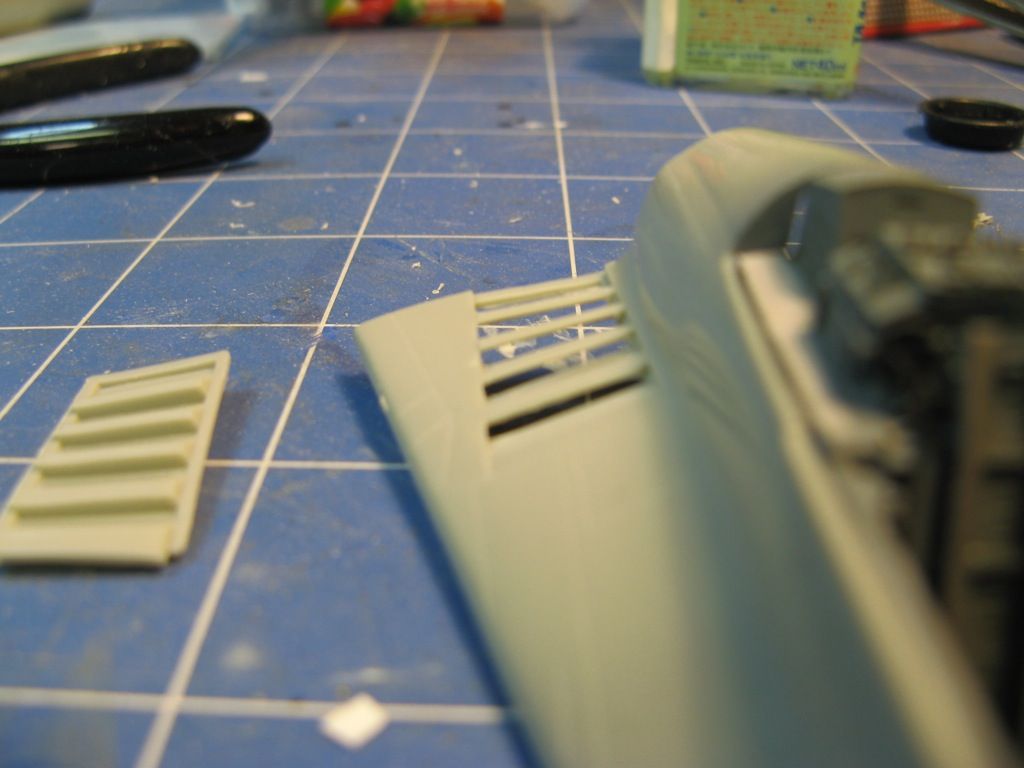
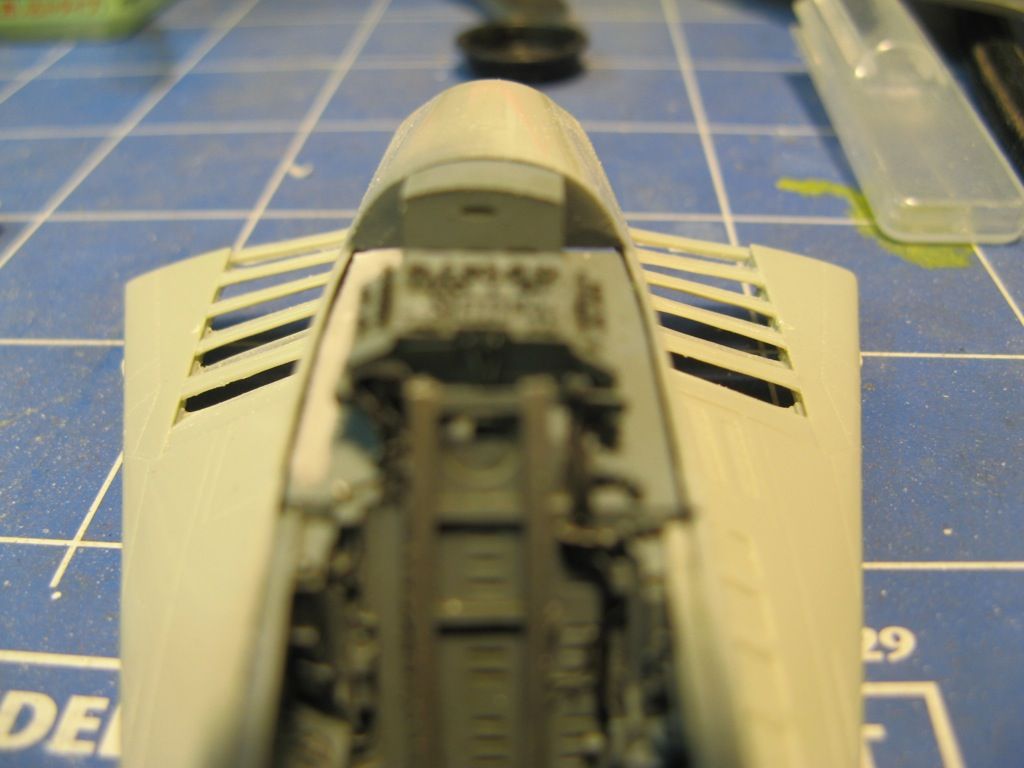
Given that the FOD doors were to be posed in the down position I needed to open up the intake vents on either side of the cockpit.  The kit does come with both open and closed vents but they look pretty crude.  I opted to open them up more realistically.  You can see the kit part on the left and my correction of this installed into the forward fuselage.

Once they're both opened up it looks much better.

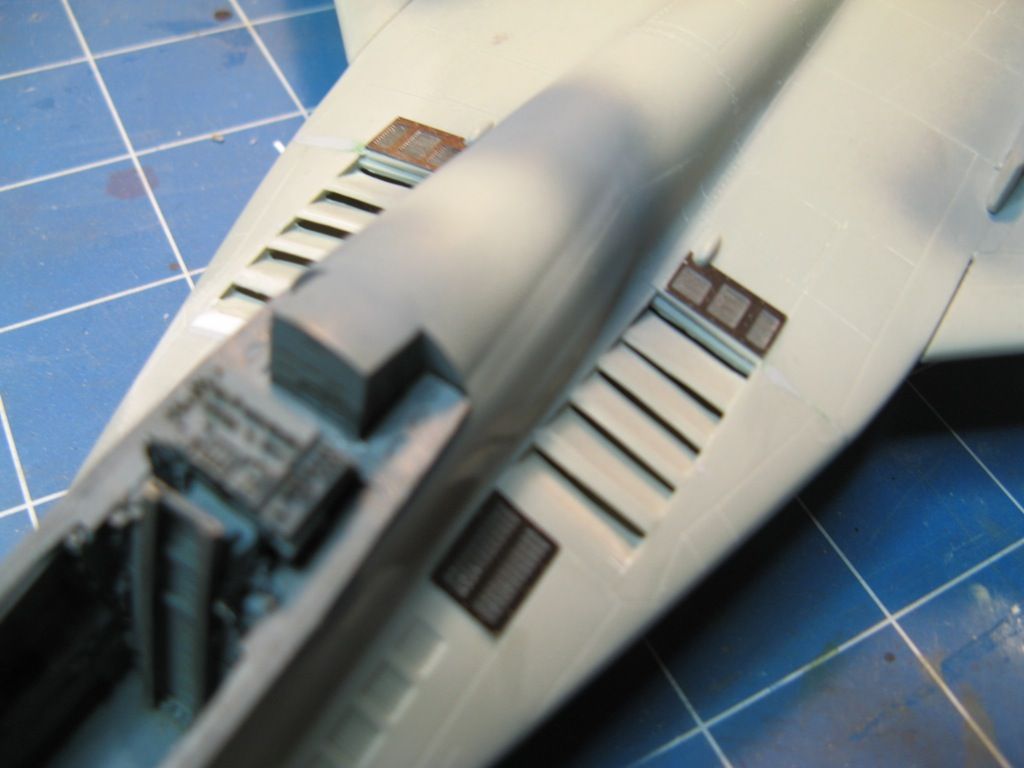
I then turned my attention to the intakes themselves and installed the FOD doors - the first of many bits of photo etched metal.  Remember I had to pose these in the closed position as the main wheel wells would have been visible otherwise.

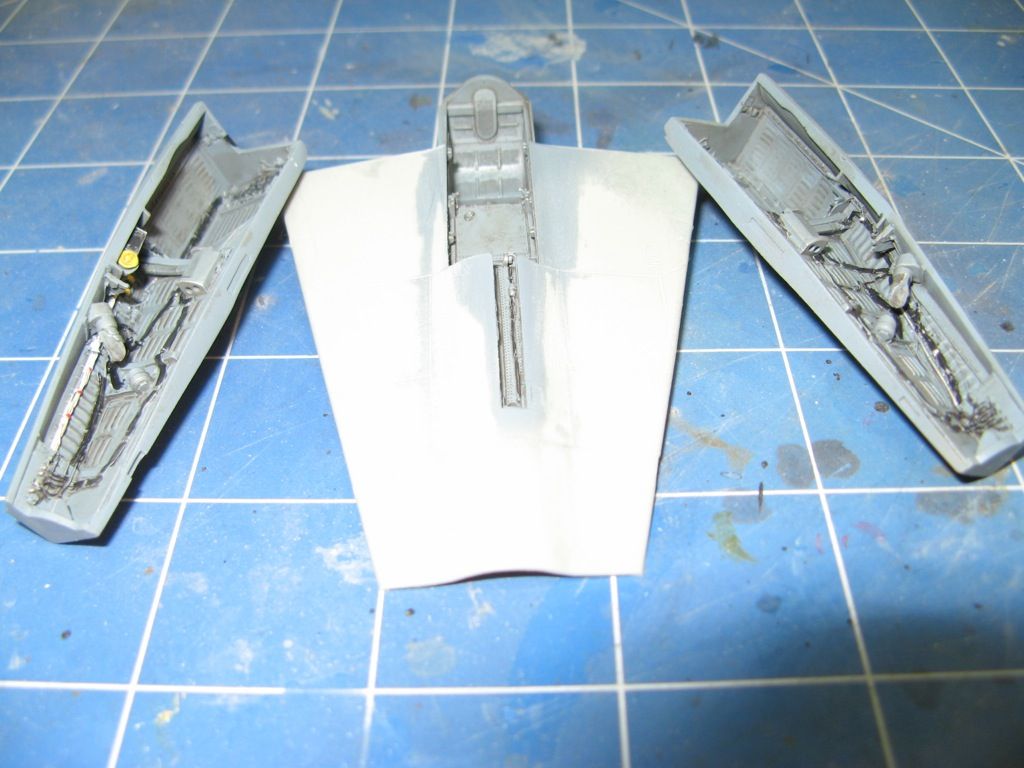
Finally those wheel wells.

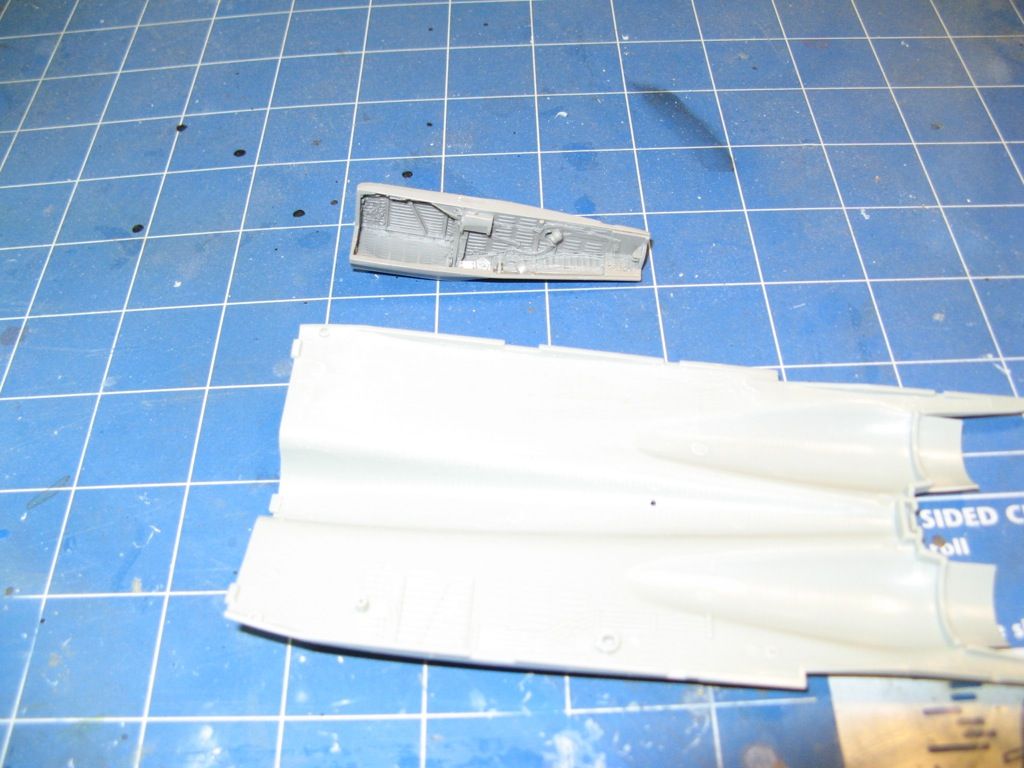
In order to make the main wheel wells fit the detail from the upper fuselage had to be removed and the plastic had to be thinned quite a bit.

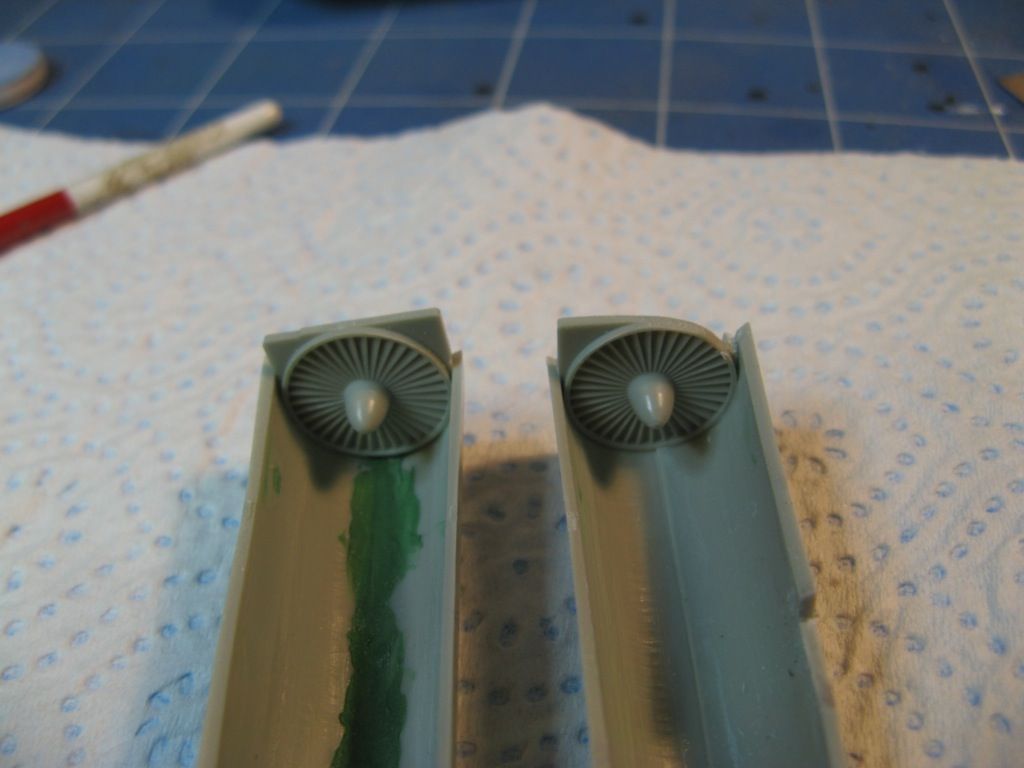
The parts with the front compressor blades had to be shaped so that the wheel wells fit properly.  You can see the notch that had to be cut into the assembly on the right.

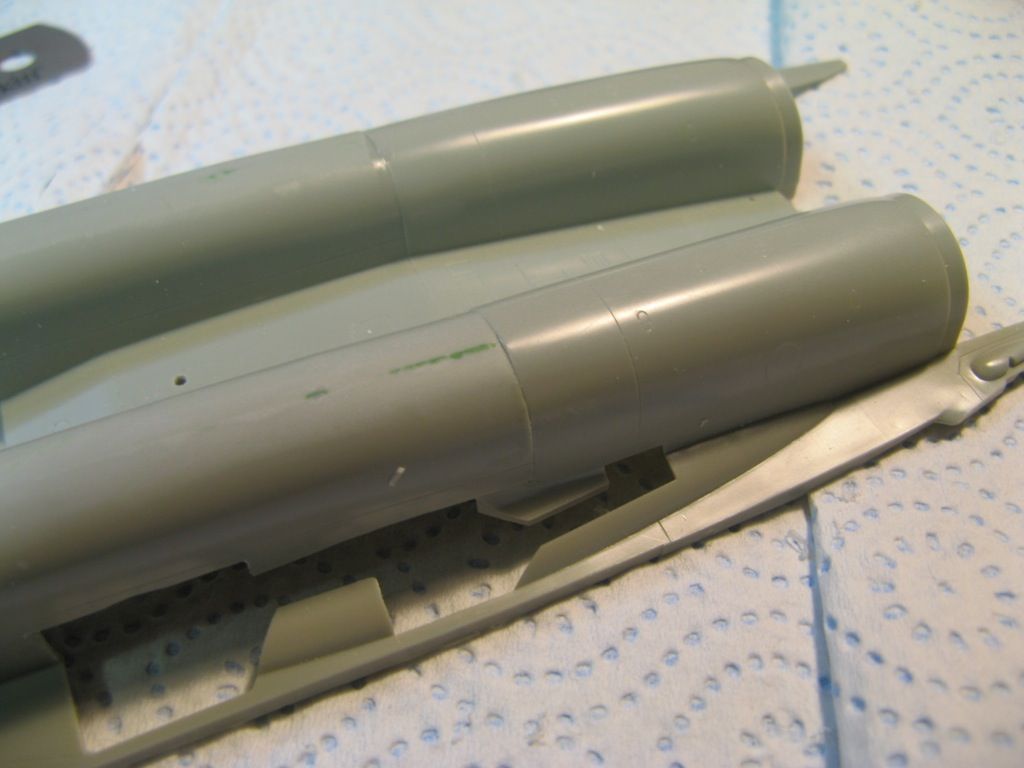
The final step to fitting the main wheel wells was to remove a section of the intake trunking.  The correct shape of the section to remove was worked out by painting the part of the main wheel well that mates against the trunking and, while the paint was still wet, using it to "stamp" the shape that needed to be removed on the inside of the trunking.  When that was done the shape was easily transferred to the opposite side.

Once that was done I was comfortable in cementing the intakes to the bottom of the lower fuselage.  The fit was not too good.  There's a step in the join that I'll need to sand back, fill and then re-scribe any panel lines destroyed in the process.

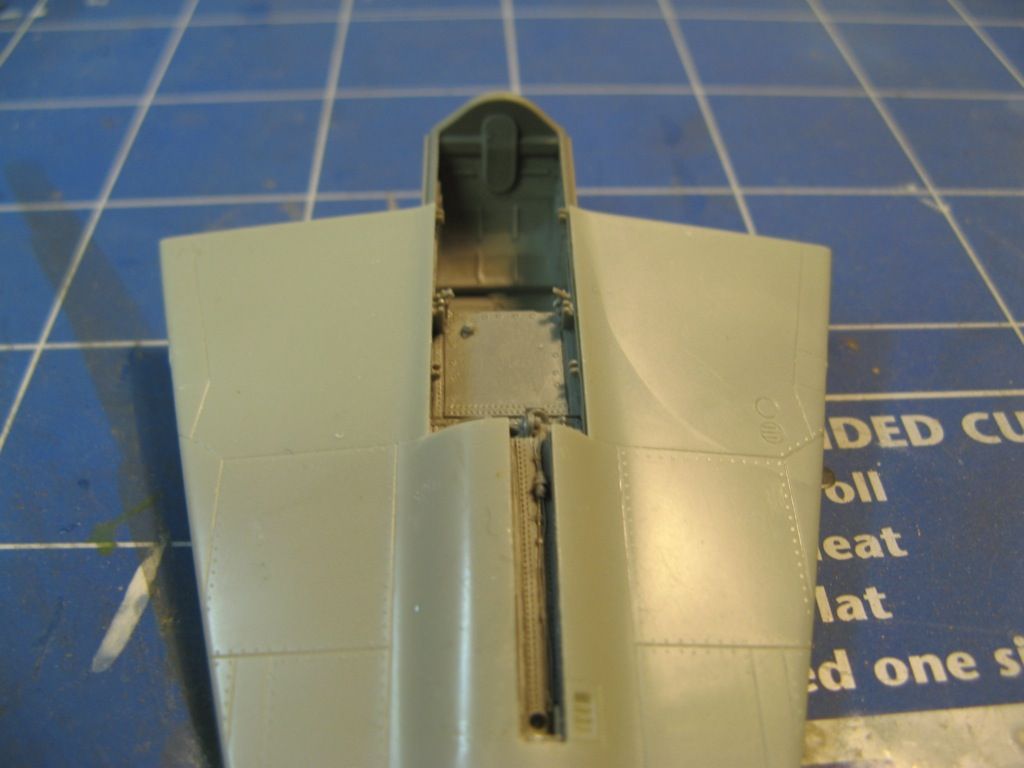
The front wheel well was a lot easier.  After thinning the plastic on the inside of the lower fuselage and then test fitting to make sure it didn't interfere with the cockpit it was glued into place.

The last part that needed fitting before I could start assembling the fuselage was the parachute brake housing.  The locating slot for the kit part was removed and the plastic thinned to accept the resin replacement.


Time For Some Paint

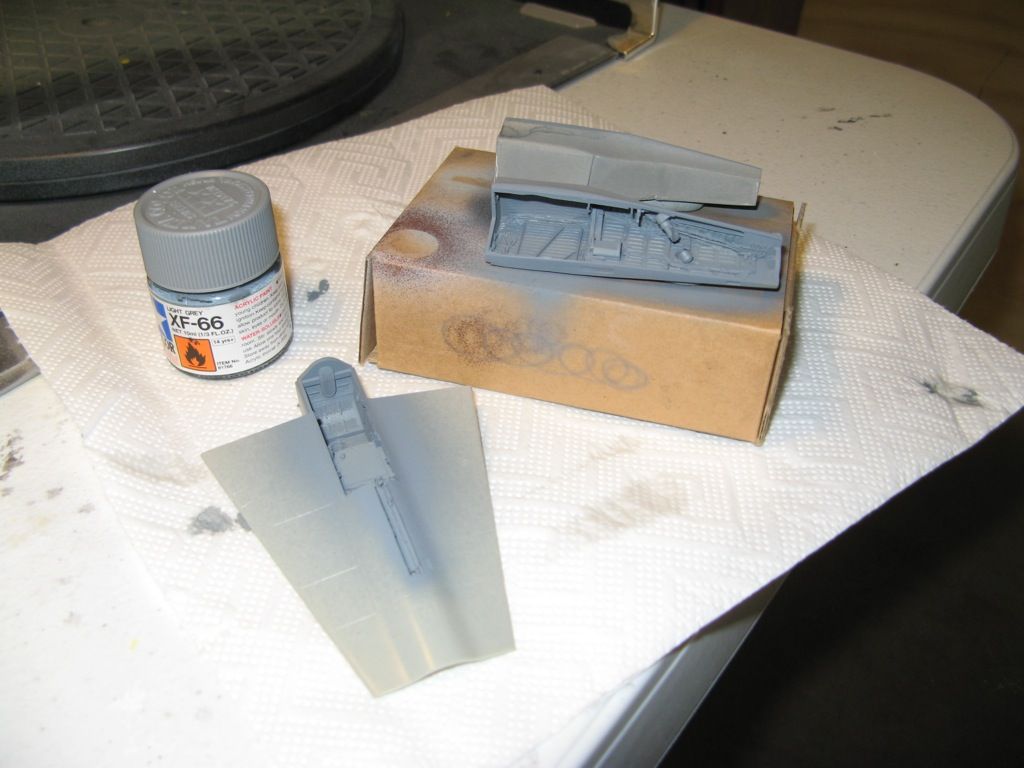
With all of the surgery to the fuselage out of the way I could finally paint the wheel wells.  They were first given a coat of Tamiya XF-66.

Wiring was picked out in black, ivory or silver.  Cable ties were painted silver or red and a few pipes were painted yellow.  The wheel wells were then given a gloss coat before giving them a wash with AK Interactive's Engine Grime AK-082 and then everything was sealed in with a flat coat.  They look nice and dirty - just like the real thing.

Once all of the painting was done I could glue the wheel wells into the fuselage and finally assemble it.  It's now starting to look a bit like a Mig-29.  There's still some clean up to do as some of the joins did not line up as nicely as I would have liked but it's a major step forward in the assembly of this aircraft.

Things on the Peripheral

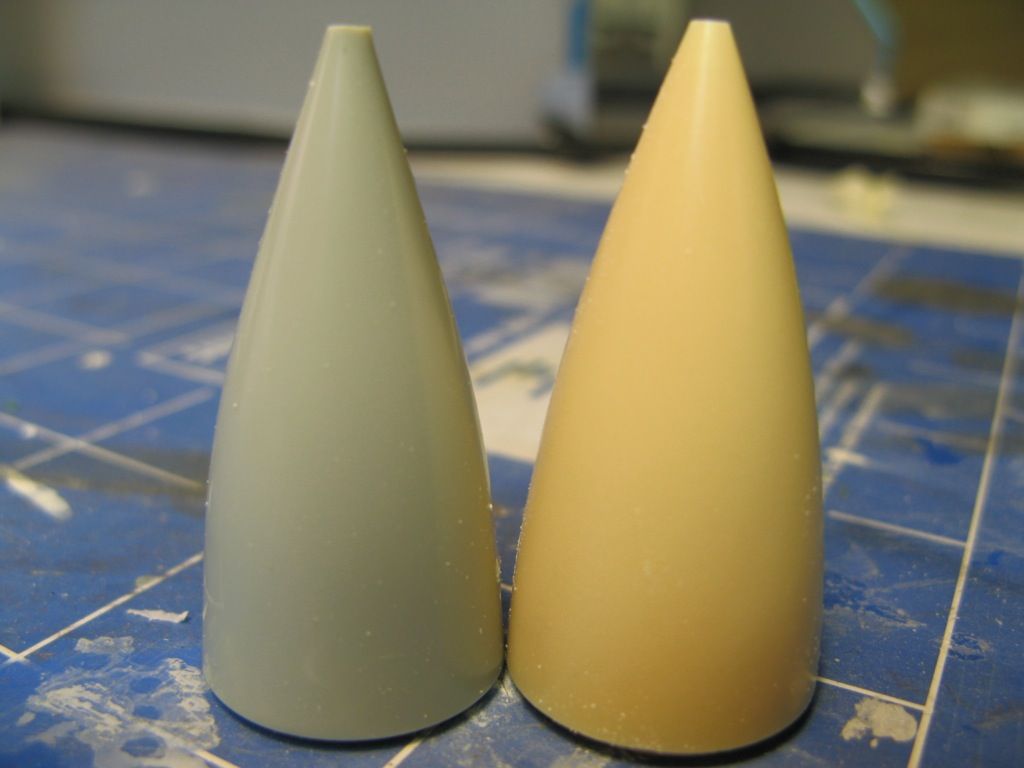
While the glue was drying on the fuselage I thought I'd check out the Quickboost replacement nose.  Here is is on the right with the kit nose for comparison.  The profile of the kit nose is too conical from about halfway while the replacement has the graceful curve of the real aircraft.

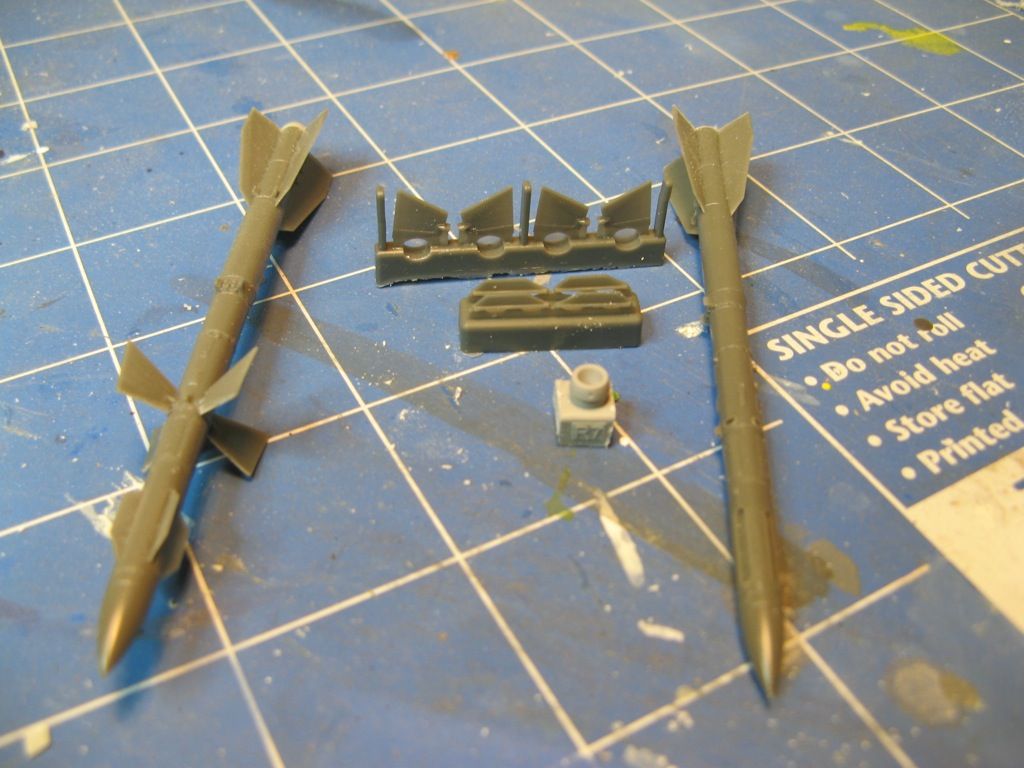
I also decided to start assembling some of the missiles.  The Eduard AA-10 Alamo C missiles are beautifully cast in flawless resin.  They assemble to make wonderful replicas of the real thing.  I can't wait to get some paint onto them.

In the next installment I'll start cleaning up the fuselage and maybe get the wings on.

On to part 5.