The Awesome Hawker Hunter
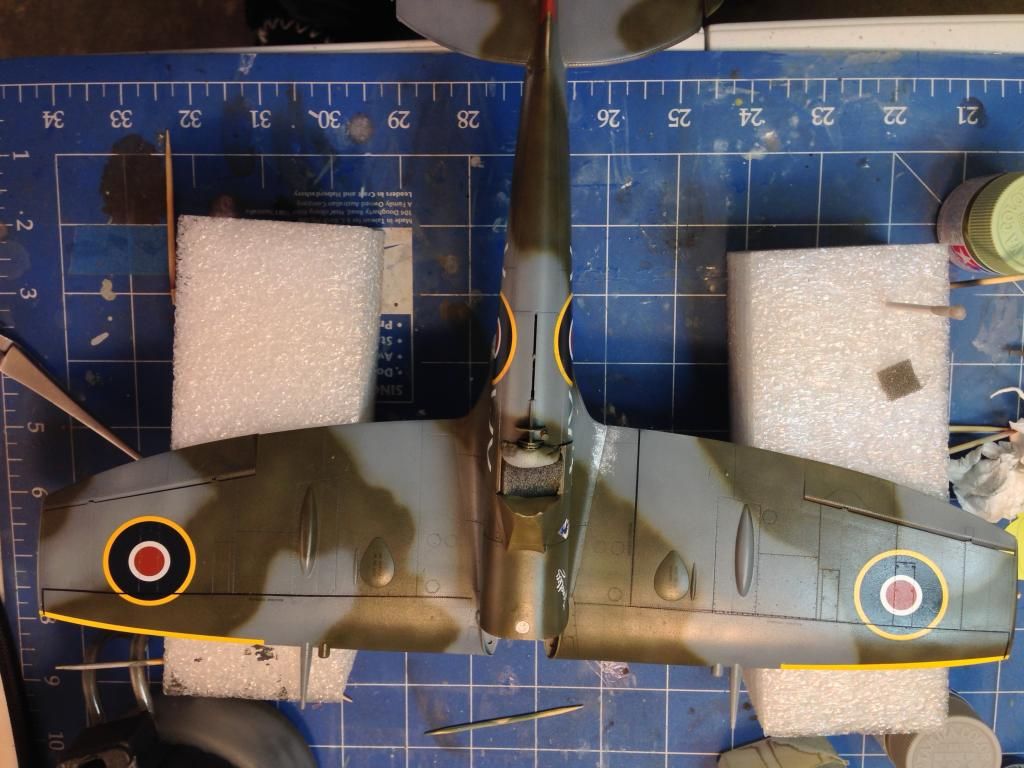
The beginning of the jet age saw the development of some very sexy looking fighter aircraft. These first generation jet fighters were not supersonic and were designed on principles that were not too different to the last generation of piston engined fighters. The Hawker Hunter is one such aircraft. If the Spitfire marked the epitome of sexy for piston engined fighters, the Hawker Hunter does it for jets. Some of these planes are now privately owned and still flying. Check out the footage of one such aircraft below.If you want to find out a bit more about the Hawker Hunter's development and history the Wikipedia article found here is a good start.
In this blog I'll be building a 1/48 scale Hunter FGA 9 which was based at Khormaksar, Aden in 1966 during the Aden Emergency. I'm building this as part of a group build on the Flory Models website so I won't be starting until that kicks off. Since it's close to Christmas Bob the Tomten, who has been hanging around on my desk, is going to keep a critical eye on proceedings.

My kit of choice will be the Italeri re-box of the Academy Hunter. To this I will be adding the Aires resin detail set, Eduard masks and decals from Xtradecal.
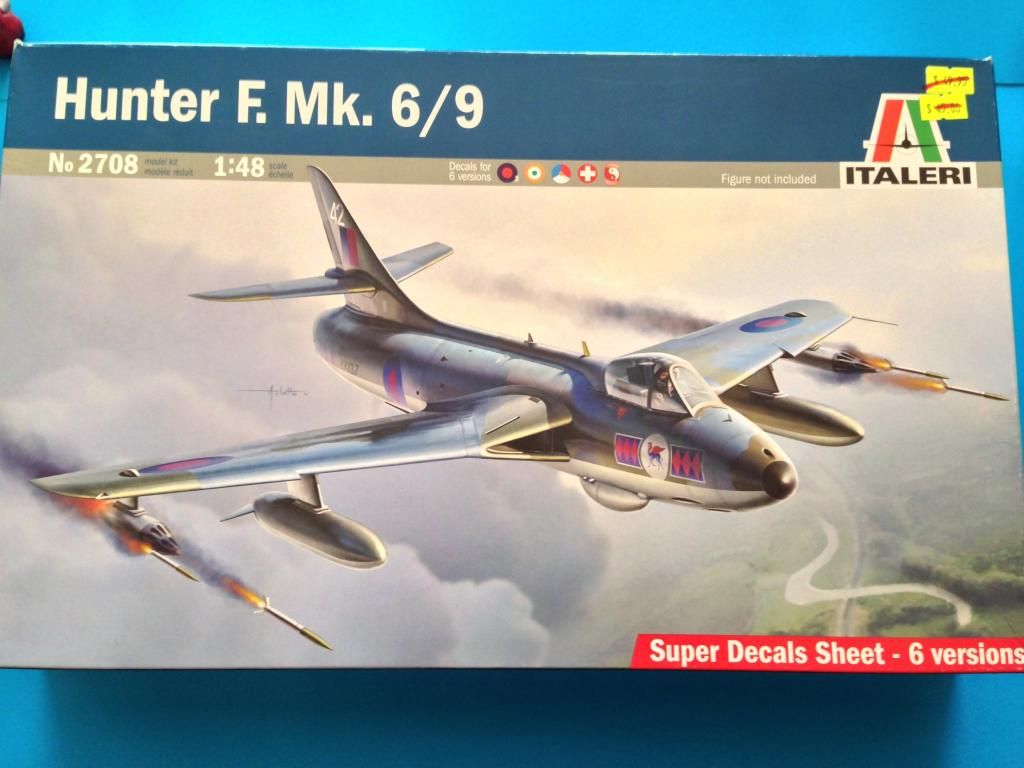
The Italeri Kit
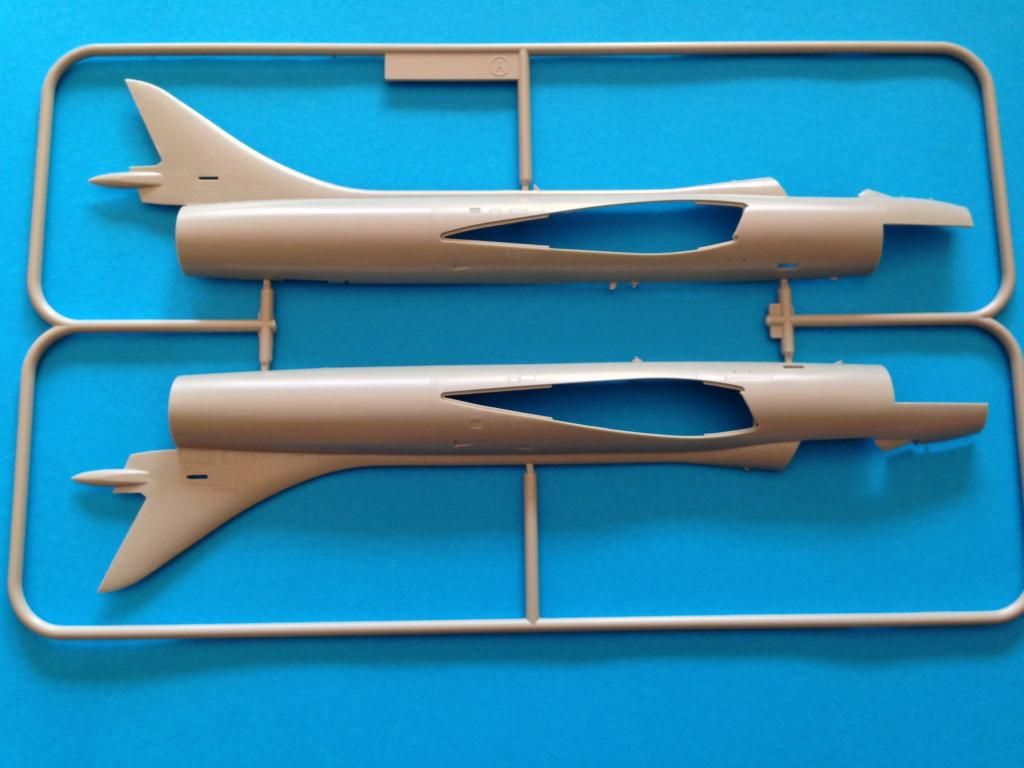
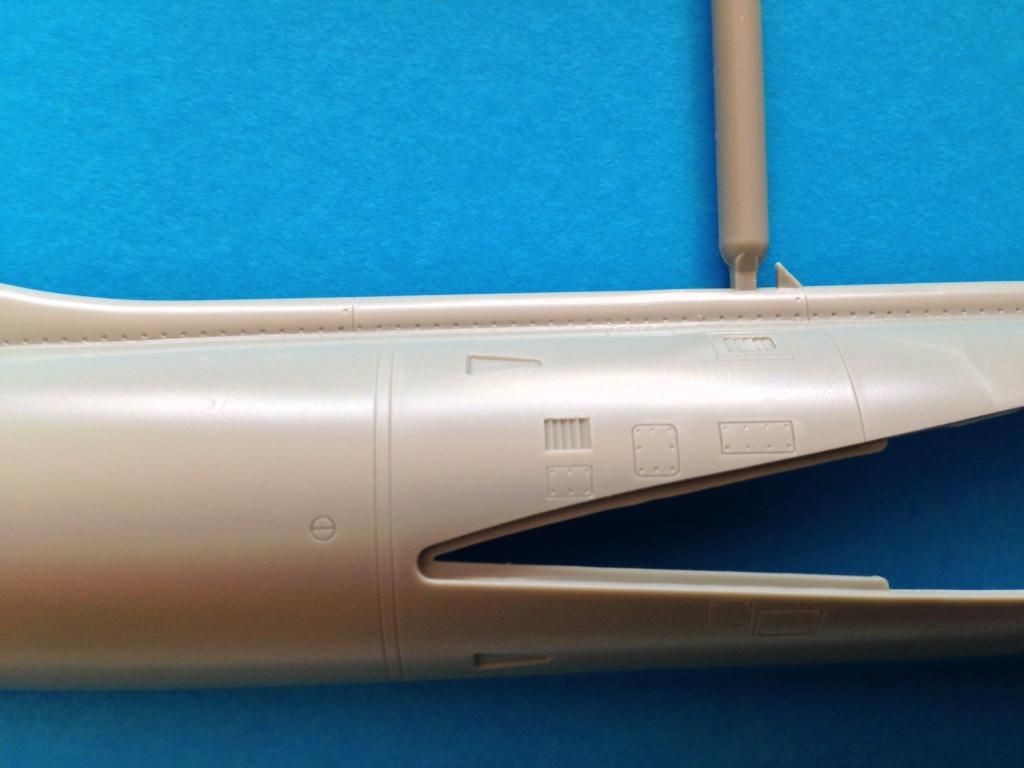
The Italeri hunter was released in 2012 and is a rebox of the Academy Hunter kits both of which were released in 1997. While Academy chose to release the Mk 6 and the FGA 9 separately, Italeri has chosen to include parts for both variants in the same box. The kit comes on 6 sprues of light grey plastic and one sprue of clear parts. Colour callouts are given in federal standard FS numbers as well as Model Master and Italeri paint colours.Sprue A has the fuselage halves which are split vertically. These have nice detail especially on the tail and around some of the vents above the wing. Of note is the large hole where the wing will go this is a departure from the usual slotted approach many manufacturers use. It will be interesting to see how strong the wing joint will be and how good a fit. Also apparent is that the rudder and the gun bay under the nose are both separate. On the real aircraft the gun bay is a separate removable pack but on the model it allows for the different versions to be addressed.
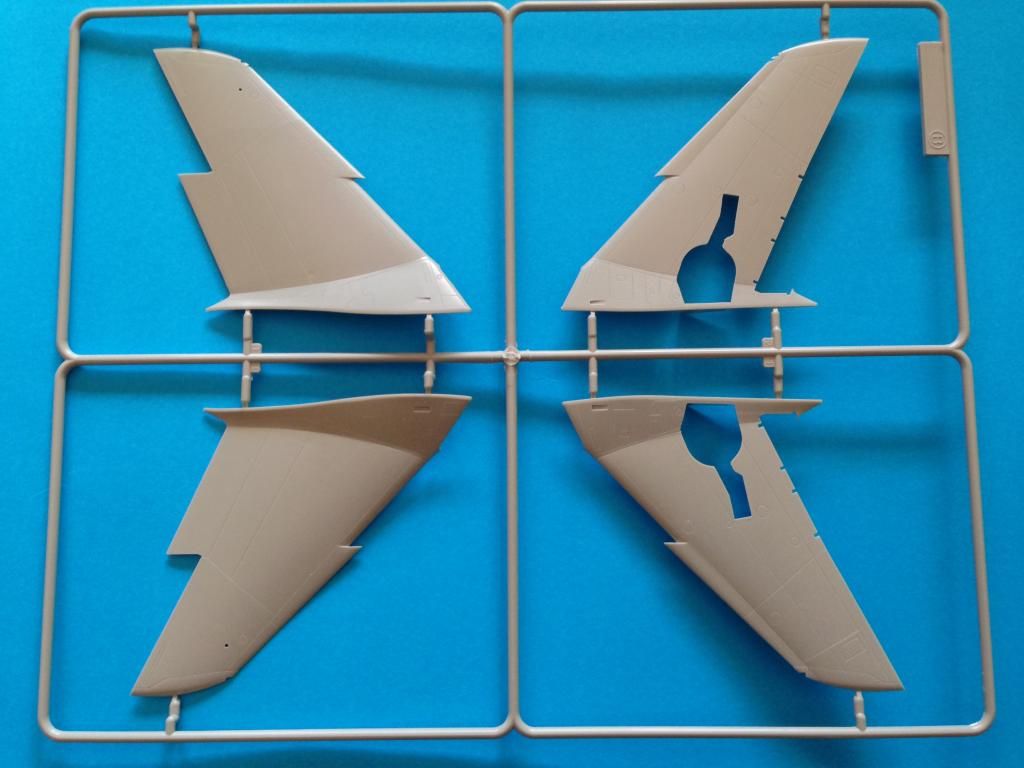
Sprue B has the wings. Again the surface detail is lovely. Both the ailerons and flaps are separate. When many aircraft are at rest they lose hydraulic pressure so you get drooping flaps and so on. Having these as separate pieces should allow this to be captured in the model.
Sprue C has the horizontal tails, the intake trunking, ailerons and some of the landing gear detail. There are a few ejector pins on the inside of the trunking but these should be easy to take care of. Making the trunking seamless might be a bit harder given it's shape but we'll have to see when it is assembled. There are also some nasty ejector pin marks on the inner face of the gear doors. Given there is quite a bit of detail on these it will not be possible to remove these marks without also removing this detail. Good thing I have the Aries set to replace them with.
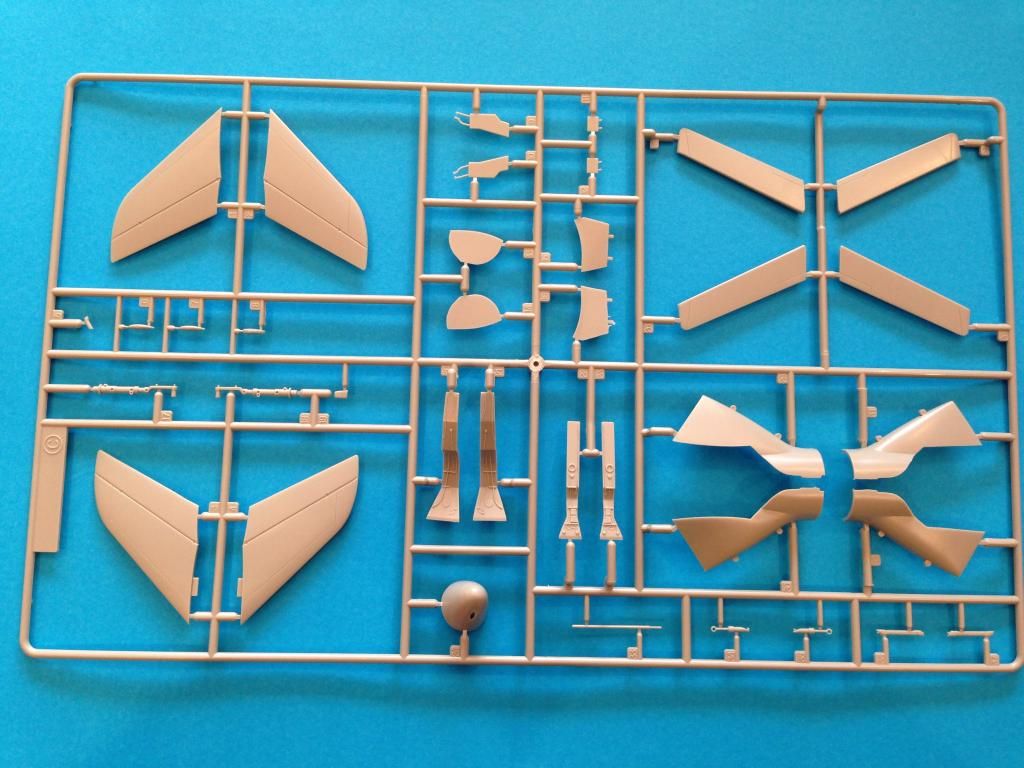


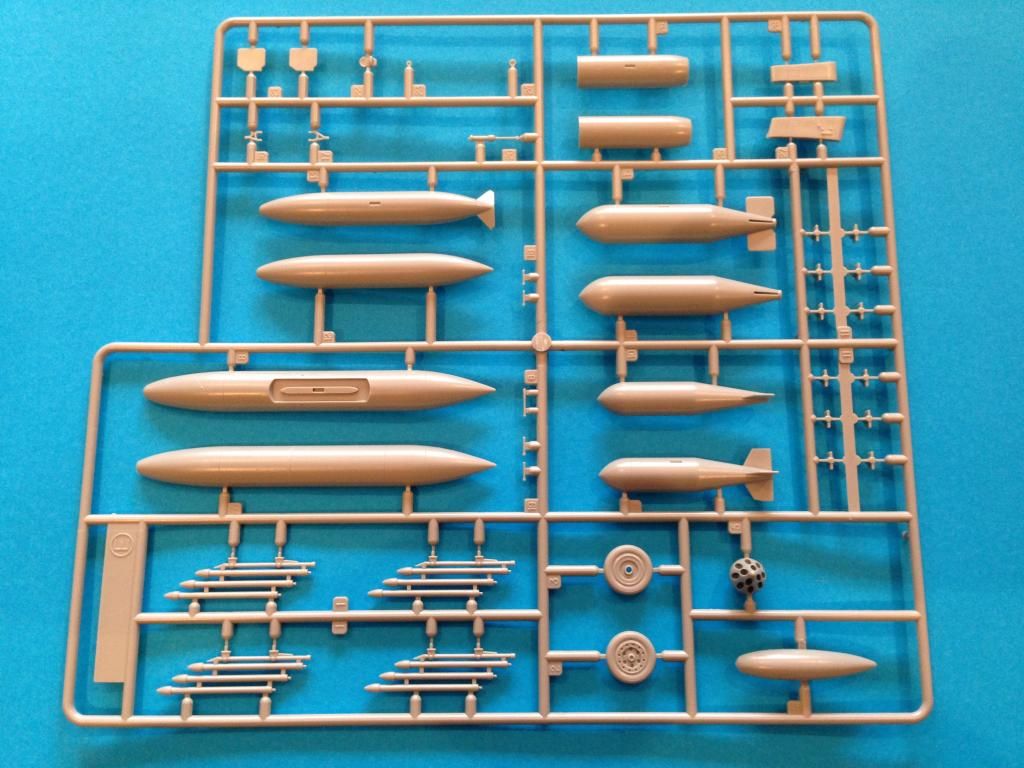
There are two copies of sprue E. This has weapons, drop tanks and wheels. All of these look very nice.
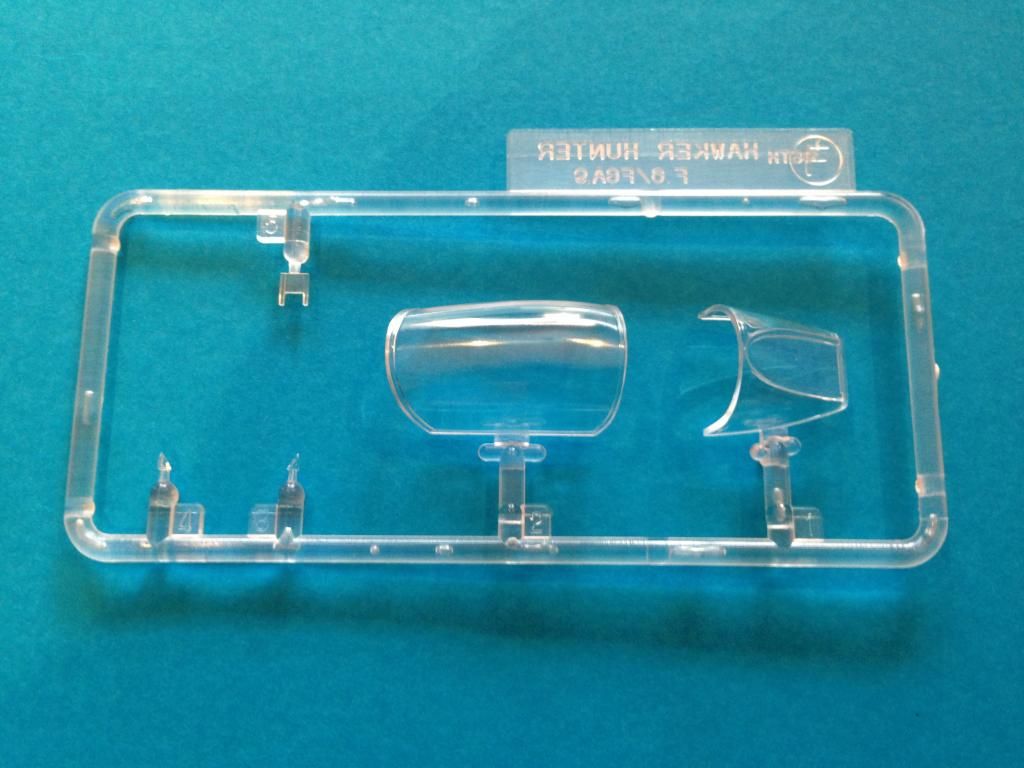
Lastly there are the clear parts. These are passable. They're not crystal clear like we've come to expect from some of the more recent kits that have been released and there's a bit of distortion present on the sides of the main canopy.
All in all the kit is good in terms of general appearance and level of detail. However it is not in the league of a Tamiya kit, but then again it's not the same price either. As a base for further detailing it is great.
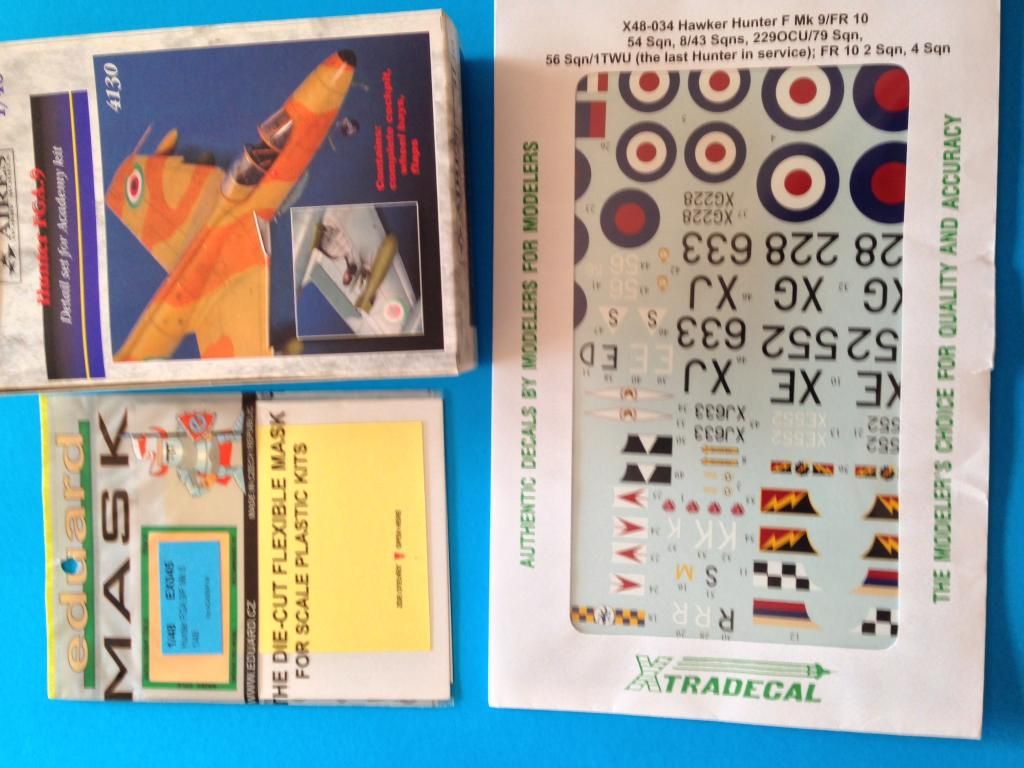
The Aires Detail Set
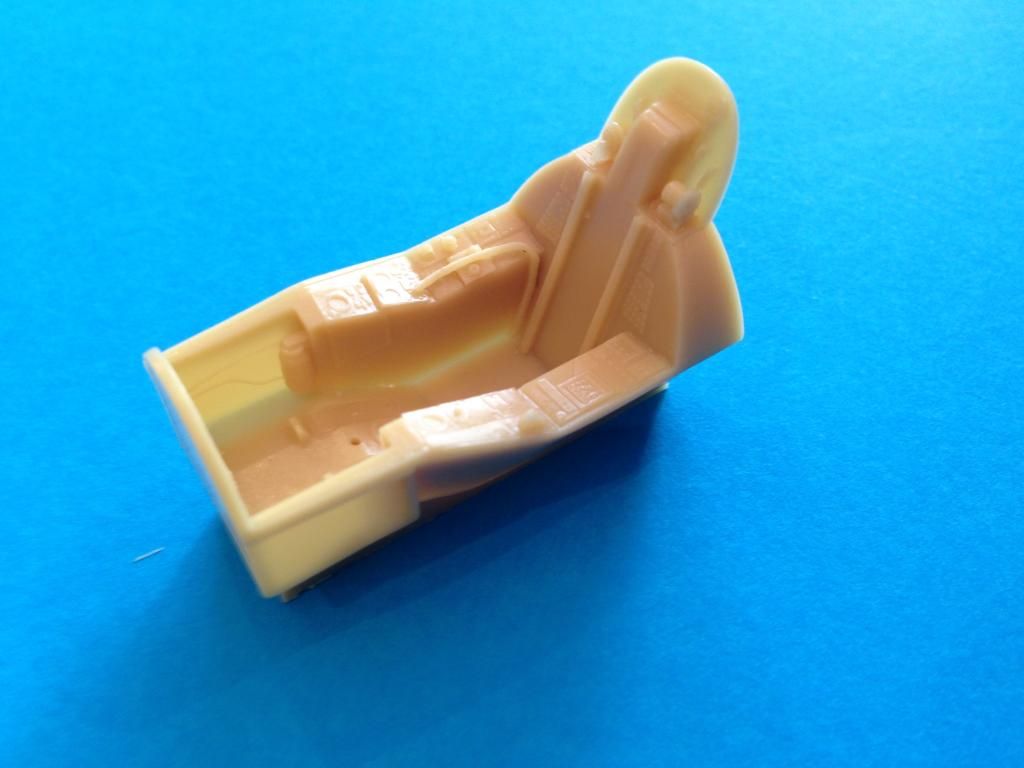
I mentioned earlier that I'll be using the Aires detail set in this build. This set corrects some of the problems with the kit and adds a whole extra level of detail. Aires tend to box their stuff up in a single bag and unfortunately that means there are a couple of broken bits in mine which should be easy to fix.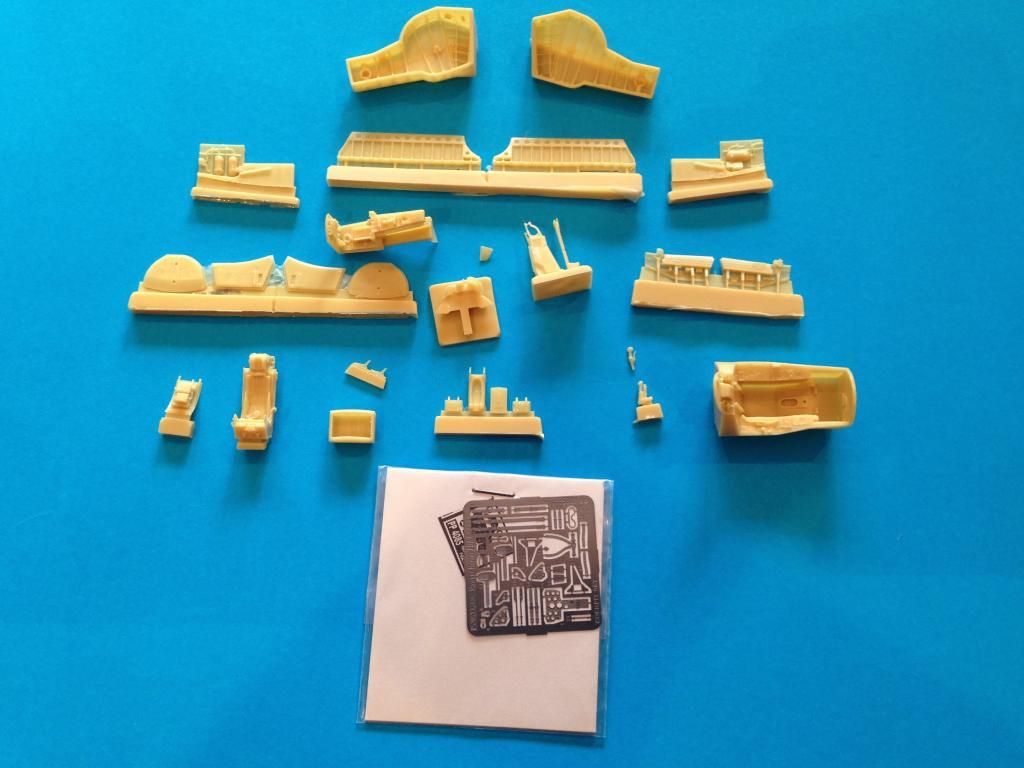
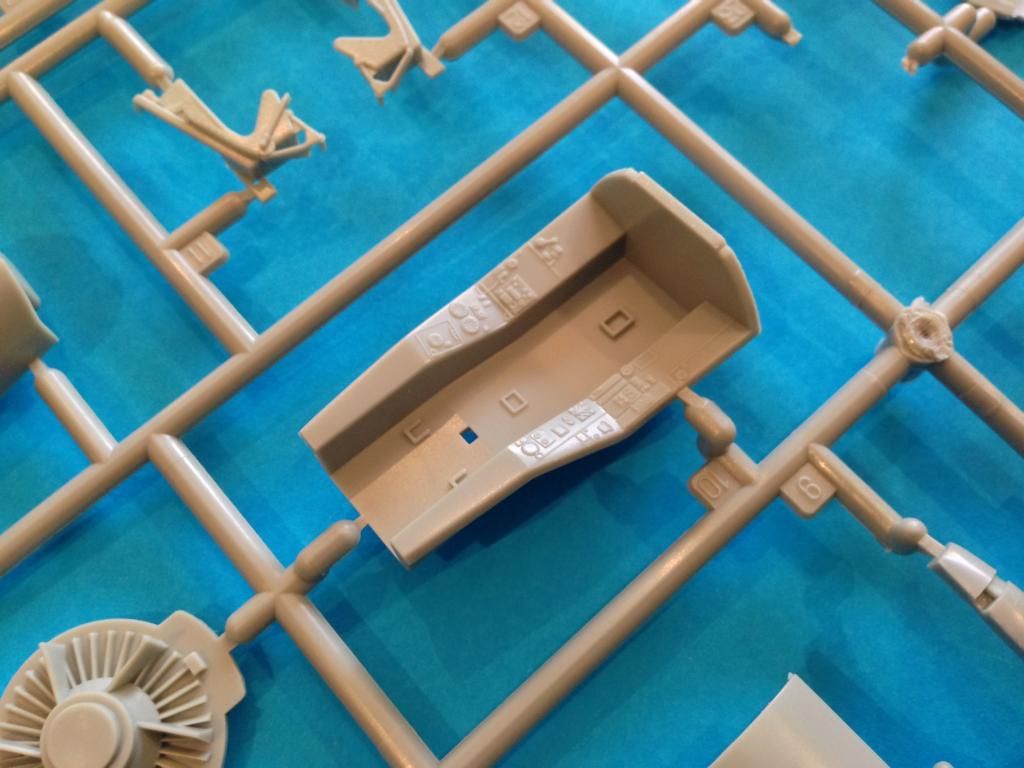
Remember the the cockpit tub from the kit? Well the Aires version is a lot better proportioned. It actually has some depth to it.
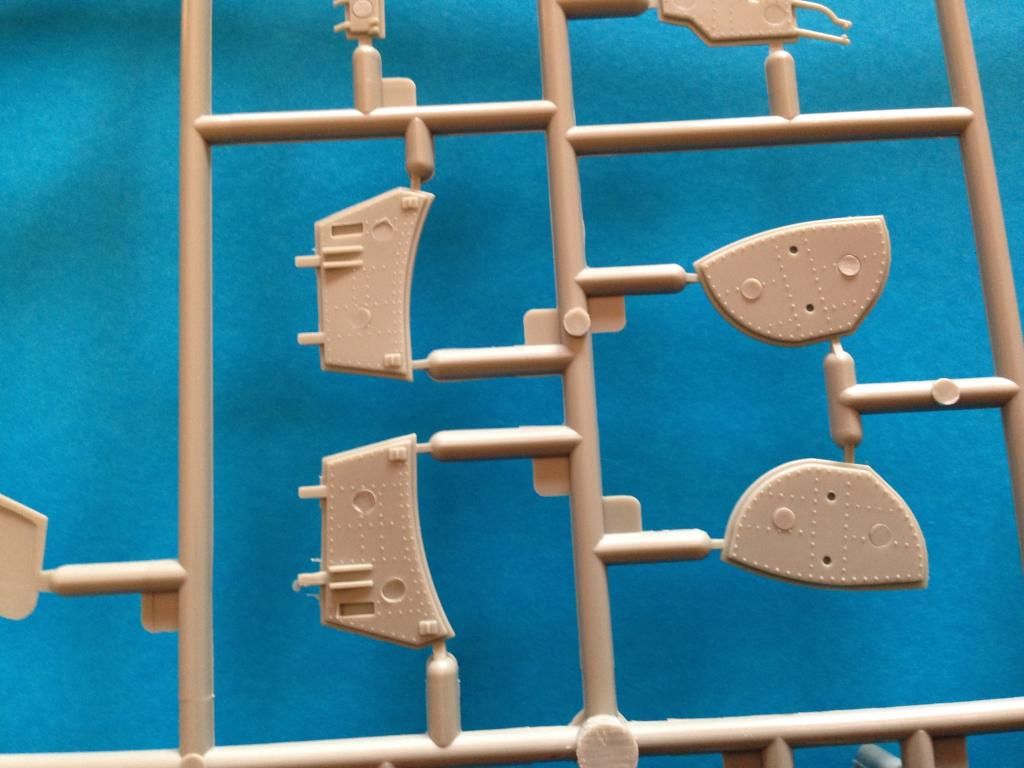
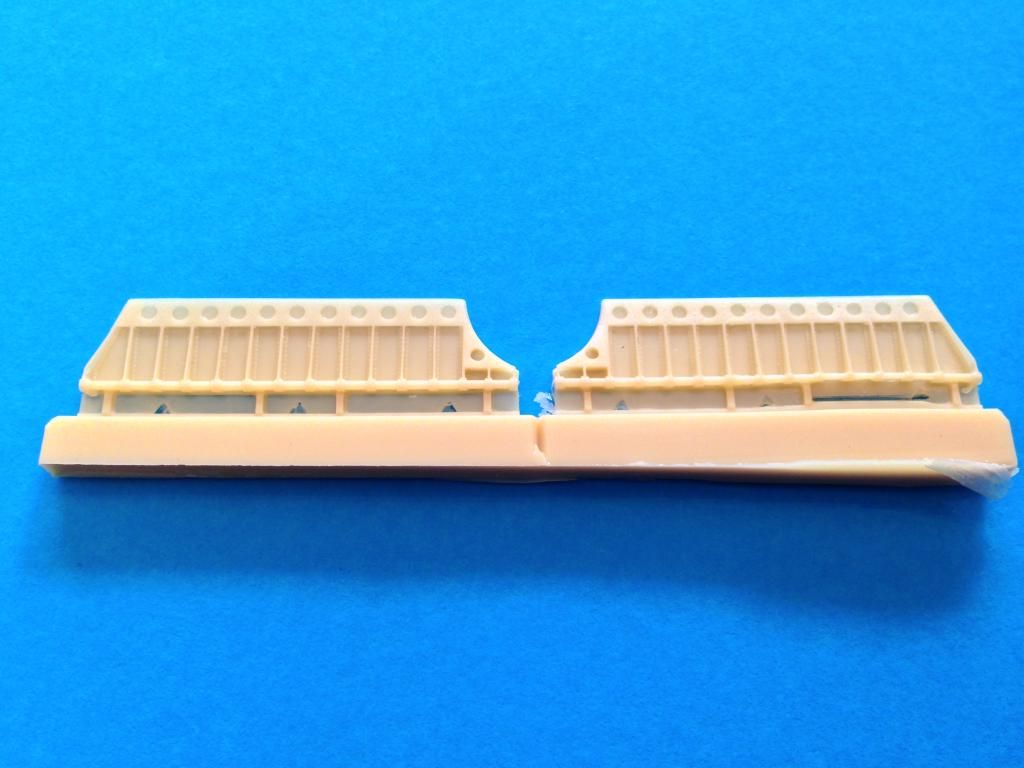
The flaps are nice too. No ejection pin marks here.
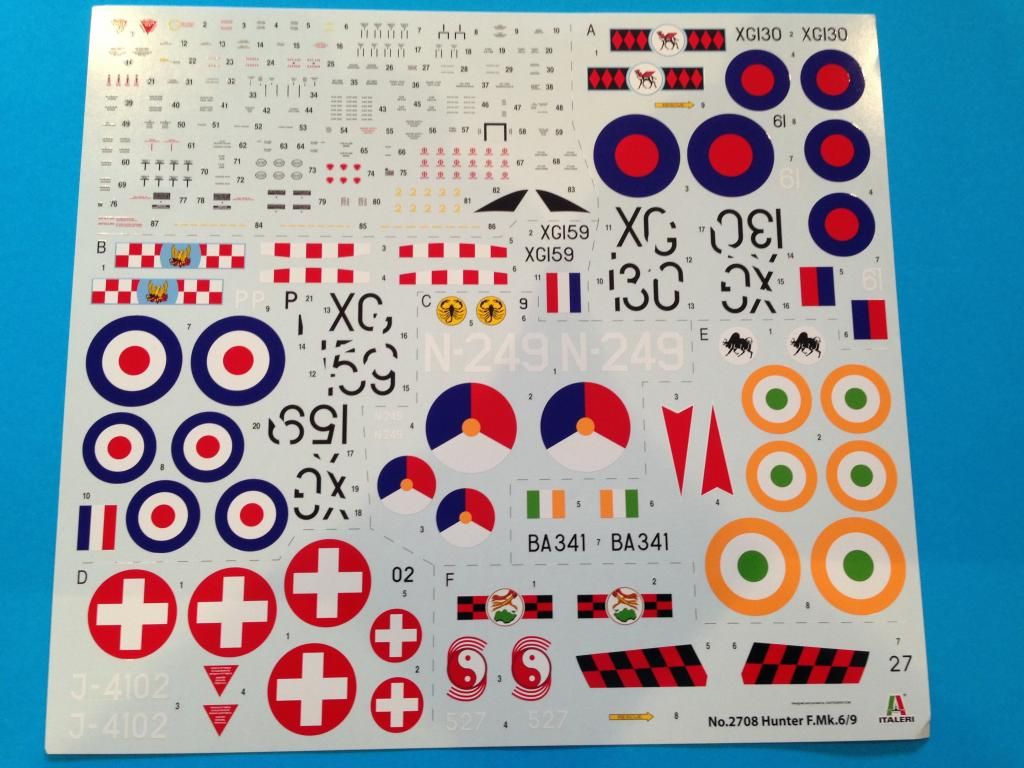
The Markings
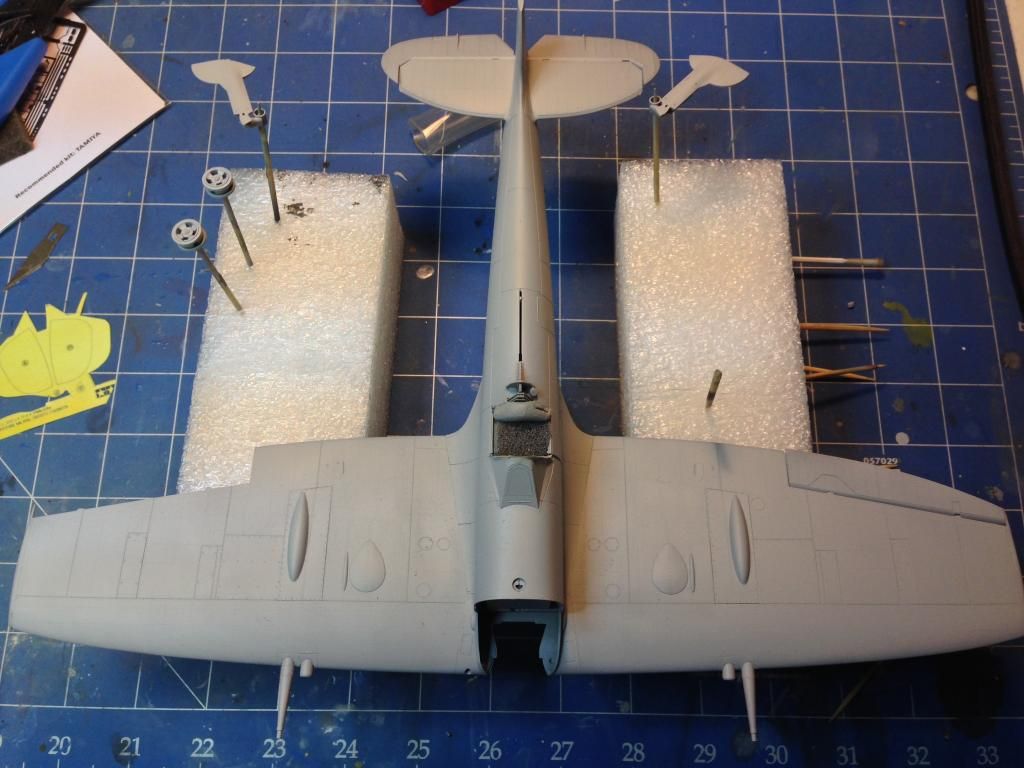
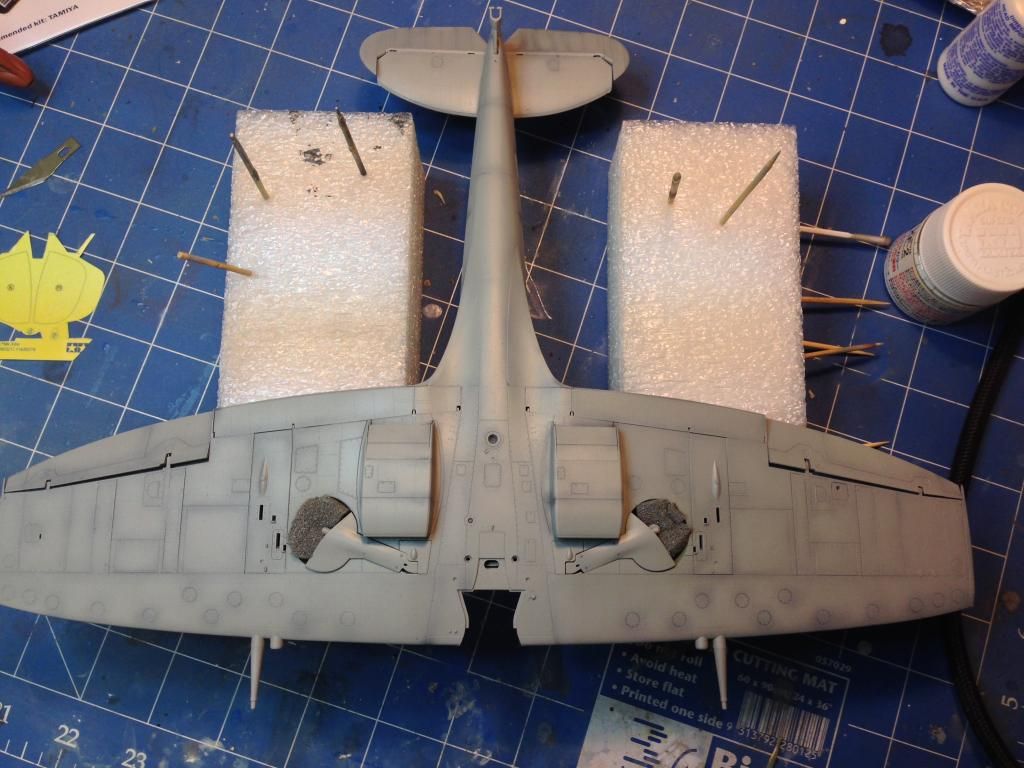
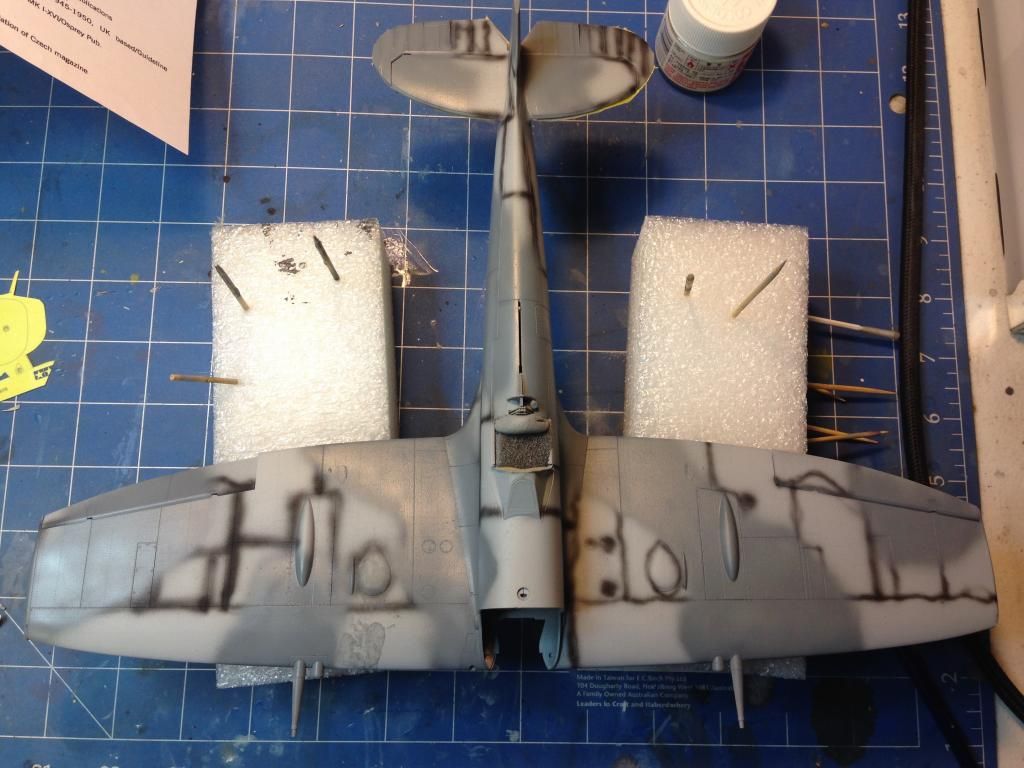
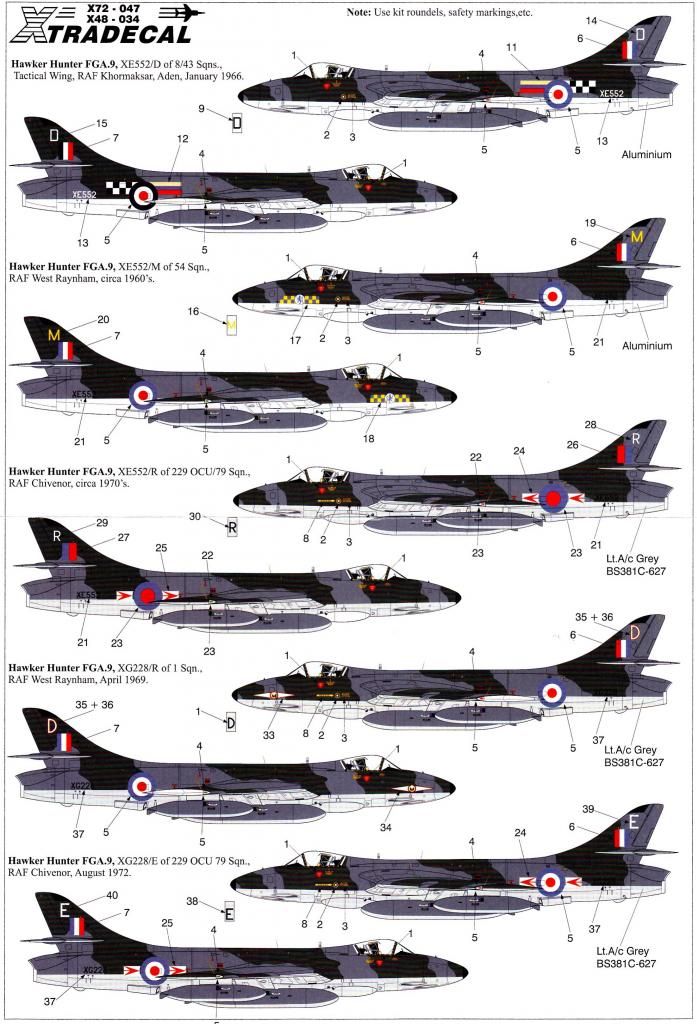
The markings I am going to use are on the Xtradecal sheet. This aircraft was used during the Aden Emergency and was based at Khormaksar, Aden in 1966. It's in the standard RAF Green, Grey camo with aluminium undersides.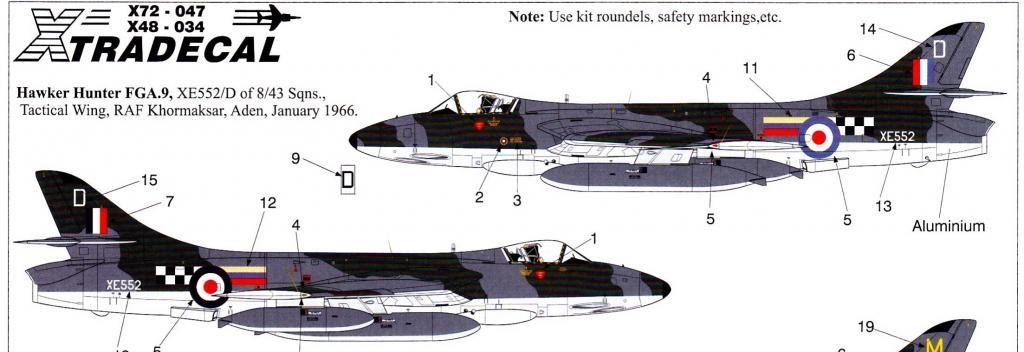
I'm headed off to Germany, the Czech Republic and Portugal over the Xmas and New Year break so, with oversight from Bob the Tomten, I'll start work on this when I get back in the middle of January 2015.
On to Part 2.


