The Beginning is the most Important Part of the Work - Plato
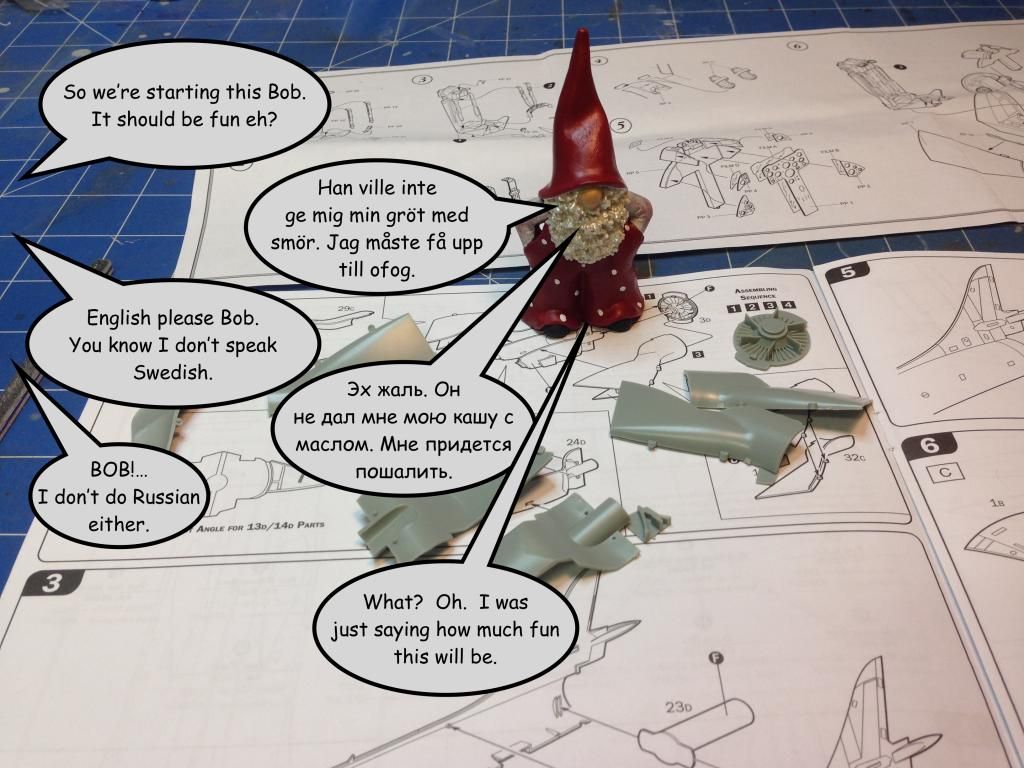
So, here we are. At the beginning. Sometimes, when I read a book I skip to the last page to look at the last word and marvel that the journey embodied by the book is a meandering, yet coherent, path to that final word. A model plane is different though. The journey will ultimately lead to that last bit of paint, varnish or glue - or possibly the trash can. But you can't take a peek at the end before you begin.The Tomte that lives at my house, Bob, has been hanging around. He has been known to get up to mischief and I am pretty sure that as I work on this kit there will be no exception to that. After looking at the instructions I decided that the best place to start was with the intake trunking.
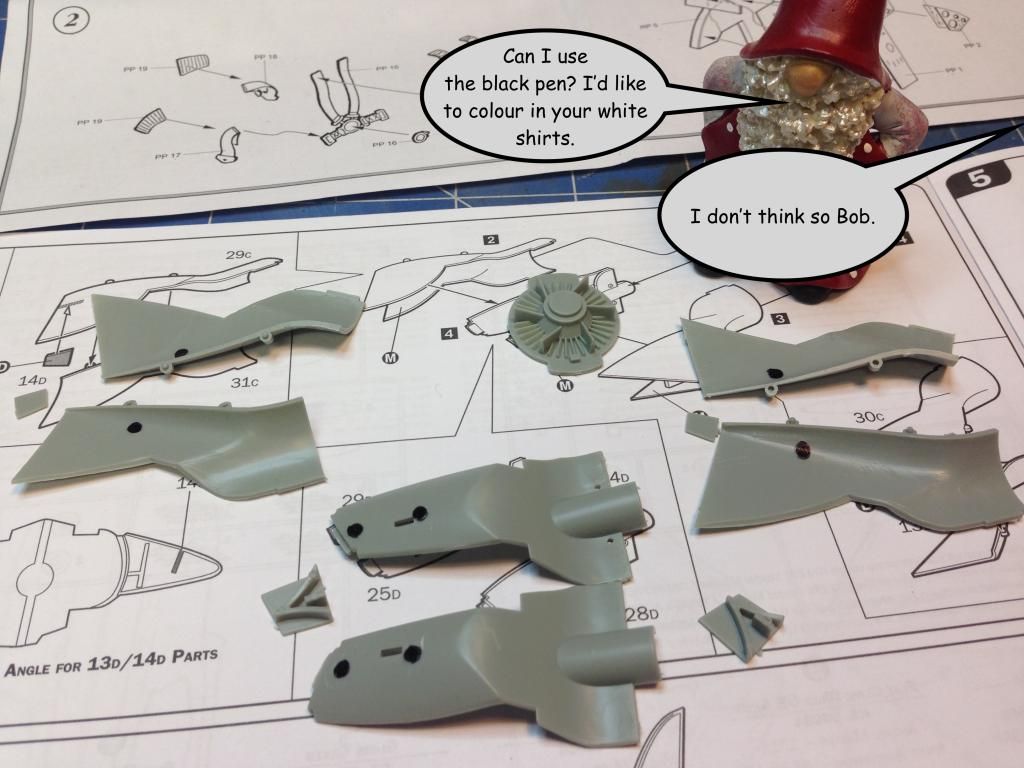
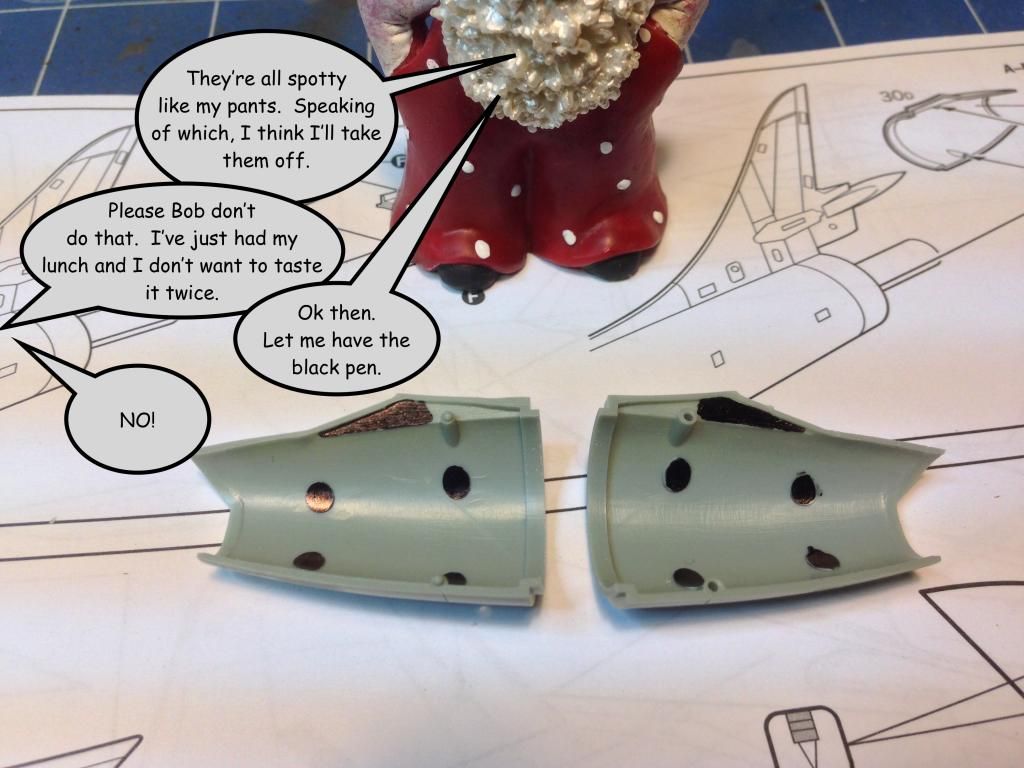
The inside of the intake trunking had several ejector pin marks. I have coloured these in with a black felt pen so they're visible. They'll have to be removed otherwise they'll be visible should anyone look too hard.
After cleaning up the ejector pins I decided to part assemble the trunking. Leaving it like this will make it easier to clean up the join lines. Once the outer sections of the trunking were glued some Mr Surfacer 500 was painted along the join. I set these aside to dry. I'll clean them up later.

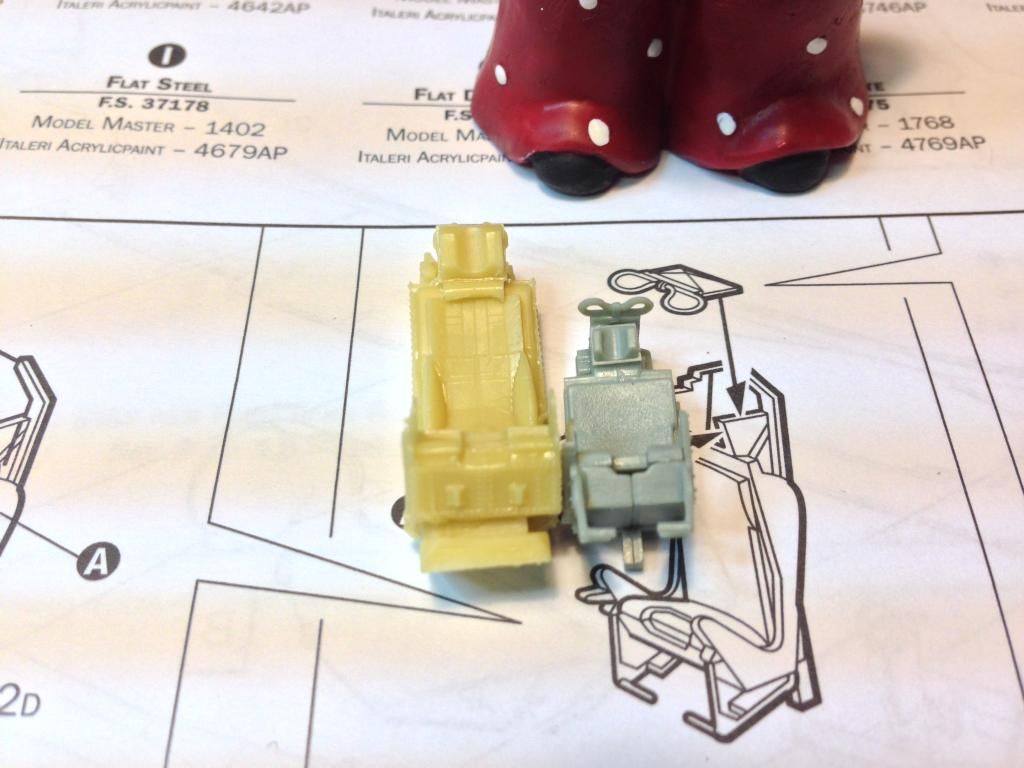
To demonstrate how much smaller than 1/48 scale the kit seat is I decided to assemble it an compare it to the Aires seat. I'm not a rivet counter by any means. I can live with small inaccuracies in a kit but this size difference is just ridiculous.
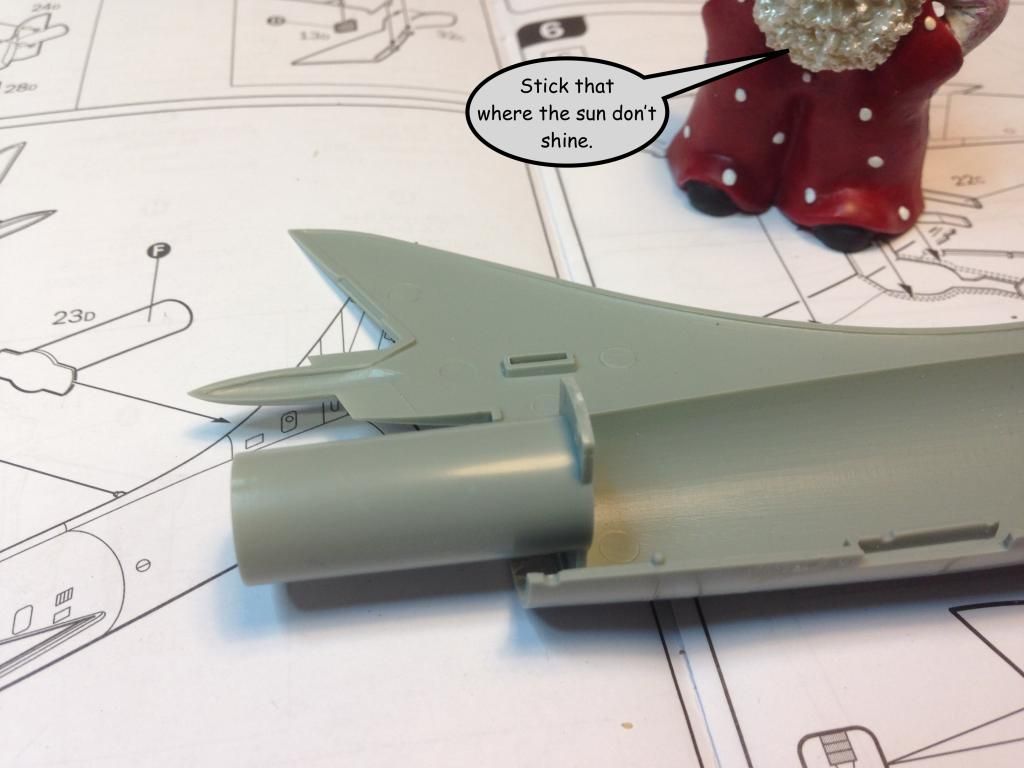
I have to admit I am not keen to start cutting into resin while Bob is hanging around. Instead I decided to have a look at the exhaust. This is nothing more than a tube of plastic. There's no detail in there whatsoever. There's no replacement in the Aires set so it will just have to do. I really don't think you're going to be able to see very much inside the jet exhaust anyway.
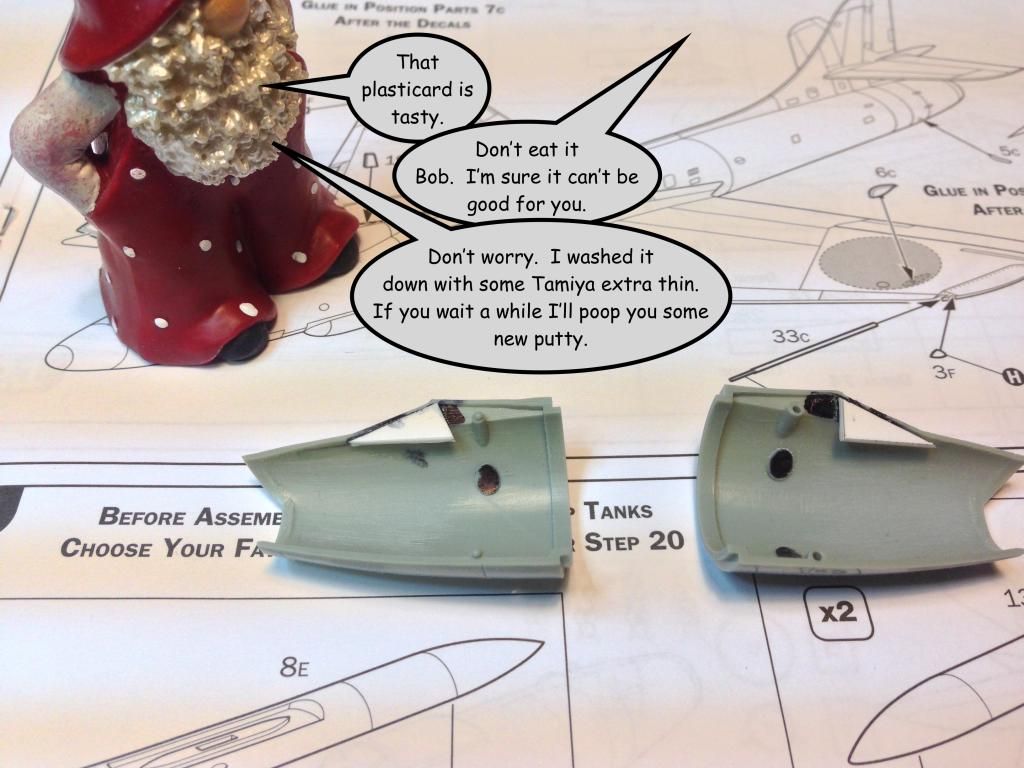
I moved onto the tail cone. After test fitting I noticed that a few of the ejector pins would be visible and there would be a visible void where the base of the tail sits. I've coloured these in with a black pen so you can see the troublesome areas.
The ejector pins to the rear were sanded off. Also I glued some plasticard into the void where the base of the vertical tail is. Once this dries I'll sand it flush and the void will no longer be visible. For now it gets set aside while I move on with other stuff.
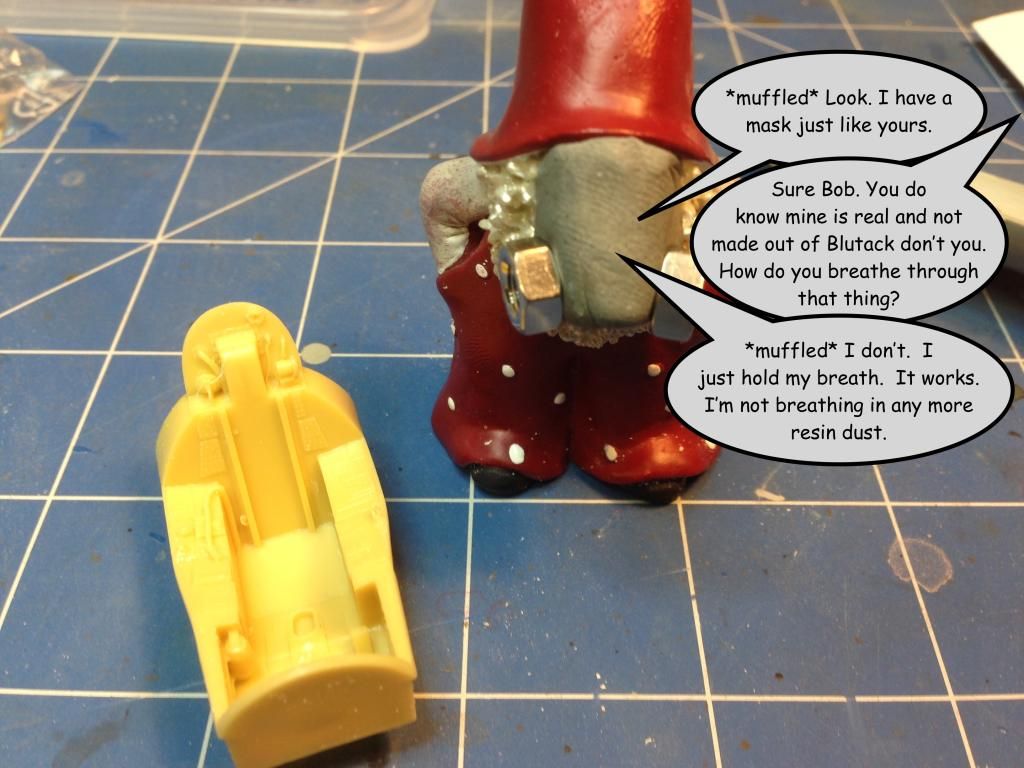
Finally I could resist no longer. I started work on the resin tub by removing the casting block from the bottom.
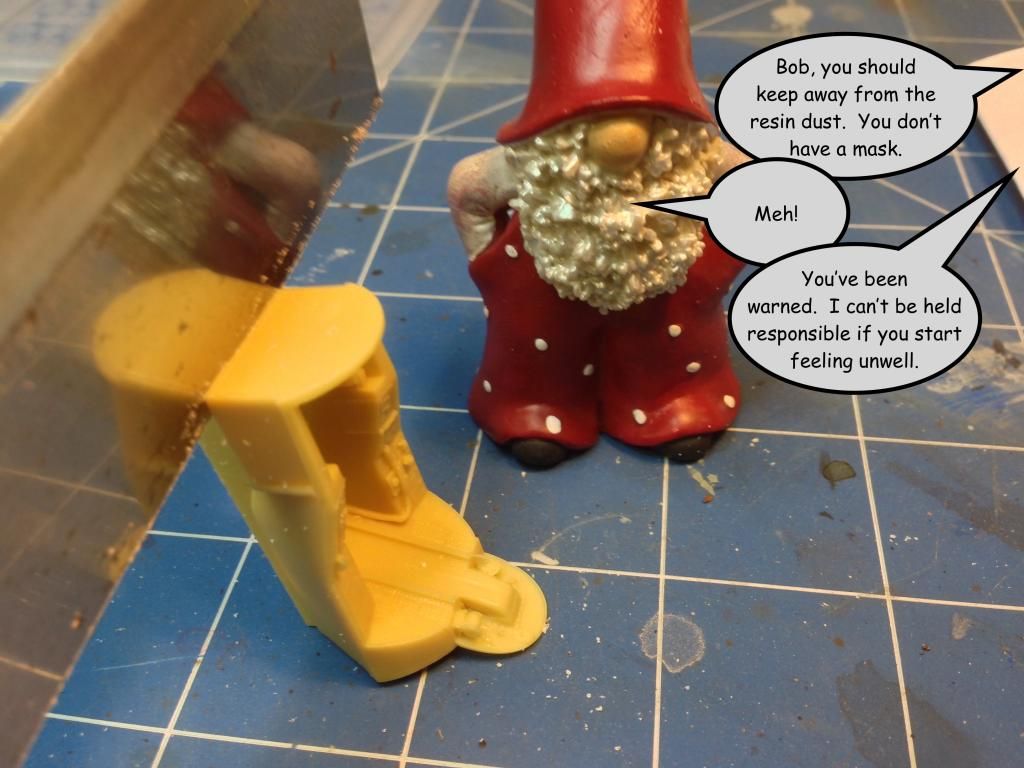
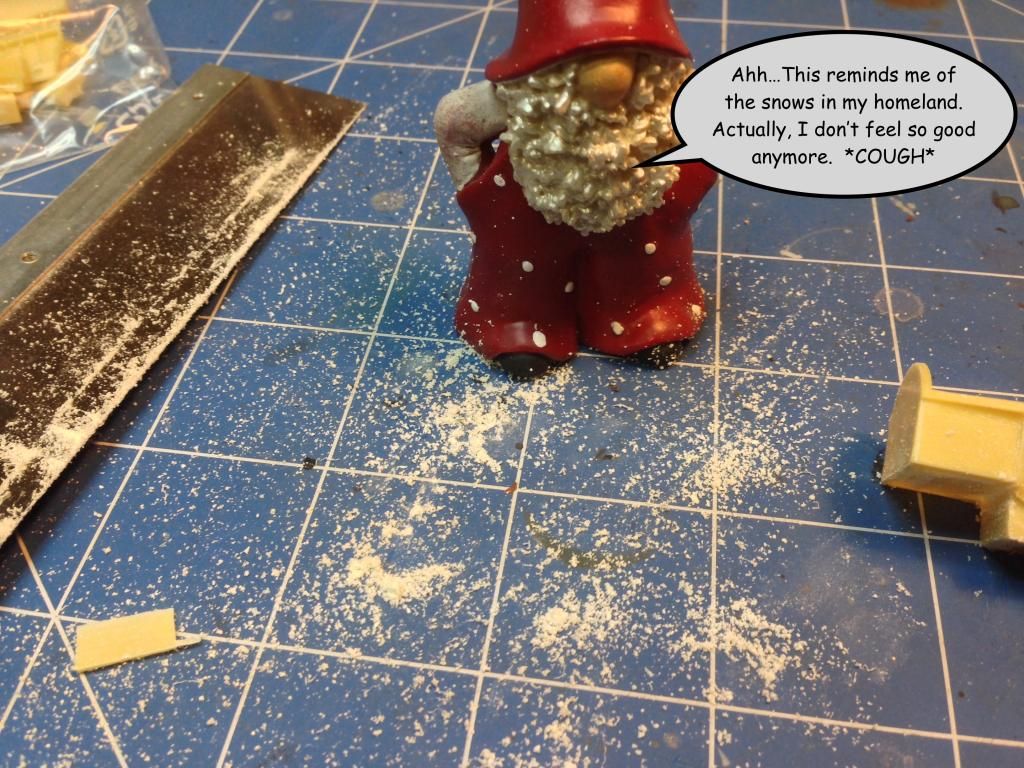
Resin dust is a respiratory irritant and like many things nowadays it probably causes cancer. It's best to keep the dust levels down and to clean it up as soon as you can.
There was a bit of surgery required to the fuselage to make the cockpit fit. Just part of the bulkhead behind the pilot seat needed to be removed and a small locating tab on the inside.
The fit was pretty good. This replacement cockpit should look nice once it's painted and installed.
That's all for this installment. Next time we'll do some more work on the cockpit.