Saturday 27 June 2015

Alley Cat 1/48 - Tucano

Time for a Tucano


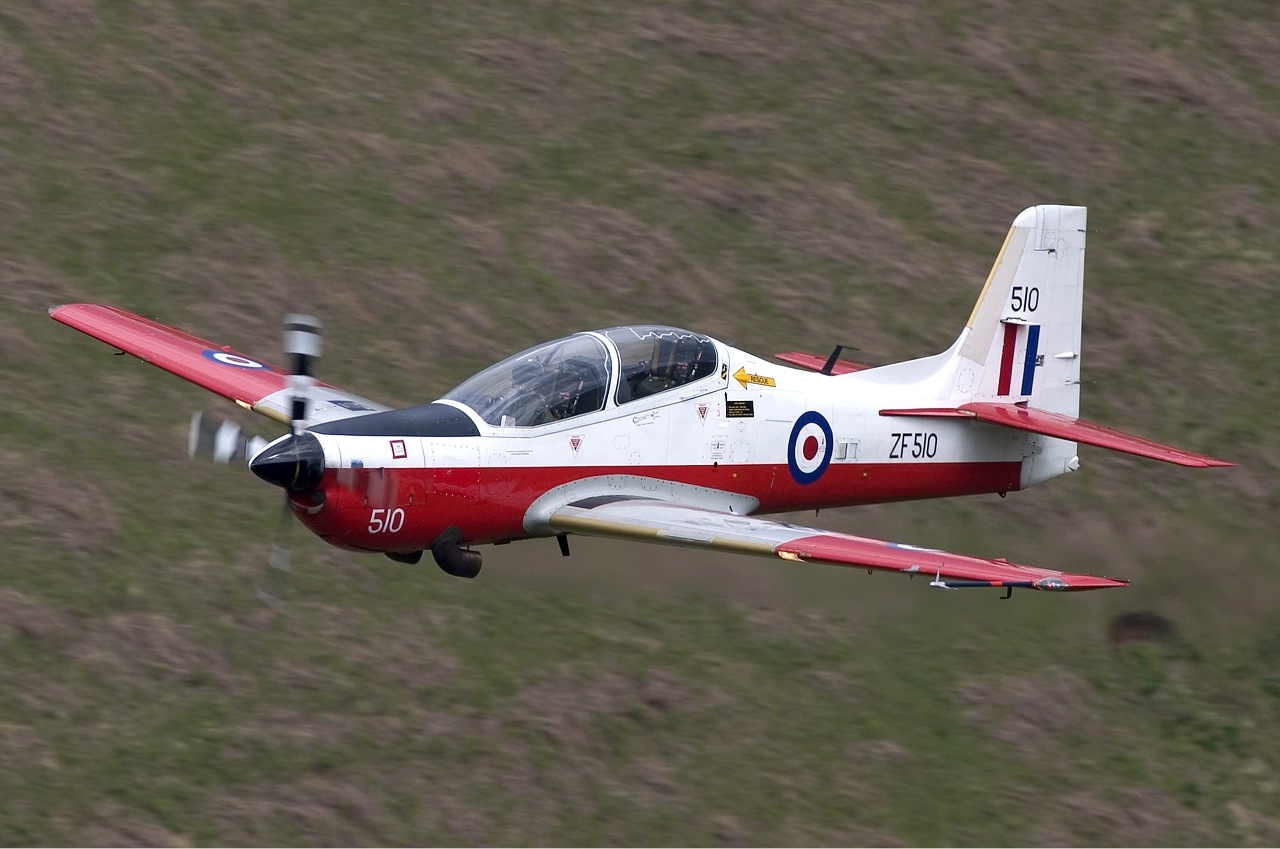
The RAF has used the Short Tucano as a basic fast jet lead in trainer since 1989. The original Tucano is product of Embraer, a Brazilian aviation company, but the RAF required over 900 modifications to this design.  The Tucano produced by Short Brothers under the agreement with Embraer shares only 50% of its design with the original.

As something different to what I usually do I'll be building the Alley Cat 1/48 Short's Tucano.

The Alley Cat Tucano

Instead of the standard military stuff that I build, with matt camouflage and weathering this build is all about gloss and colour.  It's also a mixed media kit with absolutely no injection molded plastic.

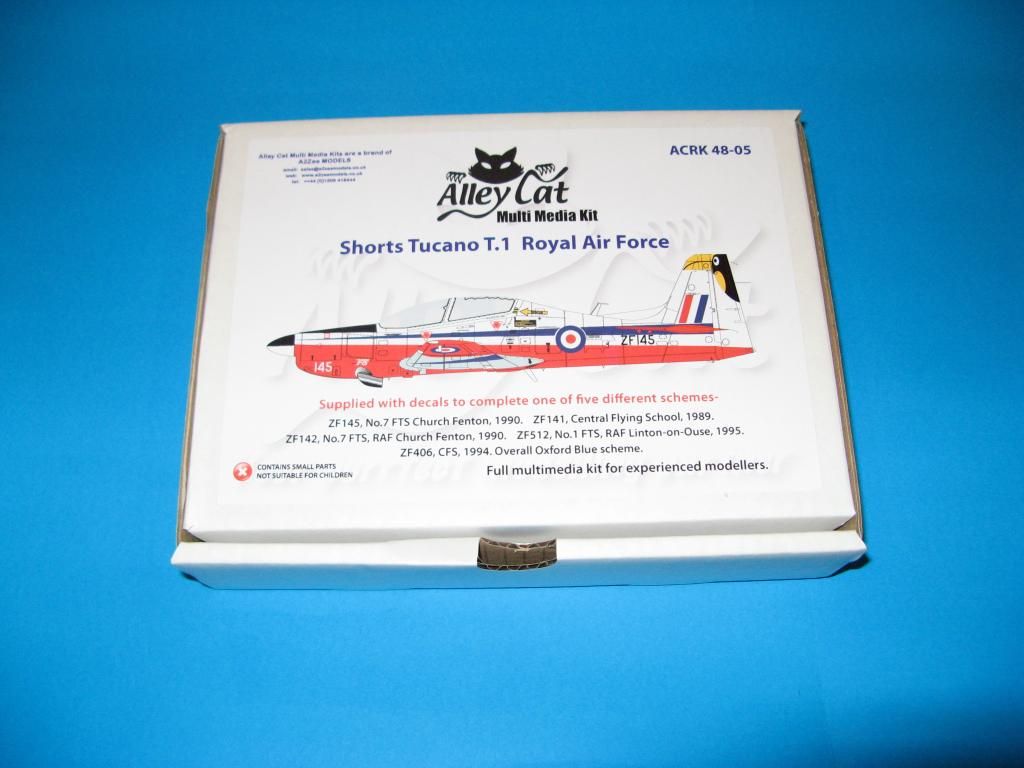
The box is pretty small, in fact it's smaller than my iPad.  However it is sturdy and the contents are well protected with those styrene 'peanuts' that protect against impact damage.  Since this kit is limited run you cannot expect the same flawless presentation that you'd get from a mainstream manufacturer like, say, Tamiya.  What you do get however is a level of service from the manufacturer that the mainstream guys would struggle to match.  My kit had the wrong mask set and a small missing part - no problem.  I just let Alastair at Alley Cat know and he was straight onto it.  Replacements were sent free of charge and arrived within a couple of weeks from the UK. 

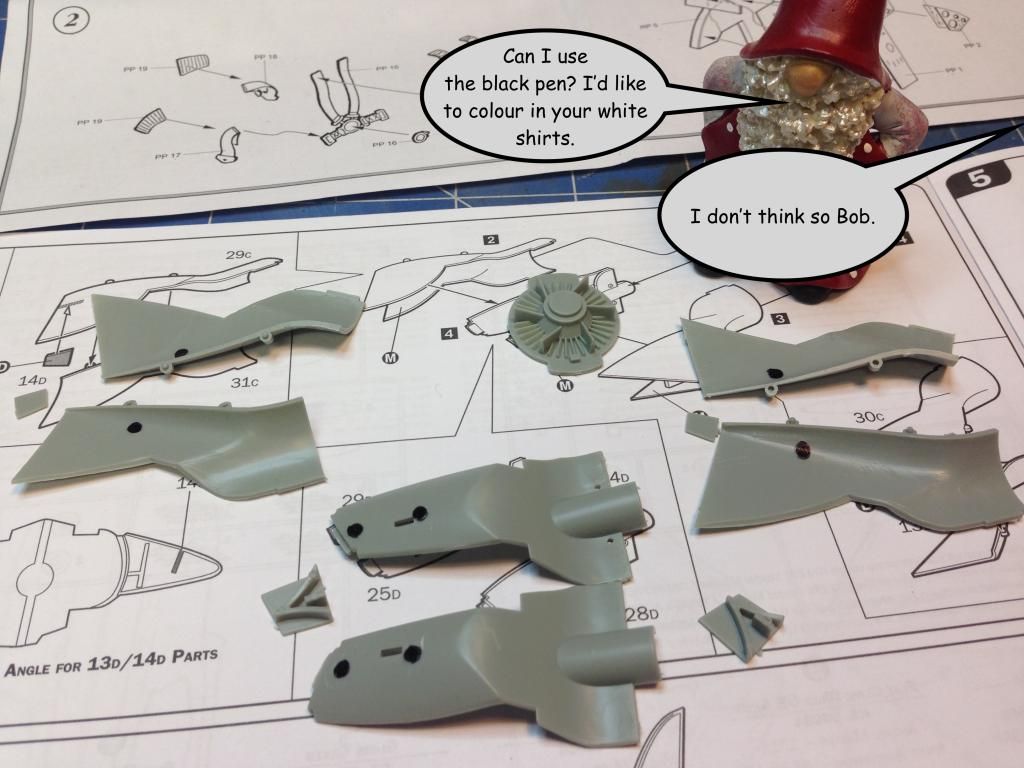
Inside the box you get a pile of resin parts.  The resin has casting blocks that need to be removed before assembly. Some of these need quite a bit of care.  That said all of the castings in my kit are very nice indeed.

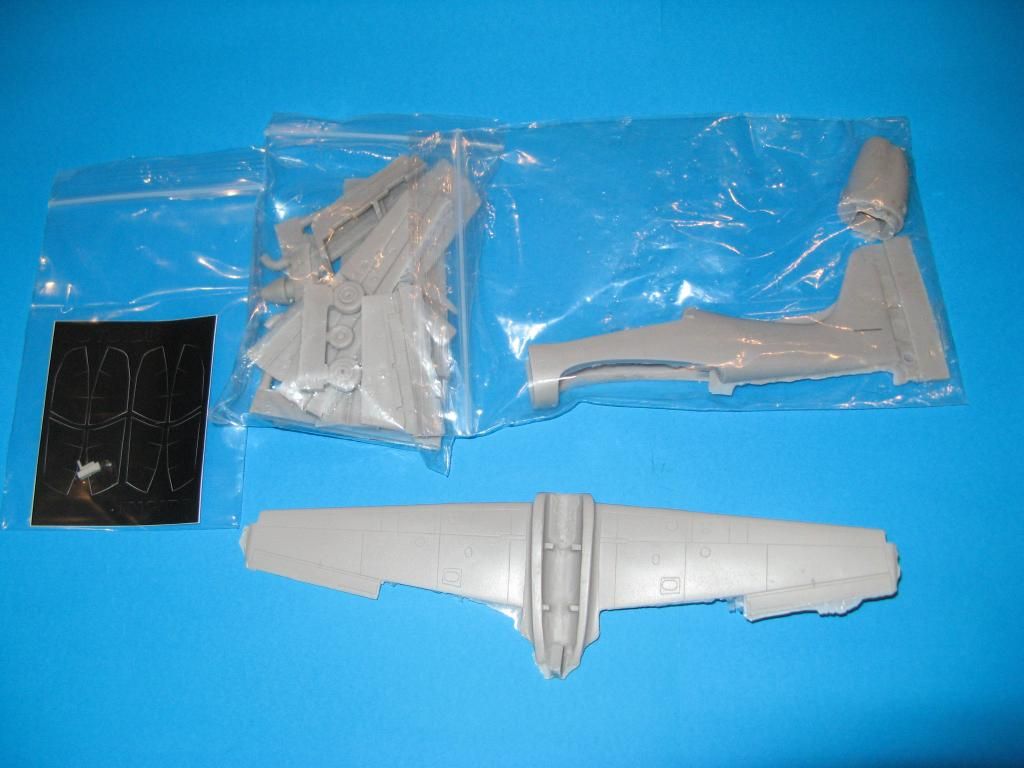
Panel lines are engraved and are very crisp.  While there will not be any weathering on this build at all these will still look great under a coat of paint.

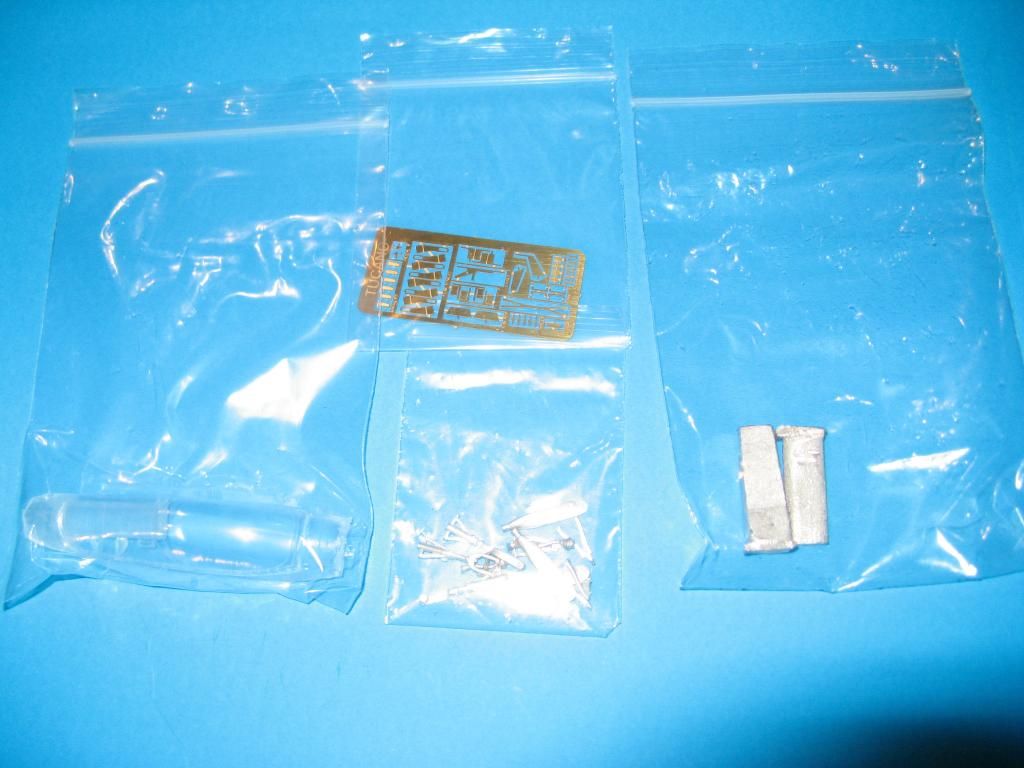
Prop blades and undercarriage are made from white metal and photoetch is used to provide some additional fine detail.  A nice idea is the inclusion of two lead weights which are shaped to be hidden within the nose of the model ensuring that it does not become a tail sitter.  The canopy is beautifully cast from clear resin.

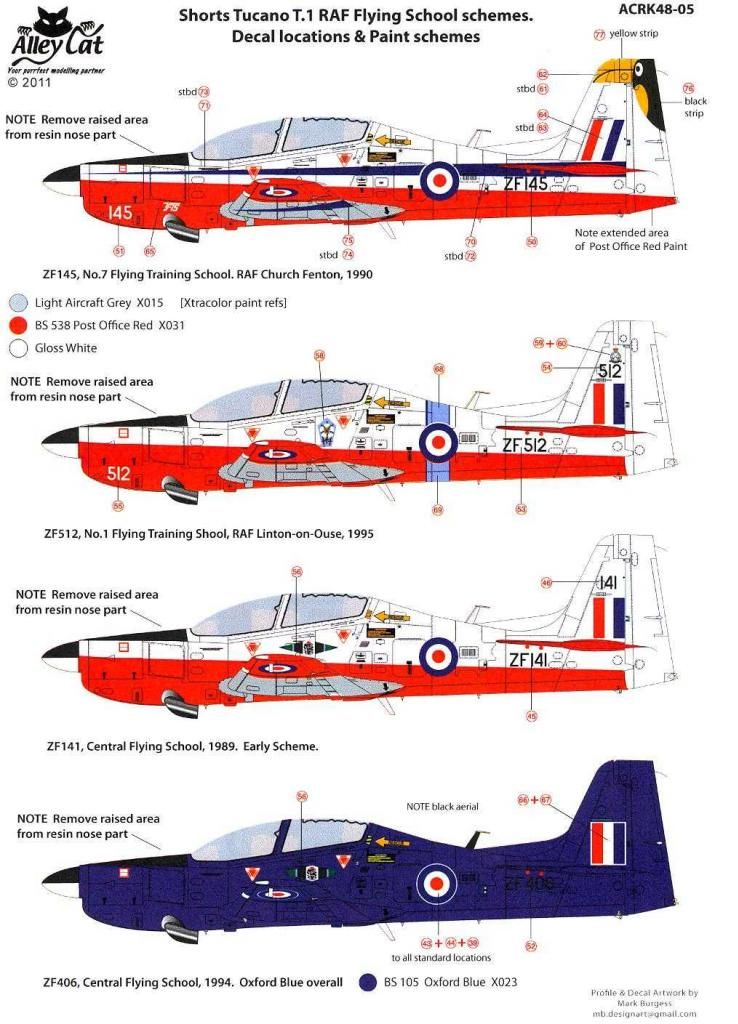
One of the things that Alley Cat are known for are their decals.  This kit has some lovely screen printed decals covering five RAF aircraft.

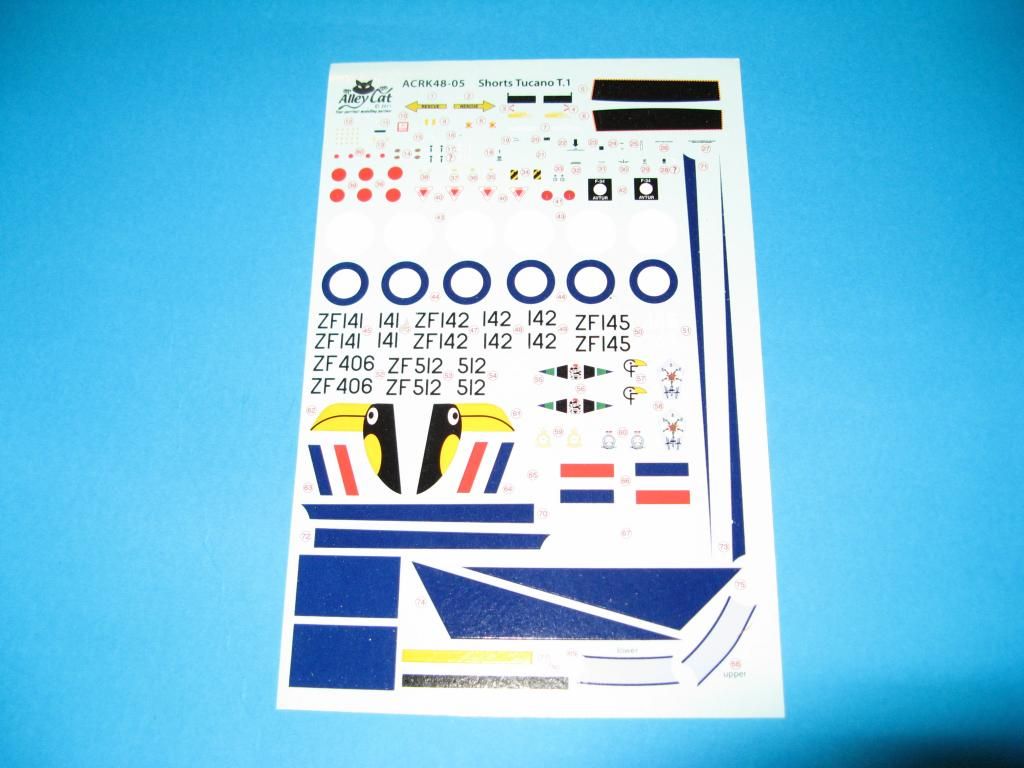
The instructions are pretty basic, but frankly the assembly of this kit is pretty straight forward so I don't think they need to provide too much.  There's a few photographs of key assemblies and a written description of how to put it together.  They do include several reference photos of the cockpit and canopy which will be useful as the build progresses.  The marking options include four aircraft in the white/red "raspberry ripple" schemes and one in oxford blue.

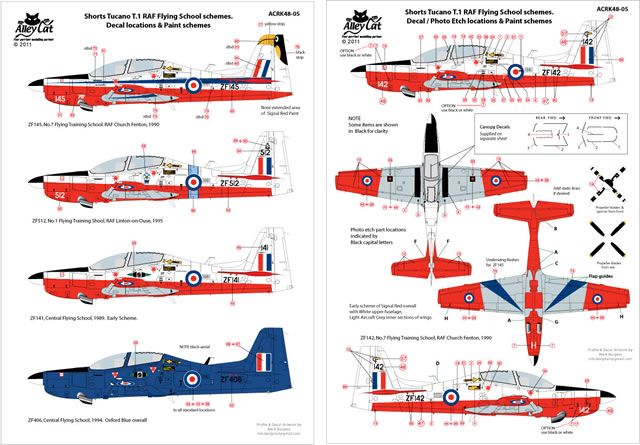
I'll be building the first one with the Tucan on the tail, primarily because there's a Tucan on the tail.

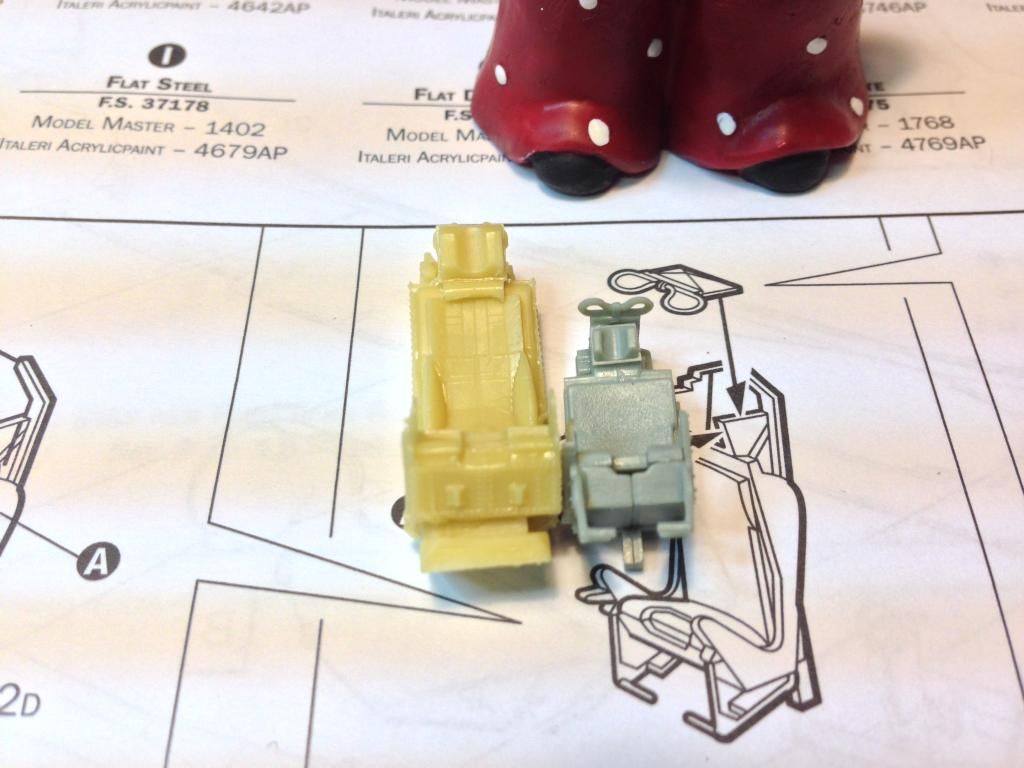
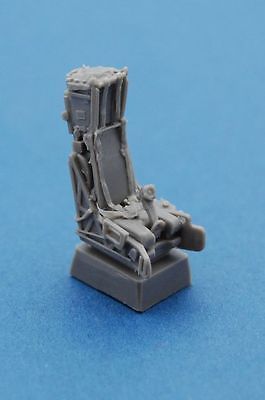
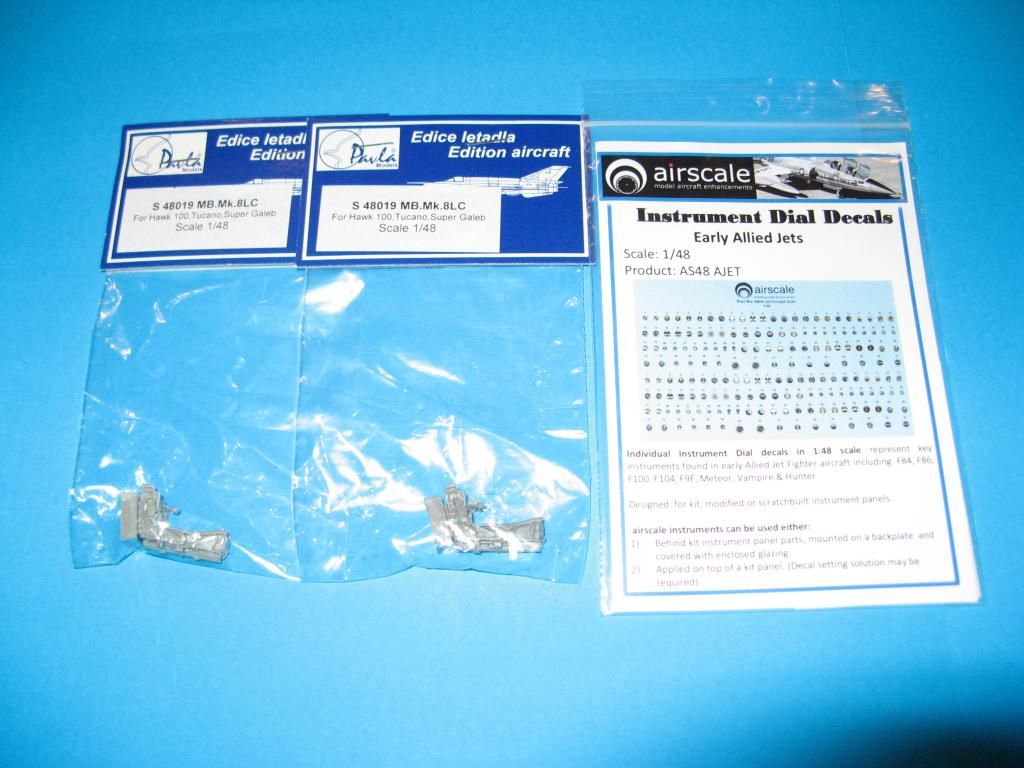
I do have a couple of extras that I'll be adding.  I'll be replacing the Martin Baker Mk 8 ejection seats with those from Pavla as these look a bit better that those in the kit.

I'll also be using instrument dial decals from Airscale.  The kit comes with a nice instrument panel but there are no instruments so these will add a degree of realism.  I chose their early allied jets set as the Tucano cockpit is designed to mimic that of the Hawk Jet trainer.

This should be a fun quick build.

Monday 26 January 2015

Italeri 1/48 Hawker Hunter - Part 2

Back to Part 1

The Beginning is the most Important Part of the Work - Plato

So, here we are.  At the beginning.  Sometimes, when I read a book I skip to the last page to look at the last word and marvel that the journey embodied by the book is a meandering, yet coherent, path to that final word.  A model plane is different though.  The journey will ultimately lead to that last bit of paint, varnish or glue - or possibly the trash can.   But you can't take a peek at the end before you begin.

The Tomte that lives at my house, Bob, has been hanging around.  He has been known to get up to mischief and I am pretty sure that as I work on this kit there will be no exception to that.  After looking at the instructions I decided that the best place to start was with the intake trunking.

The inside of the intake trunking had several ejector pin marks.  I have coloured these in with a black felt pen so they're visible.  They'll have to be removed otherwise they'll be visible should anyone look too hard.

After cleaning up the ejector pins I decided to part assemble the trunking.  Leaving it like this will make it easier to clean up the join lines.  Once the outer sections of the trunking were glued some Mr Surfacer 500 was painted along the join.  I set these aside to dry.  I'll clean them up later.

To demonstrate how much smaller than 1/48 scale the kit seat is I decided to assemble it an compare it to the Aires seat.  I'm not a rivet counter by any means.  I can live with small inaccuracies in a kit but this size difference is just ridiculous.

I have to admit I am not keen to start cutting into resin while Bob is hanging around.  Instead I decided to have a look at the exhaust.  This is nothing more than a tube of plastic.  There's no detail in there whatsoever.  There's no replacement in the Aires set so it will just have to do.  I really don't think you're going to be able to see very much inside the jet exhaust anyway.

I moved onto the tail cone.  After test fitting I noticed that a few of the ejector pins would be visible and there would be a visible void where the base of the tail sits.  I've coloured these in with a black pen so you can see the troublesome areas.

The ejector pins to the rear were sanded off.  Also I glued some plasticard into the void where the base of the vertical tail is.  Once this dries I'll sand it flush and the void will no longer be visible.  For now it gets set aside while I move on with other stuff.

Finally I could resist no longer.  I started work on the resin tub by removing the casting block from the bottom.

Resin dust is a respiratory irritant and like many things nowadays it probably causes cancer.  It's best to keep the dust levels down and to clean it up as soon as you can.

There was a bit of surgery required to the fuselage to make the cockpit fit.  Just part of the bulkhead behind the pilot seat needed to be removed and a small locating tab on the inside.

The fit was pretty good.  This replacement cockpit should look nice once it's painted and installed.

That's all for this installment.  Next time we'll do some more work on the cockpit.