The Home Stretch
We're getting to the finish line for this one. I gave the model a primer coat using the Vallejo primer. I really like the way this primer lays down a smooth coat. It's also self leveling so any spatters just blend right in.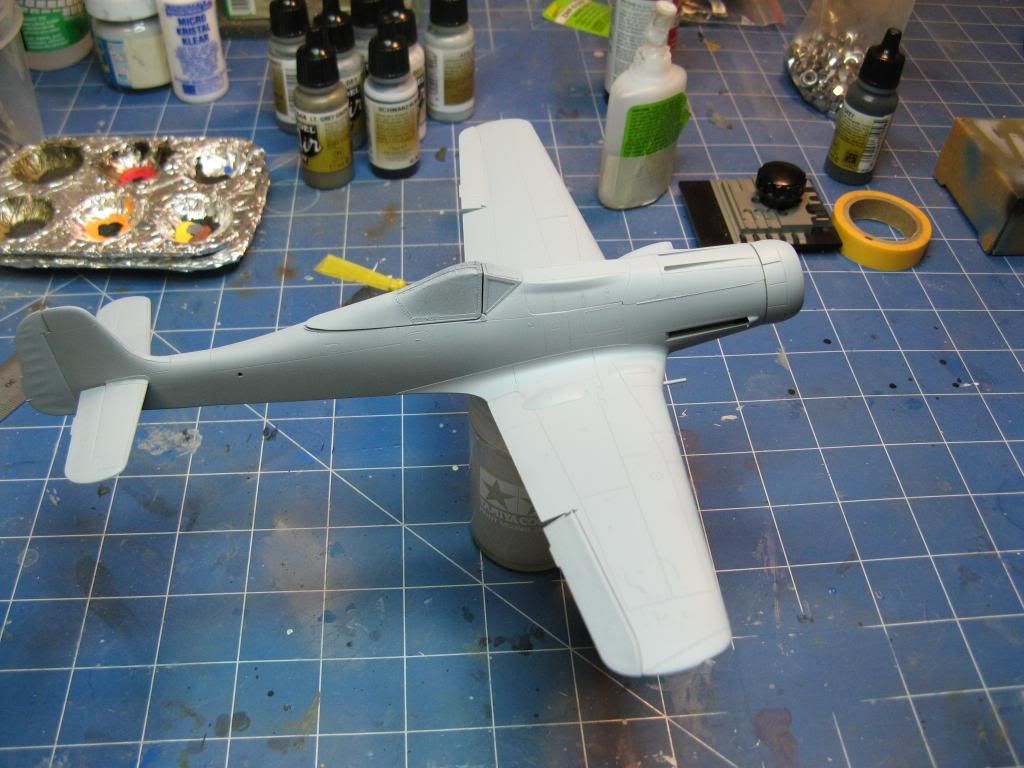
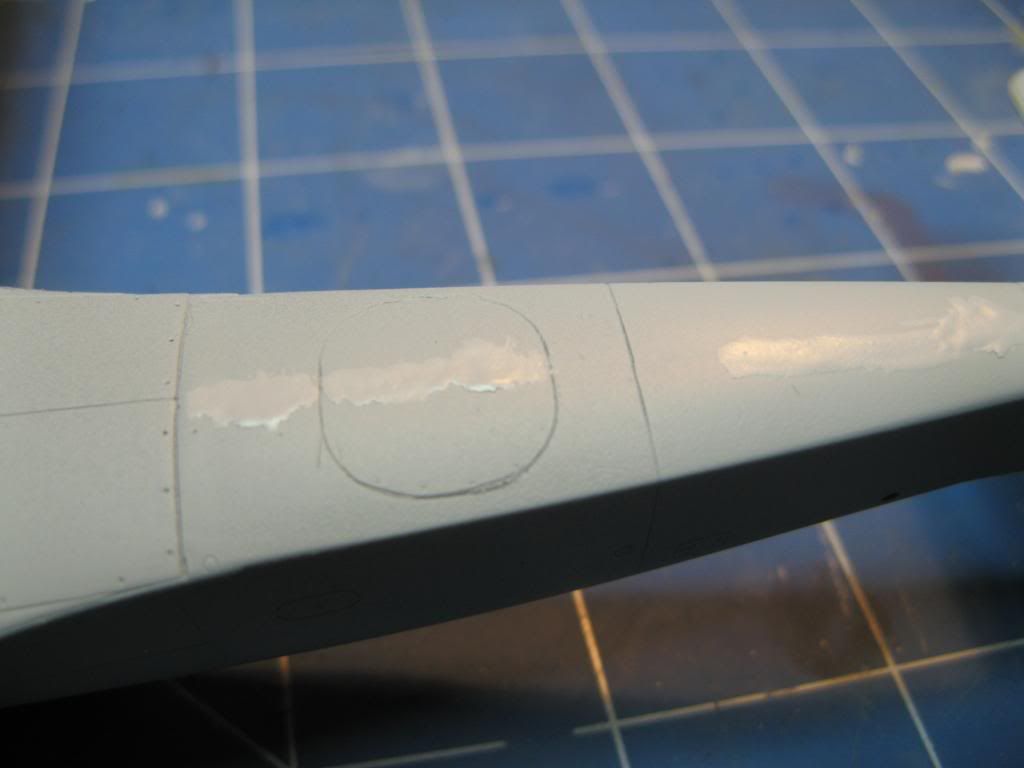
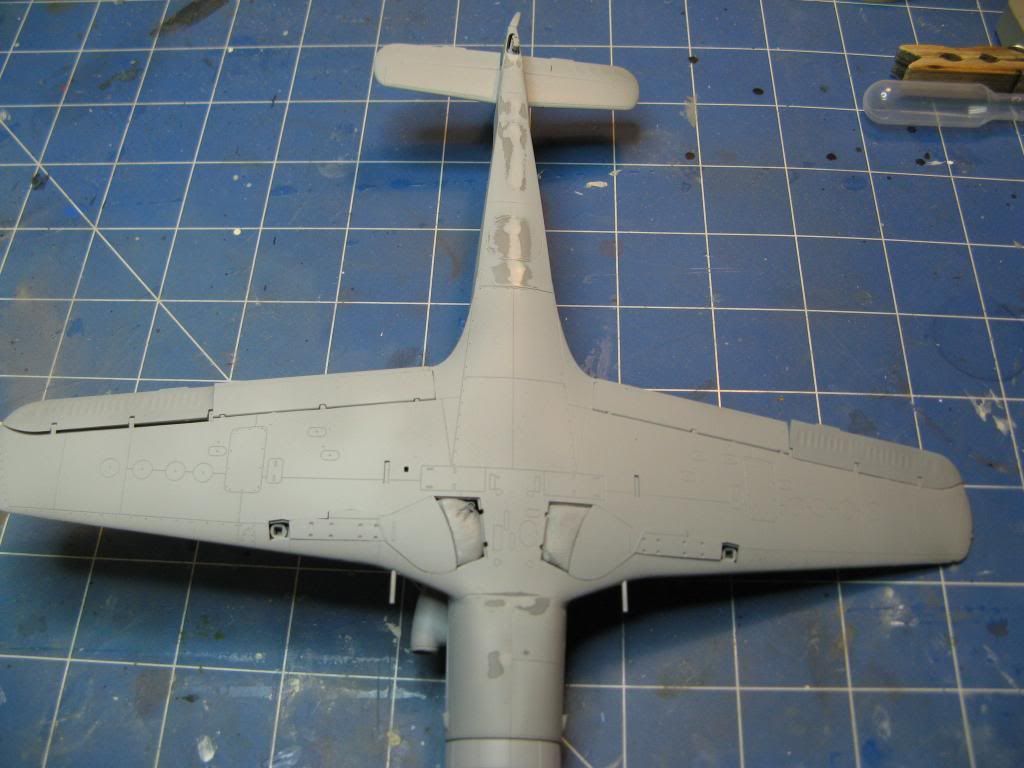
Once the primer was dry the model was inspected for any imperfections. The seam on the bottom was still faintly visible so a bit of Mr Surfacer was used to cover it up. This was then carefully sanded flush and re-primed.
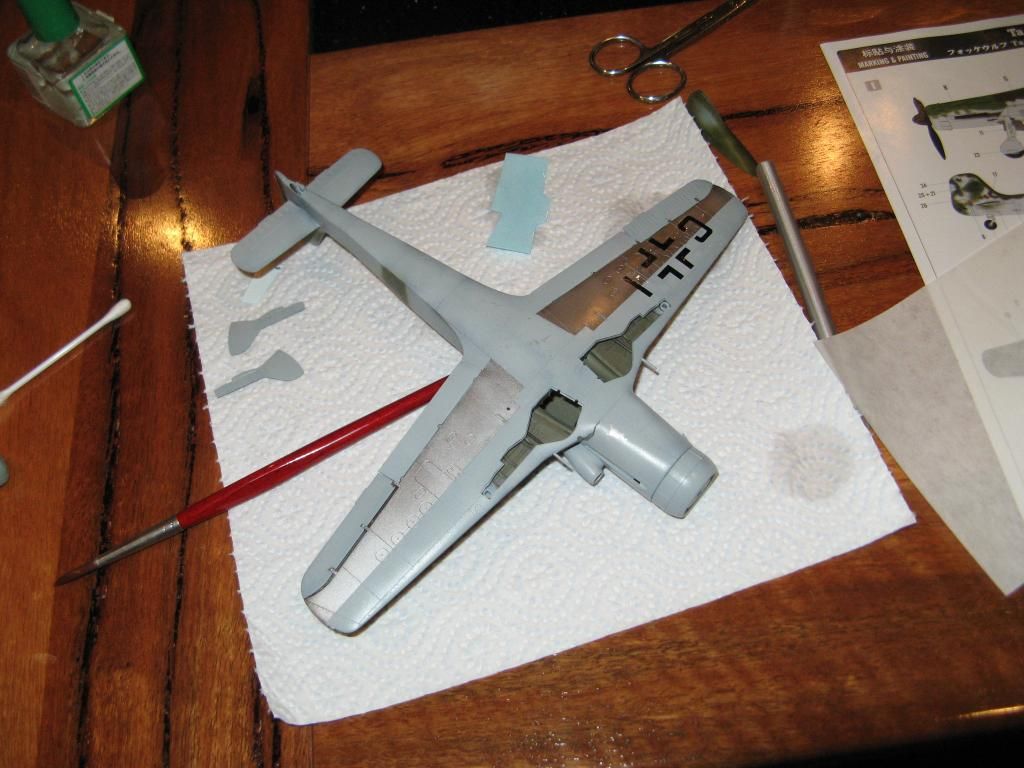
Here's where I got a bit lazy and didn't take too many photos. The model was given a preshade using Vallejo black along the panel lines. Then Alclad II metallic paints were used to paint the exposed metal areas under the wings. Two shade of aluminium were used to give a subtle contrast. This was then masked off and the main camouflage colours were sprayed. RLM 76 for the undersides and RLM 75 and RLM 83 for the upper surfaces. A couple of gloss coats, and then the decals were applied.
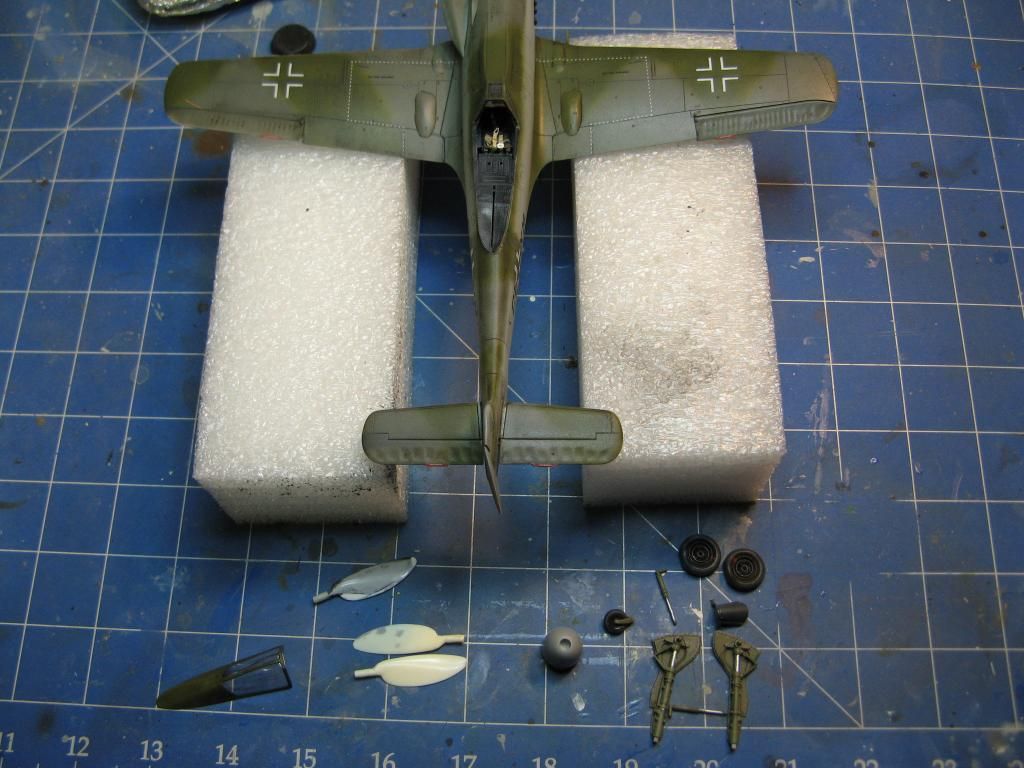
Another gloss coat was applied to seal the decals in and then a wash with Flory Models Dark Dirt was applied. This was wiped away so thet it remained in the panel lines and a final flat coat was applied. Then all that was left was fixing the final parts. You can see the corrected spinner and new propeller blades.
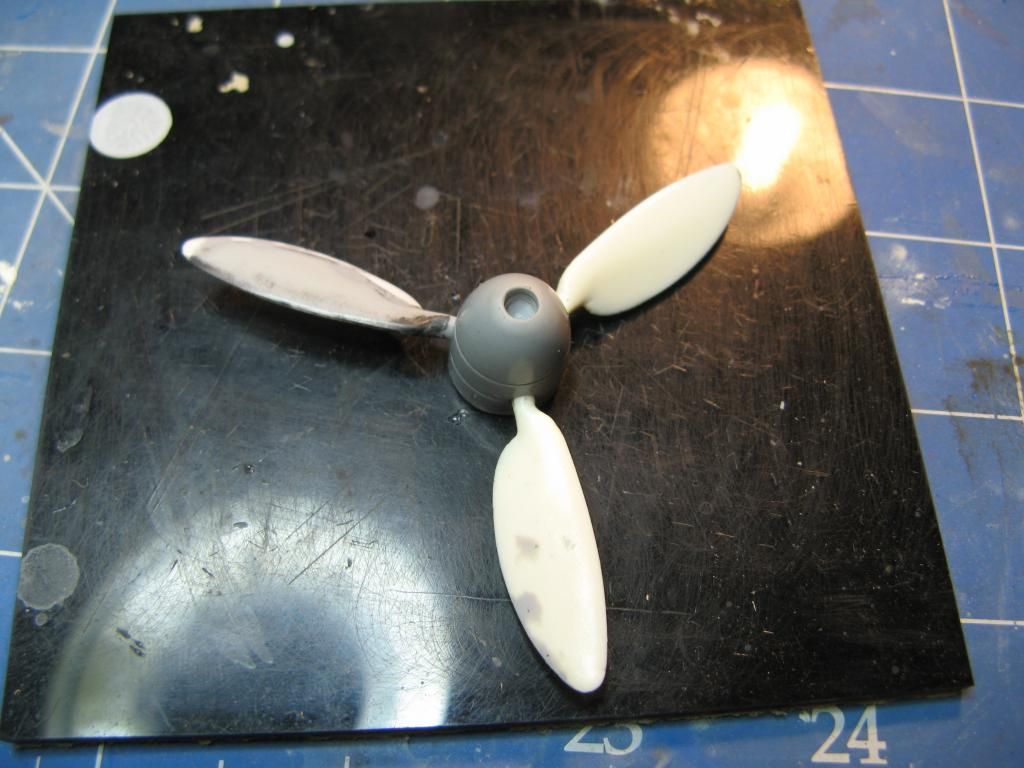
The propeller was assembled in preparation for painting in RLM 70. It's a much better representation than the kit prop or any of the after market or spares that I had.
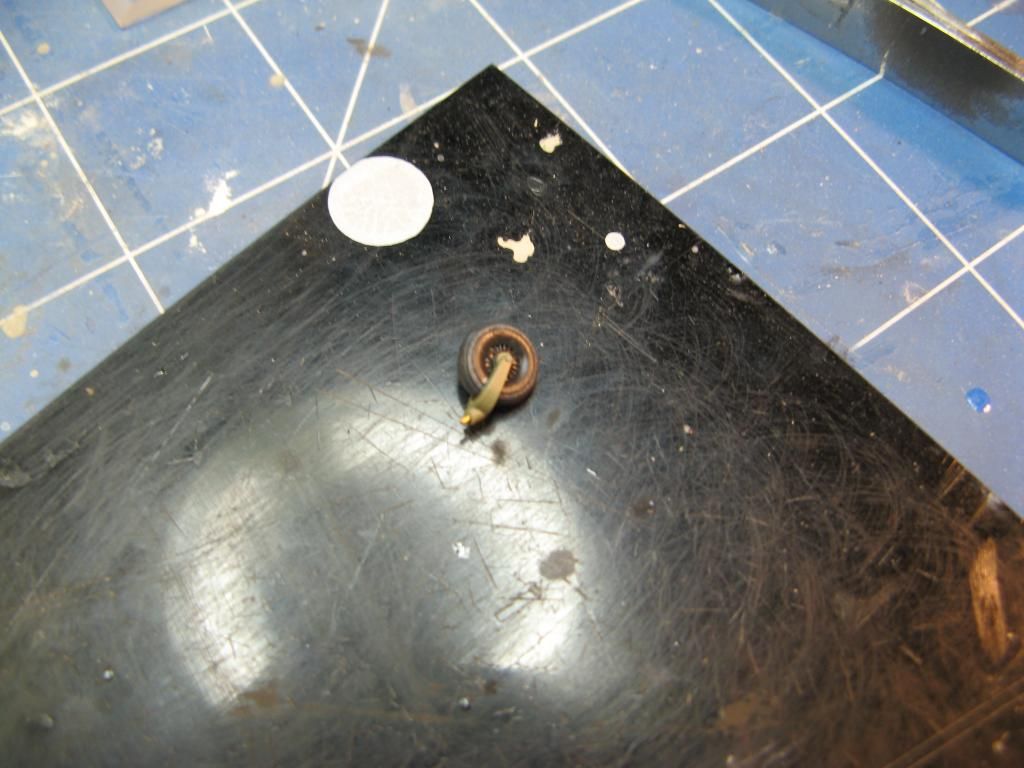
The tail wheel was fitted with a small pin so that it could be cemented securely but offset a little.
Finally it's up on it's legs.

With the prop on, main wheels, antennas, canopy and a little bit of staining from the guns and exhausts it's done. Thanks for having a look. Follow the link below to see the final reveal pictures.
Final reveal pictures are here.
No comments:
Post a Comment