A Different Combat Mission
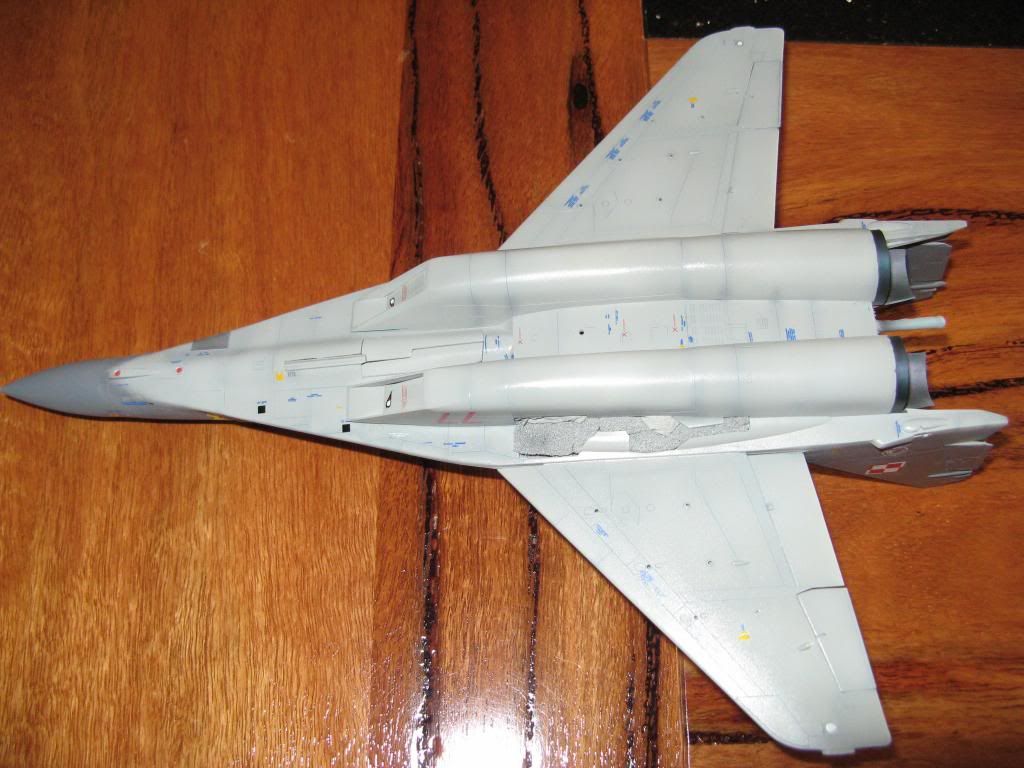
OK I'm going to have a bit of a rant. The HungAeroDecals stencils I used on this aircraft were appalling. In some cases the printing did not sit squarely on top of the carrier film so several of them just fell apart once they got wet. Like, the Aztec decals that I also used on this build, there did not seem to be much adhesive on them. Further, they were often mislabeled in the instructions making it very confusing as to which decal goes where or what way up it went. I left some of them off completely for these reasons and some of them that are on may not be correct to an expert on the plane. Many of these decals had me battle with silvering by using Micro set, Micro sol and Mr Mark Softer (that name always makes me smile).Anyway, with the exception of some cockpit, leading gear and weapons decals they're now on and, despite the amount of time it took me to apply them, I think they look pretty good.
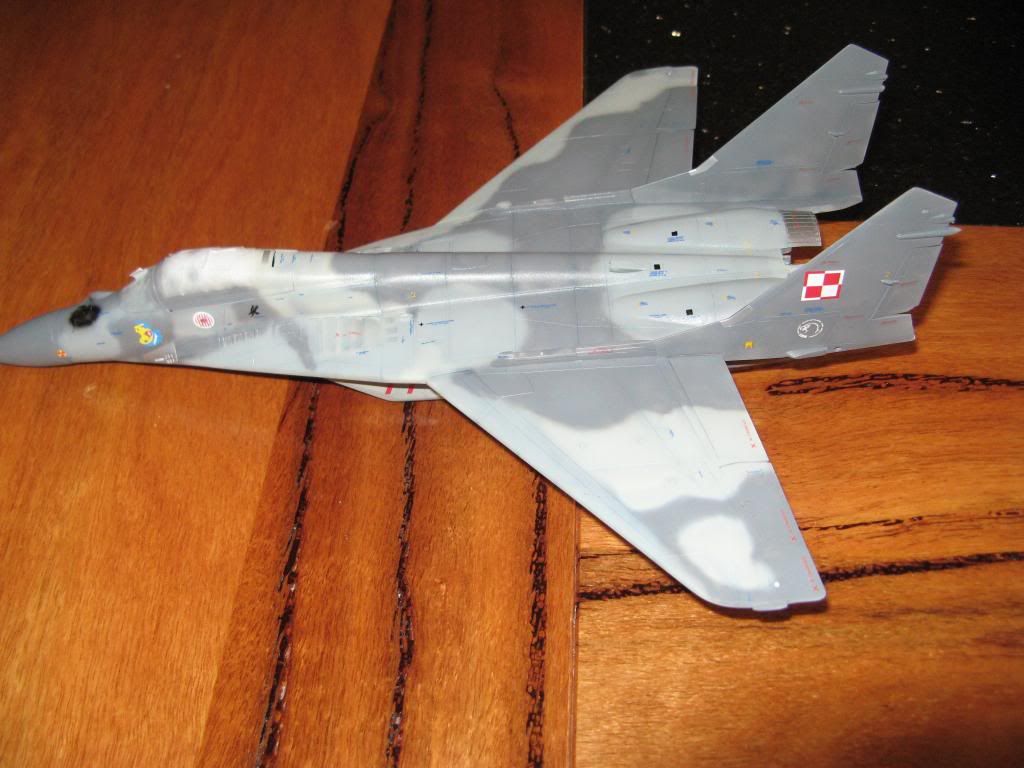
They're still a bit bright but weathering will tone them down a fair bit. They're also in Russian but I mentioned that in an earlier post. These photos were taken after sealing the decals in with another gloss coat.
The Devil's in the Details
While I was working on the decals I also worked on the additional bits that will eventually be added to the aircraft. Here they have all been primed with Alclad II grey primer. On the right there's also some bits for a 1/48 Saab Draken that I am working on at the same time.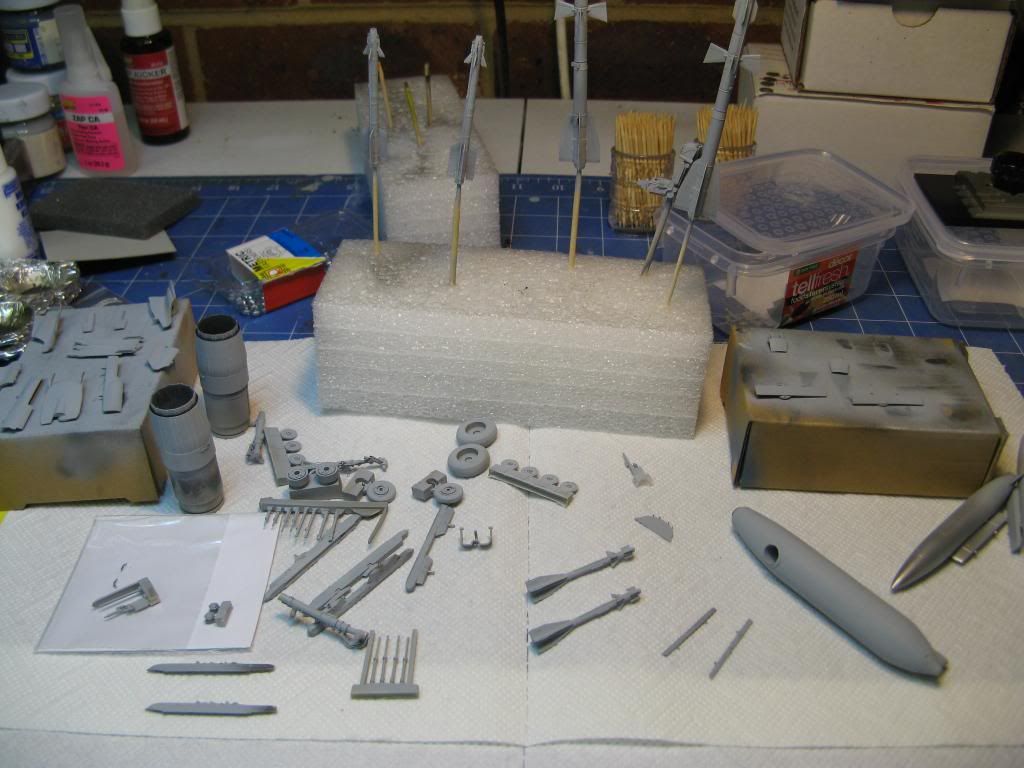
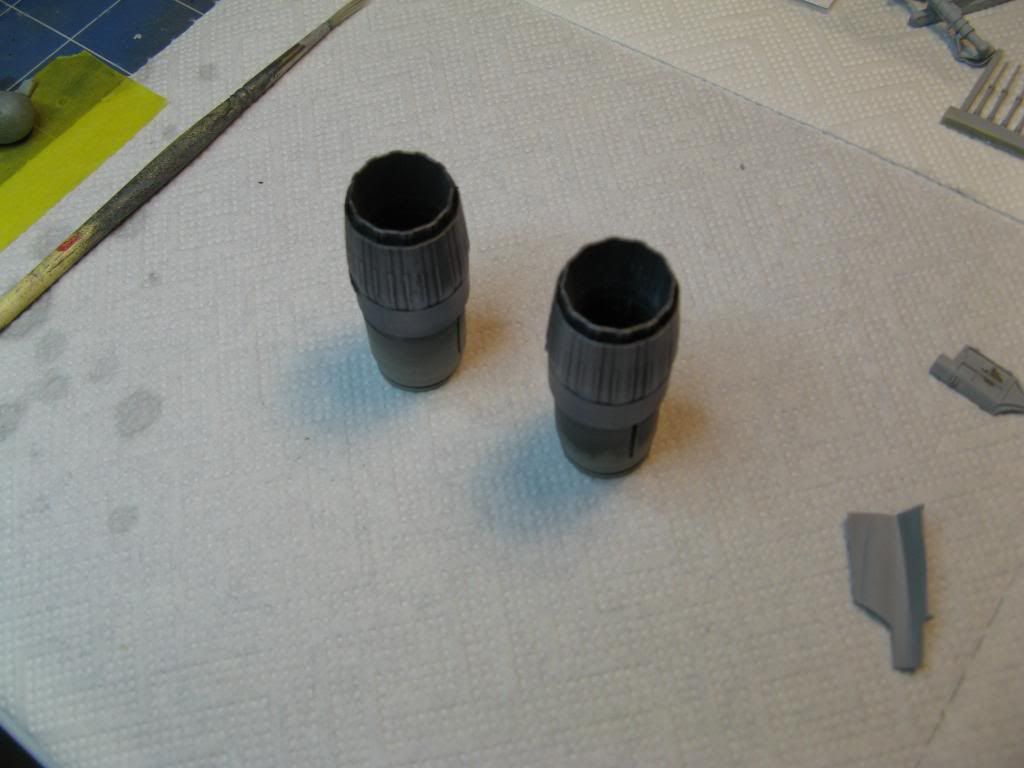
I decided that I was not happy with the way the burner cans looked so I resprayed them too.
I also made some progress on the AA-10C missiles

Weather Forecast
Some people seeing this for the first time might think I'm crazy painting this crap all over a nice looking model Mig-29. This is Flory Models Dark Dirt wash. The idea is that is gets into the panel lines and makes the plane look like it's been used and is a bit dirty.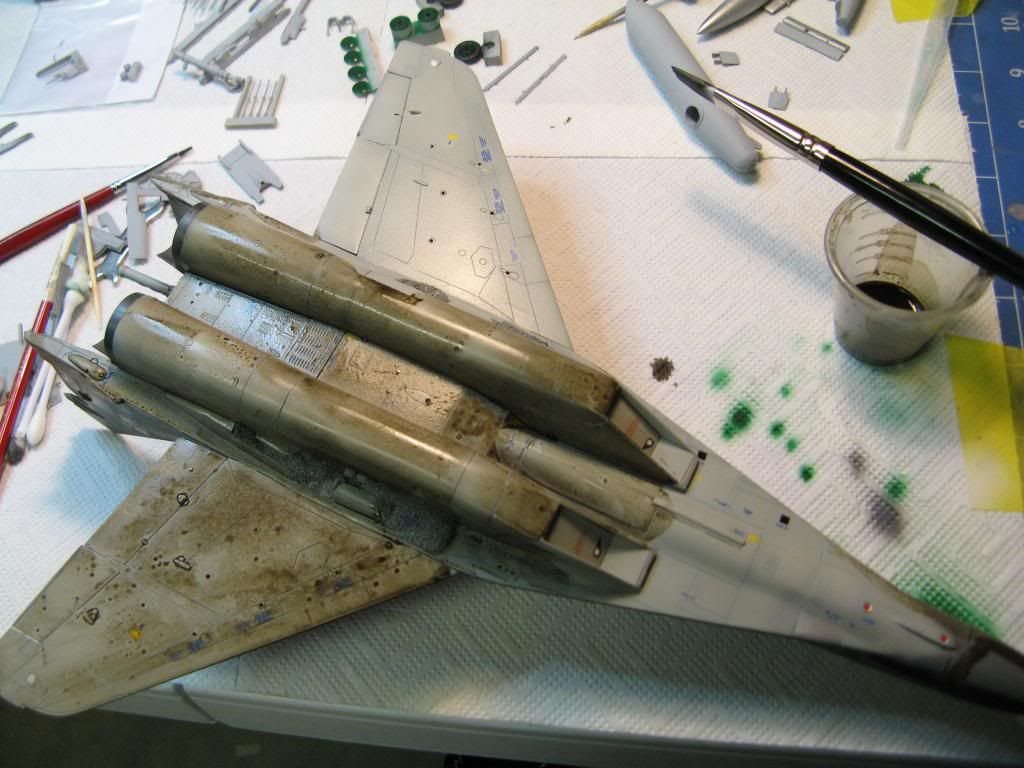
Once the wash was dry the process of removing it starts. This is done with a moist kitchen towel and cotton buds. On the lower part of the photo you can see where the wash is trapped inside the panel lines and give the impression that the plane is being used.
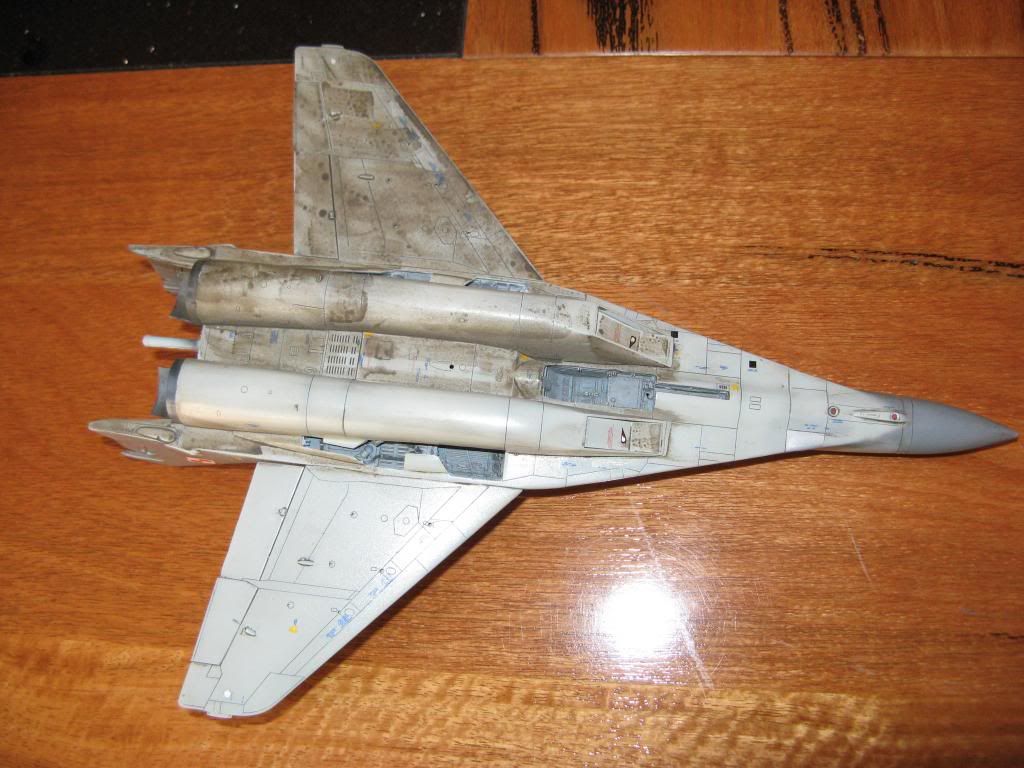
Now the panel lines can be seen clearly and the plane just looks a bit dirtier. Once all of the wash was removed I gave the model it's first coat of flat varnish. It's starting to look like the real thing now...except for the fact that it's small enough to sit on my dining table.

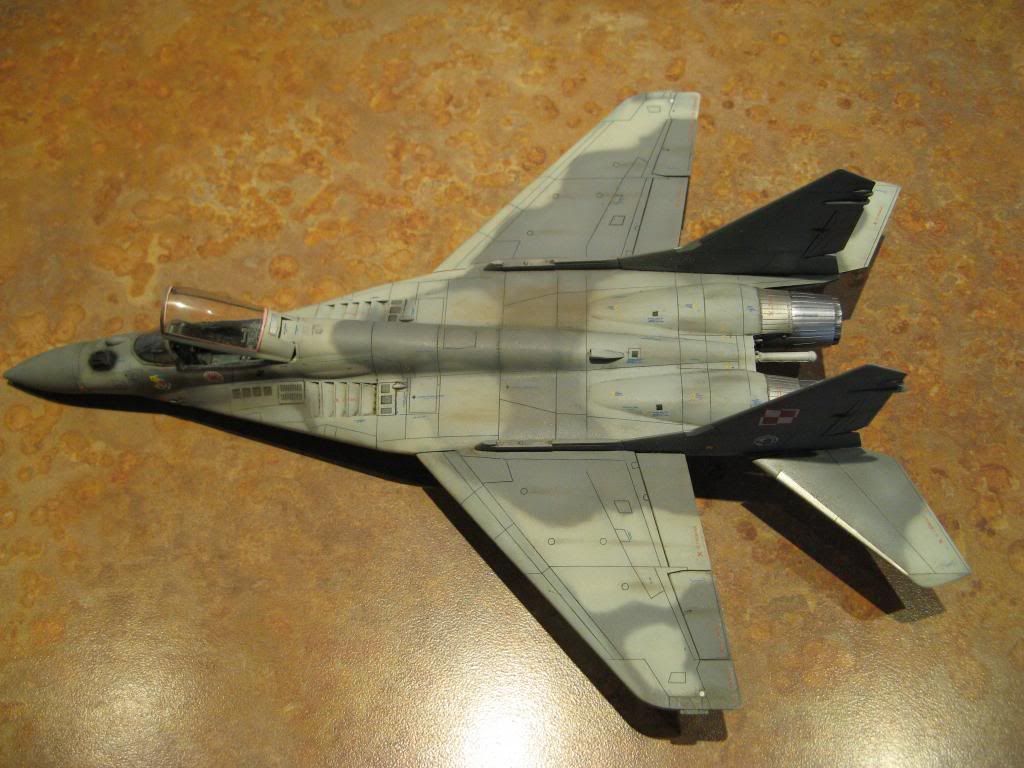
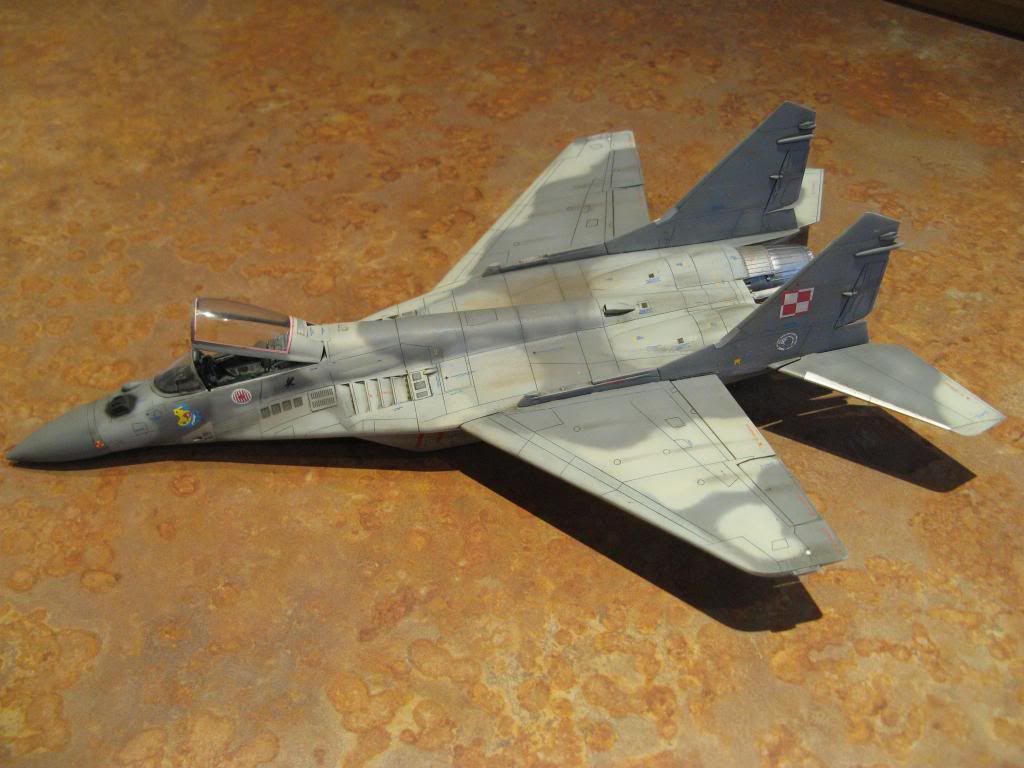
This was left a good couple of hours for the flat coat to dry and then weathering with pigments started. Dirt was added around where maintenance crew are likely to walk and streaks were added around the engines. A final flat coat and the canopy masks were removed. The stabilators were also glued in place. The burners and main canopy are a loose fit at this stage. They'll be glued closer to the end.
That's where I'm going to leave it for this update. Next time I'll be working on the weapons and landing gear. Hopefully I'll get this thing onto it's legs.
If you're following this and like what you're seeing leave a comment.
On to part 12.
No comments:
Post a Comment