Pre-shading
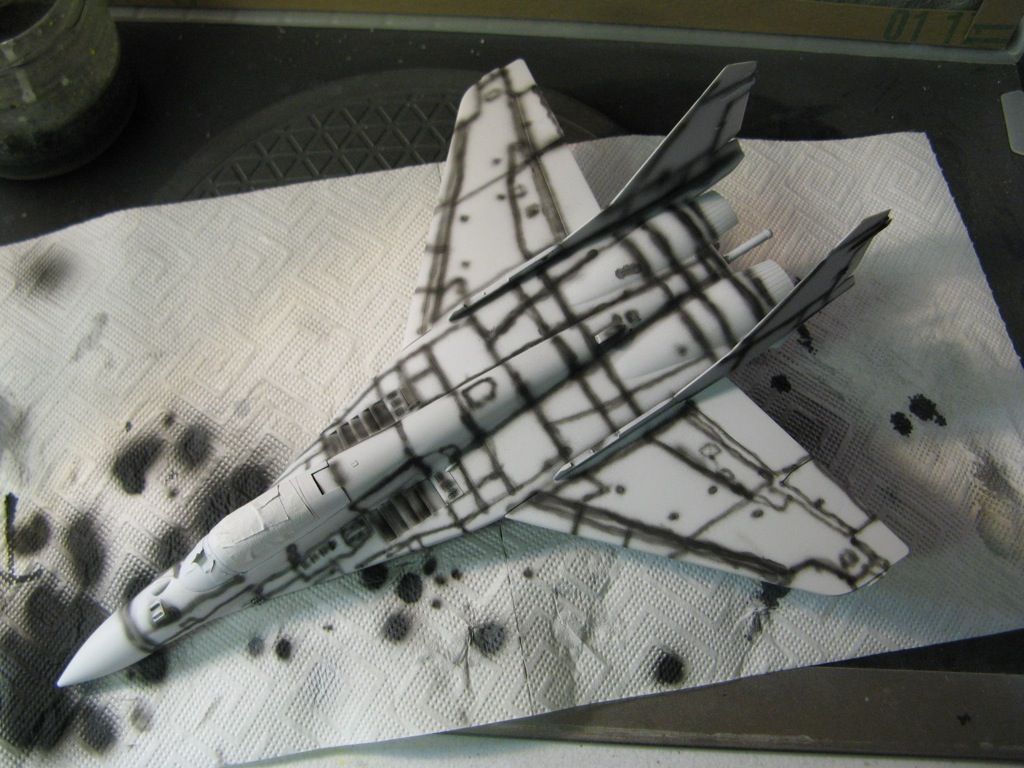
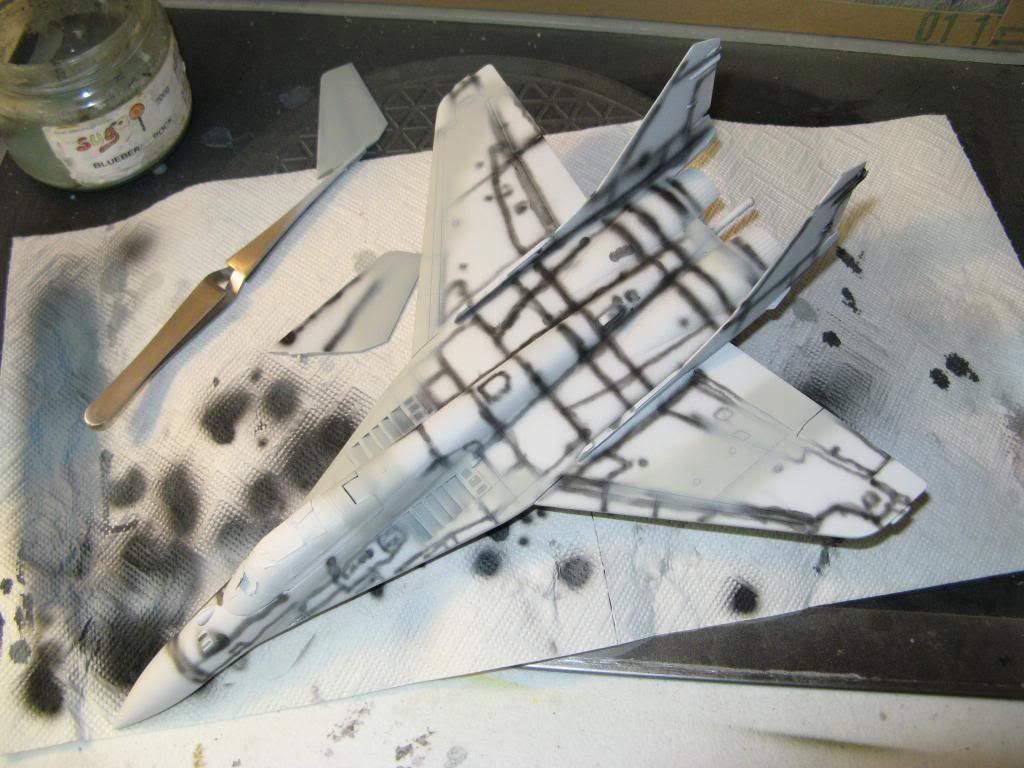
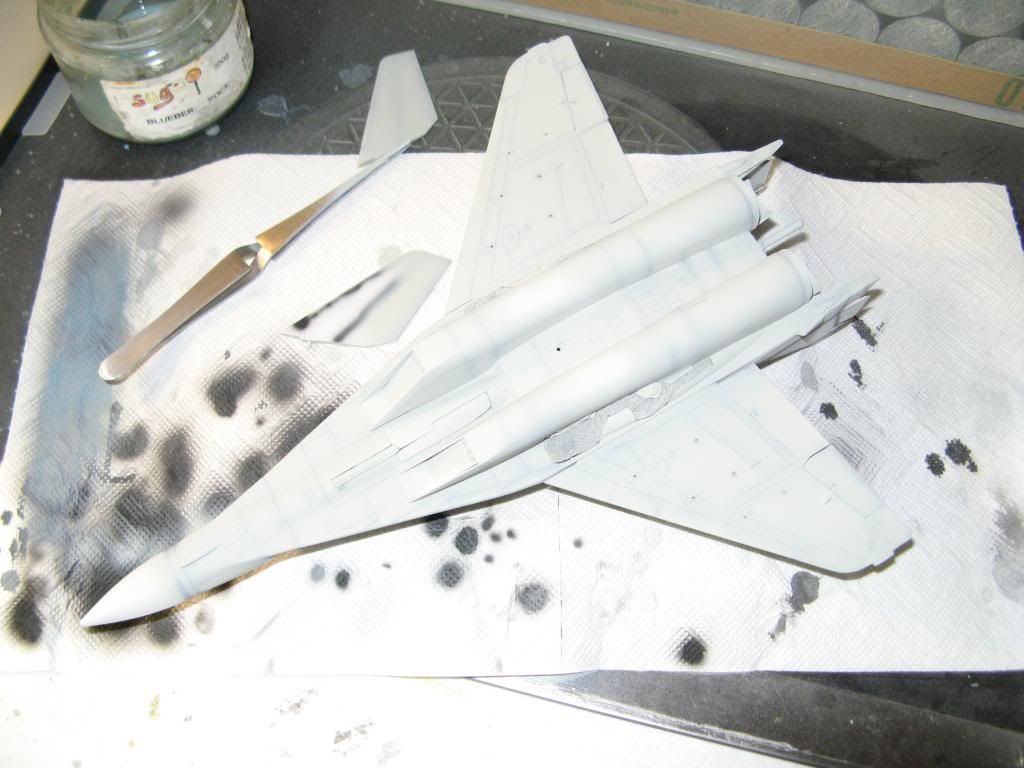
Once the primer was thoroughly dry the model was pre-shaded in black.Some of you reading this might wonder why this is done. When the camouflage colours are painted the pre-shading will show through faintly. It gives the impression of dirt and oil getting stuck in panel lines etc. If you have a look at the real aircraft you'll see what I mean.
When the camouflage goes on there will be some other things I will do to make it look as if the aircraft has been used.
Paint Matching
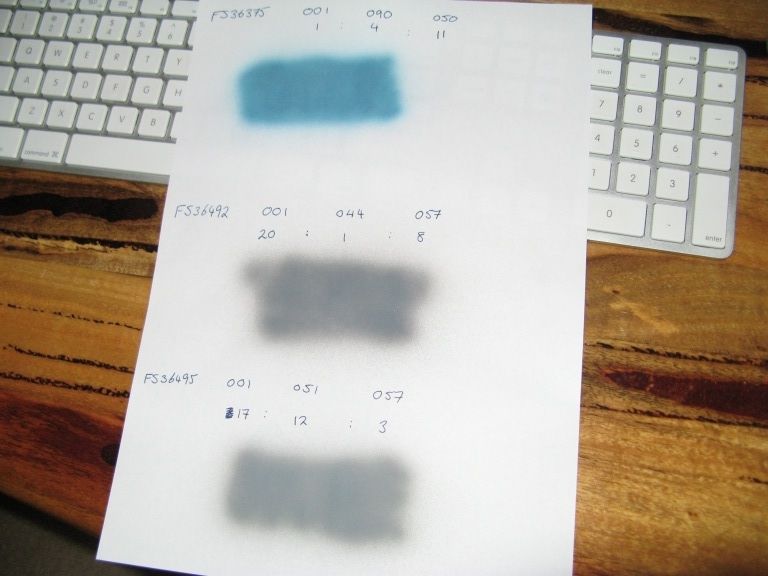
For this aircraft I found getting the paint colours right really difficult. The federal standard colour callouts are for FS36375, FS36495 and FS36492. If your monitor is calibrated correctly then they can be seen on colorserver.net by following this link. I have tried just about every shade of grey I have in my paints and I could not get anything which satisfied me completely.The colour suggestions on paint4models.com were no real help. I do have an app on my iPhone called iModelKit which allows me to mix paints electronically. This suggests the following mix of paints that I have to get to these FS colours using Vallejo Model Air:
FS36375: 11 parts 71.050, 3 parts 71.090 and 4 parts 71.001
FS36492: 1 part 71.044, 20 parts 71.001 and 8 parts 71.057
FS36495: 12 parts 71.051, 17 parts 71.001 and 3 parts 71.057
These are not even close! Using the info button the app did say that they rely on the samples from manufacturers websites "so the reference might not be complete or exact." All I seem to have done is wasted paint.
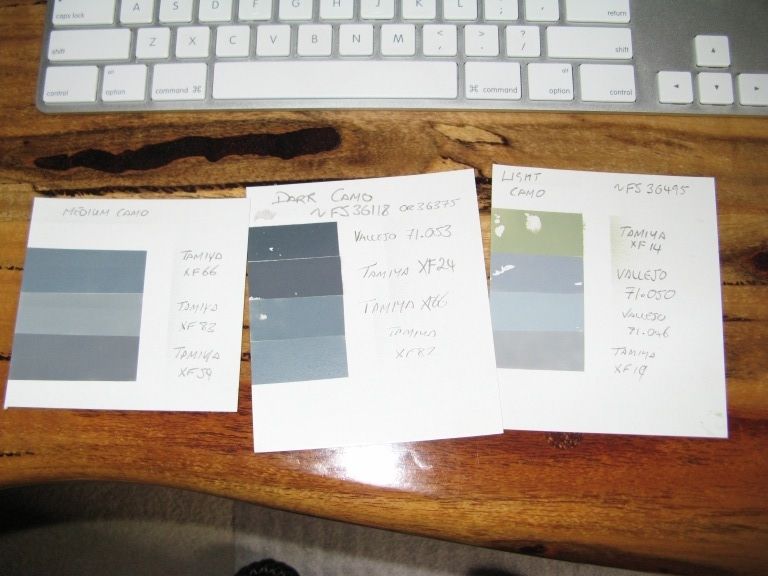
After all that messing around, using my eyes, my judgement and the reference photos, I guessed the following colours were close.
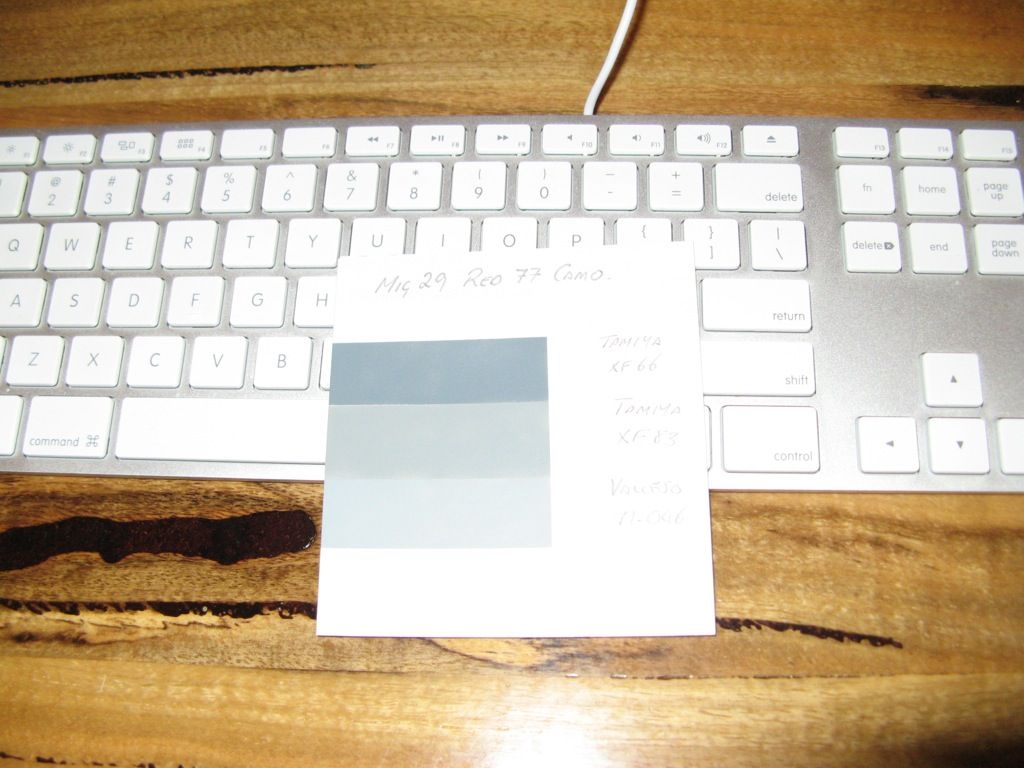
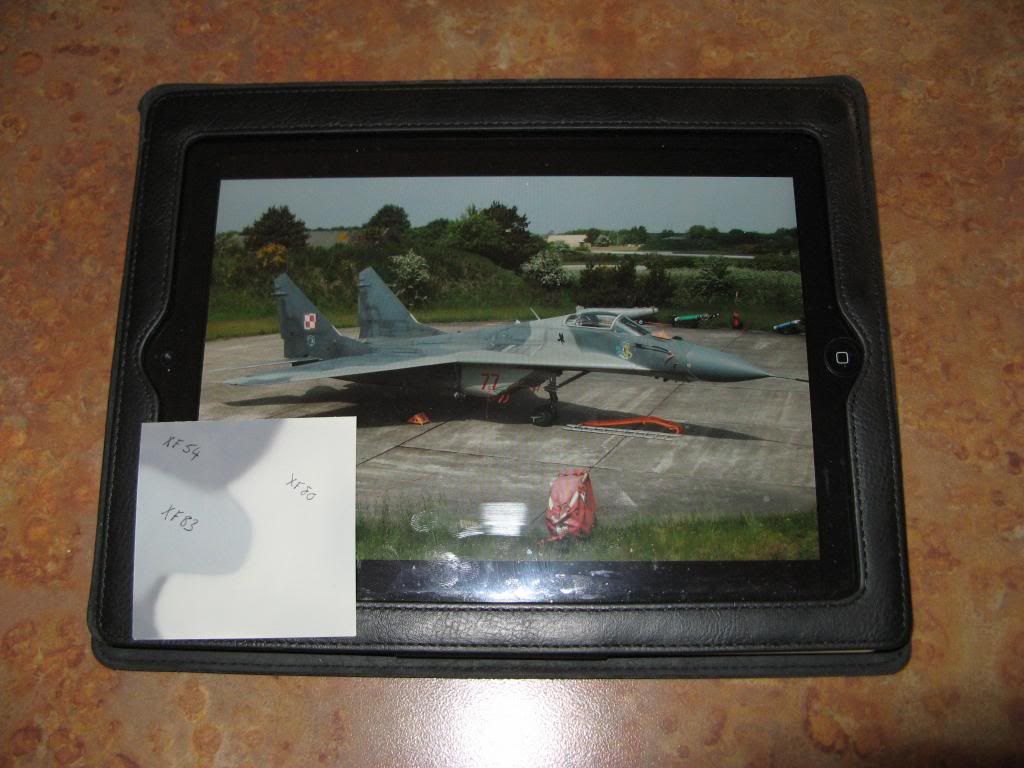
Even though the light in the photo is lousy the 71.046 is still looks too dark and I am not sure about the XF-66. I admit it could be the white background of the card making the light grey look darker.
So it's settled then? Well it was until I found this link which suggested that the light grey was close to XF-80 (allowing for scale fade) and the dark gray was a close visual match to XF-54. So I sprayed up a sample to test it. I have to admit it looks good but what an effort!!
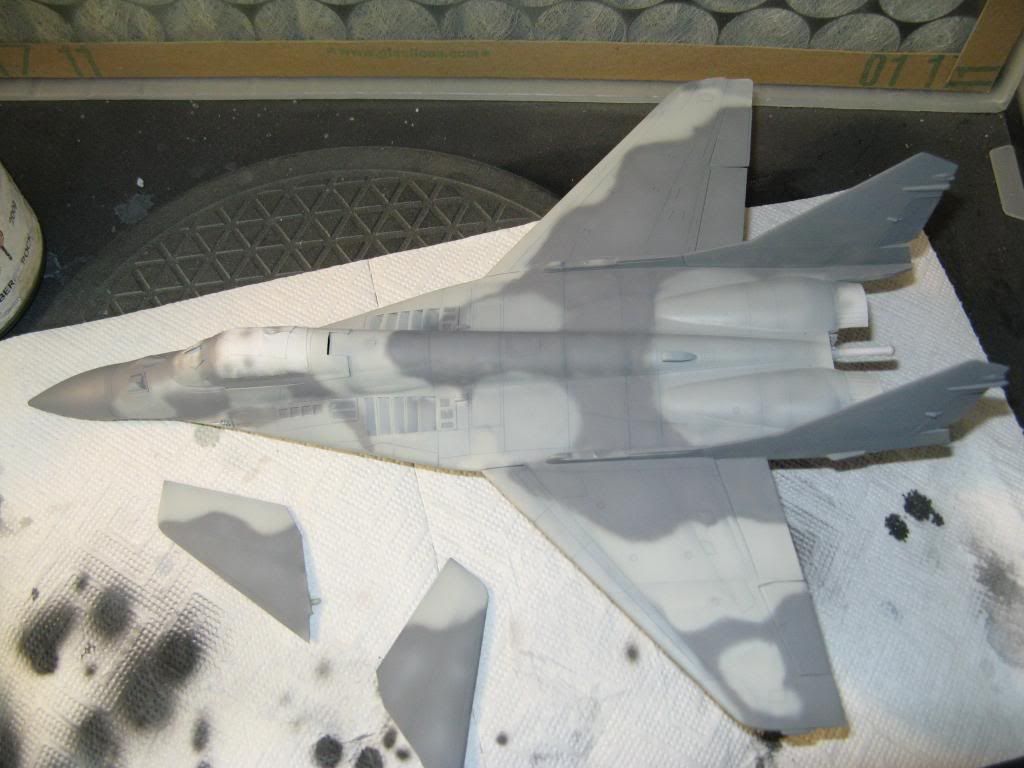
Now that I had the colours I was going to use painting commenced with the lightest first. Coverage was not so heavy that the pre-shading was hidden giving a grimy look to the panels.
Then the darker colours were sprayed freehand.
Once the basecoat of each colour was laid down I mixed a little more of that colour with some white added. This was sprayed into the centres of panels in a random manner. This has the effect of breaking up large areas of a single colour and making the paint look weathered.
One More Thing...
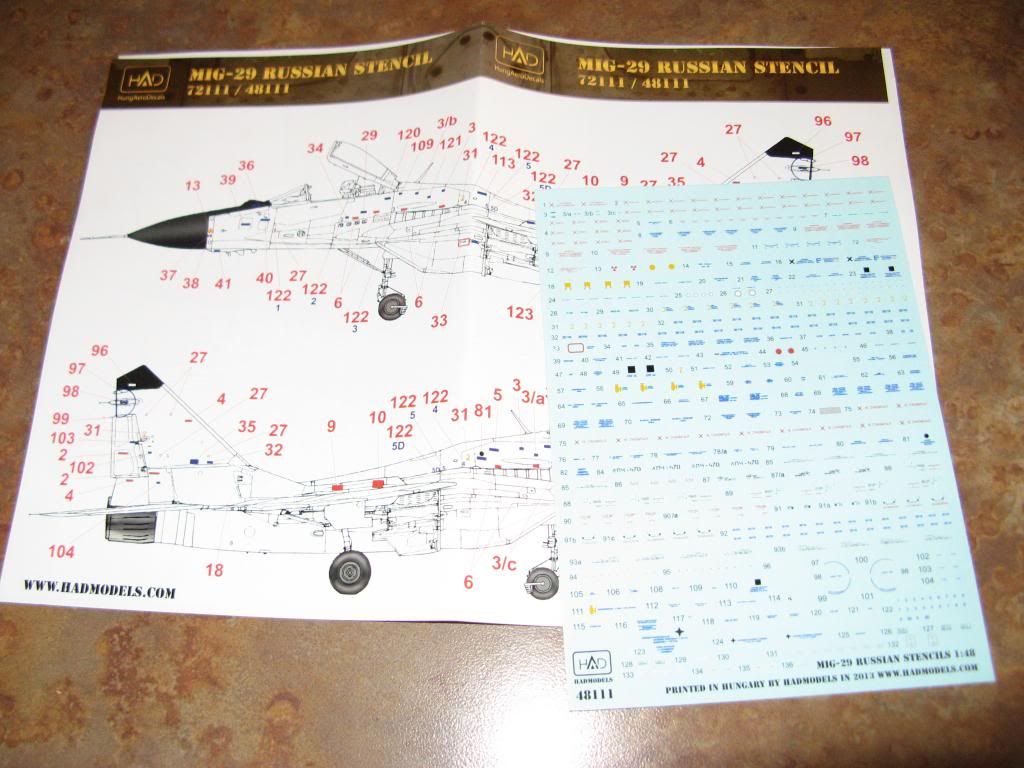
My stencil decals finally arrived. These will help make the model look a bit more realistic as the Aztec Decals were a bit light on for stenciling. This will particularly help with the missile pylons, some of which I had no decals for.
On to part 10.

No comments:
Post a Comment