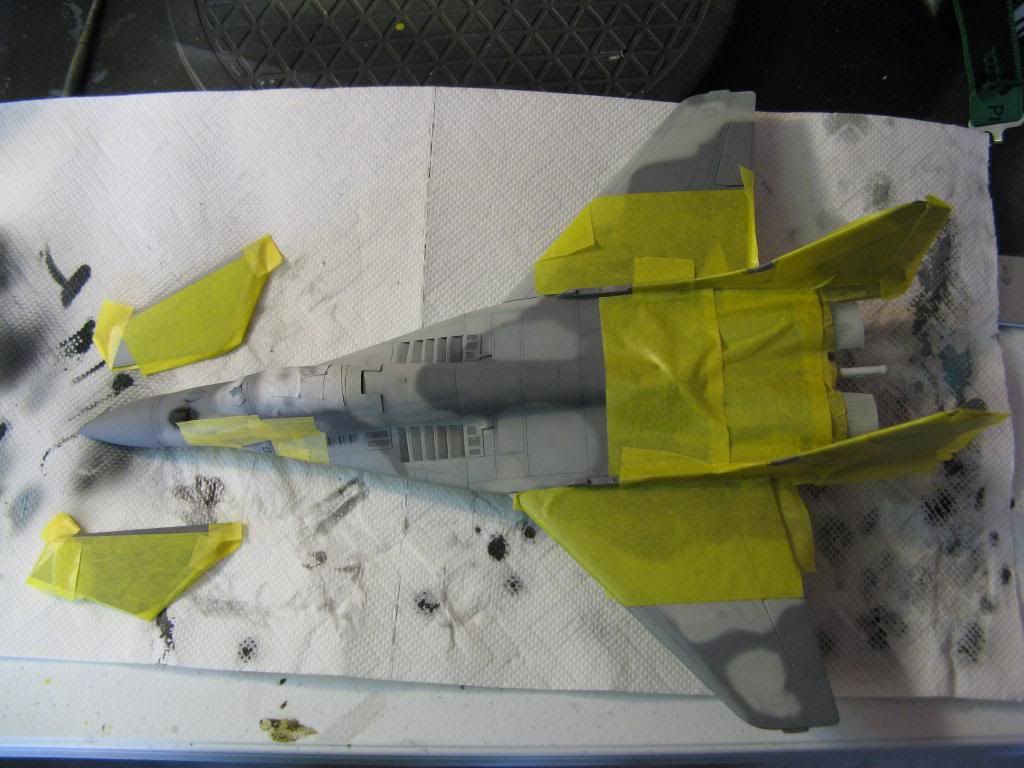
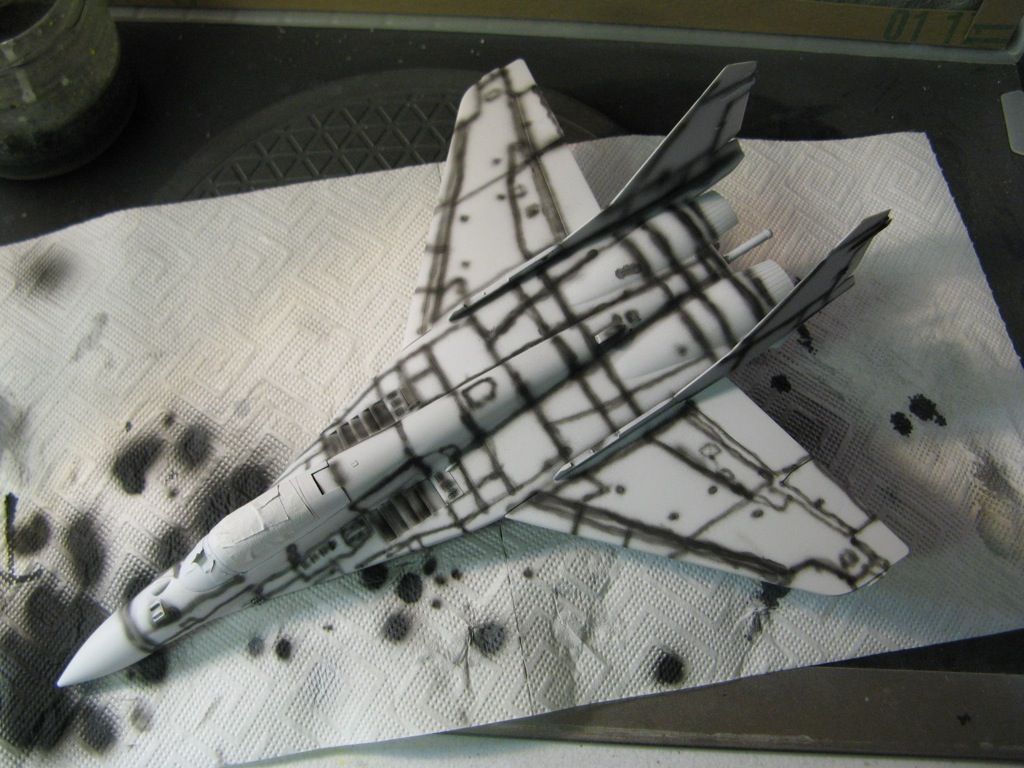
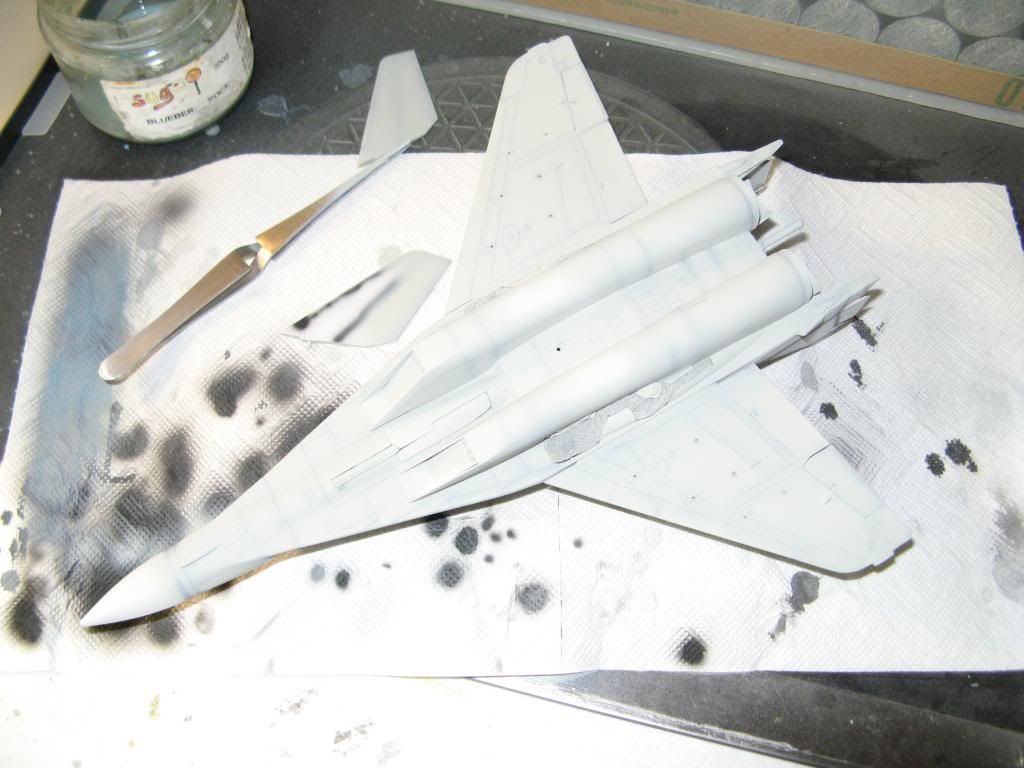
Showing posts with label Mig 29A. Show all posts

Saturday, 9 August 2014

Academy 1/48 Mig-29A - Final Reveal

Back to part 13

I did say that there was a little bit left to do.  Well, it took me too long to do it but finally the Mig-29 is finished.  The Academy kit is OK considering its age however the after market goodies really bring it up to date.  I set out to make Red 77, a Polish Mig-29A and I think I have captured a fiar likeness of it.  For a reminder here's the original aircraft


...and here's my version of Red 77.

Sunday, 26 January 2014

Academy 1/48 Mig-29A - Part 13

Back to part 12

Use of Weapons

The decals were put onto the AA-10C missiles and their pylons after giving them a gloss coat.  Another gloss coats was applied and once that was dry the missiles and the pylons were given a wash of Flory Models Dark Dirt.


The same was done for the pylons for the AA-11 missiles.  You can see them in front of the AA-10Cs below.

After a coat of matt varnish these were then attached to the model.

The AA-8 missiles require an APU-60 pylon to be launched and Eduard supply these to go with the missiles.  However in order to launch them from a Mig-29 there is some correction required to these.  This is what and APU-60 should look like

The kit launchers are too big and are not very detailed but they do have the right attachment points to the wing of the Mig 29.  My solution was to use the attachment supplied with the kit and the launcher supplied by Eduard.  You can see the kit part at the top of this photo and the Eudard part underneath it.

This required removal of the kit launcher from the attachment and mating it to the Eduard launcher.

After a bit of squaring up and careful gluing I now have an accurate APU-60 suitable for a Mig 29.

I used the same procedure to make a second.

These were painted up and decals were applied.  Here's one temporarily attached to the wing as the decals set.

Good Twin or Evil Twin?


You might remember that I used a part of the kit as a mask for the front wheel well.  Since this part underwent surgery to make it act as a mask I needed to get a replacement.  The Eduard 1/48 Mig-29UB has this same part so I decided to copy it, and some blade antennas I also need, in resin.


For a more detailed tutorial on how I made the mould and did the resin casting click here.

Here's one of the resin blade antennas attached...

...and here's the replacement nose gear door/strut.

There's still a bit to do.  I had to write it all down so I don't forget anything.  It's all of the detail bits really so we should not be too far from a final reveal.

Sunday, 15 December 2013

Academy 1/48 Mig-29A - Part 12

Back to part 11

Rise Up

Alrighty then.  Time to get this baby onto it legs.

The landing gear and the inside of the gear doors were all given a coat of Tamiya XF-66.  Details on the legs were picked out with citadel boltgun.  The wheels themselves are Gunze H77 and Tamiya X-05 Green.  The red mark on the tyre and rim is the tyre slip indicator.


At last I can get the gear in into the aircraft.  They're only a push fit at the moment but it's really starting to look the part.

Finally the gear was cemented into the wheel bays.  However I do have a confession to make.  The strut in front of the nose gear is pinched from the Eduard Mig-29UB because I wrecked the one that came with this kit.  I used is as a mask for the front wheel well and to make it fit it required...well...surgery.  I'll have to get a replacement made as the part in the photo below is only there to make sure the nose gear is placed correctly.

Once the gear was fit I attached the gear doors.  These were very fiddly and some of the small resin parts broke requiring me to fix them as I worked.

Time in the Office

I also worked on the ejection seat and finally got it glued into the cockpit.  The Aires photoetched harness was tricky to work with but they came out alright in the end.

The office now looks busy - like the real thing.


I used some white Vallejo pigment inside the engines to replicate the white dusty soot often seen inside the business end of fighter jet engines.
Next time I'll finish the weapons and assemble the airbrakes.  Then there's just final detailing and we're done.

Saturday, 30 November 2013

Academy 1/48 Mig-29A - Part 11

Back to part 10.

A Different Combat Mission

OK I'm going to have a bit of a rant.  The HungAeroDecals stencils I used on this aircraft were appalling.  In some cases the printing did not sit squarely on top of the carrier film so several of them just fell apart once they got wet.  Like, the Aztec decals that I also used on this build, there did not seem to be much adhesive on them.  Further, they were often mislabeled in the instructions making it very confusing as to which decal goes where or what way up it went.  I left some of them off completely for these reasons and some of them that are on may not be correct to an expert on the plane.  Many of these decals had me battle with silvering by using Micro set, Micro sol and Mr Mark Softer (that name always makes me smile).  

Anyway, with the exception of some cockpit, leading gear and weapons decals they're now on and, despite the amount of time it took me to apply them, I think they look pretty good.

They're still a bit bright but weathering will tone them down a fair bit.  They're also in Russian but I mentioned that in an earlier post.  These photos were taken after sealing the decals in with another gloss coat.

The Devil's in the Details

While I was working on the decals I also worked on the additional bits that will eventually be added to the aircraft. Here they have all been primed with Alclad II grey primer.  On the right there's also some bits for a 1/48 Saab Draken that I am working on at the same time.

I decided that I was not happy with the way the burner cans looked so I resprayed them too.

I also made some progress on the AA-10C missiles


Weather Forecast

Some people seeing this for the first time might think I'm crazy painting this crap all over a nice looking model Mig-29.  This is Flory Models Dark Dirt wash.  The idea is that is gets into the panel lines and makes the plane look like it's been used and is a bit dirty.

Once the wash was dry the process of removing it starts.  This is done with a moist kitchen towel and cotton buds.  On the lower part of the photo you can see where the wash is trapped inside the panel lines and give the impression that the plane is being used.

Now the panel lines can be seen clearly and the plane just looks a bit dirtier.  Once all of the wash was removed I gave the model it's first coat of flat varnish.  It's starting to look like the real thing now...except for the fact that it's small enough to sit on my dining table.

This was left a good couple of hours for the flat coat to dry and then weathering with pigments started.  Dirt was added around where maintenance crew are likely to walk and streaks were added around the engines.  A final flat coat and the canopy masks were removed.  The stabilators were also glued in place.  The burners and main canopy are a loose fit at this stage.  They'll be glued closer to  the end.


That's where I'm going to leave it for this update.  Next time I'll be working on the weapons and landing gear.  Hopefully I'll get this thing onto it's legs.

If you're following this and like what you're seeing leave a comment.

On to part 12.

Sunday, 10 November 2013

Academy 1/48 Mig-29A - Part 10

Back to Part 9.

Completion of Painting

The main phase of painting was completed by masking up to spray the metallic areas.  These are around the gun, the exhausts and the leading edge of the stabilators and tail.

The area around the gun was sprayed aluminium using Mr Metal Color as were the leading edges of the tail and stabilators.  This paint is great as once it is dry you can buff it to a shine which makes it look more metallic.  The exhaust area got a similar treatment using Mr Metal Color Stainless Steel on top and Iron underneath.  All the metallic areas were then polished and the underside exhaust area was given a light dusting of transparent blue to simulate the heat bloom on the metal.  All areas were then unmasked.

The entire model was then given a gloss coat to seal everything in.

Gloss helps the decals adhere and hides the carrier film so that the decals will look like they're painted on - I hope :-)

Decaling Commences

Once the gloss varnish was dry I started putting on the decals beginning with the aircraft number and unit markings.

Those of you that are observant might notice that I have put the wrong number 77 on the plane.  I did fix this later.

The Aztec decals were not too good in my opinion.  They seemed to separate from the backing paper far too easily as if there was not much adhesive - one floated into the water it was soaking in within seconds of being submerged, a couple of them showed signs of silvering as they were drying and one did not even stick after it had dried requiring care with the setting solutions.  I was able to address all of these shenanigans this with micro sol, or at least I hope I have addressed it.

I have also started the stencil decals.  I'll take my time with these so that I don't inadvertently put my finger on a decal that's soaked in softener.  So for the next few days I'll be working on the missiles and other details during the evening and doing the decals at night.

On to part 11.

Monday, 4 November 2013

Academy 1/48 Mig-29A - Part 9

Back to part 8

Pre-shading

Once the primer was thoroughly dry the model was pre-shaded in black.


Some of you reading this might wonder why this is done. When the camouflage colours are painted the pre-shading will show through faintly.  It gives the impression of dirt and oil getting stuck in panel lines etc.  If you have a look at the real aircraft you'll see what I mean.

When the camouflage goes on there will be some other things I will do to make it look as if the aircraft has been used.

Paint Matching

For this aircraft I found getting the paint colours right really difficult.  The federal standard colour callouts are for FS36375, FS36495 and FS36492.  If your monitor is calibrated correctly then they can be seen on colorserver.net by following this link.  I have tried just about every shade of grey I have in my paints and I could not get anything which satisfied me completely.


The colour suggestions on paint4models.com were no real help.  I do have an app on my iPhone called 
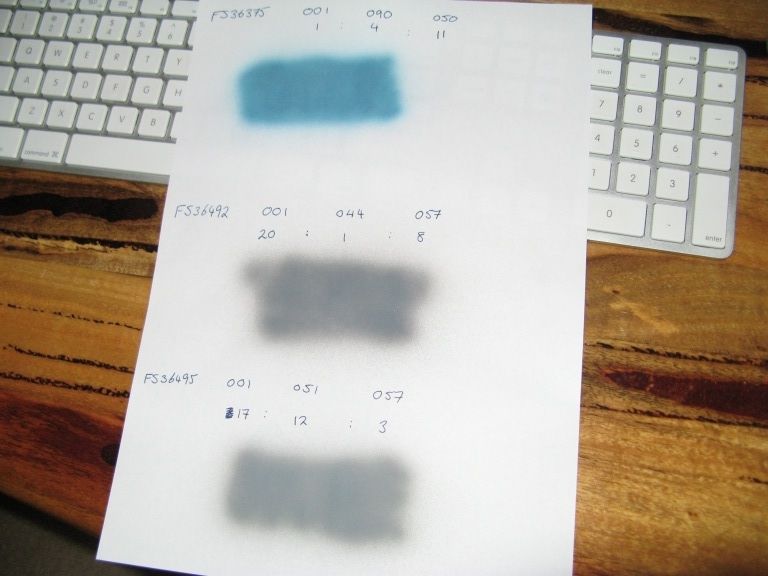
iModelKit which allows me to mix paints electronically.  This suggests the following mix of paints that I have to get to these FS colours using Vallejo Model Air:

FS36375: 11 parts 71.050, 3 parts 71.090 and 4 parts 71.001
FS36492: 1 part 71.044, 20 parts 71.001 and 8 parts 71.057
FS36495: 12 parts 71.051, 17 parts 71.001 and 3 parts 71.057


These are not even close!  Using the info button the app did say that they rely on the samples from manufacturers websites "so the reference might not be complete or exact."  All I seem to have done is wasted paint.

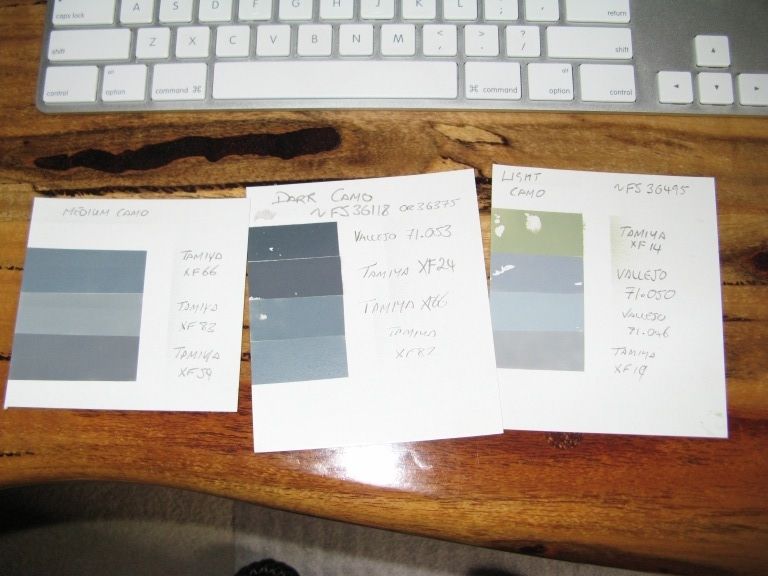
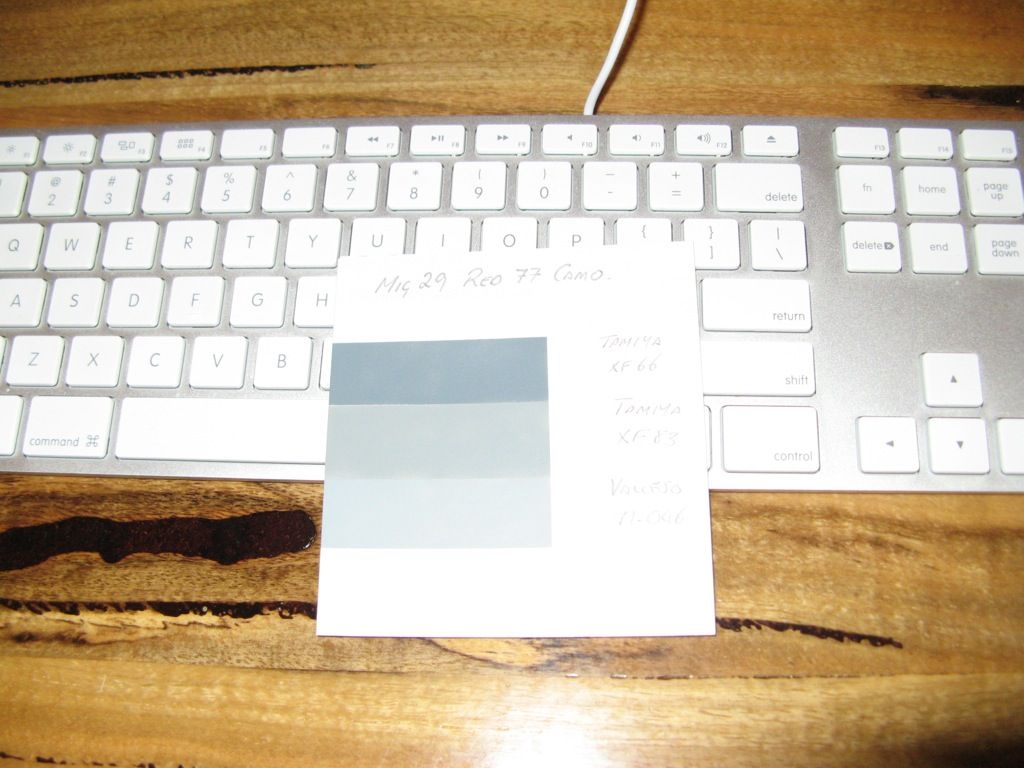
After all that messing around, using my eyes, my judgement and the reference photos, I guessed the following colours were close.

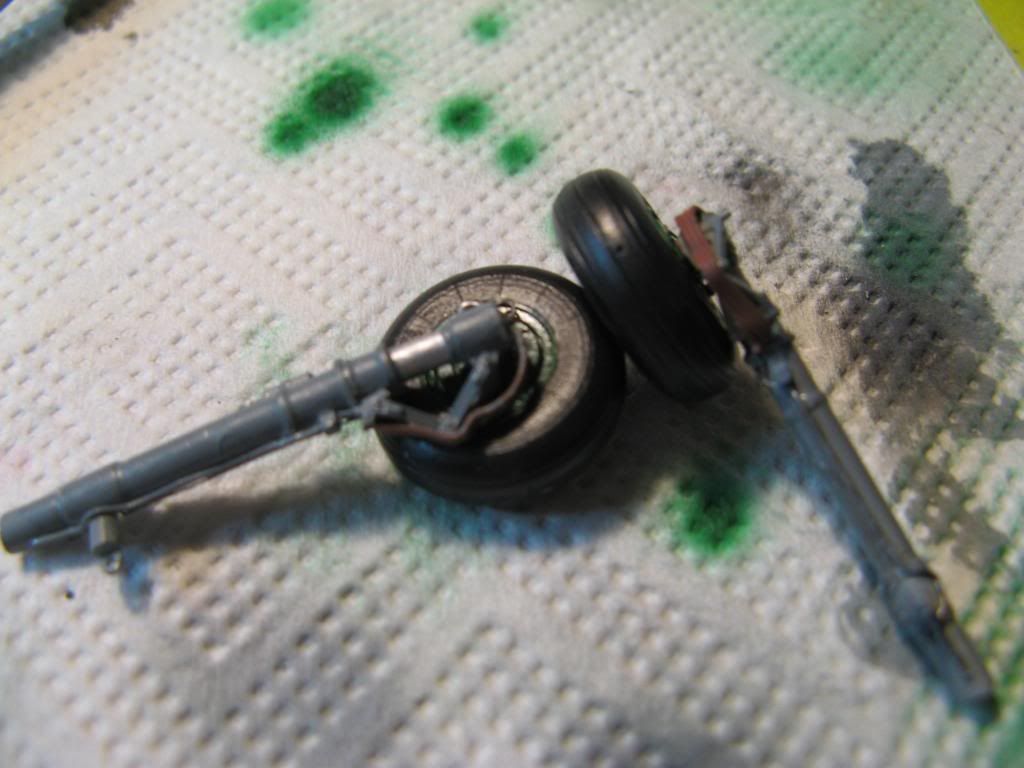
Even though the light in the photo is lousy the 71.046 is still looks too dark and I am not sure about the XF-66.  I admit it could be the white background of the card making the light grey look darker.

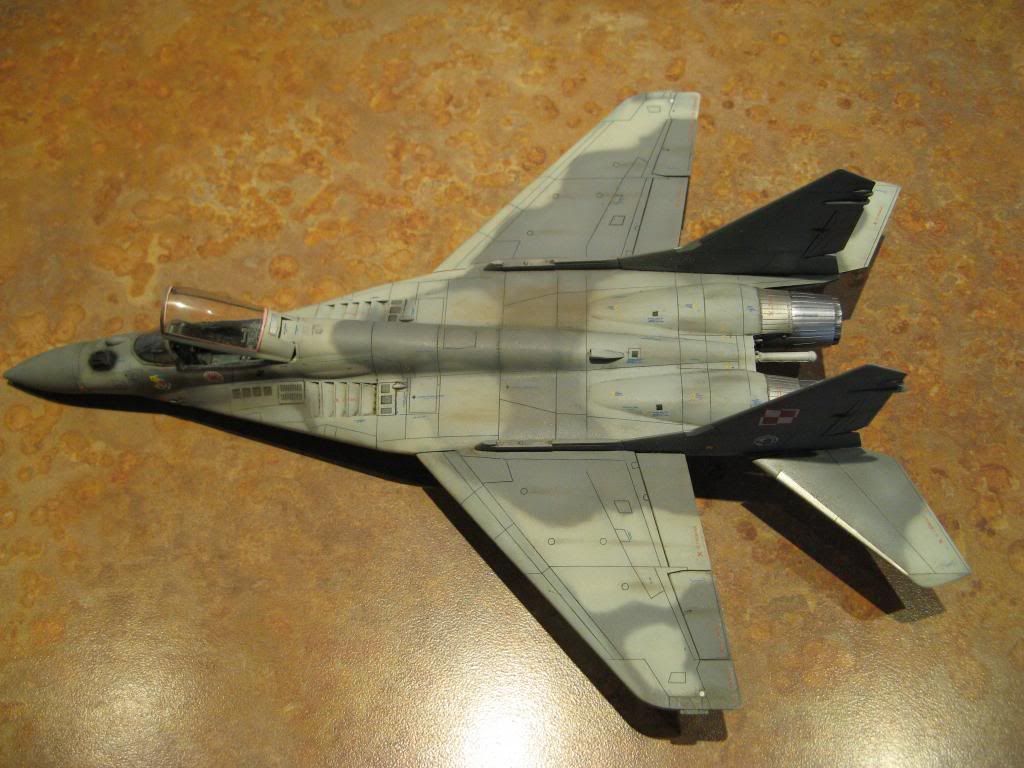
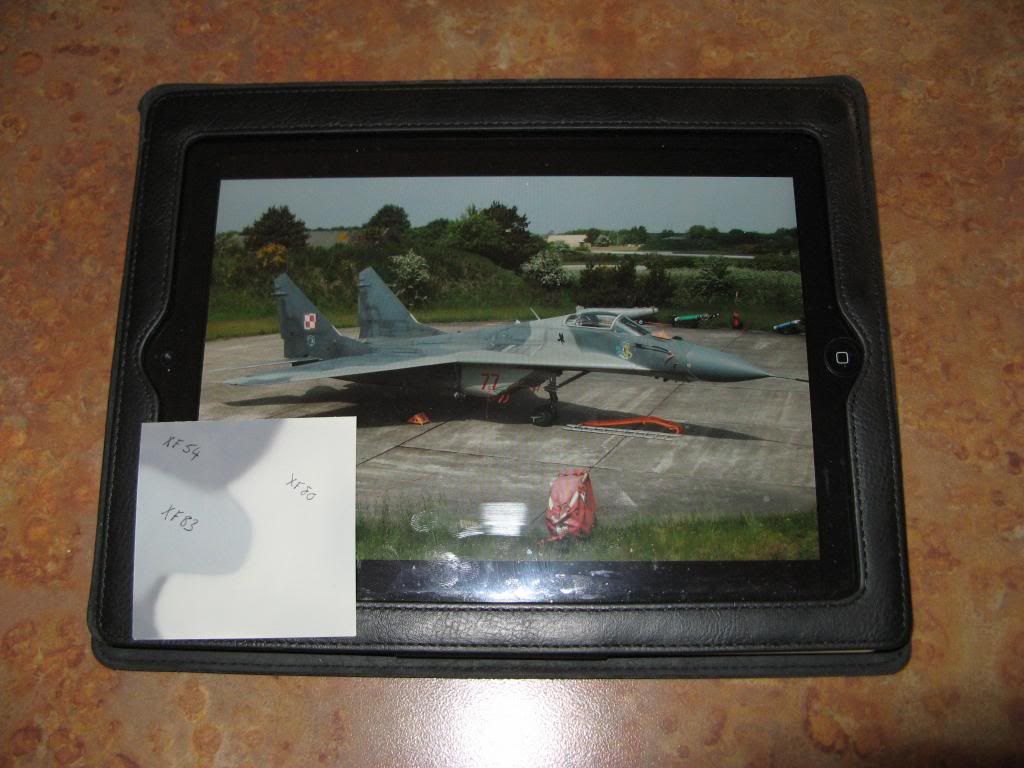
So it's settled then?  Well it was until I found this link which suggested that the light grey was close to XF-80 (allowing for scale fade) and the dark gray was a close visual match to XF-54.  So I sprayed up a sample to test it.  I have to admit it looks good but what an effort!!

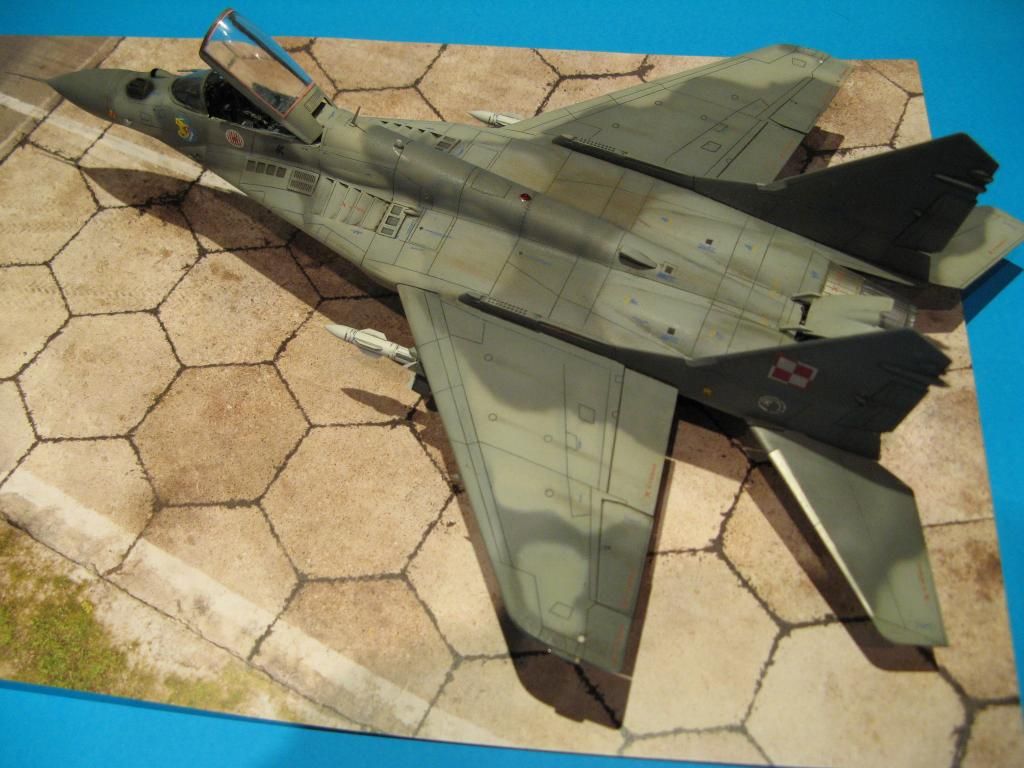
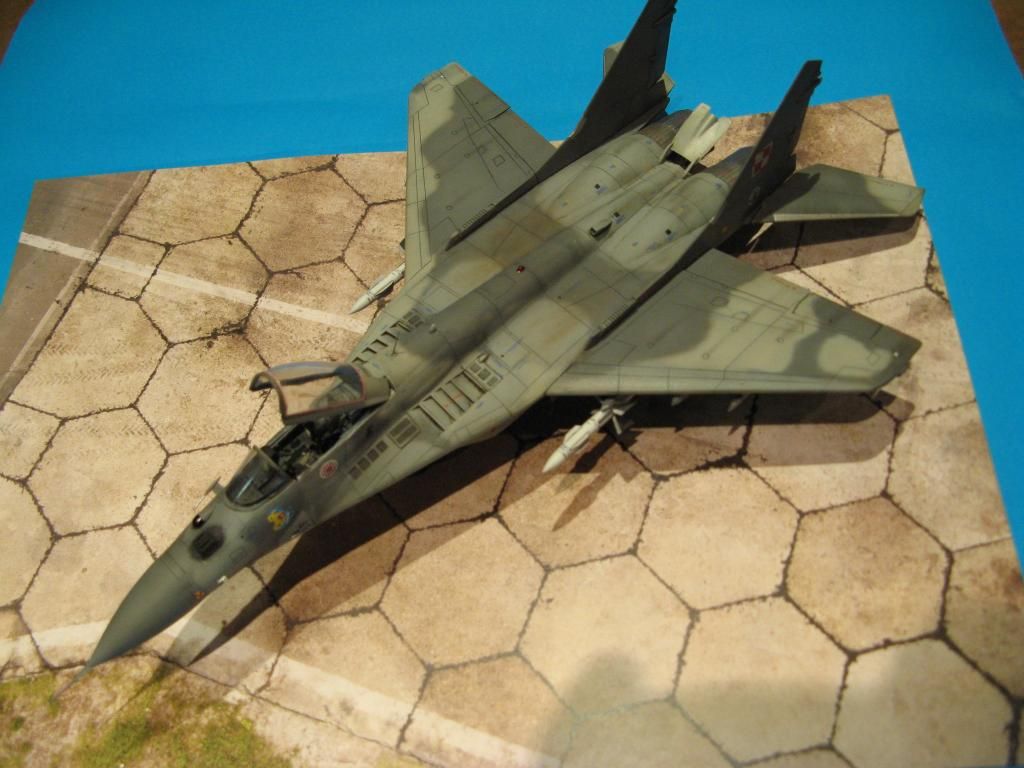
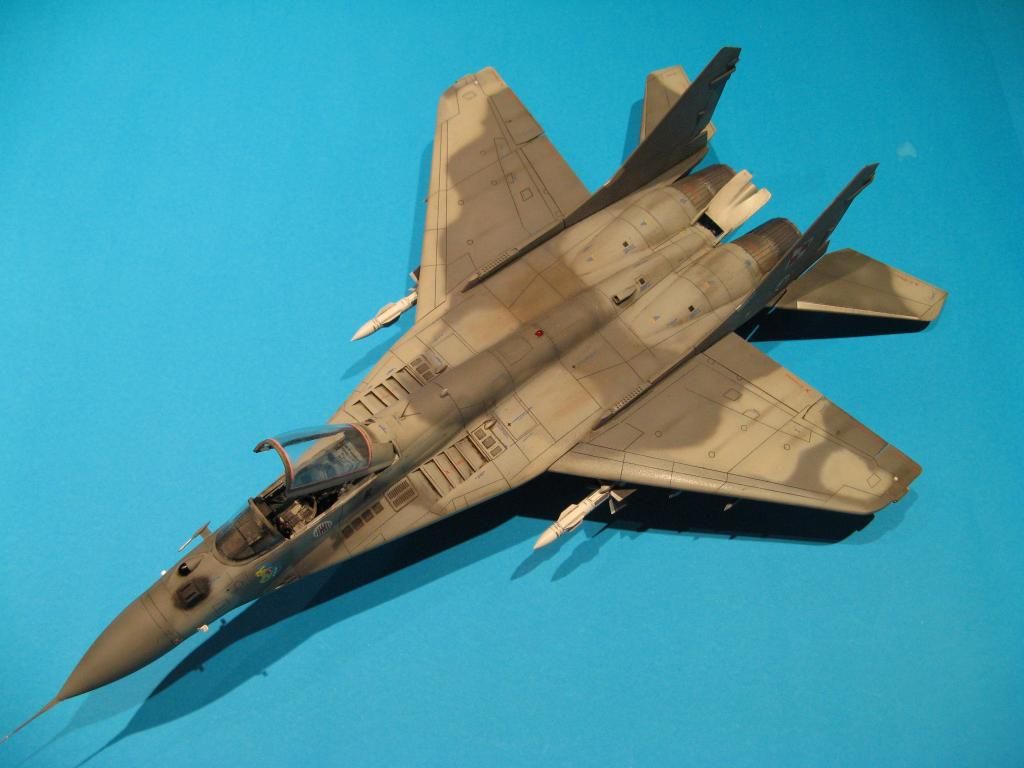
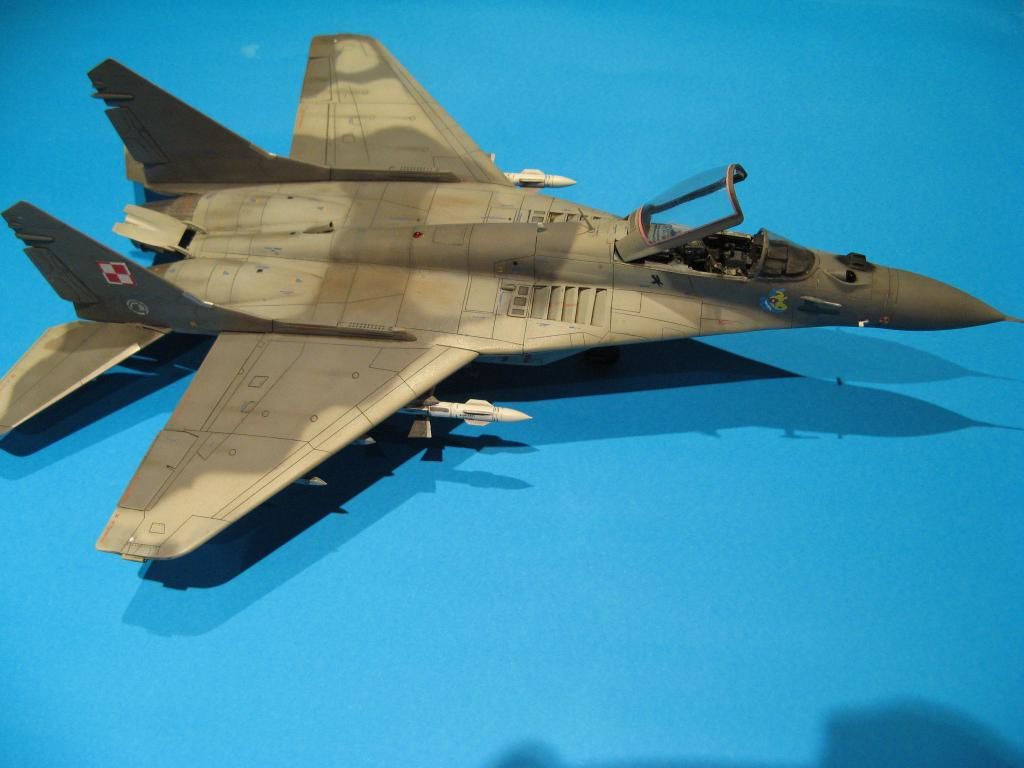
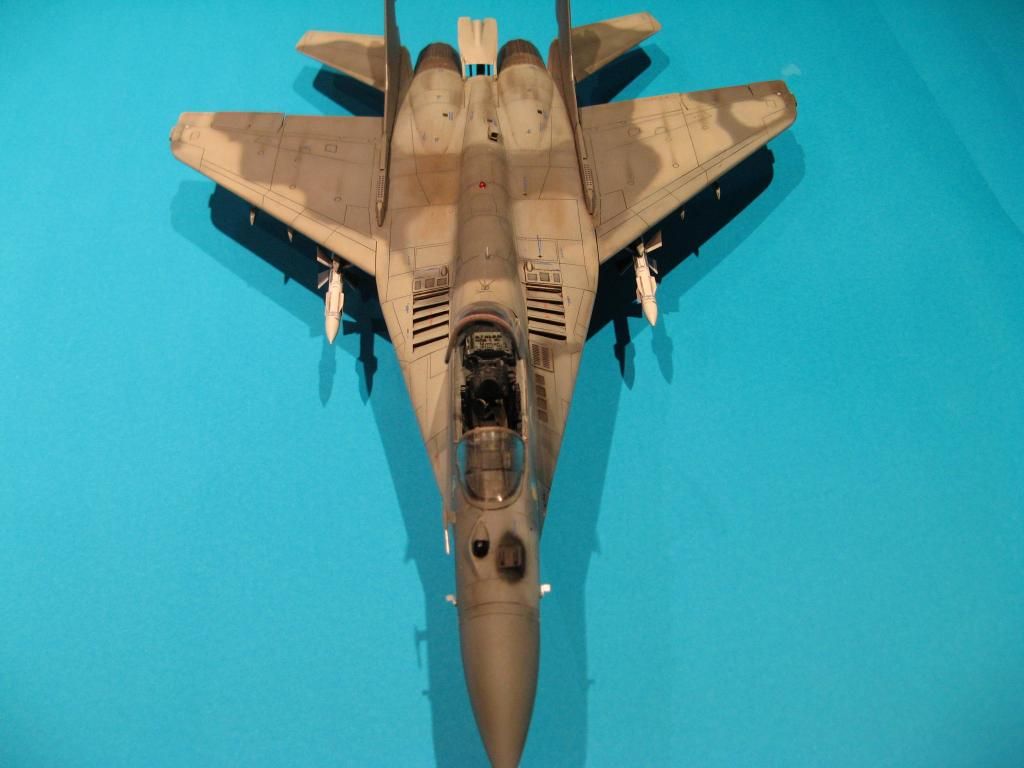
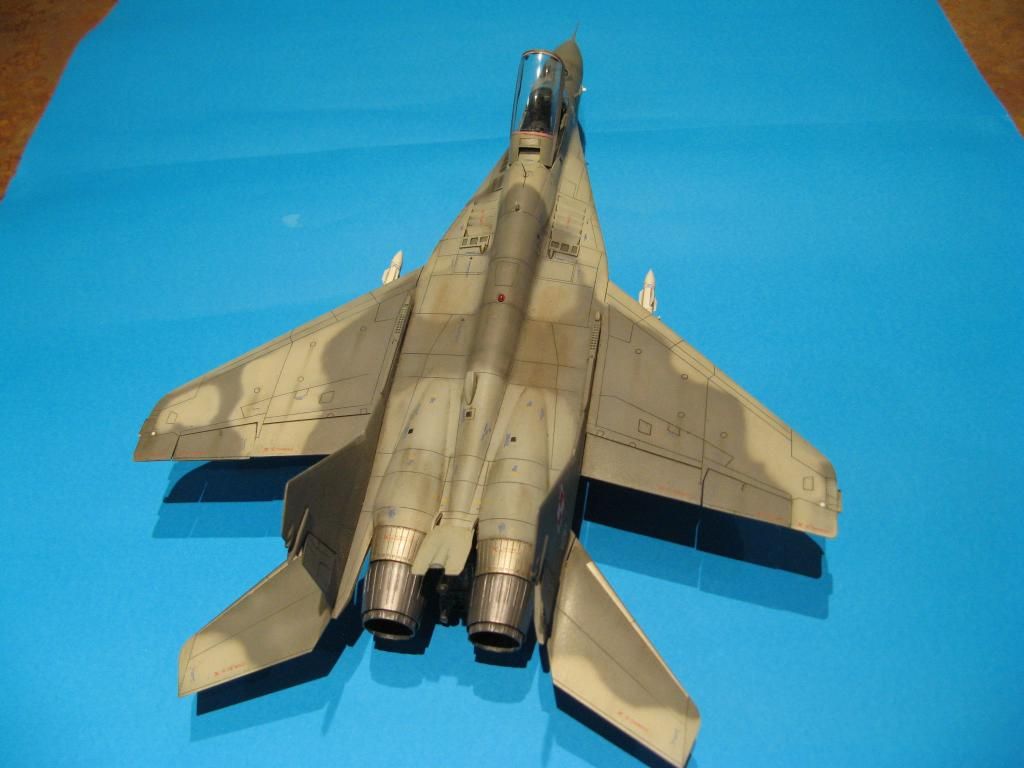
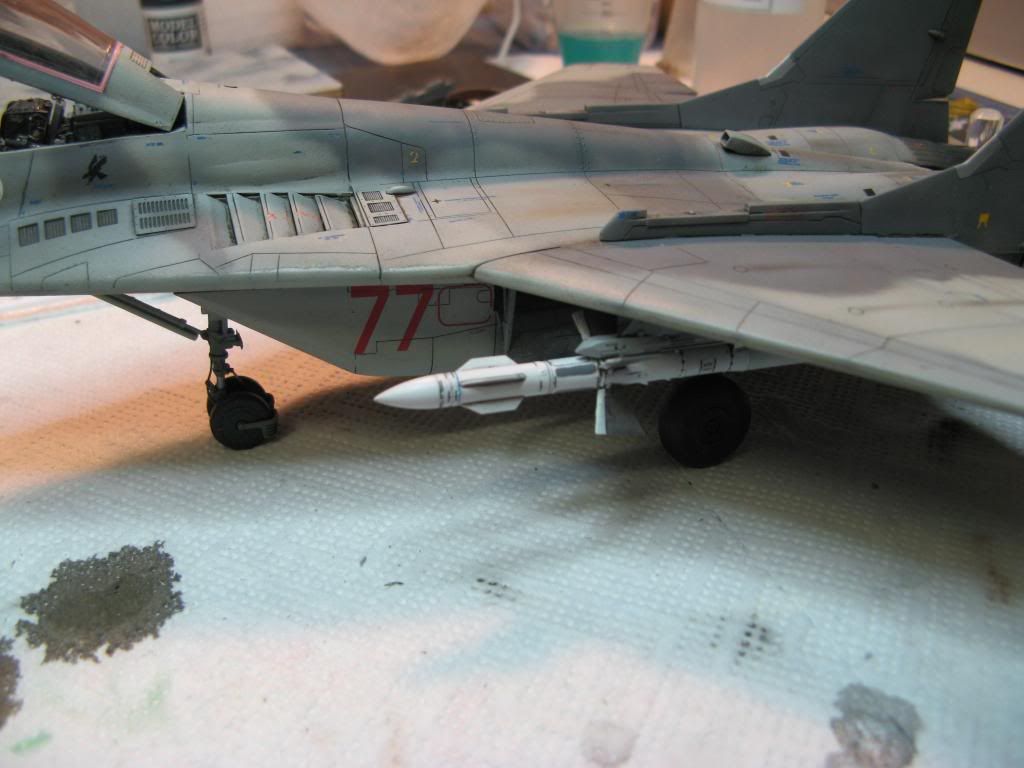
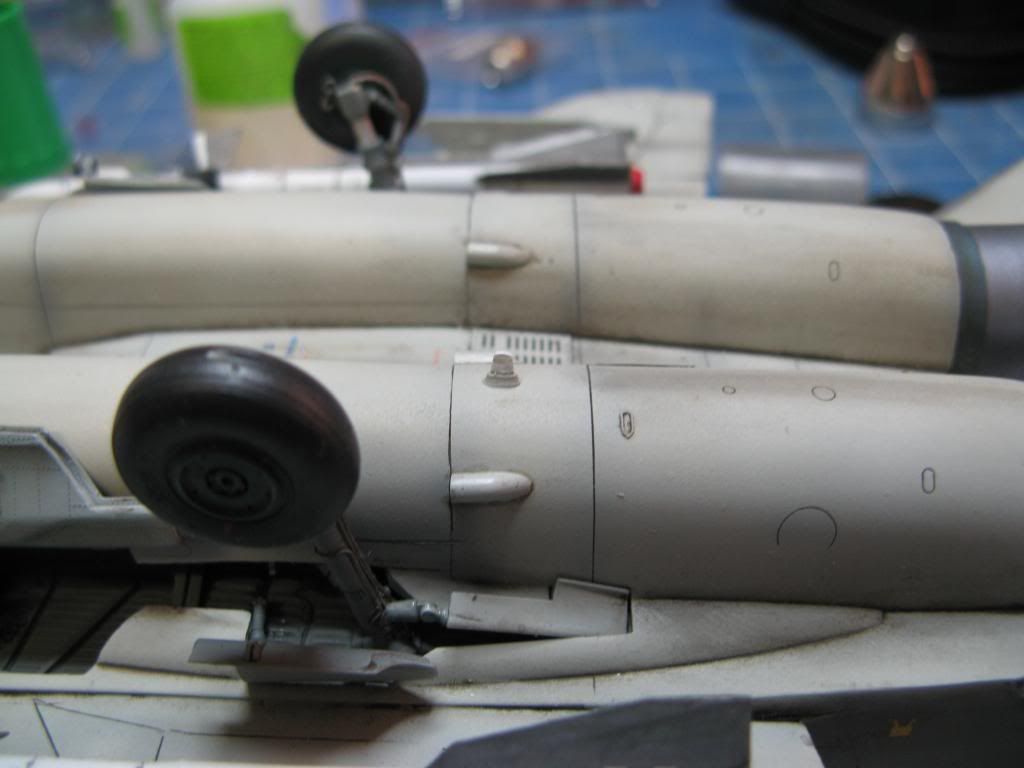
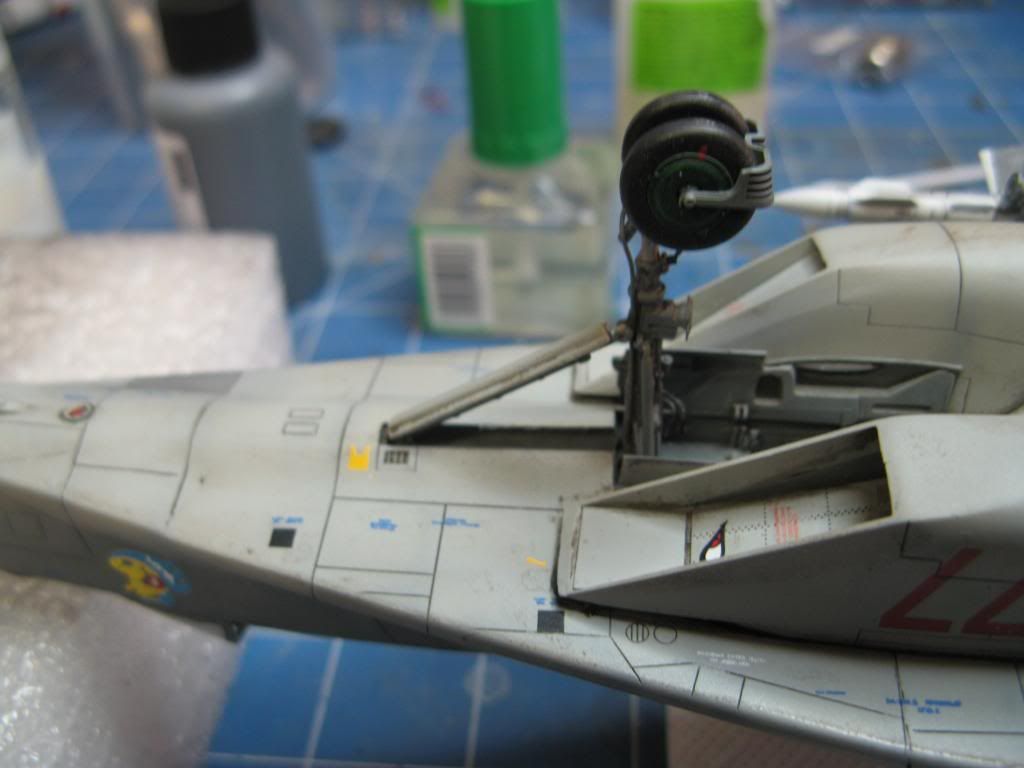
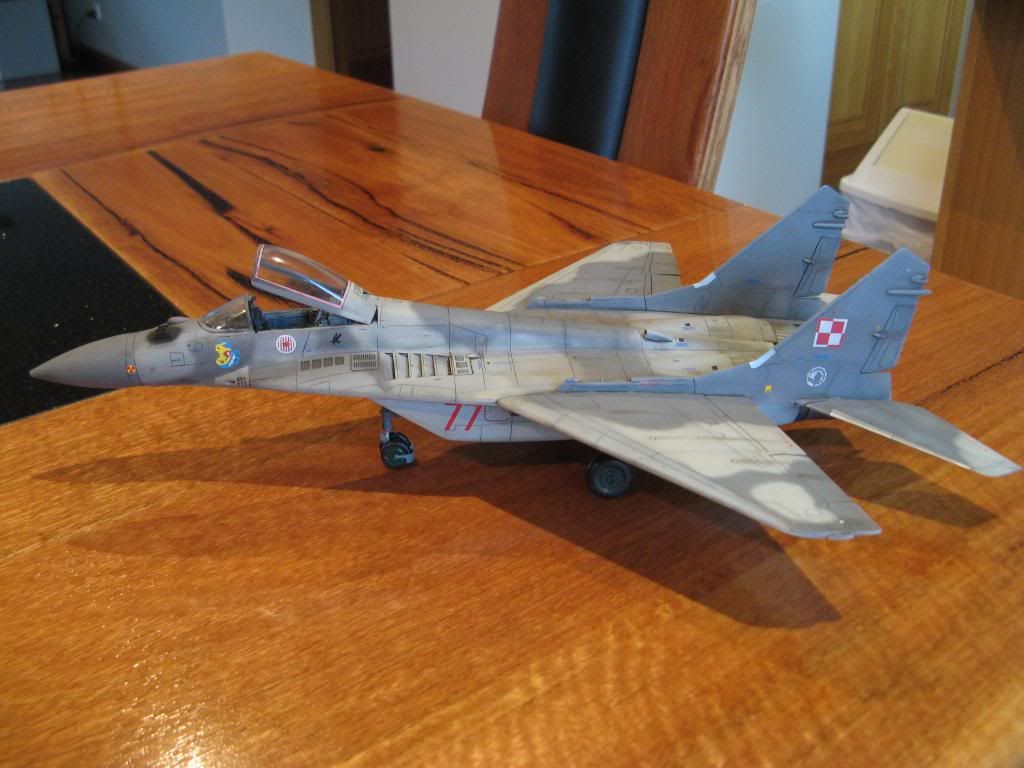
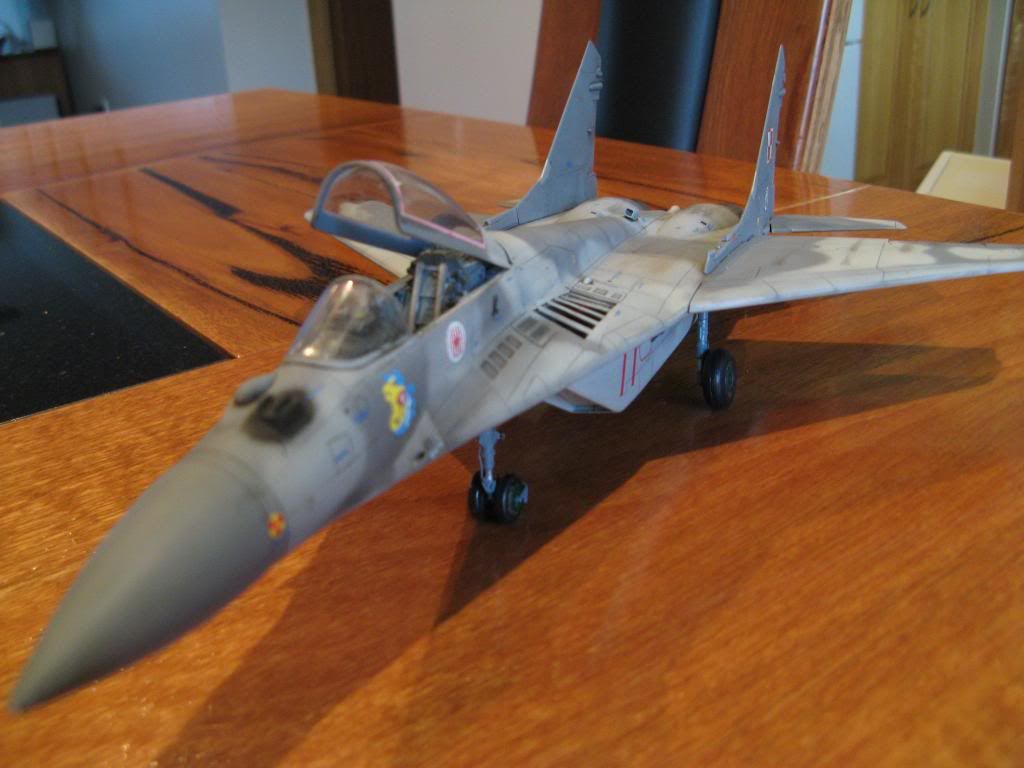
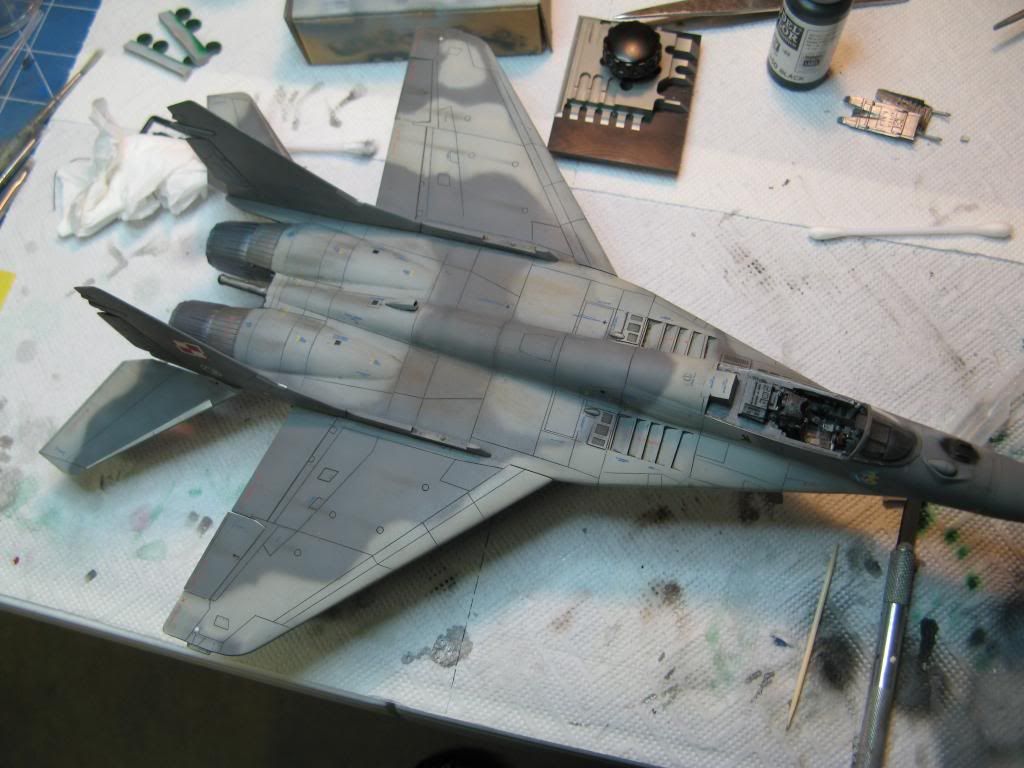
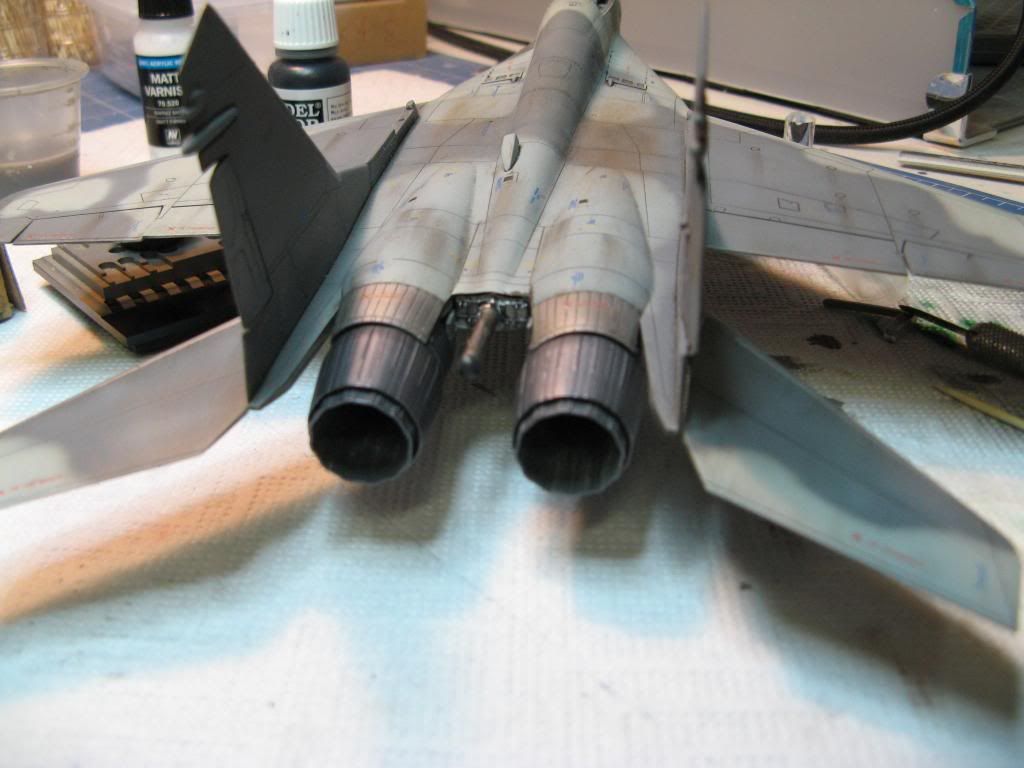
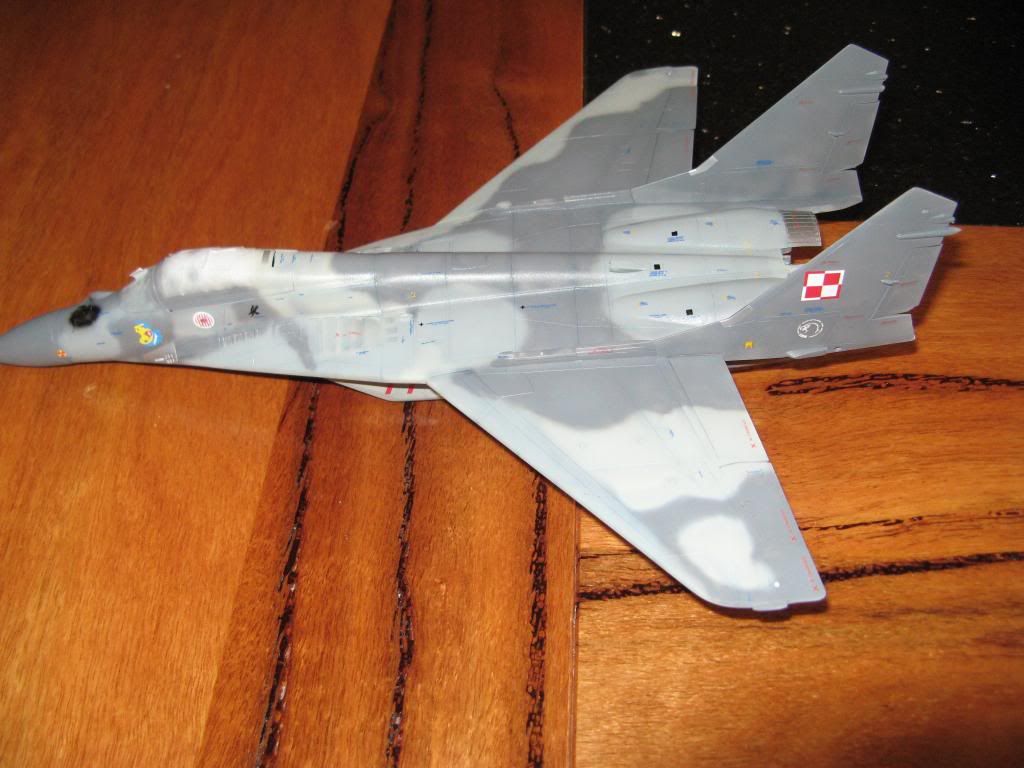
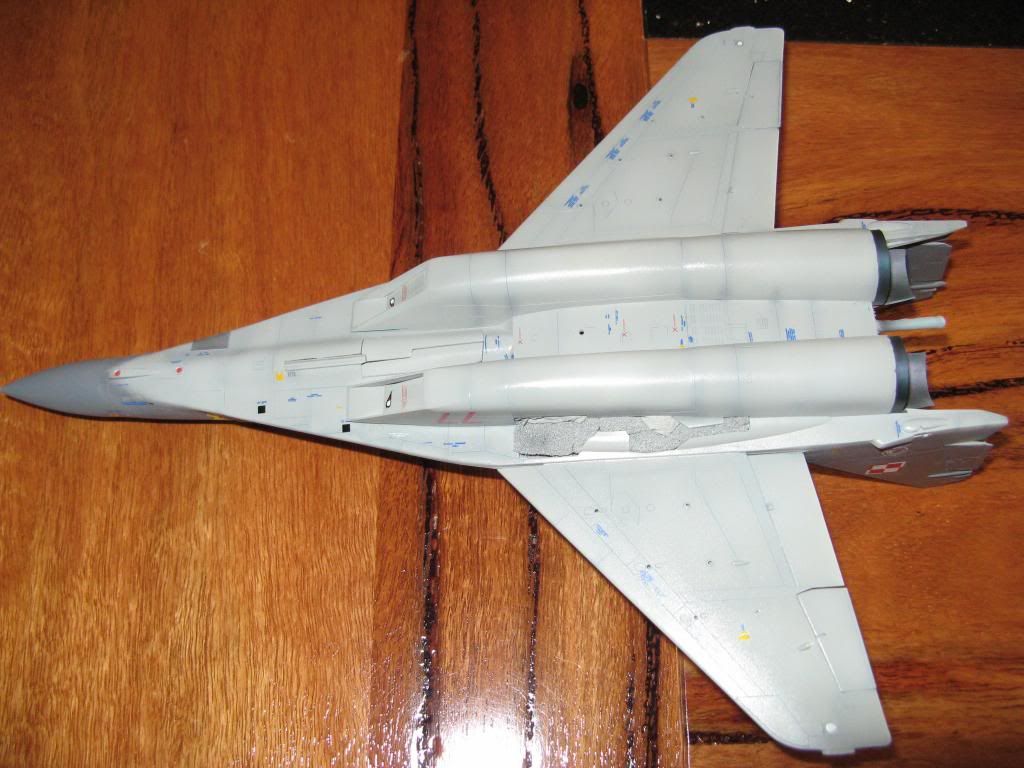
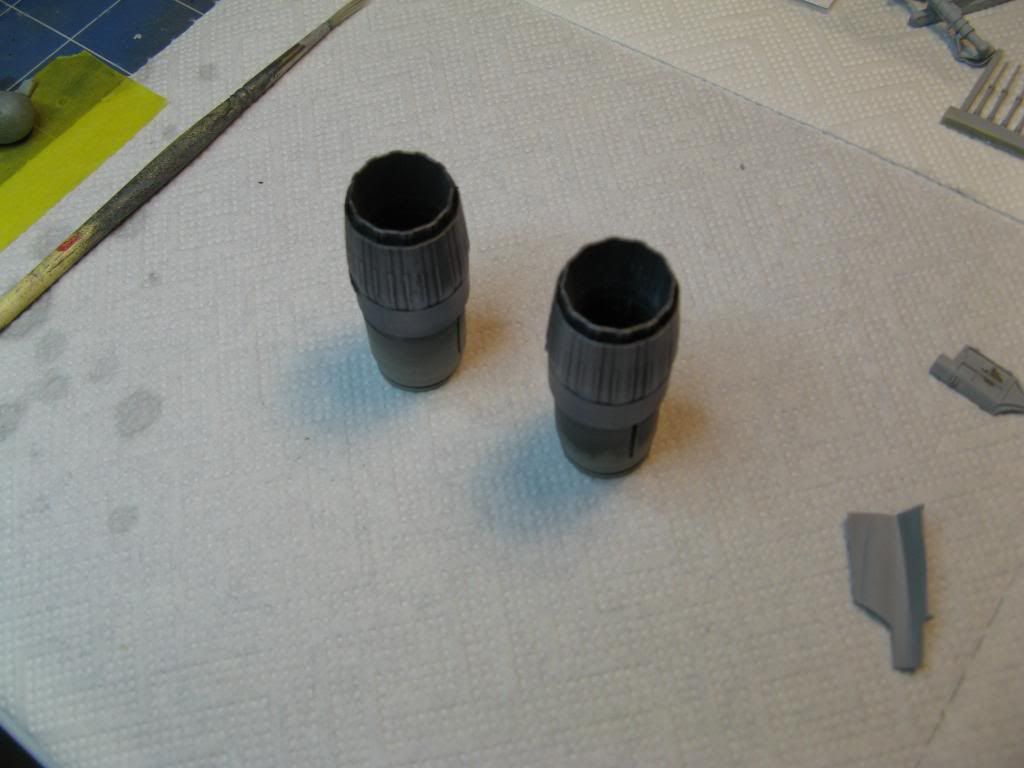
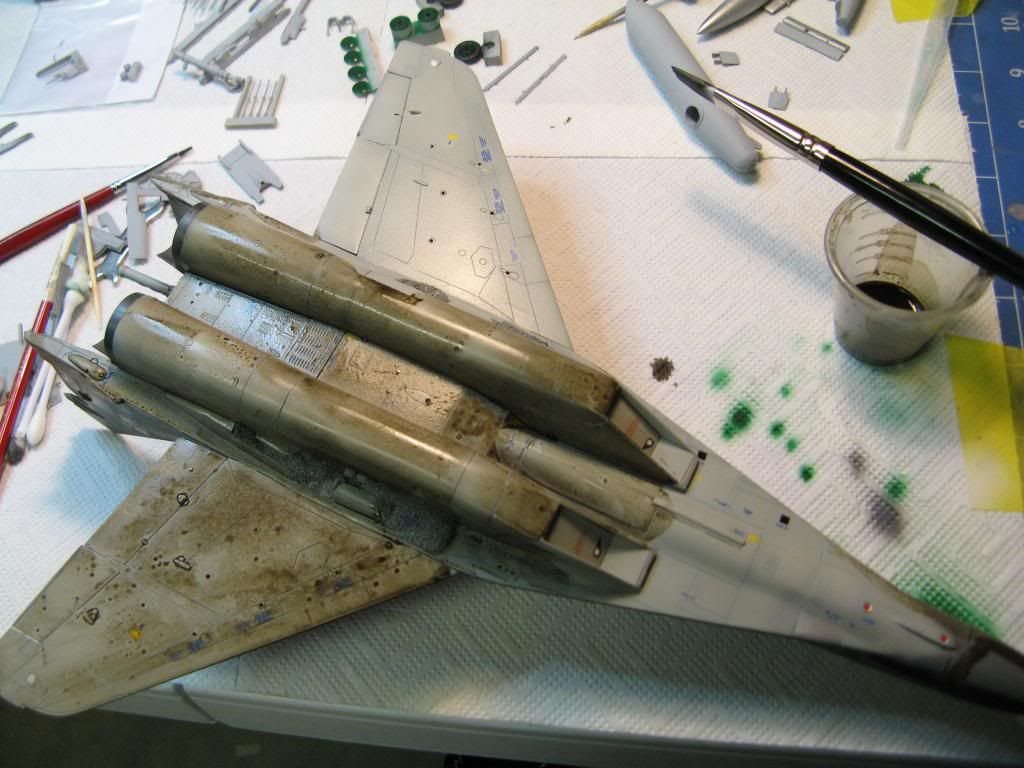
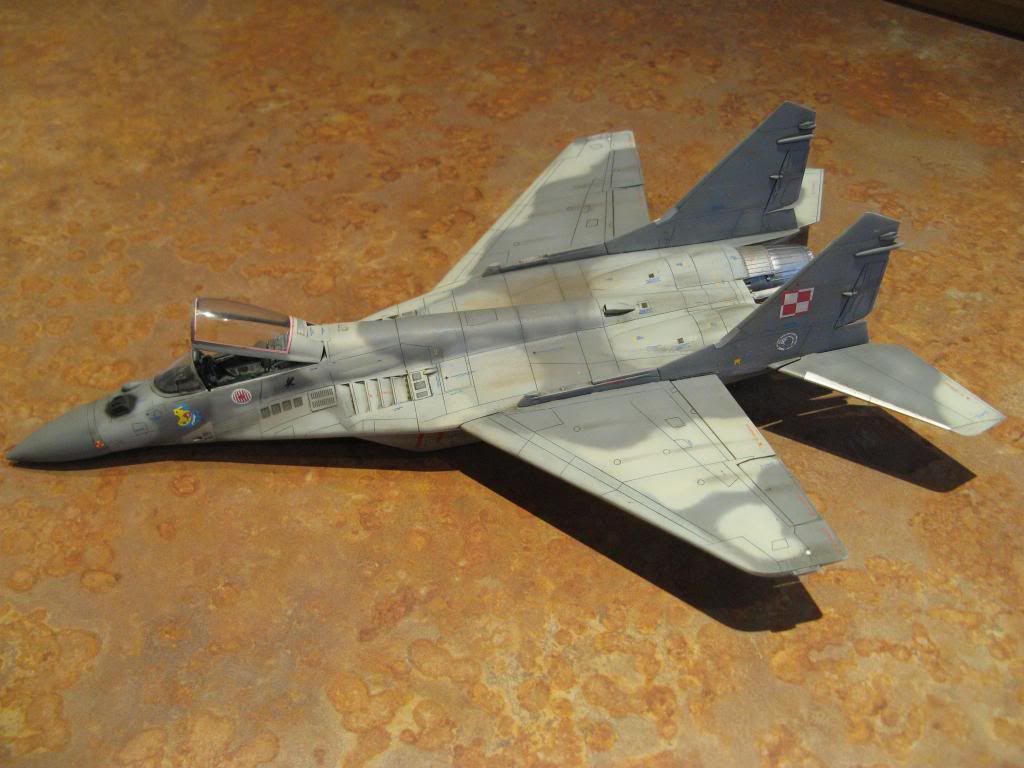
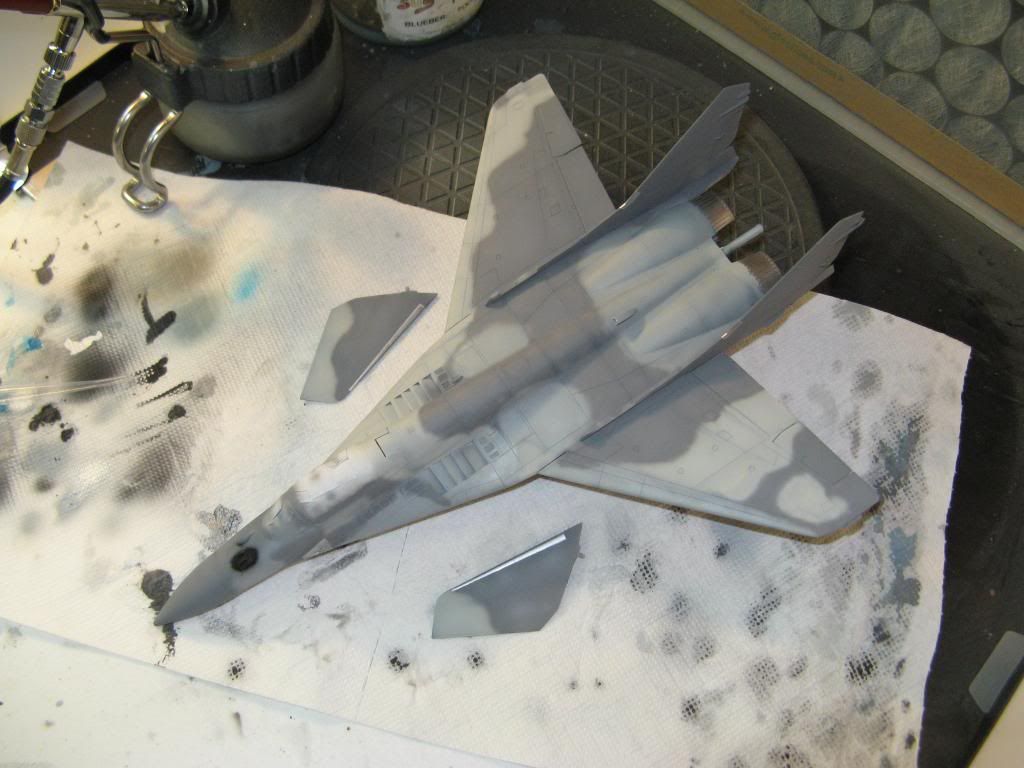
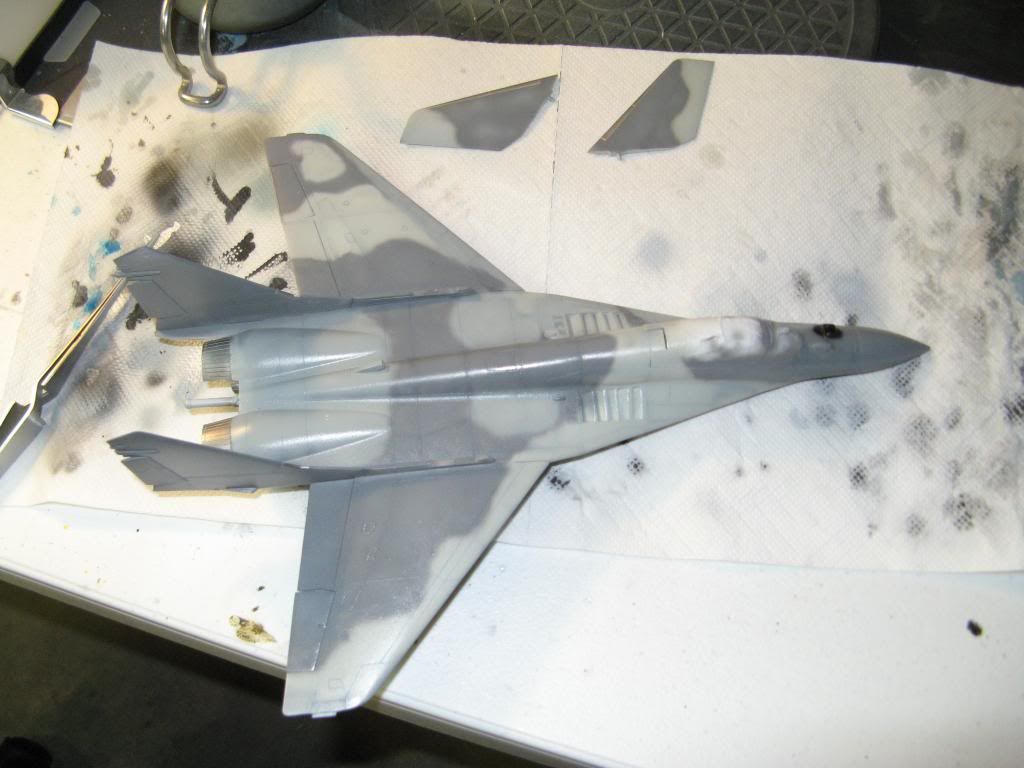
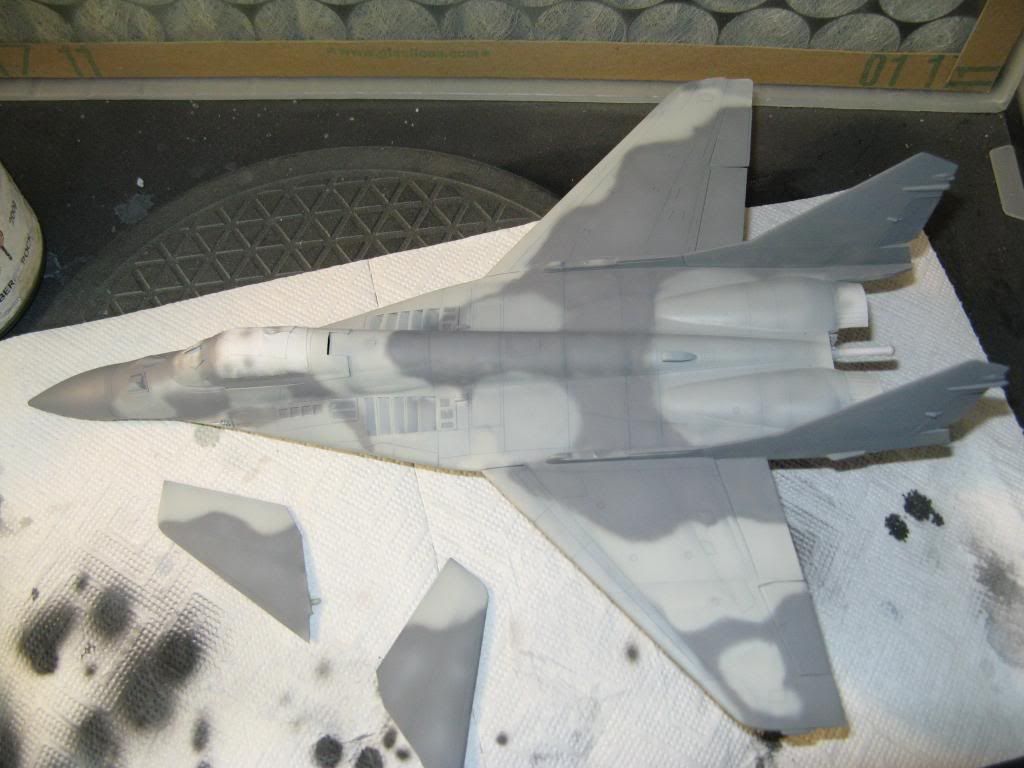
Now that I had the colours I was going to use painting commenced with the lightest first.  Coverage was not so heavy that the pre-shading was hidden giving a grimy look to the panels.

Then the darker colours were sprayed freehand.

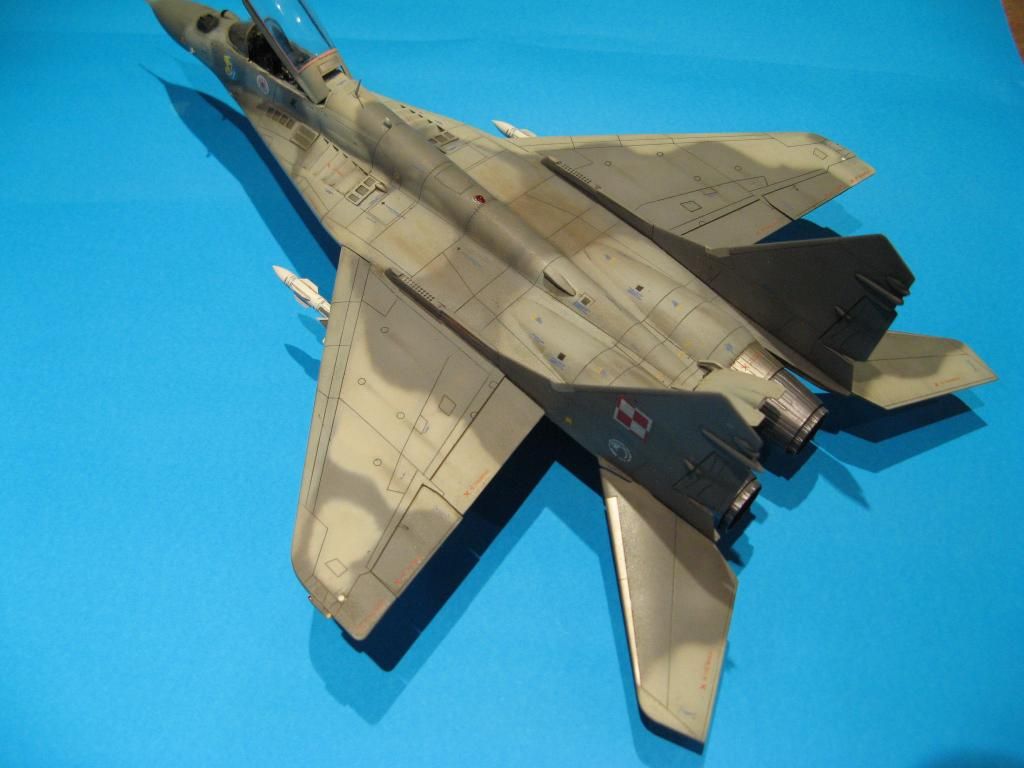
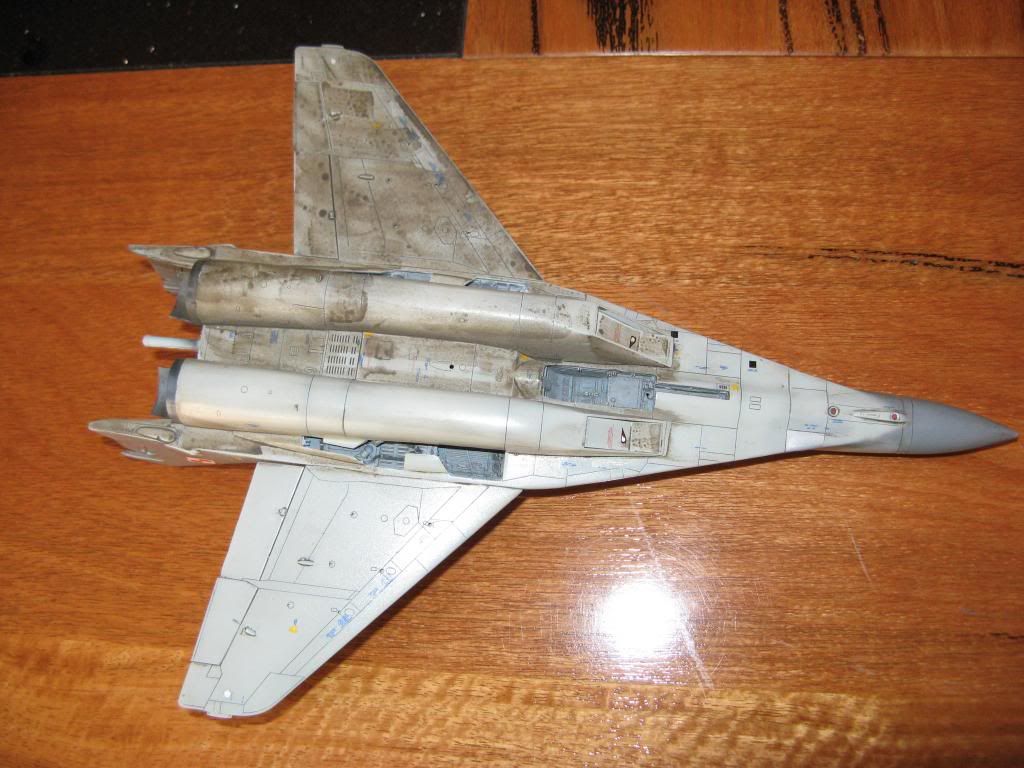
Once the basecoat of each colour was laid down I mixed a little more of that colour with some white added.  This was sprayed into the centres of panels in a random manner.  This has the effect of breaking up large areas of a single colour and making the paint look weathered.
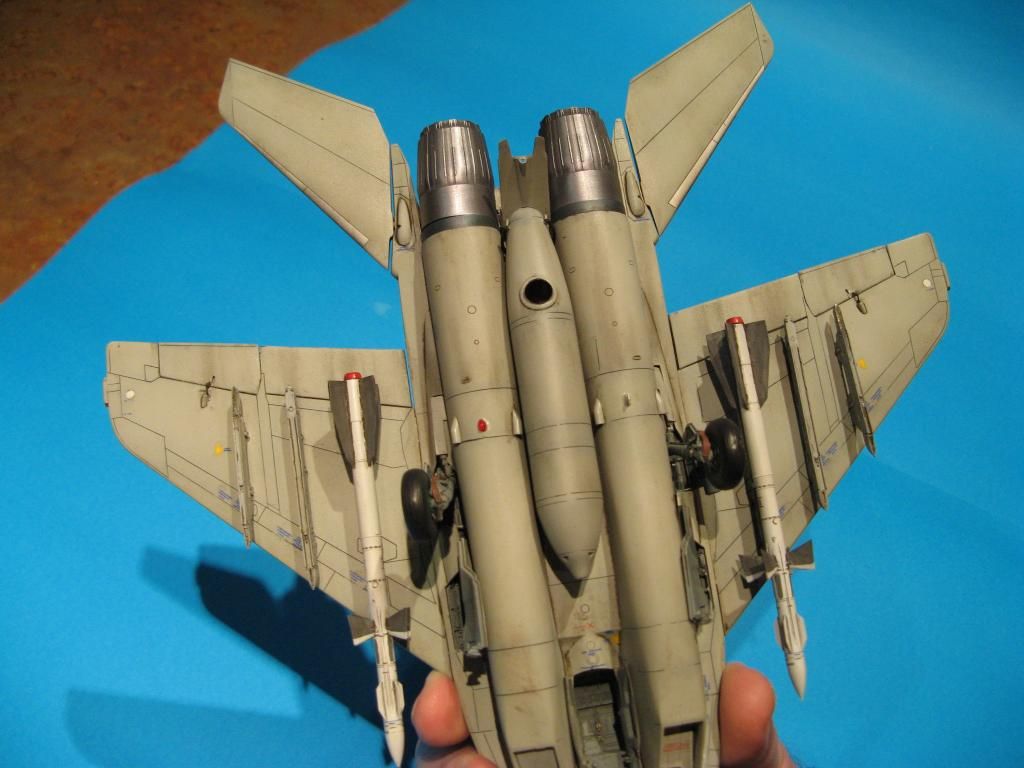
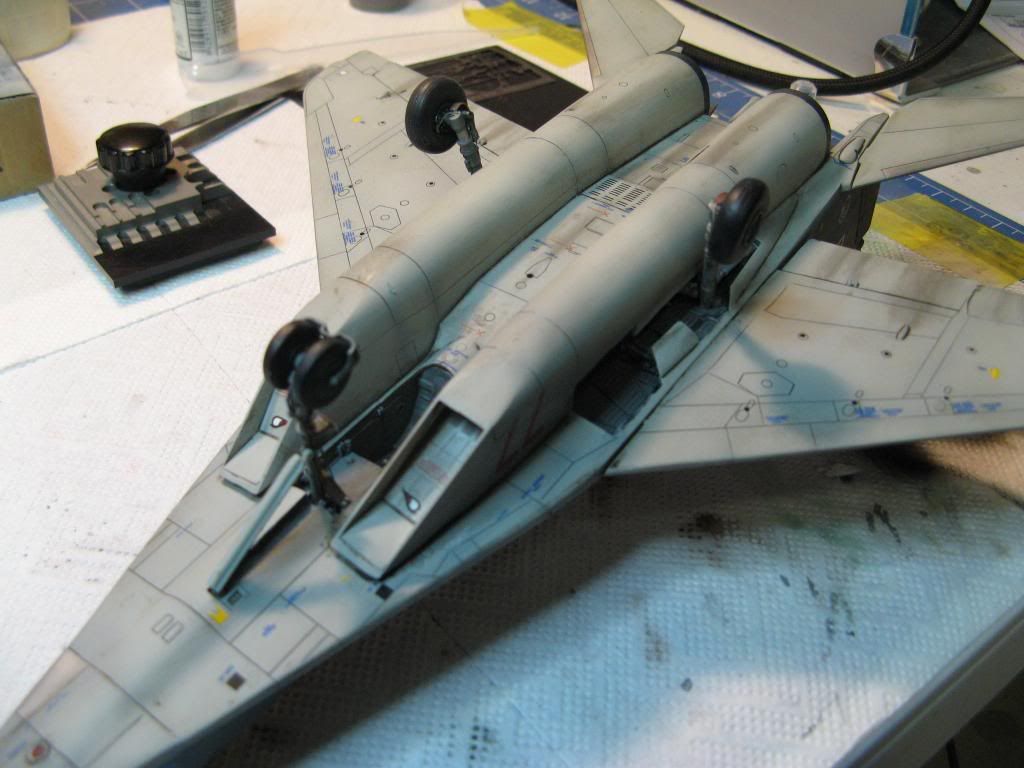
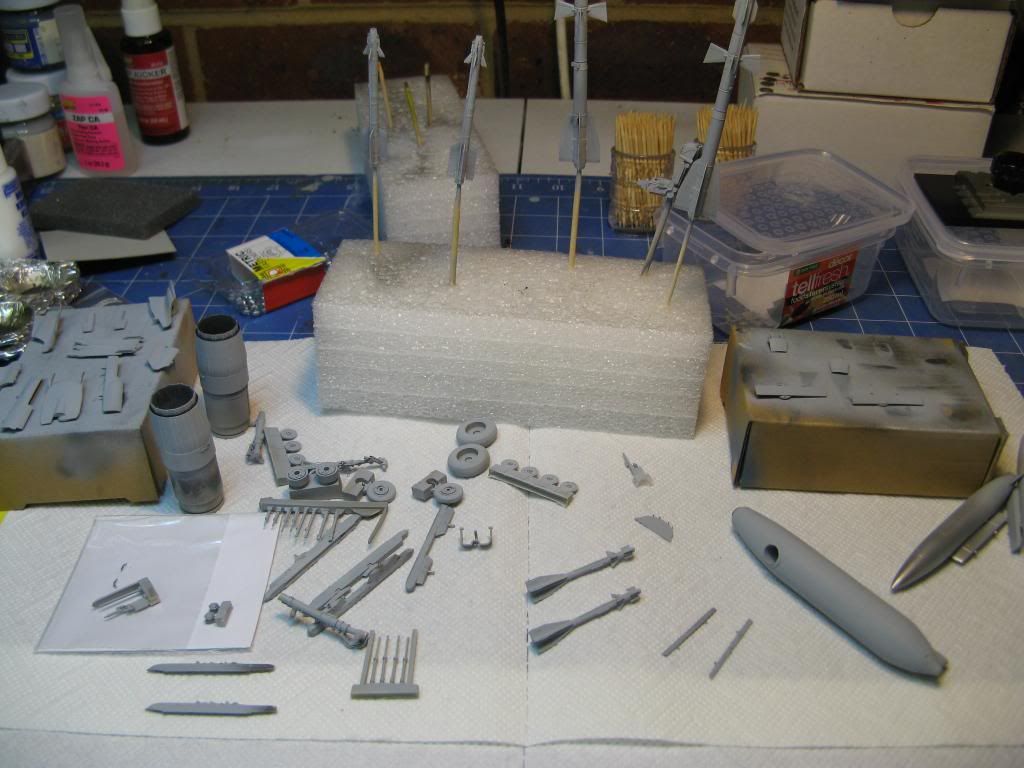
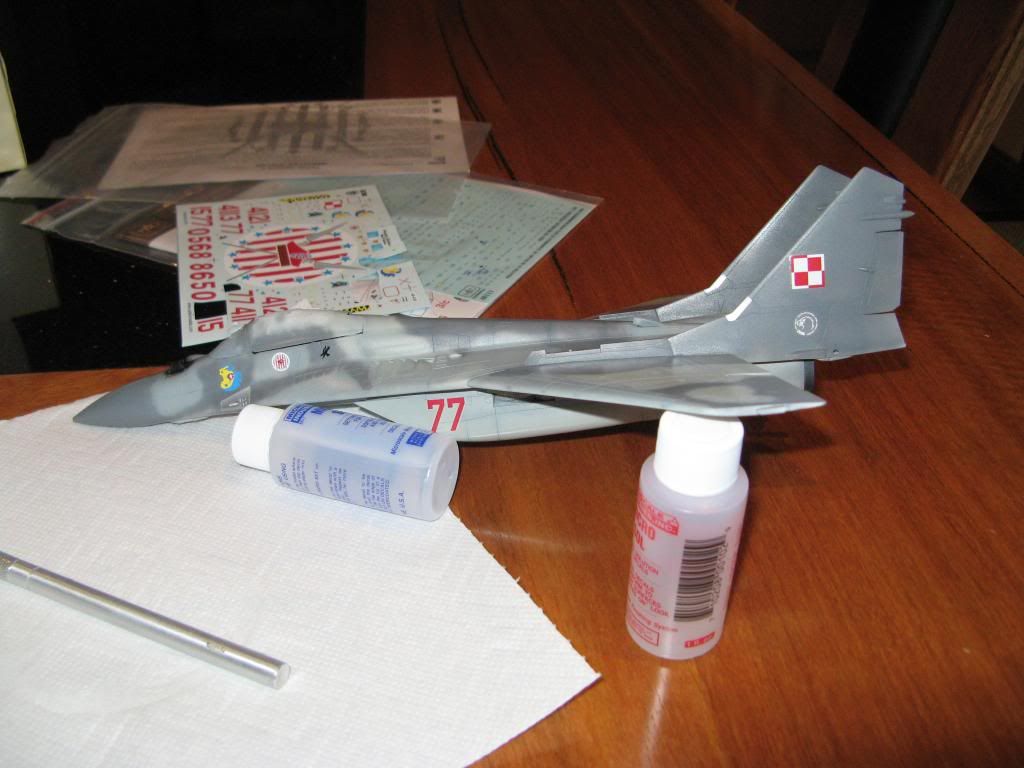
One More Thing...


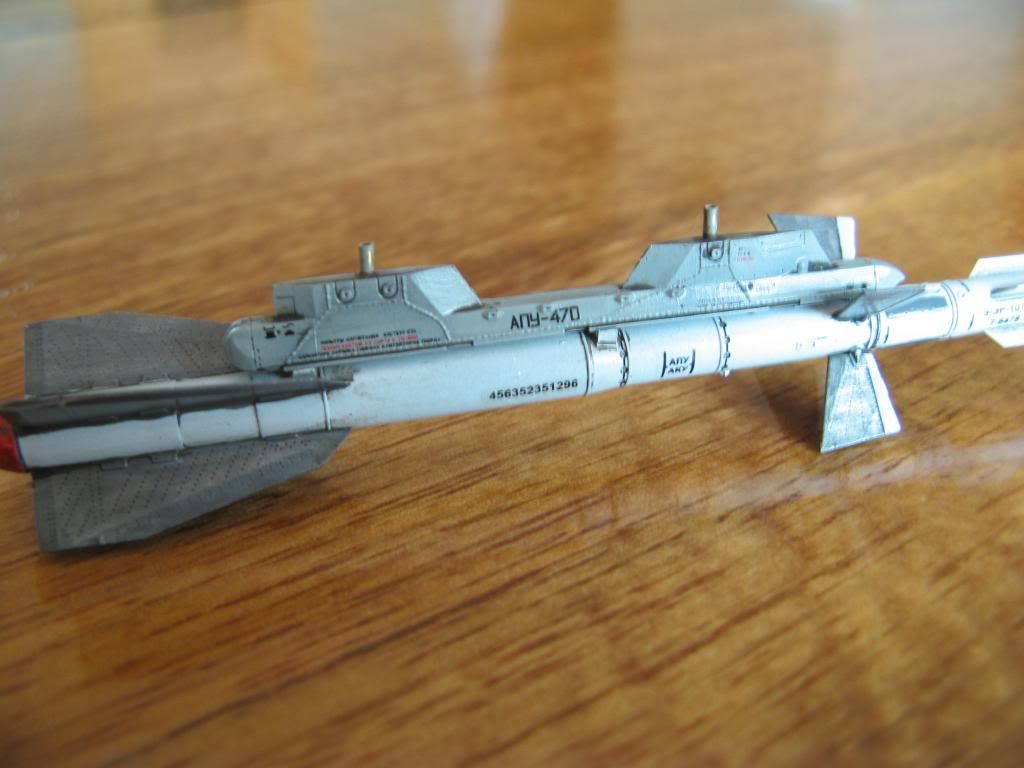
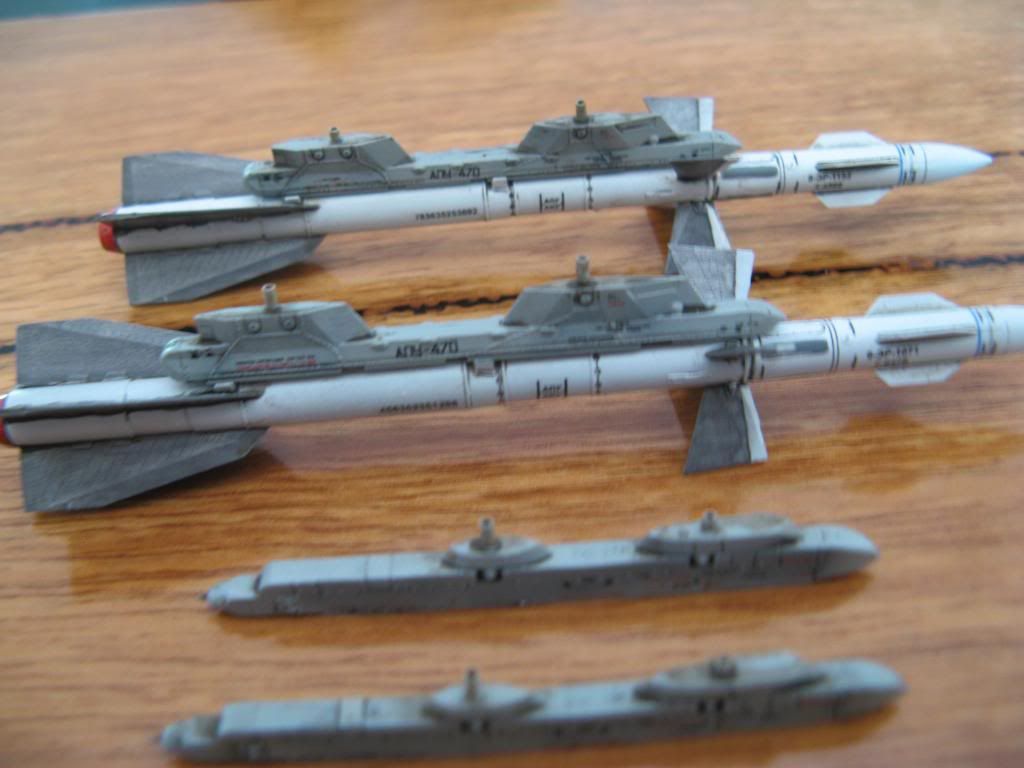
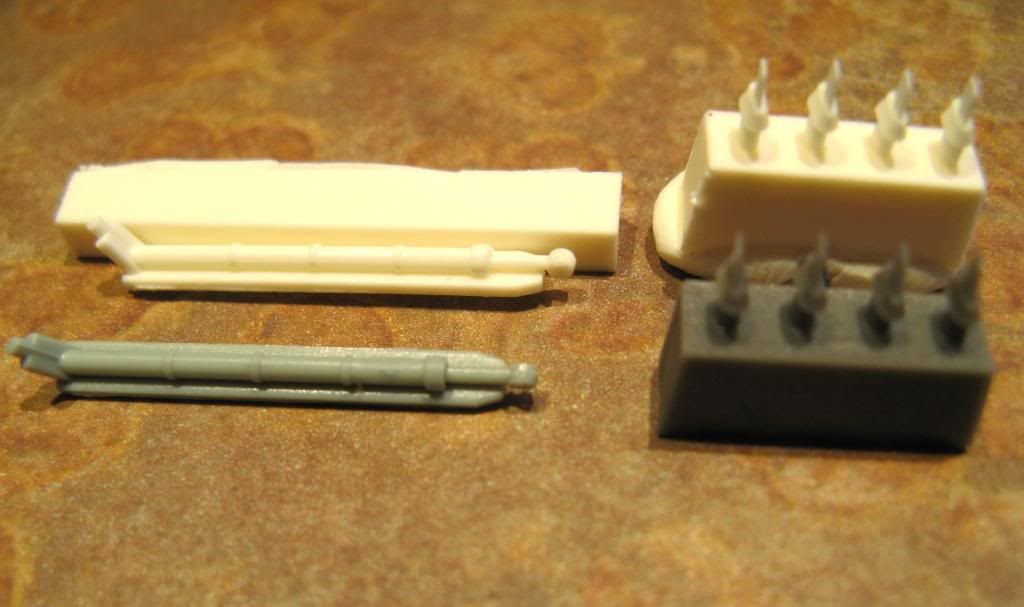
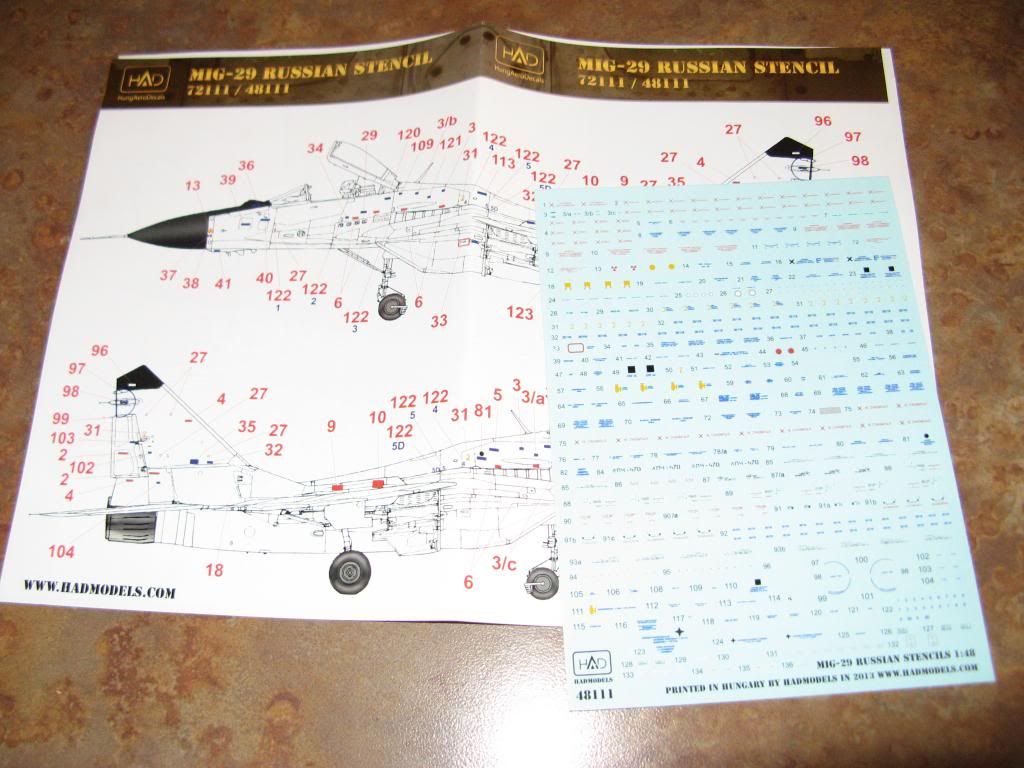
My stencil decals finally arrived.  These will help make the model look a bit more realistic as the Aztec Decals were a bit light on for stenciling.  This will particularly help with the missile pylons, some of which I had no decals for.

On to part 10.