Assembling the cockpit
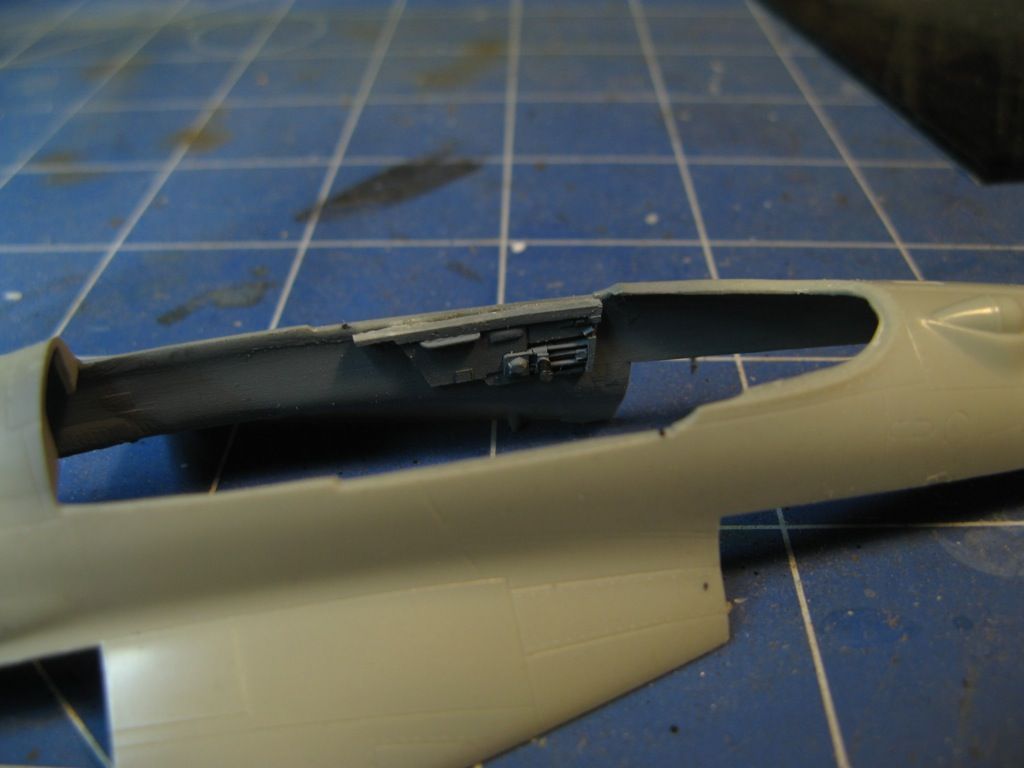
A bit of surgery was required to the forward fuselage section in order to get the Aires cockpit to fit. I am quite happy with the result - its a vast improvement over original cockpit that came with the kit. The detail is nice a crisp and should really pop when painted weathered.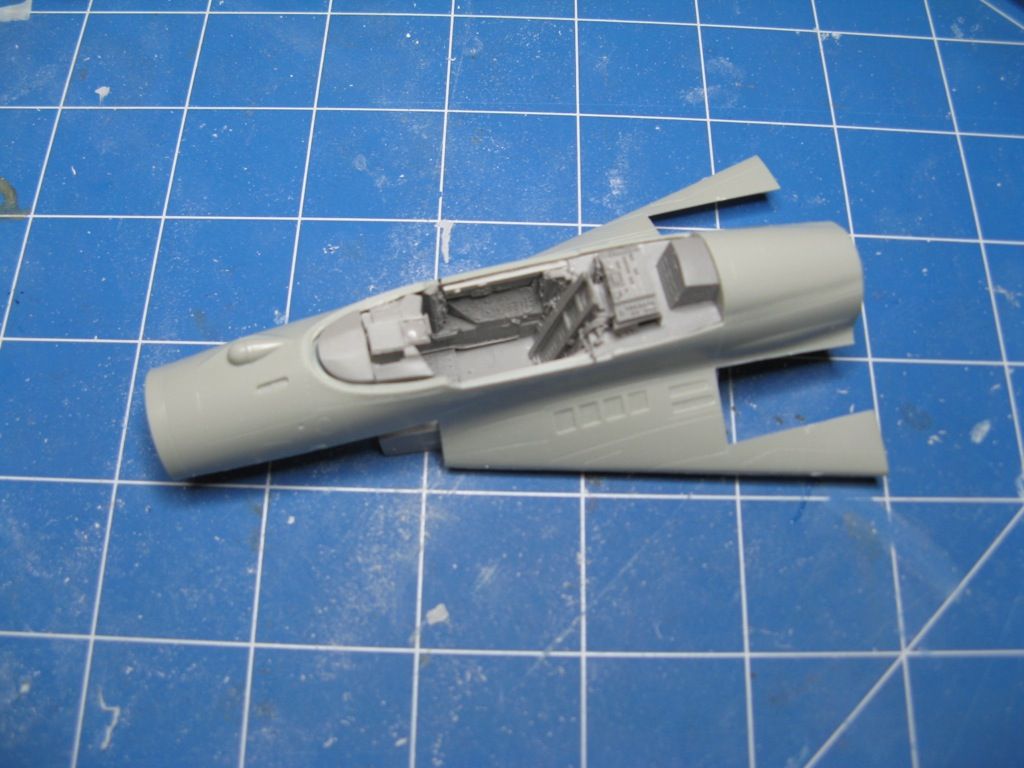
Unfortunately some of the little details broke off as I was trying to get the cockpit to fit. No biggie - I'll replace these with small bits of lead wire and once painted they'll look just fine.

The Aires cockpit set comes with a printed acetate representing the dials on the instrument panel. In order to make these look realistic I painted the back of the acetate white (after removing the HUD glass)
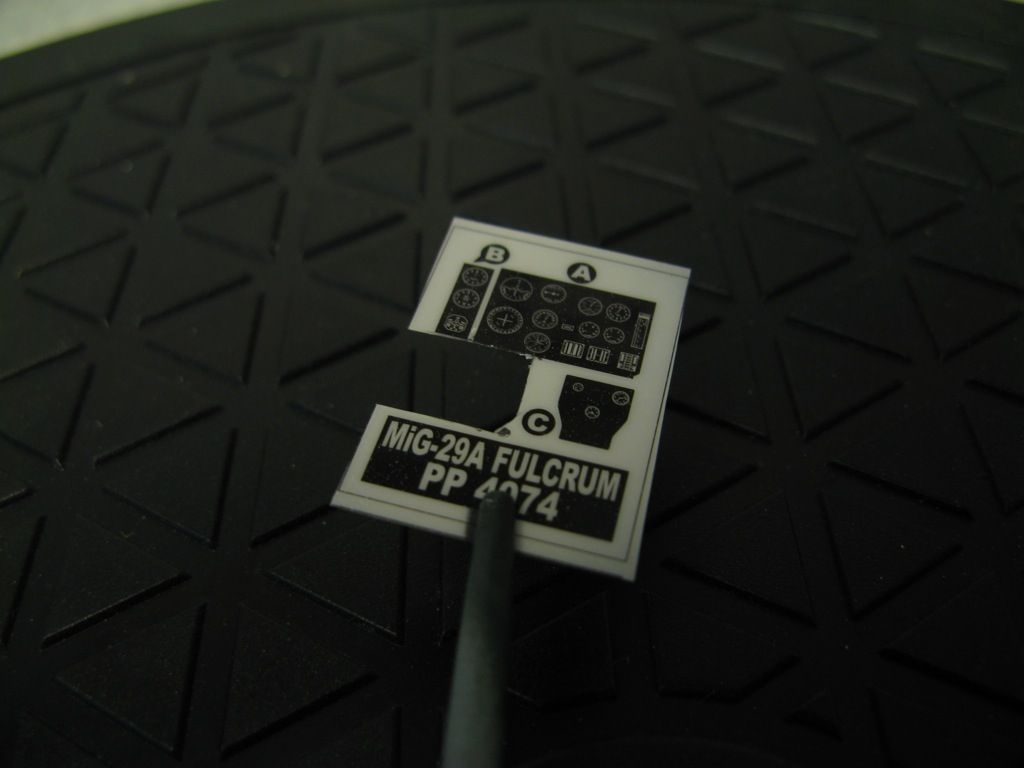
When placed behind the photoetch instrument panel these look quite realistic. I'll add some crystal clear to the instruments to represent glass.
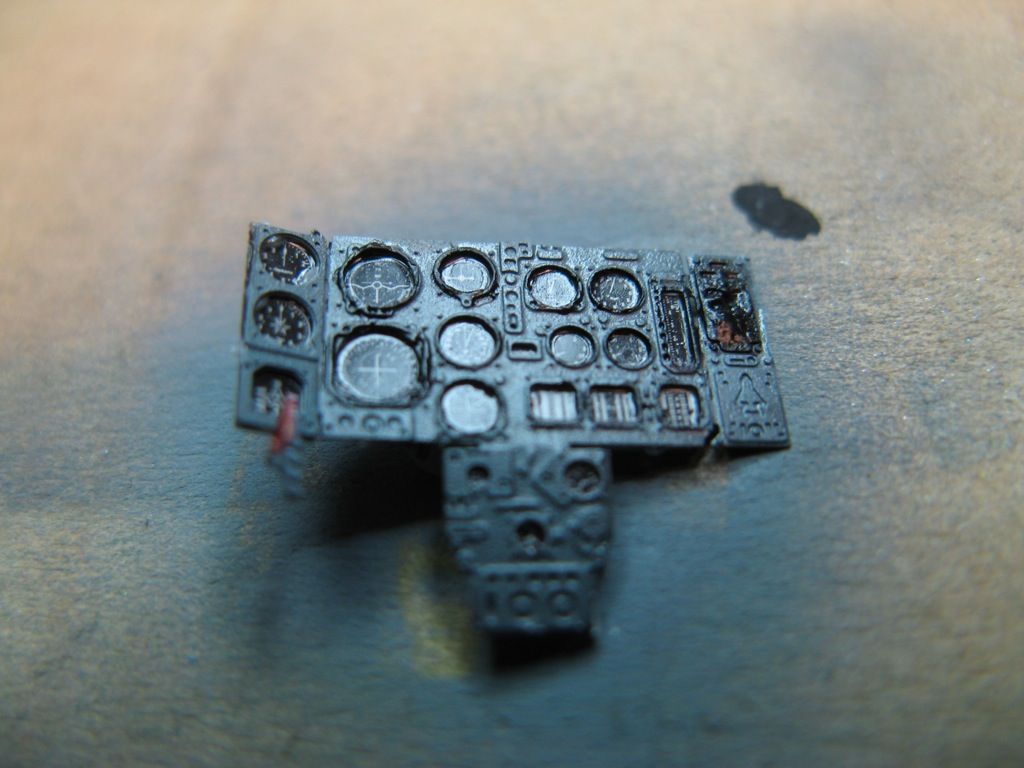
The cockpit has been painted up. You may also notice that I have replaced those little details which broke off. The details on the right, behind the pilot are some of the avionics of the aircraft. There is the opportunity to open up one of the side panels just behind the cockpit to reveal these but I won't be doing that - too much necessary surgery to the kit and having too many panels open on a model just does not look believable in my opinion.
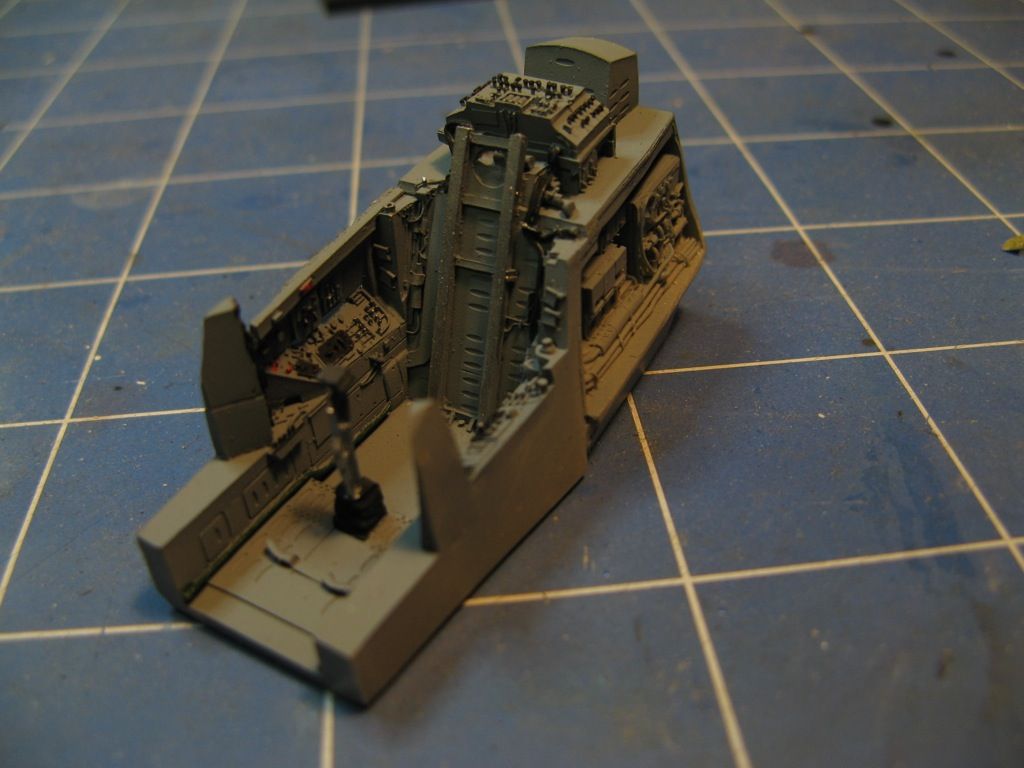
The left-hand side panel was glued into the forward fuselage.
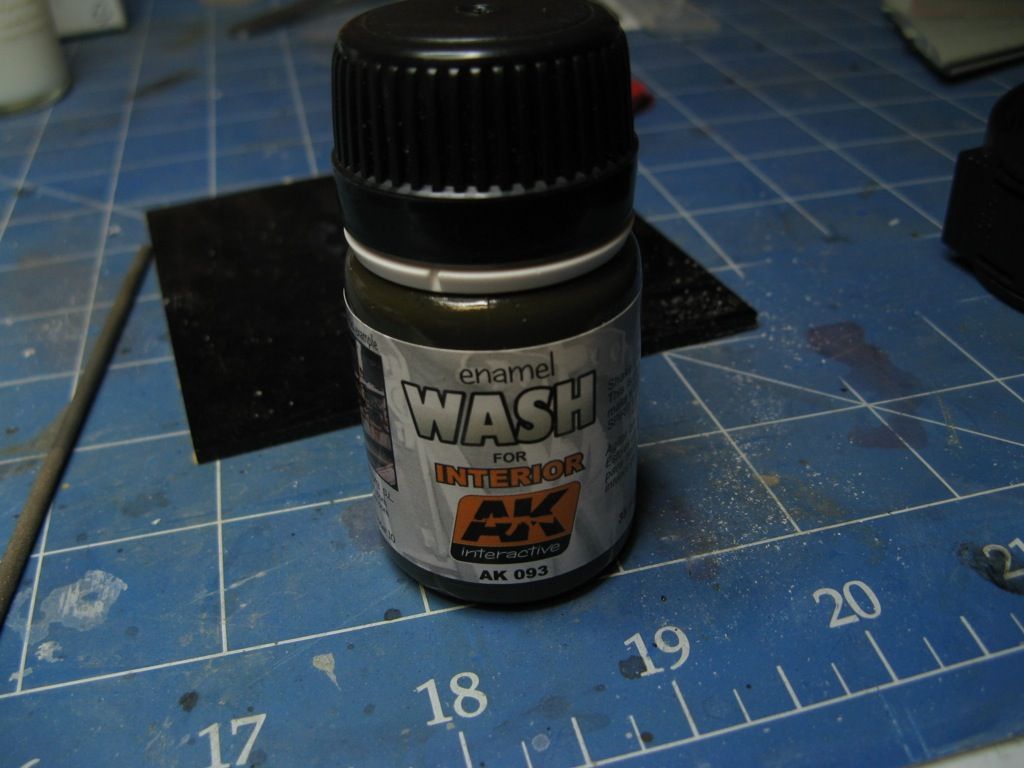
The cockpit was given a coating of clear varnish and then a thinned wash of AK Interactive AK093 interior wash to add some shadow and bring out the details.
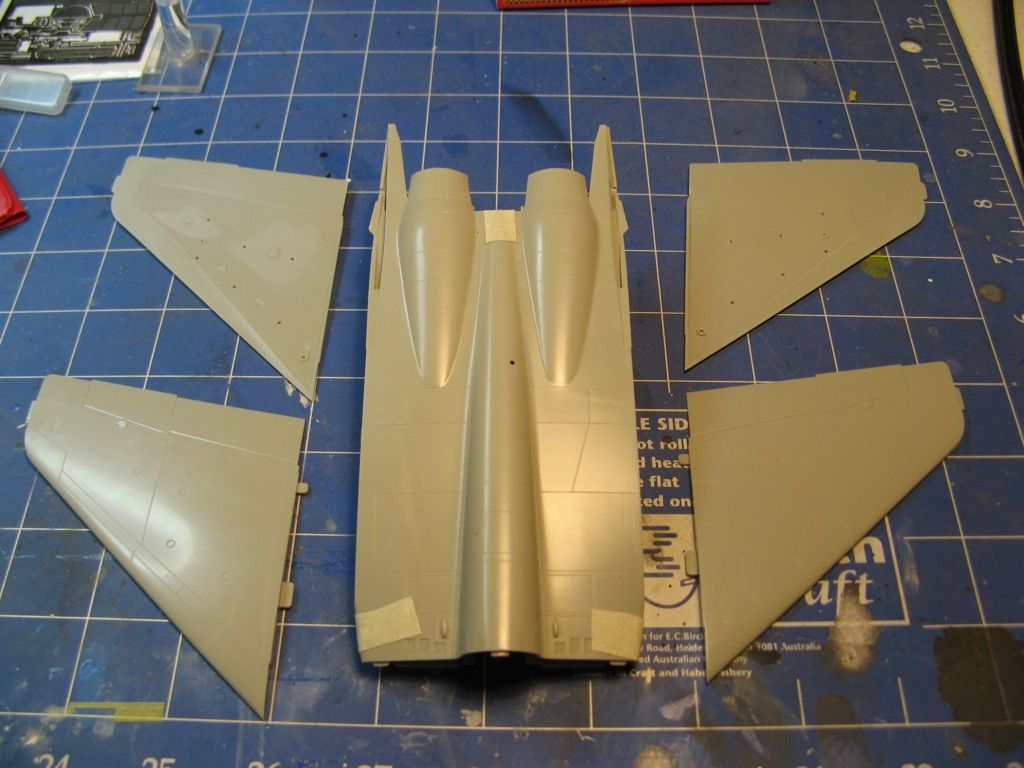
While the wash was drying I decided to have a look at the wings. There were a few ejection pin marks on the inside of these which needed removing in order to ensure a good join. The location holes for the weapons pylons were also drilled out and the pylons were test fitted.
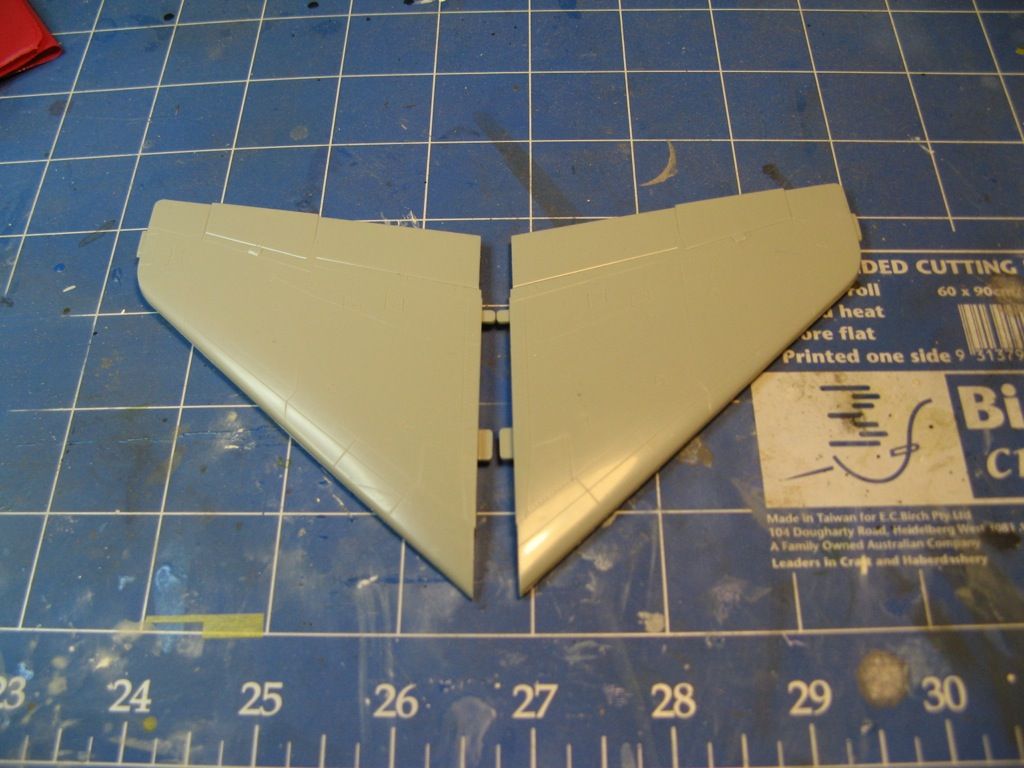
The fairing ahead of the aileron does not appear in any of my references for this aircraft so I'll have to remove it. I cannot even find this feature on the prototype aircraft so I don't know where Academy got the idea from. I'm considering removing the ailerons and posing them slightly deflected from their neutral position.
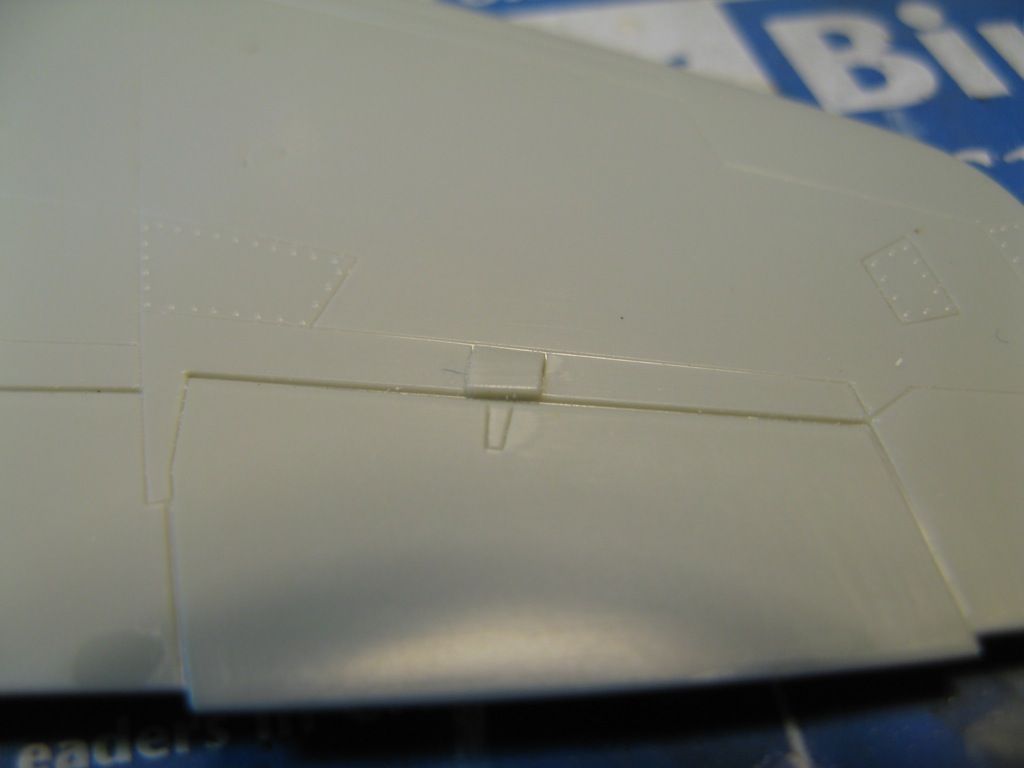

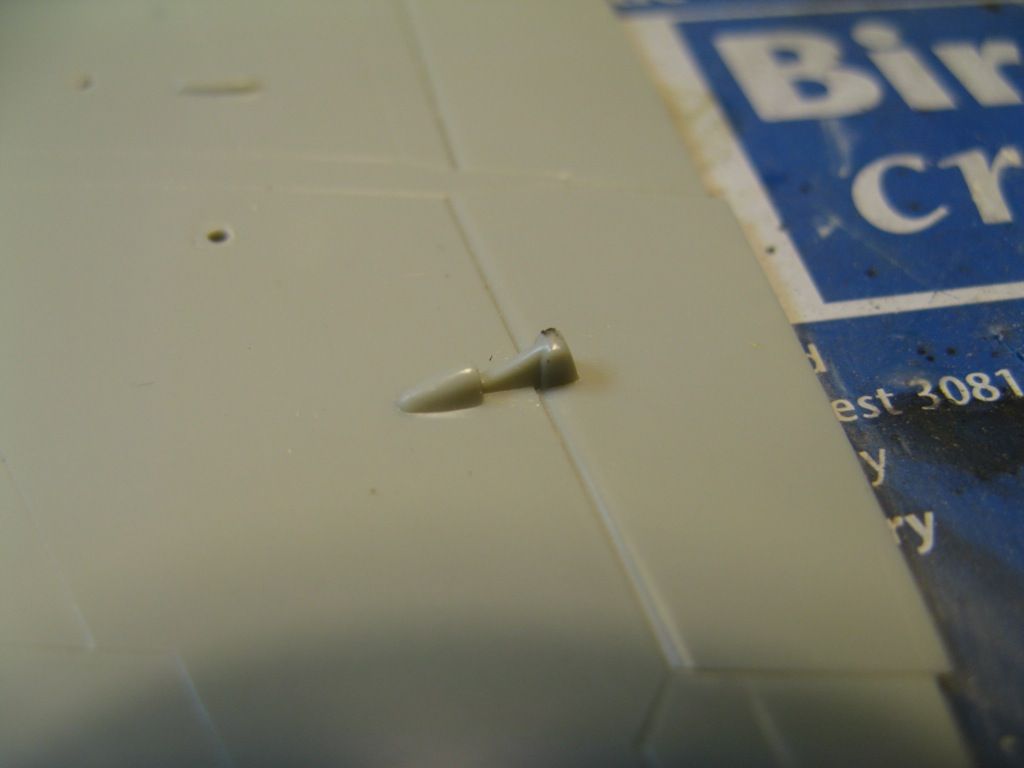
The aileron actuator underneath the wing is crudely represented so it will have to be replaced with something that is more accurate.
In the next installment I'll finish off the cockpit and start work on the wheel wells.
On to Part 3
No comments:
Post a Comment