A Wing and a Prayer
The ailerons are finished. After careful sizing and shaping plus a tiny bit of scratch building I think they will really look the part.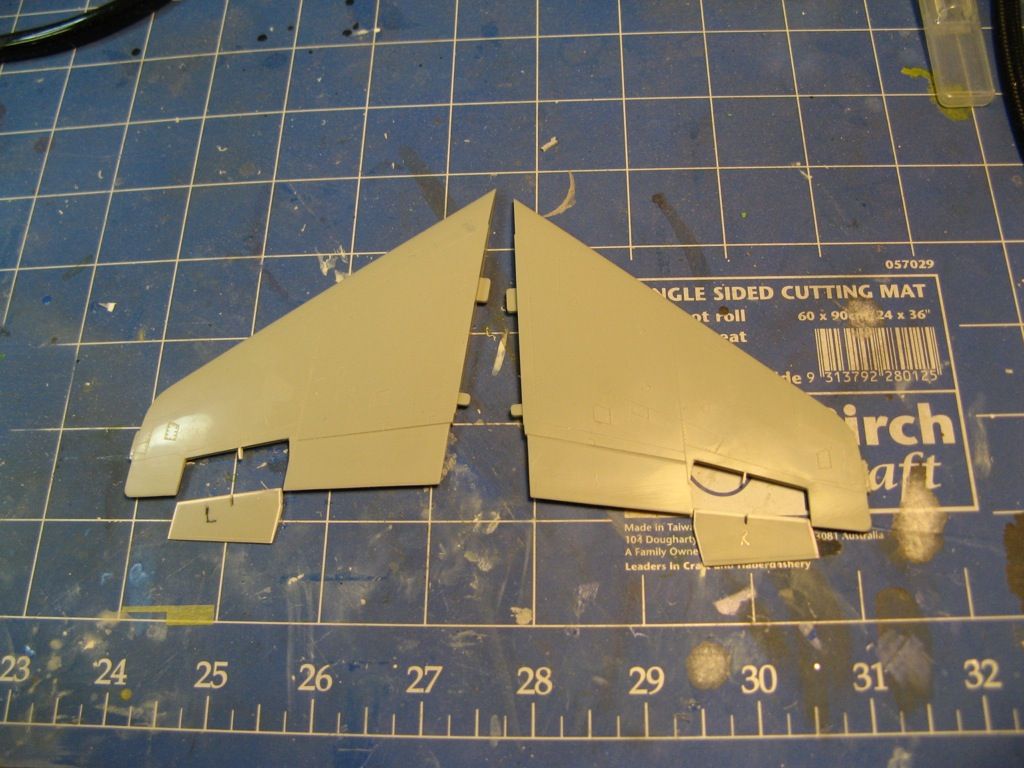
The white plasticard on the edges of the ailerons adjusts for the gap that was left after cutting them out and getting them to the right shape. In particular the plasticard at the leading edge of the ailerons is half round so it can pivot more realistically and the inside mating surface on the wings has been shaped to accept them. I have also scribed the trim tab on the trailing edge of the ailerons - a feature missing from the kit.
Venting my Spleen
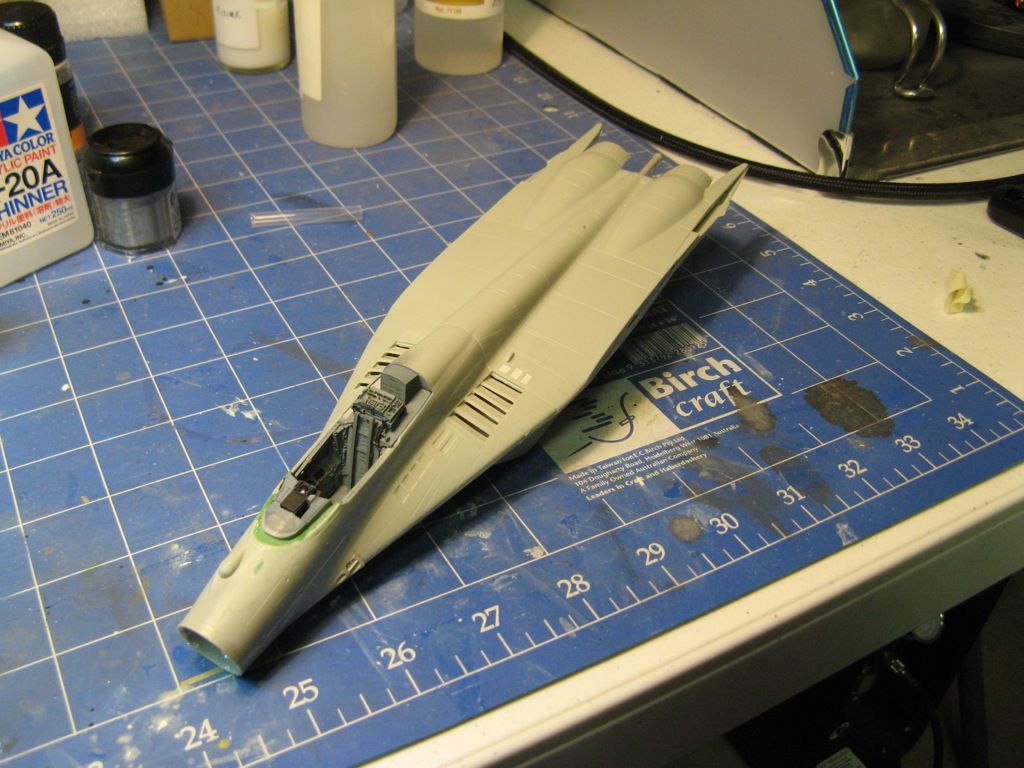
Given that the FOD doors were to be posed in the down position I needed to open up the intake vents on either side of the cockpit. The kit does come with both open and closed vents but they look pretty crude. I opted to open them up more realistically. You can see the kit part on the left and my correction of this installed into the forward fuselage.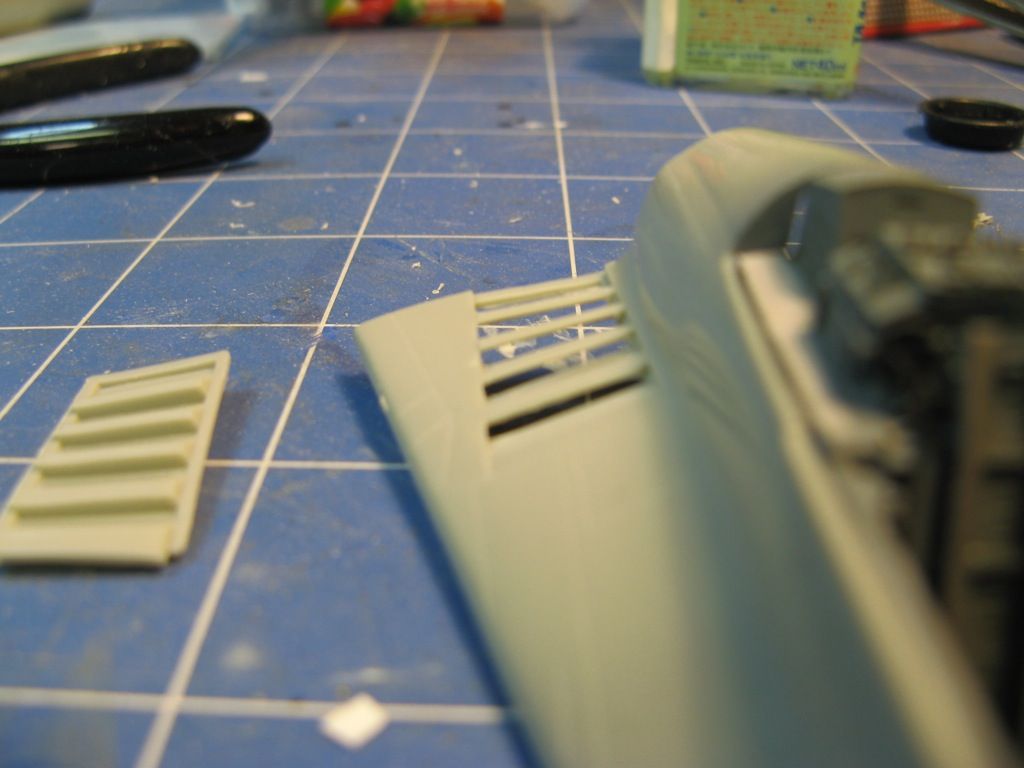
Once they're both opened up it looks much better.
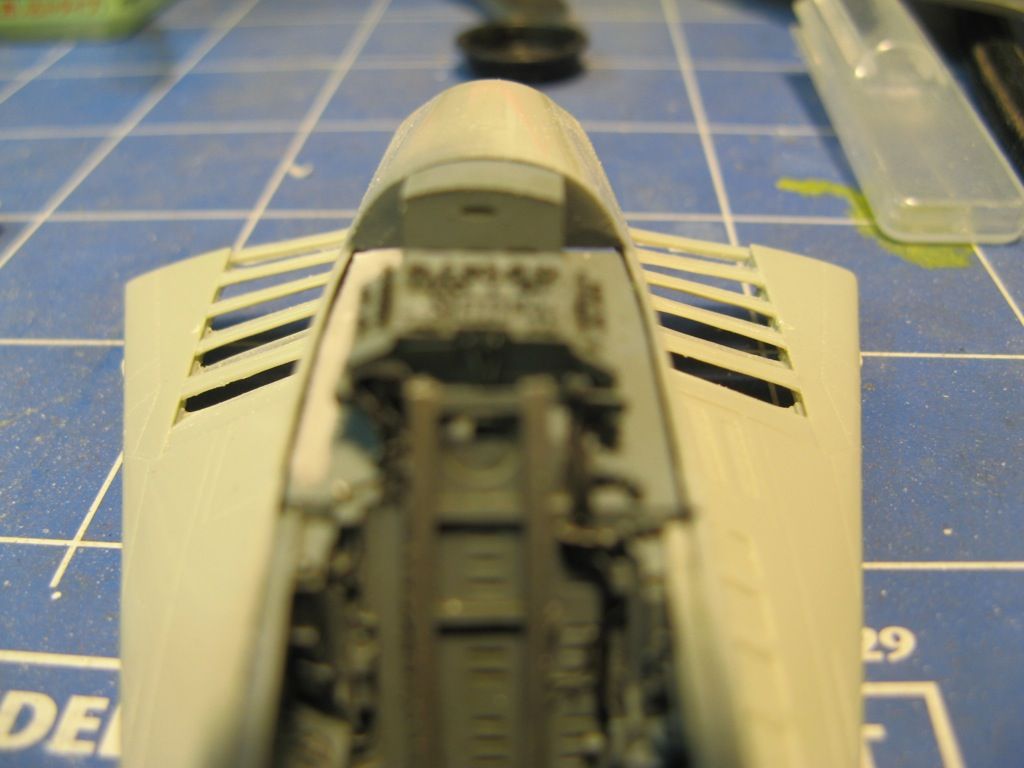
I then turned my attention to the intakes themselves and installed the FOD doors - the first of many bits of photo etched metal. Remember I had to pose these in the closed position as the main wheel wells would have been visible otherwise.
Finally those wheel wells.
In order to make the main wheel wells fit the detail from the upper fuselage had to be removed and the plastic had to be thinned quite a bit.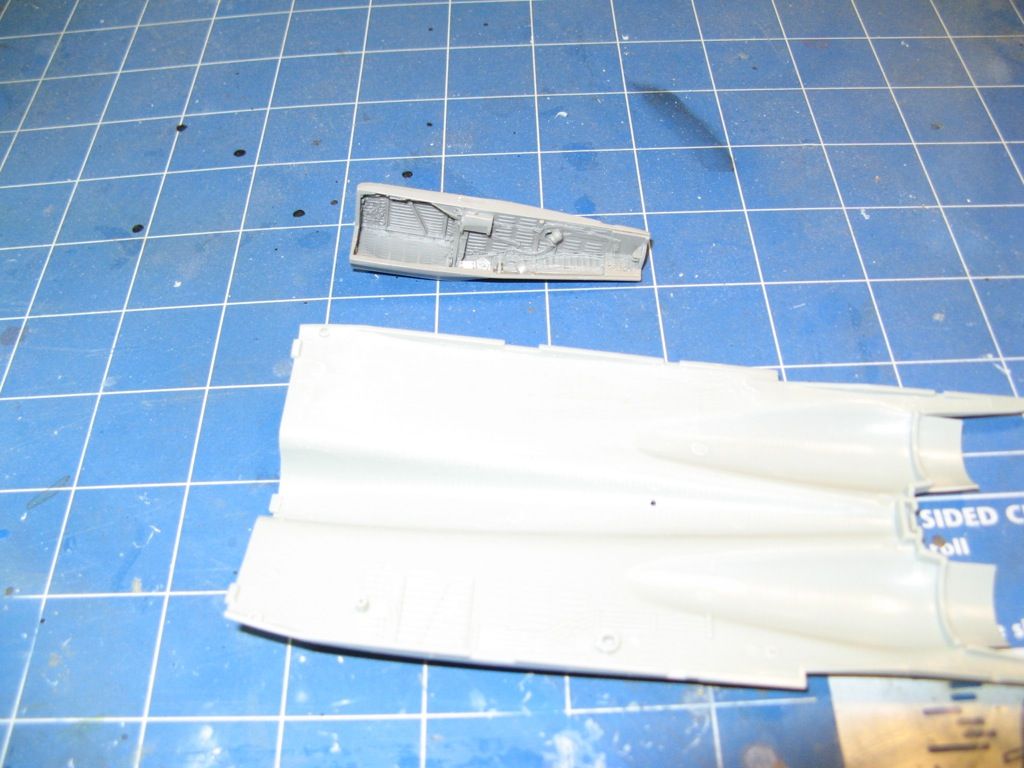
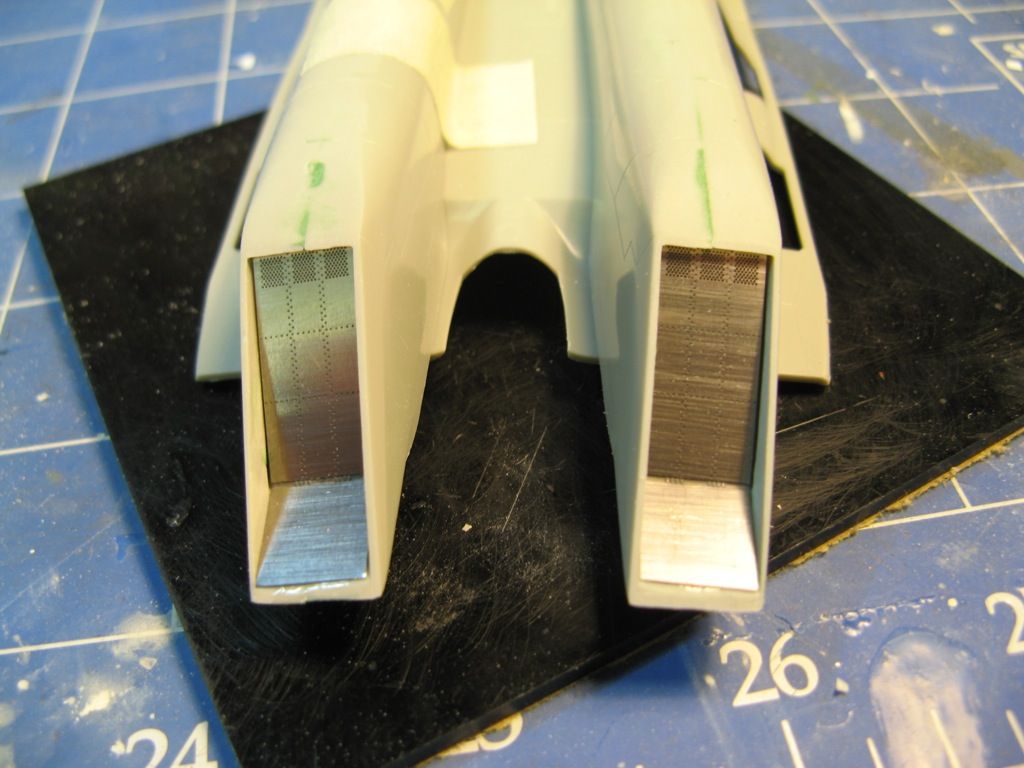
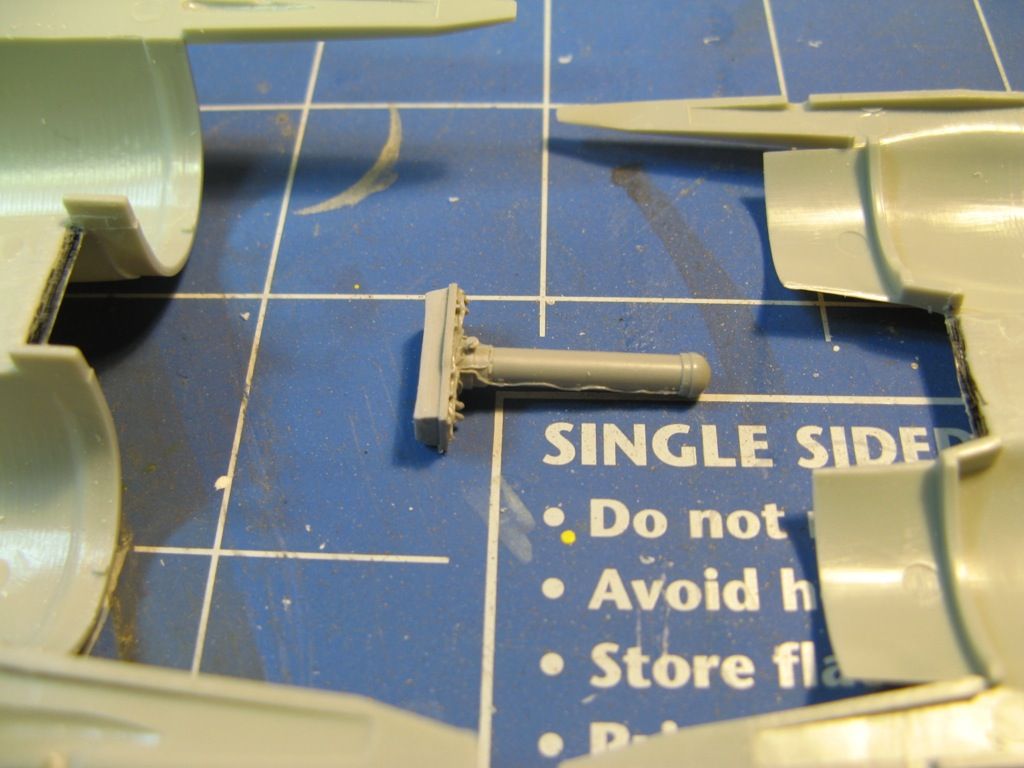
The parts with the front compressor blades had to be shaped so that the wheel wells fit properly. You can see the notch that had to be cut into the assembly on the right.
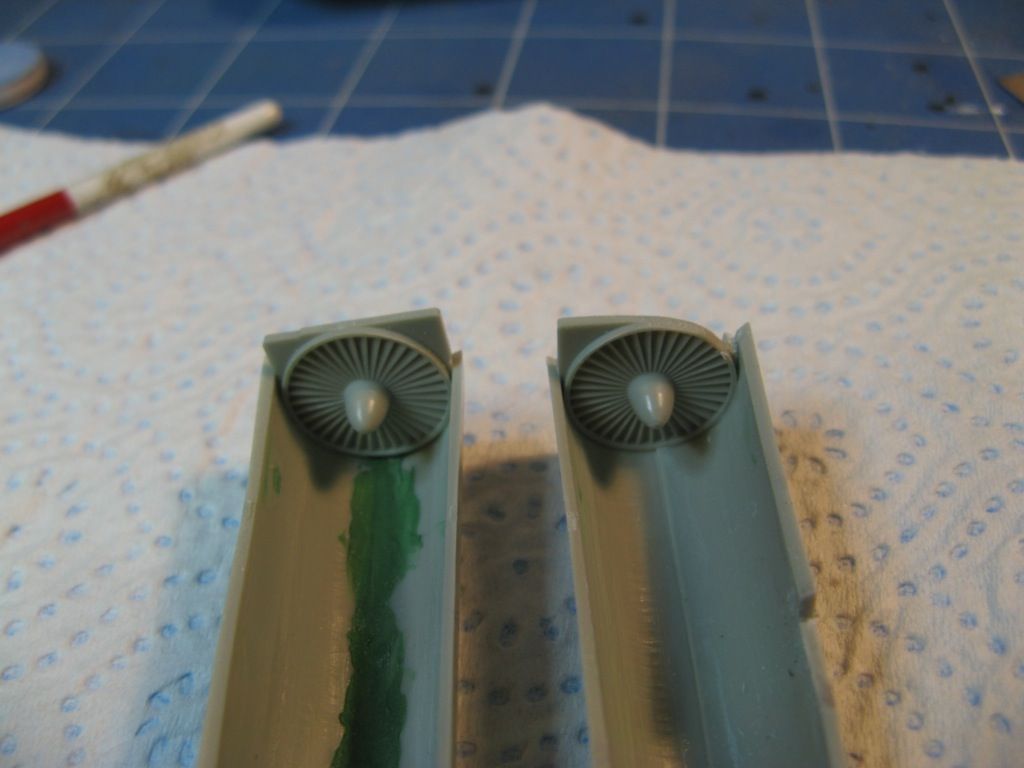
The final step to fitting the main wheel wells was to remove a section of the intake trunking. The correct shape of the section to remove was worked out by painting the part of the main wheel well that mates against the trunking and, while the paint was still wet, using it to "stamp" the shape that needed to be removed on the inside of the trunking. When that was done the shape was easily transferred to the opposite side.
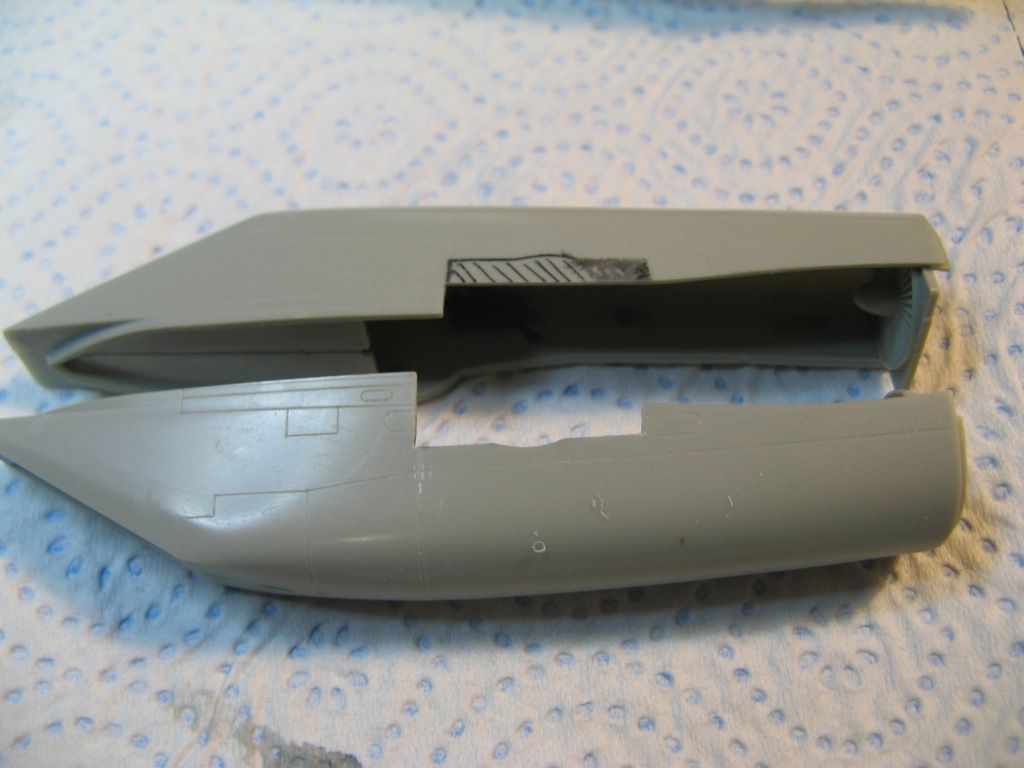
Once that was done I was comfortable in cementing the intakes to the bottom of the lower fuselage. The fit was not too good. There's a step in the join that I'll need to sand back, fill and then re-scribe any panel lines destroyed in the process.
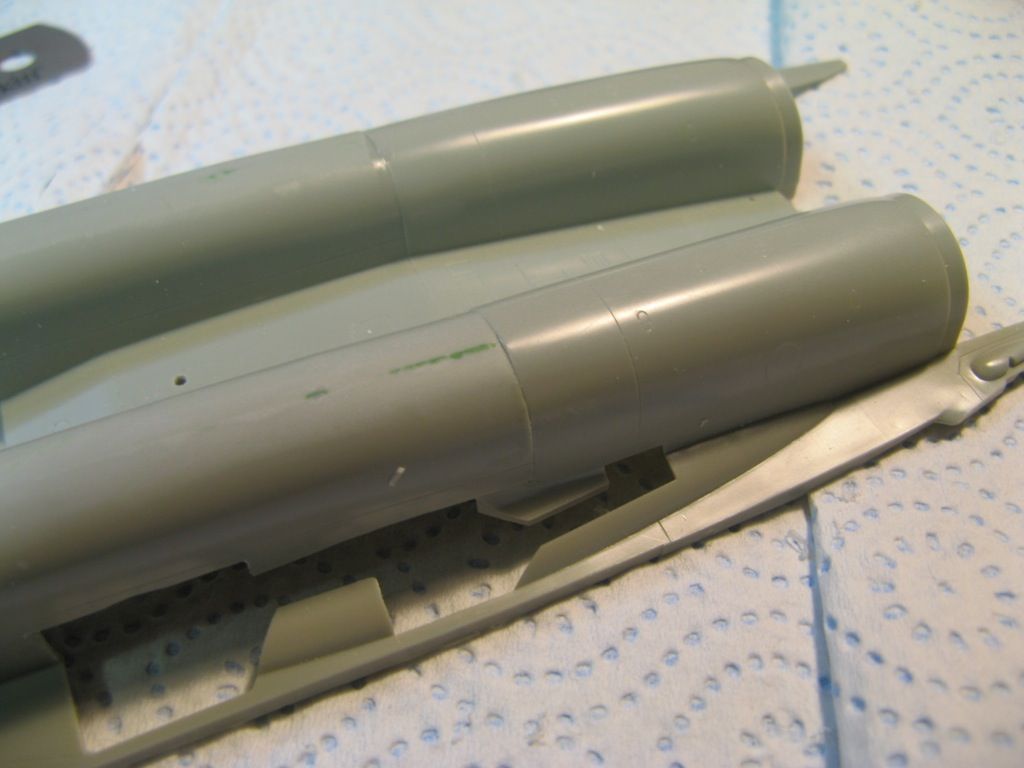
The front wheel well was a lot easier. After thinning the plastic on the inside of the lower fuselage and then test fitting to make sure it didn't interfere with the cockpit it was glued into place.
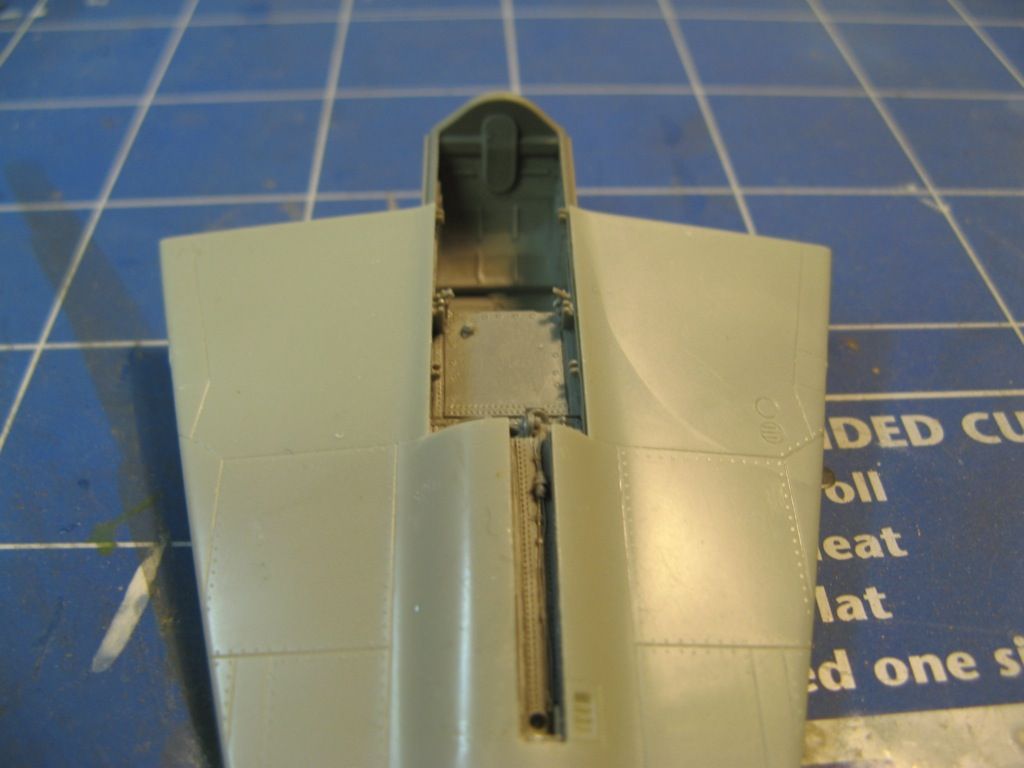
The last part that needed fitting before I could start assembling the fuselage was the parachute brake housing. The locating slot for the kit part was removed and the plastic thinned to accept the resin replacement.
Time For Some Paint
With all of the surgery to the fuselage out of the way I could finally paint the wheel wells. They were first given a coat of Tamiya XF-66.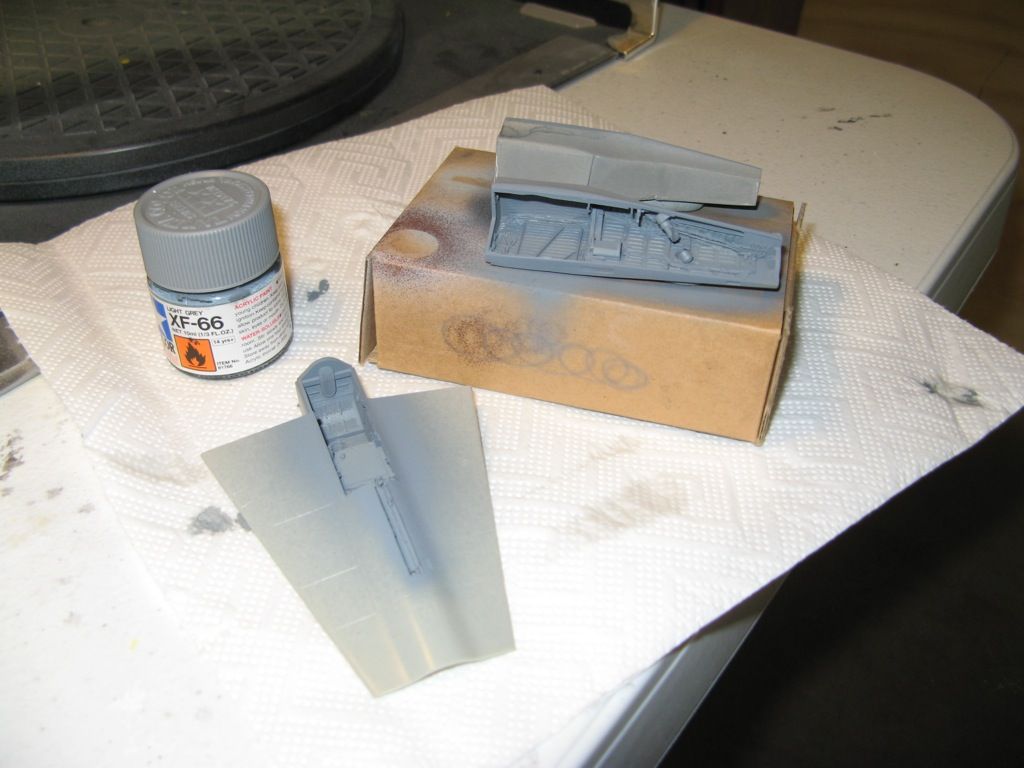
Wiring was picked out in black, ivory or silver. Cable ties were painted silver or red and a few pipes were painted yellow. The wheel wells were then given a gloss coat before giving them a wash with AK Interactive's Engine Grime AK-082 and then everything was sealed in with a flat coat. They look nice and dirty - just like the real thing.
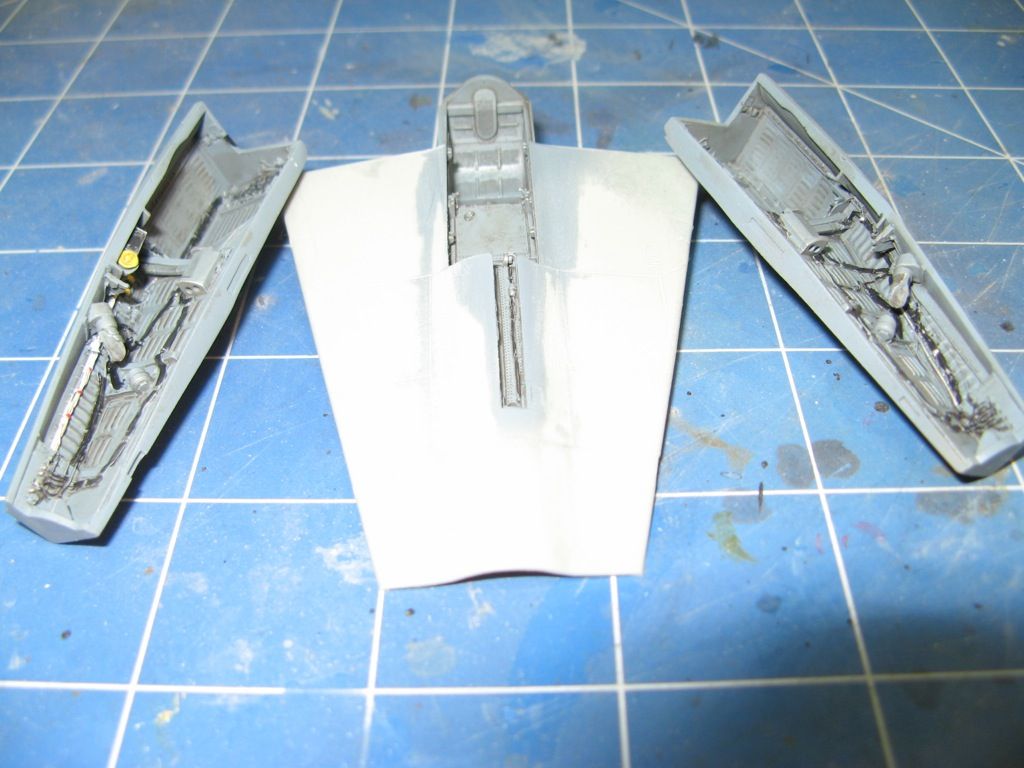
Once all of the painting was done I could glue the wheel wells into the fuselage and finally assemble it. It's now starting to look a bit like a Mig-29. There's still some clean up to do as some of the joins did not line up as nicely as I would have liked but it's a major step forward in the assembly of this aircraft.
Things on the Peripheral
While the glue was drying on the fuselage I thought I'd check out the Quickboost replacement nose. Here is is on the right with the kit nose for comparison. The profile of the kit nose is too conical from about halfway while the replacement has the graceful curve of the real aircraft.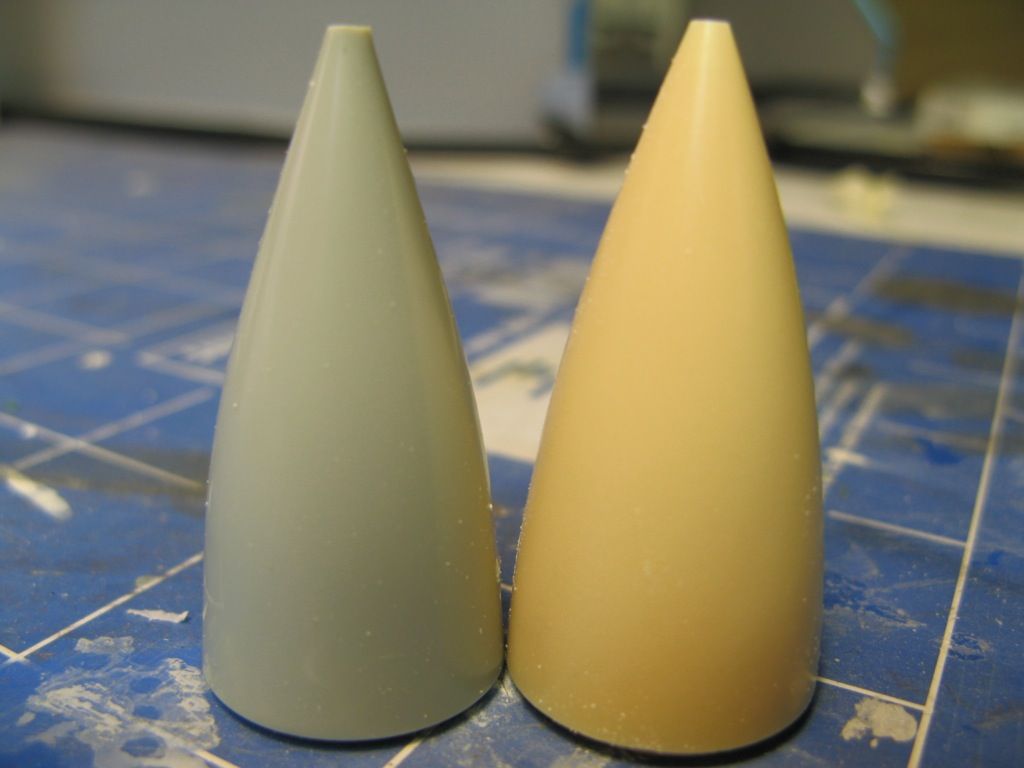
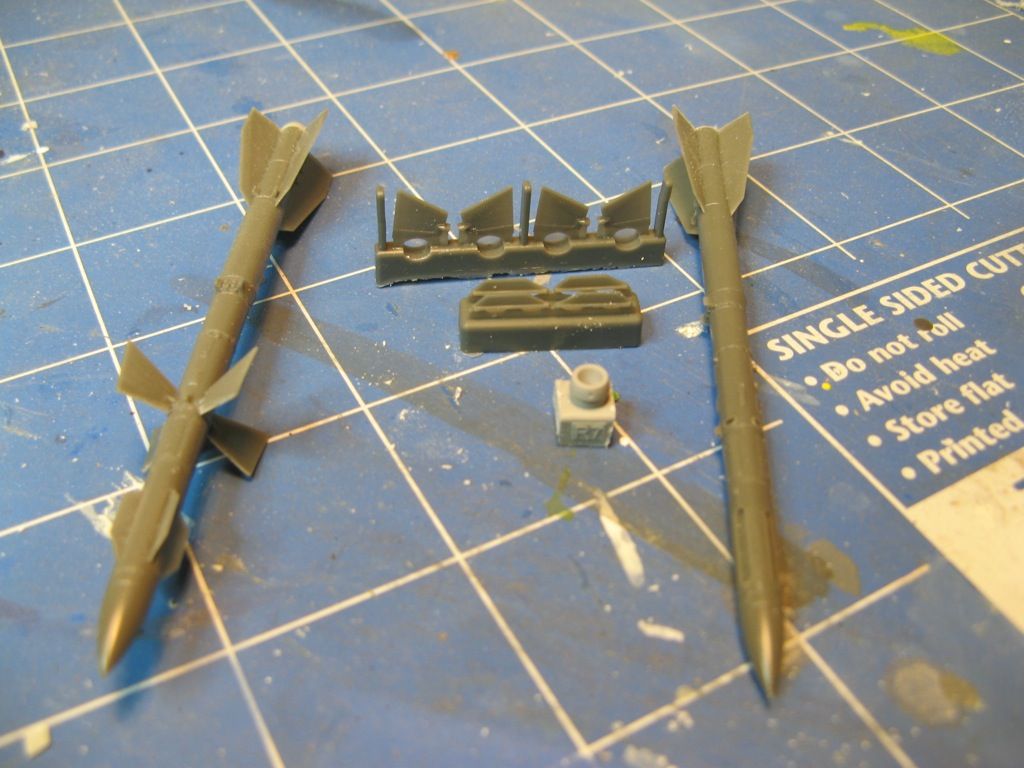
I also decided to start assembling some of the missiles. The Eduard AA-10 Alamo C missiles are beautifully cast in flawless resin. They assemble to make wonderful replicas of the real thing. I can't wait to get some paint onto them.
In the next installment I'll start cleaning up the fuselage and maybe get the wings on.
On to part 5.
No comments:
Post a Comment