Ok I did say I was going to finish off the cockpit, which I did, but I didn't do much on the wheel wells yet. That's because I got more interested in the wings as you'll see later.
Finishing the cockpit
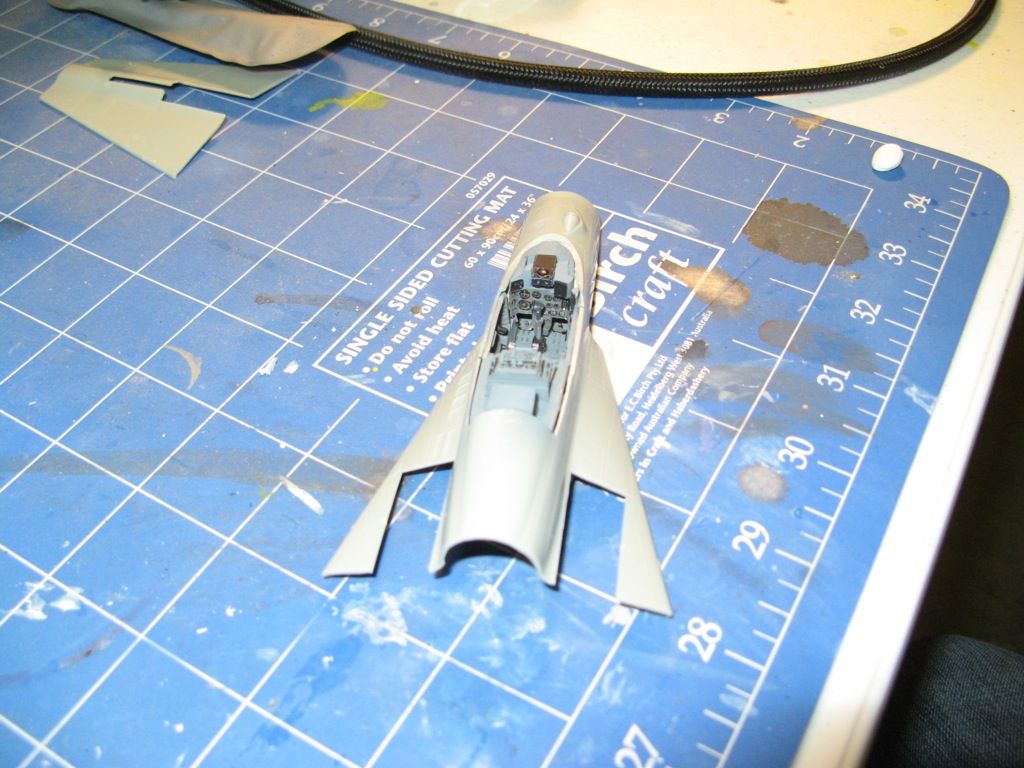
After the wash had dried I gave the cockpit a coat of flat varnish to lock everything in. I then glued it into the top of the forward fuselage section. It looks pretty good even if I say so myself.
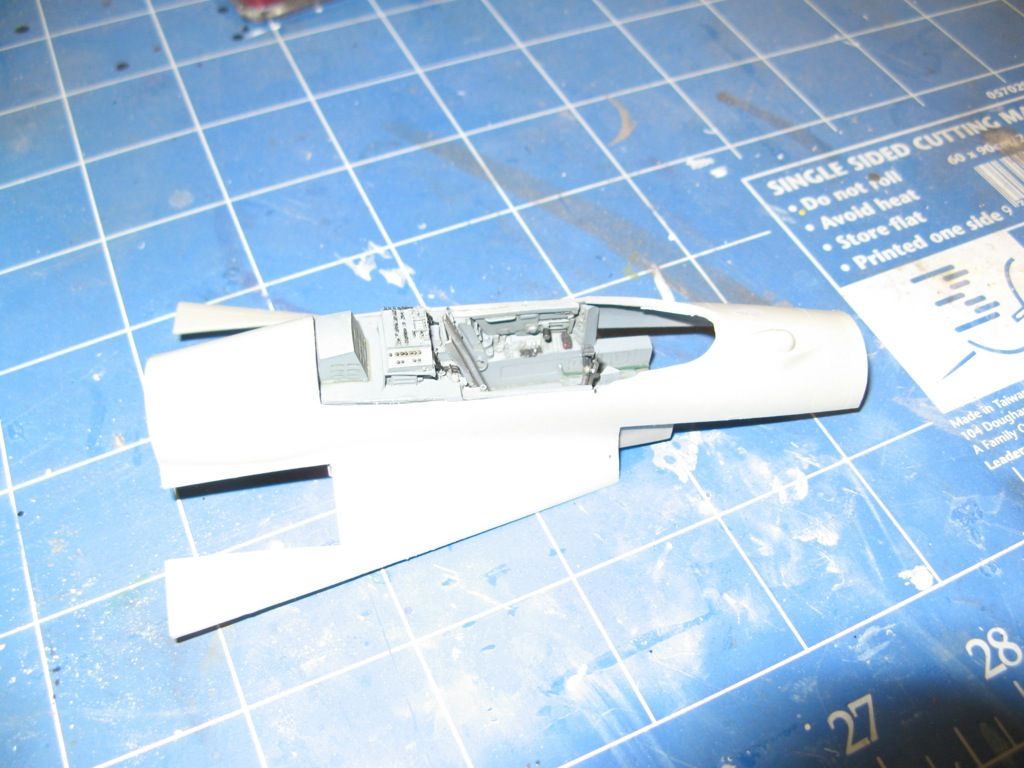
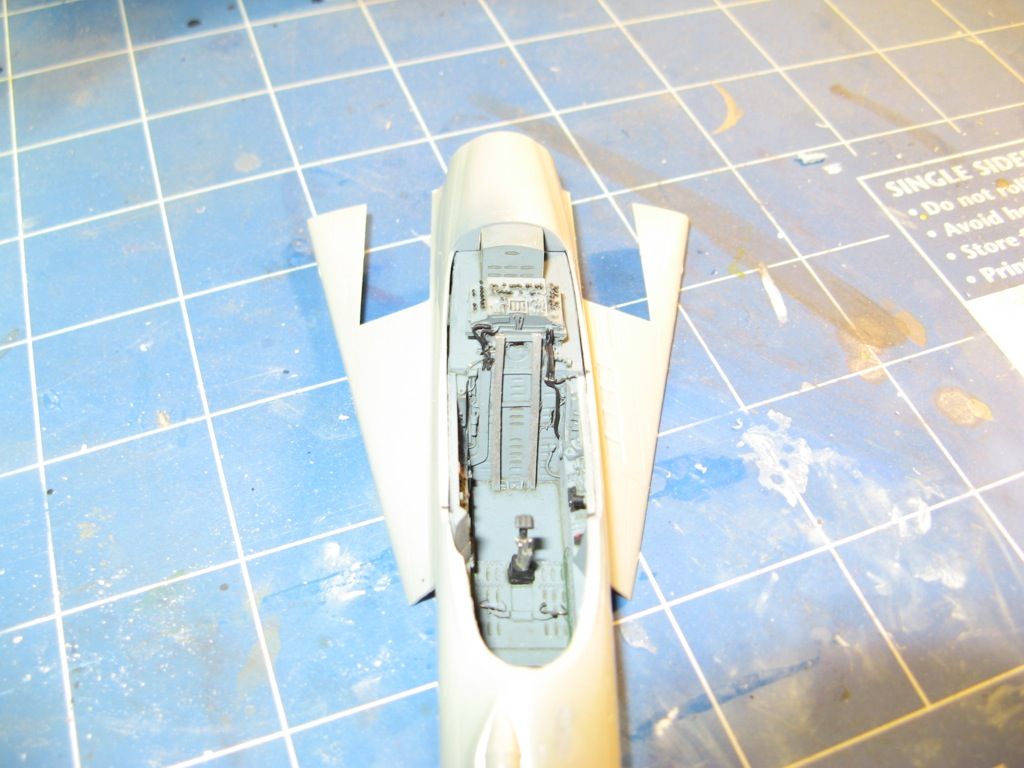
The Aires cockpit coaming is a bit smaller that the original coaming that was on the kit so to get it to stay in place I had to use some milliput putty.
There's a bit of a gap that needs filling where the cockpit tub meets the fuselage sides but I'll take care of that later.
What's Going on with the Wings?
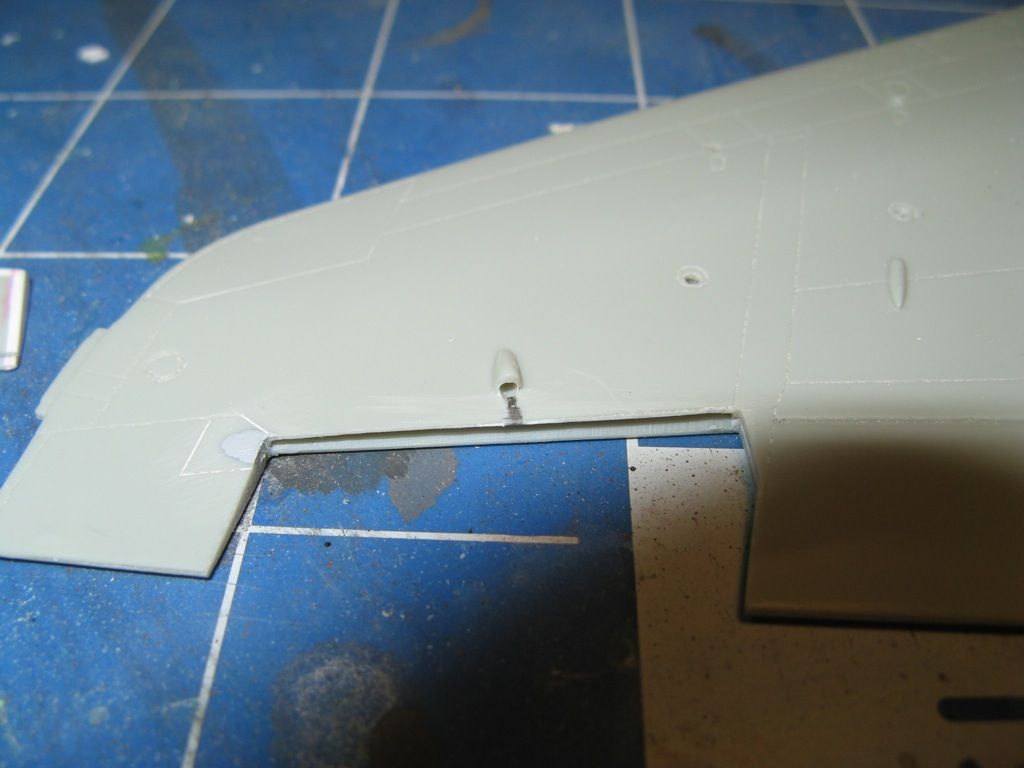
Remember in the previous update I could not explain that fairing on the upper wing surface and I was unimpressed with the aileron actuator. Well I took care of the former by carefully removing it with a small chisel and sanding it back. I then went on a search for a picture of the actuator and found one.
After thinking about the actuator for a while I decided to remove the ailerons completely and scratch build the actuator. I'll pose the ailerons offset slightly as I have seen in many photos of the actual aircraft. So out comes the trusty razor saw and we end up with something like this.
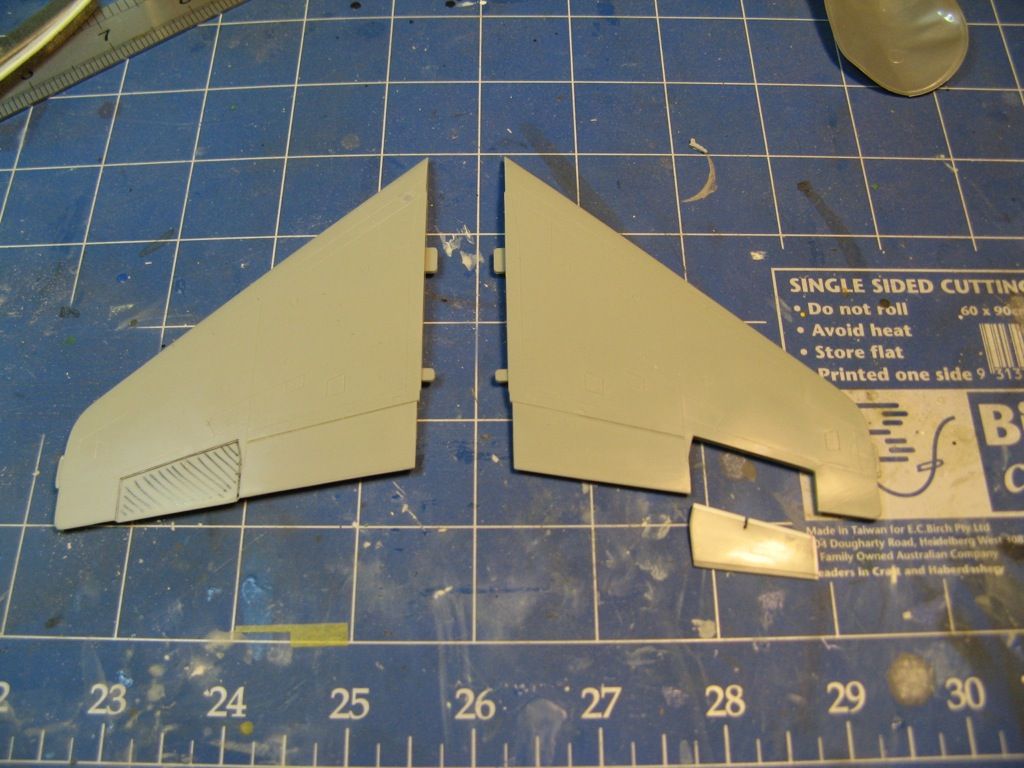
I'll scratch build a little hinge to fit into that slot cut out of the aileron. I also drilled out the fairing for the actuator ready for the brass tubing I'll use to make a new one.
An Intake of Breath
When the Mig-29 is at rest the FOD doors are open.
That means that I'll have to make sure the insides of the intakes are seamless. Remember all those ejection pin marks I mentioned in part 1 - well they'll have to go.
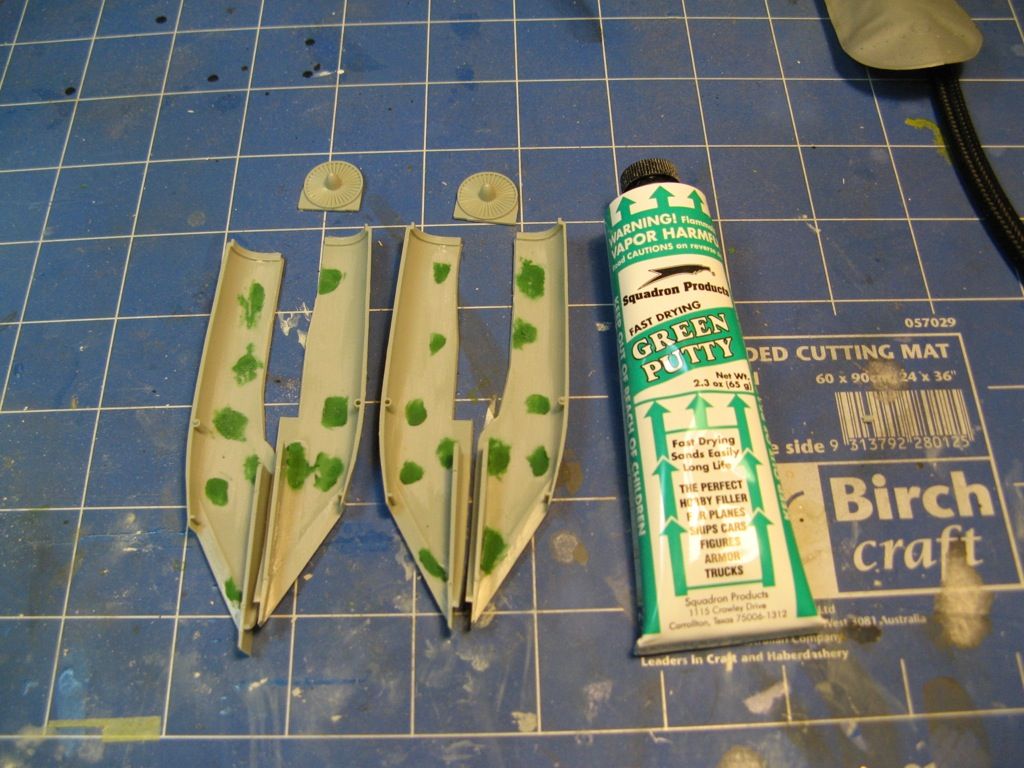
Of course after doing this and test fitting the intakes to the fuselage with the replacement main wheel wells in place I noticed that, unless I want to rebuild a circular cross section into the intake trunking, I'll be able to see the resin block of the main wells. It looks like the FOD doors will have to be closed anyway. Good thing that they can be closed while the aircraft is on the ground even though the engine is not running.

It's not usual but I don't have too much choice.
Well Well Well
I did manage to get the nose wheel well cleaned up and test fit into the lower part of the forward fuselage.
The detail in that gear bay looks wonderful. With some paint and a wash the detail will pop.
Shiny Object Interference
My those Eduard nozzles look nice. Maybe I should assemble and paint them now :-P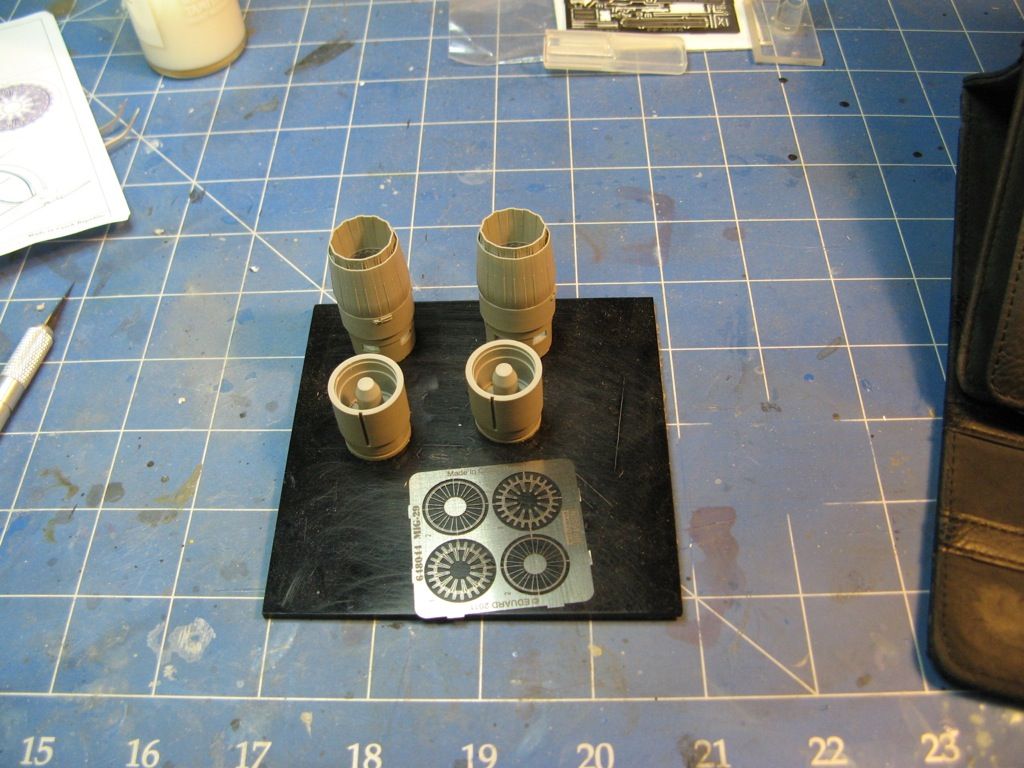
On to part 4
No comments:
Post a Comment